Tabs
Assets
 Assets
The assets refer to curves that we will use in our designs, and the Assets Manager is where we create, modify, manage, and draw these curves. These curves will later be used in the design process. Additionally, the Assets Manager includes an editor that allows us to adjust and modify the curves as needed for the project.
You will find here all the curves used by all the RhinoArtisan commands organized by Asset type.
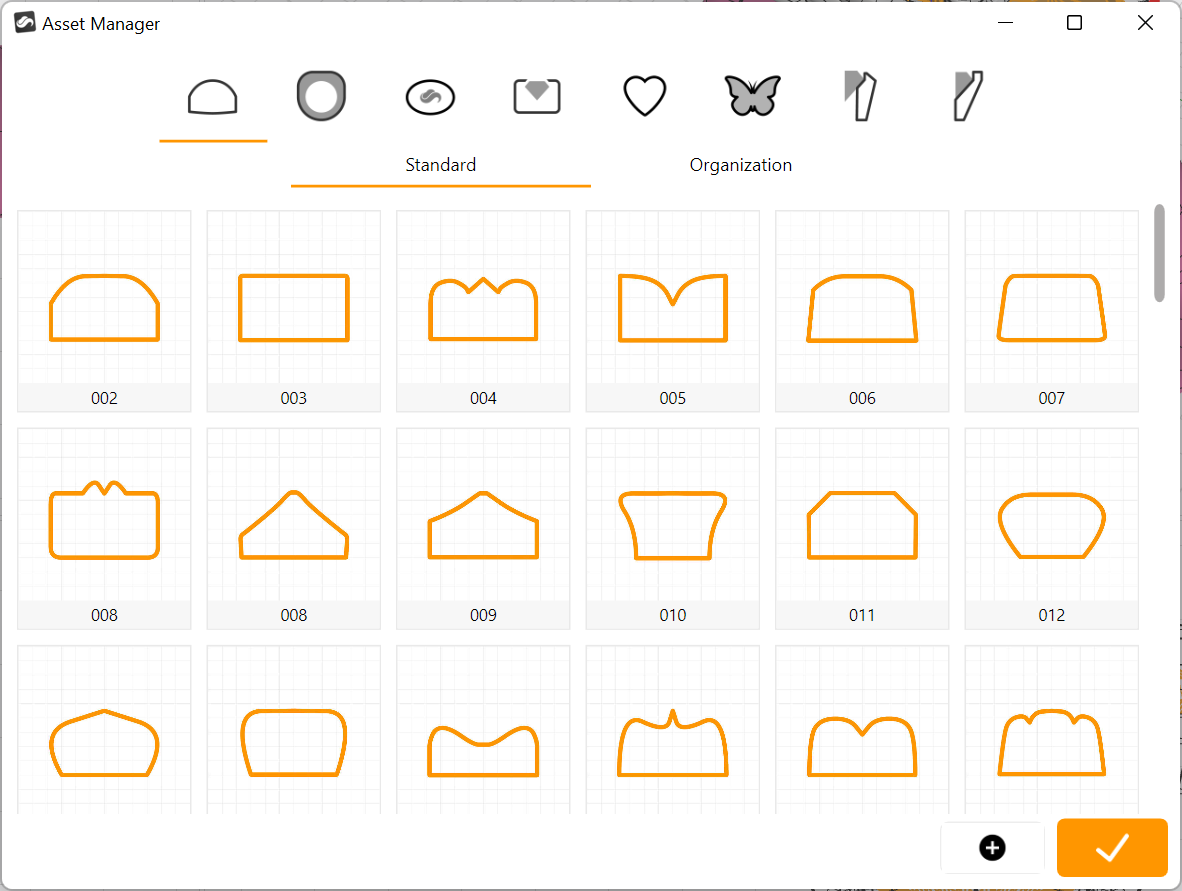
Asset types (from left to right):
- Ring curves: These are used to give revolving shape to Classic, Cathedral, and Advanced shanks. Additionally, those curves are used for the Profiles and Bails commands.
- External ring curves: Can be used on Classic shanks to affect the outer shape of your design, replacing the default fully circular form.
- Signet ring curves: These shapes allow you to change the seal shape on your signet ring.
- Channel curves: These are used primarily to define the revolving shape of your Halo gemset channel.
- Prong curves: With this profile, you can change the prong shape on Basket and Halo gem sets.
- Charm curves: Using this curve, you can create a 3D object with a bombé finish, ideal for creating charms and pendants.
- Bezel curves: These curves are used exclusively to give a revolving shape to Bezel gemsets.
- Peg head curves: These curves are used exclusively to shape the prongs of the Peg head gem set.
You will find two different buttons at the lower-right corner of this menu: one with a + symbol to create a new asset in the category you are in and another with a checkmark to accept your changes.
Right-click:
If you right-click on a selected asset, a menu will pop up, giving you access to different options :
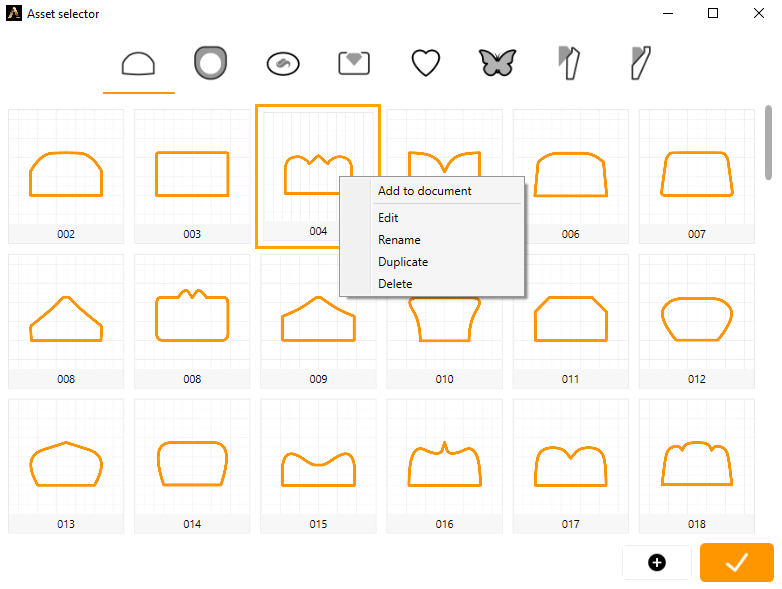
- Add to document: It will add the selection curve to the viewport on the CPlane.
- Edit: Opens the selection on the Asset Editor and allows you to manipulate it.
- Rename: This button opens a window that displays the asset’s current name and allows you to change it by typing in the new name.
- Duplicate: Makes a copy of the selected Asset.
- Delete: Deletes the selected Asset.
Asset Editor
The Asset Editor opens when you choose Edit on an asset, when you create a new one, or when you press the edit button next to a curve in a command panel. A curve edited from a command panel belongs to that design only; use Save to library to keep it as an asset.
The curve is drawn from its control points on a square canvas. Most asset types are symmetric: you edit the left half and the editor mirrors it across the dashed vertical axis. The first and last points sit on that axis and only move along it. The canvas shows the curve exactly as the command will build it.
Editing points
- Click a point to select it, and drag to move it.
- Ctrl + click adds a point to the selection or takes it out. Dragging a selected point moves the whole selection.
- Click on the curve to insert a new point there. Click on an empty area to clear the selection.
- Right-click a point for its menu: Sharp / Smooth, Tangent, Align and Delete.
- Hold Shift while dragging to snap the point to the height or position of the other points.
Keyboard
| Key | Action |
|---|---|
| Arrow keys | Move the selection one unit (ten with Shift) |
| Delete | Delete the selected points |
| Ctrl + A | Select every point |
| Ctrl + Z / Ctrl + Y | Undo / Redo |
Toolbar
- Undo / Redo.
- Sharp: turns the selected points into corners, or back into smooth points.
- Tangent: levels the point next to the axis with the point on the axis, so the curve crosses the axis smoothly instead of making a corner.
- Align: moves the point on the axis to the height of the point next to it.
- Delete: deletes the selected points.
- Symmetric (ring, signet ring, prong and charm curves only): see below.
- Save to library: saves the curve as a new asset under the name you type.
- Import: lets you pick a planar curve in the Rhino document and loads it into the editor. An open curve becomes the left half. A closed curve is cut along its vertical middle; signet ring, prong and charm curves keep both sides, the other types keep the left one.
- X / Y: with a single point selected, show its position on the canvas. Type a value and press Enter to move the point.
A red ring around a point on the axis means the outline has a corner there. It is only a hint: a marquise or a heart needs those corners. Use Tangent when you want the outline to cross the axis smoothly.
Curves that are not symmetric
Ring curves, signet ring curves, prong curves (also used for rails, cutters and air gaps) and charm curves can have a different left and right side. Turn Symmetric off and the mirrored half becomes a set of points of its own that you can drag, insert, delete or sharpen like the others. The two points on the axis hold both halves together, so they cannot be deleted.
While Symmetric is off, two arrow buttons copy one half onto the other, mirrored: left to right, or right to left. Turn Symmetric back on to discard the right half and mirror the left one again.
A ring curve is an open arc: its two halves meet at the top and each one ends on its own side, where the command closes the section. On a shank that carries stones, they stay on the middle of the band’s width, which on a ring curve that is not symmetric may not be its highest point.
When the editor is opened from the Signet Ring or Advanced Signet Ring panel, a dashed frame shows the real proportion of the face (its Width × Height). The command stretches the outline to those measurements, so an outline that fills the frame keeps the shape you drew.