Organic Modeling & Sculpting
Studio UI
The Generative AI Studio is the single window where everything happens: you organize work into projects, feed the AI with viewport captures or images, choose a mode and a model, write your prompt, and collect the results.
Opening the Studio

- Click Generative AI in the AI group of the File tab, next to Flow Studio AI and the Assistant.
- Or type the
ArtisanGenerativeAIcommand.
The Studio is a modeless window: you can keep it open while you model, orbit the viewport, capture a new snapshot and generate again. Running the command while it is already open simply brings it to the front.
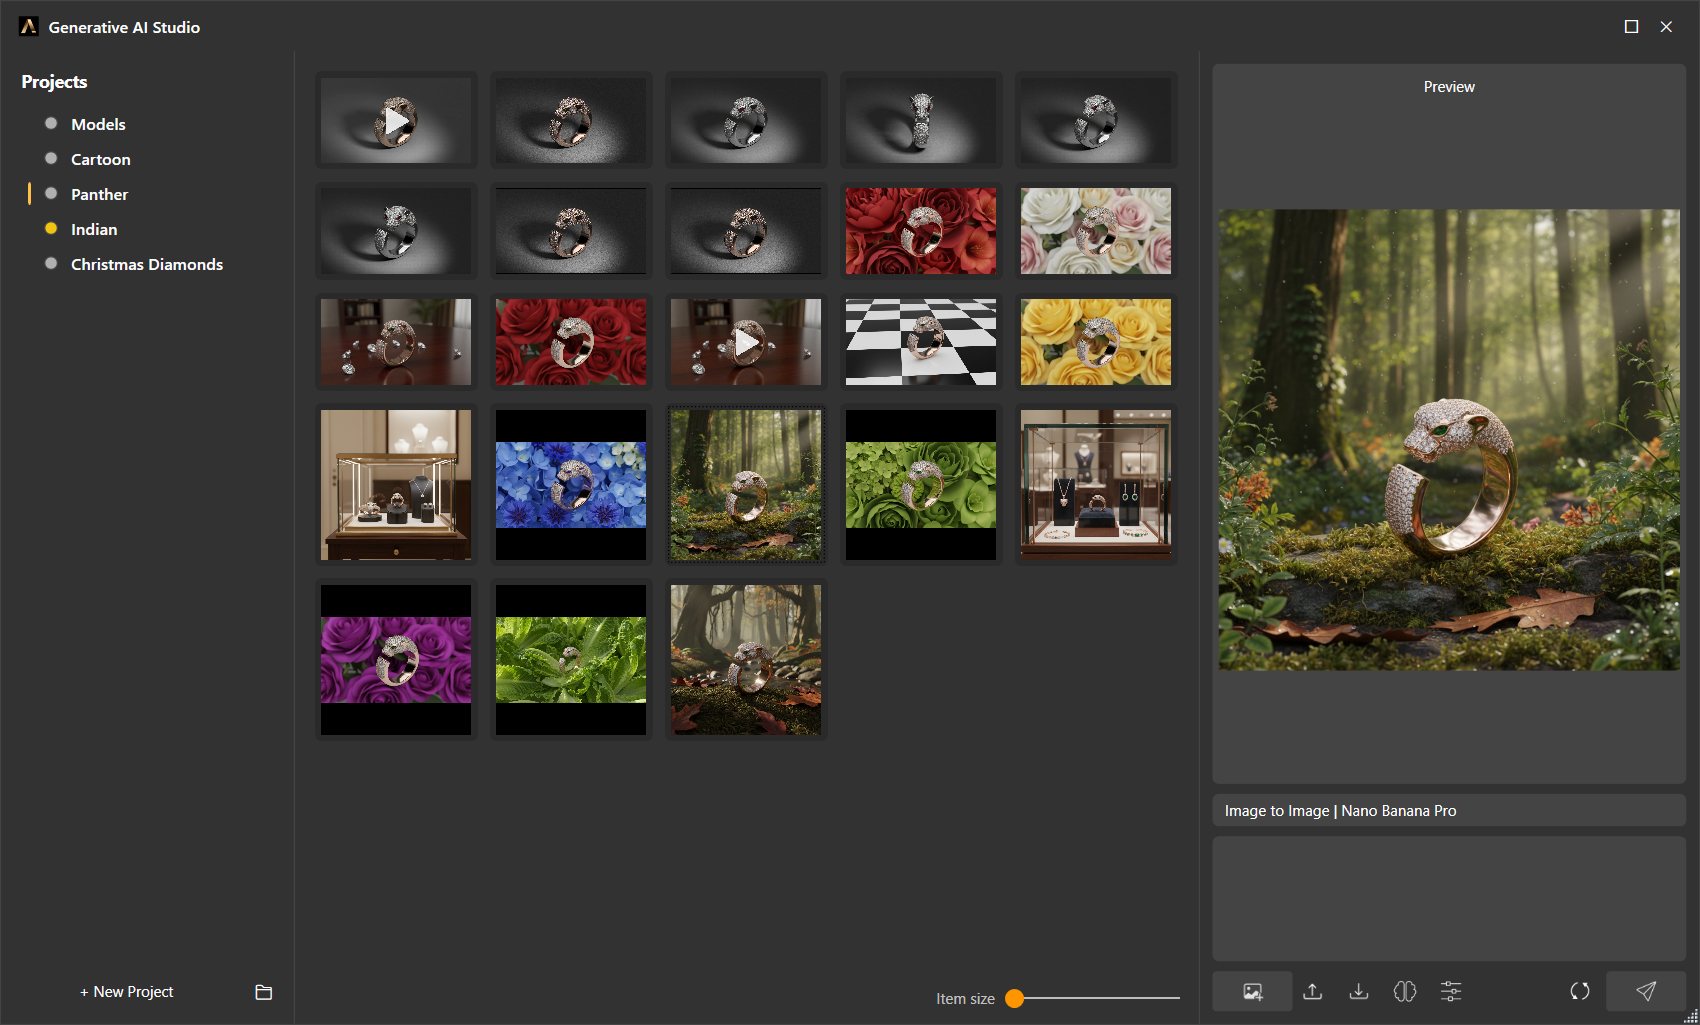
Projects · gallery · preview · prompt bar · toolbar — the whole workflow in one window
The window at a glance
Projects
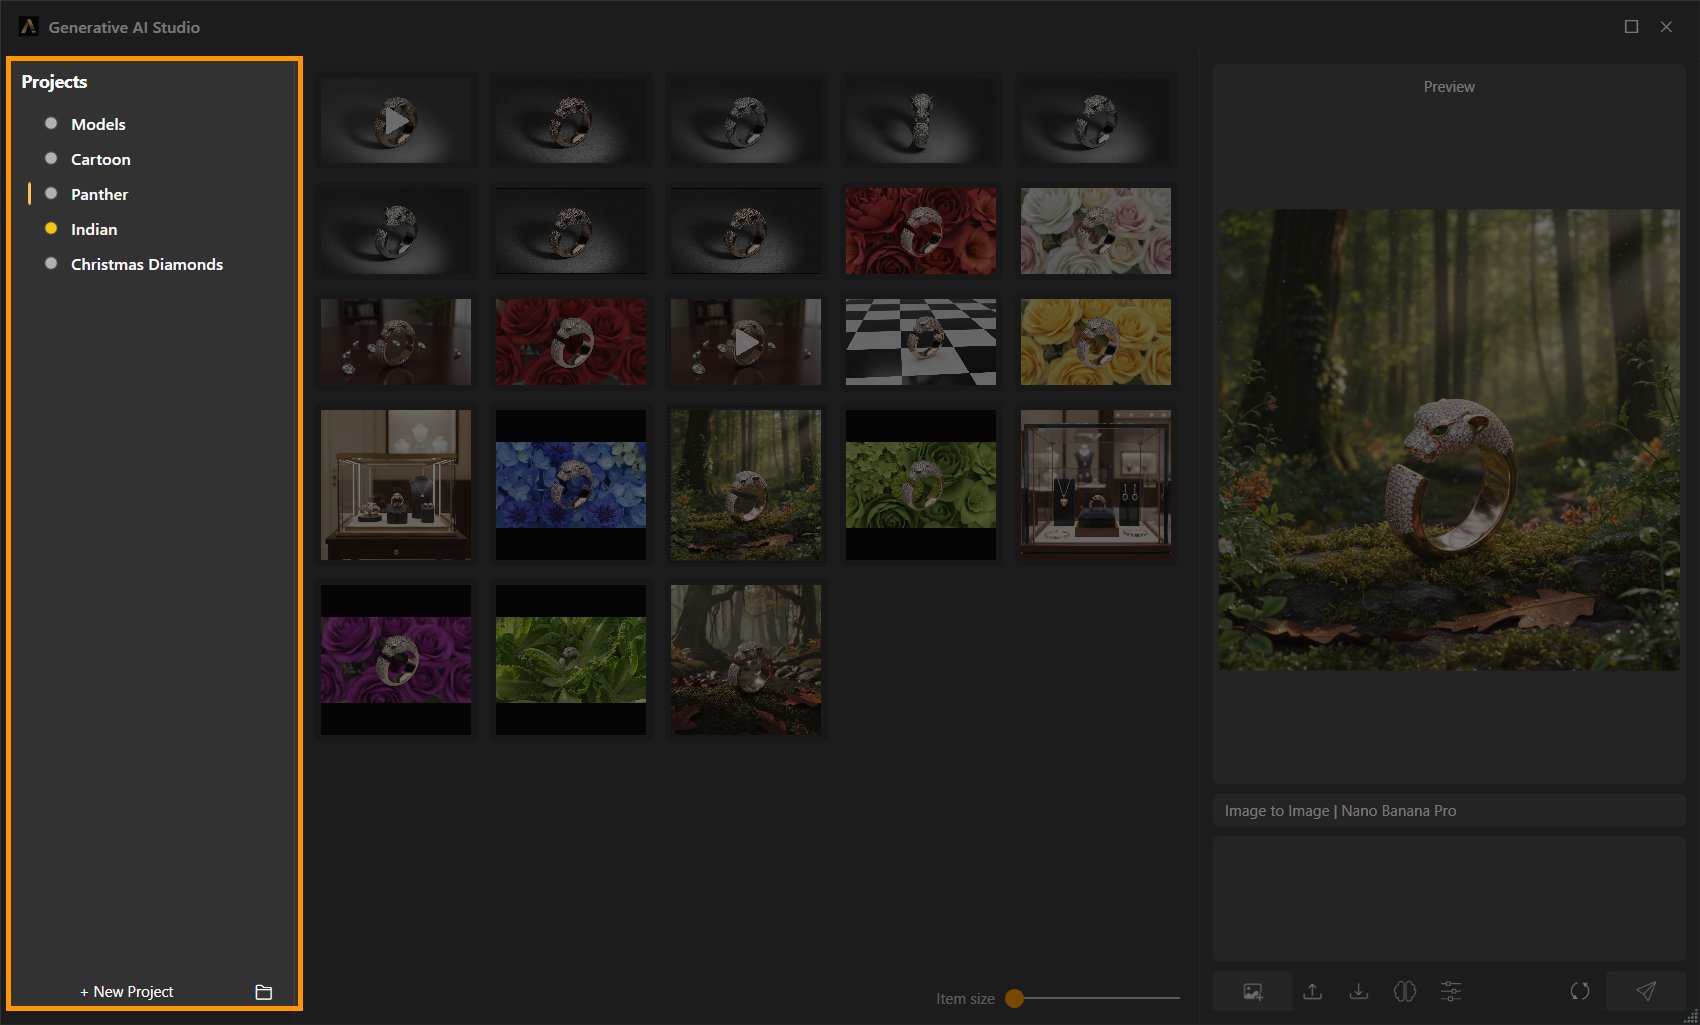
The left column lists your projects. A project is simply a container for related inputs and generations — one per design, client or campaign works well. Create a new one with + New Project, switch by clicking, and use Open project folder to jump to the folder on disk where that project’s media lives.
Each project carries a color dot — click it to change the color and use it however you organize your work. Right-click a project for Rename, Duplicate, and Delete; drag projects to reorder the list, and drag a result card onto a project to move it there.
Gallery
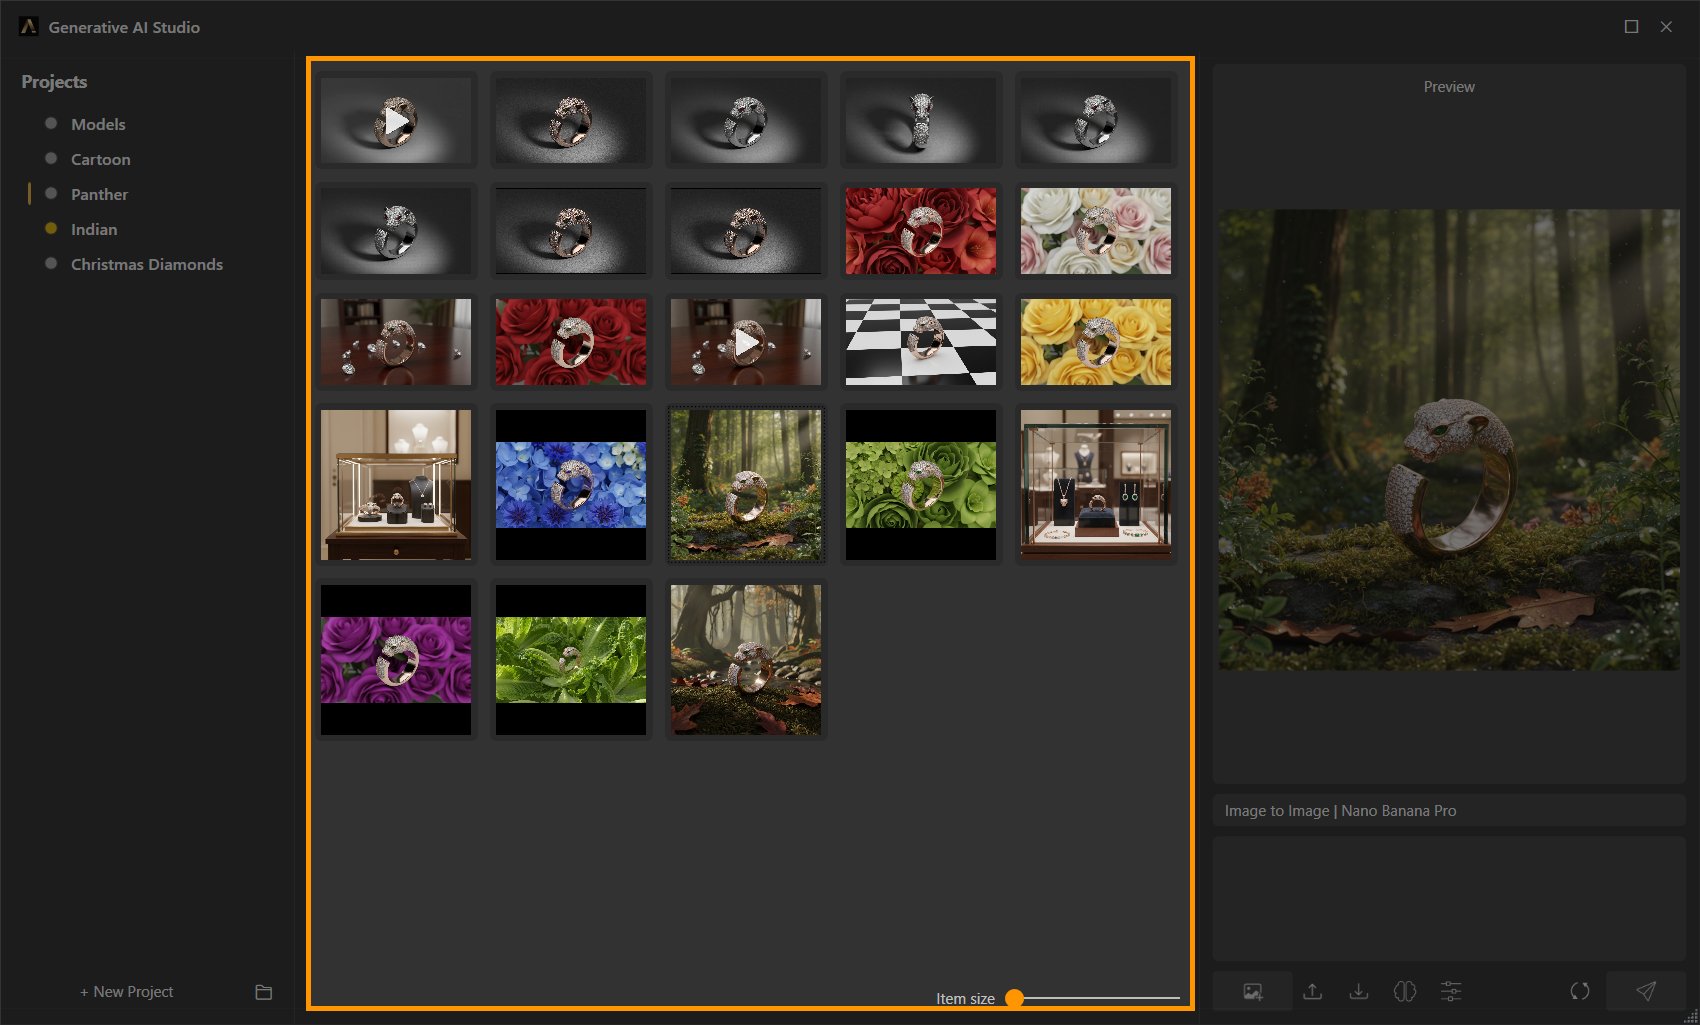
Every input you add and every generation you run appears as a thumbnail in the gallery, newest first. Hovering an item reveals its quick actions:
- Import to Rhino — only on items that carry a 3D model.
- Download — save a copy of the item’s media anywhere on disk.
- Delete — remove the item from the project. This is permanent.
Click any item to load it into the preview — and to make it the input of your next generation. The Item size slider under the gallery scales the thumbnails from small inventory to near-preview size.
Preview
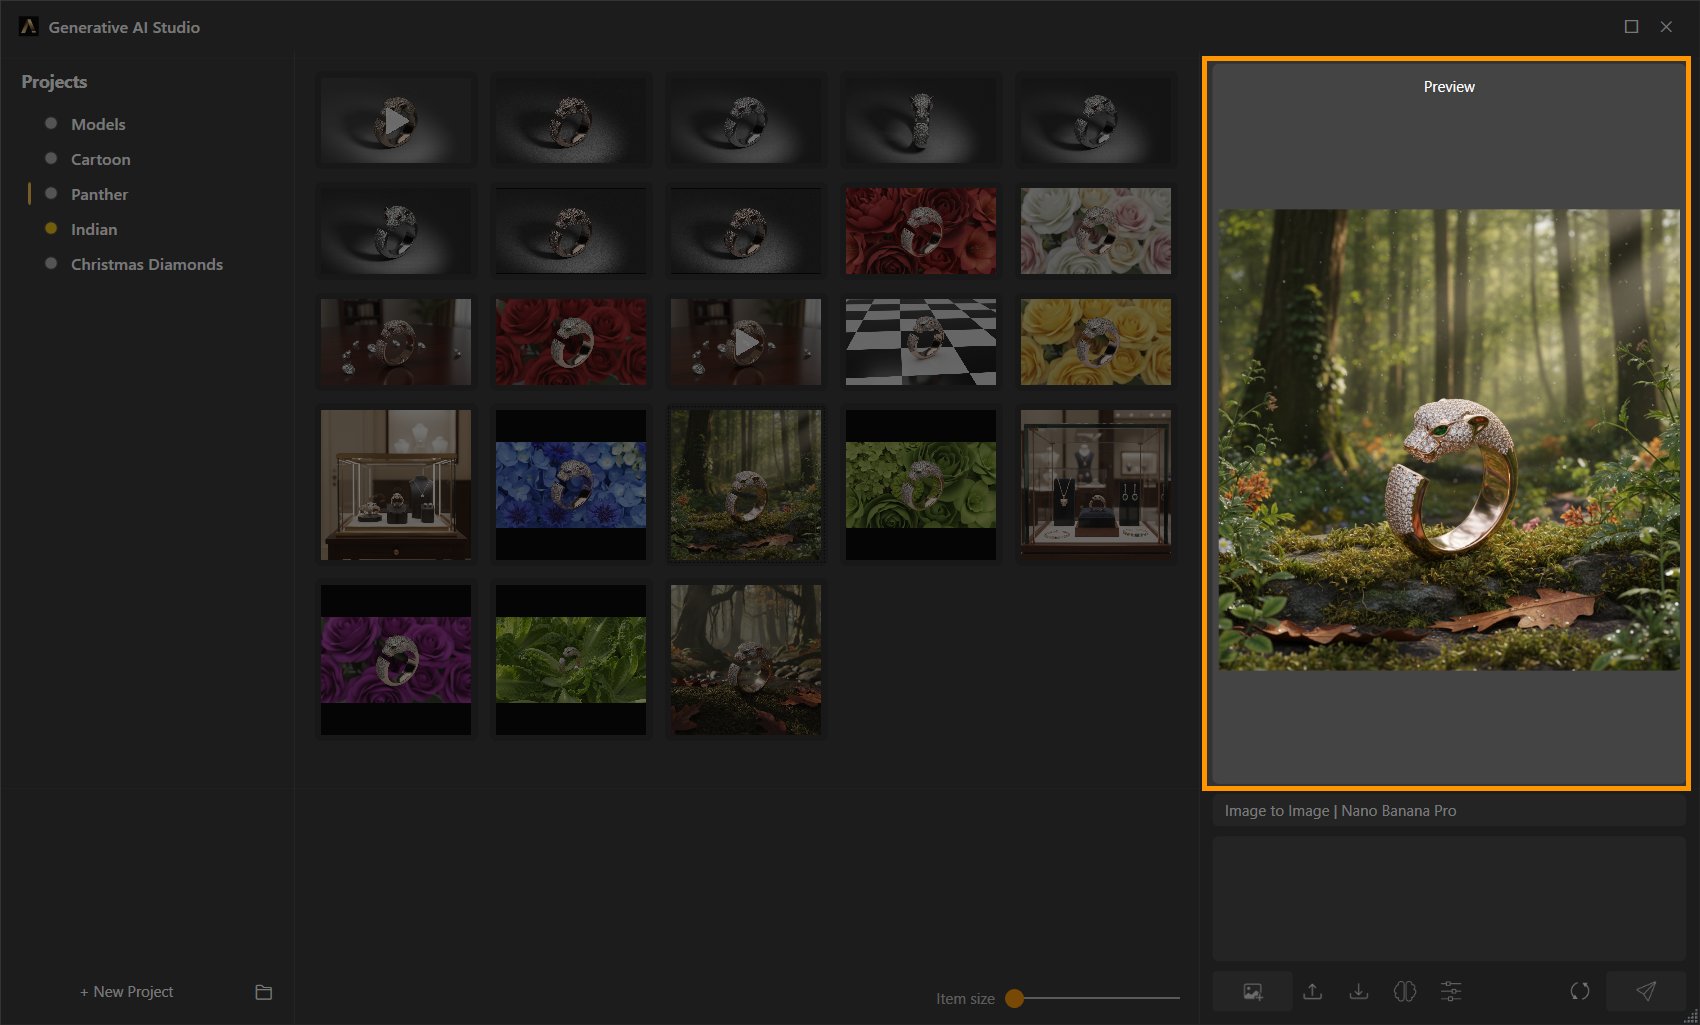
The big central area shows the selected item at full size: images as stills, videos in a looping player, and 3D results in an interactive viewer you can orbit. Before anything is selected it reads “Select an item or capture the viewport to start.”
Prompt bar
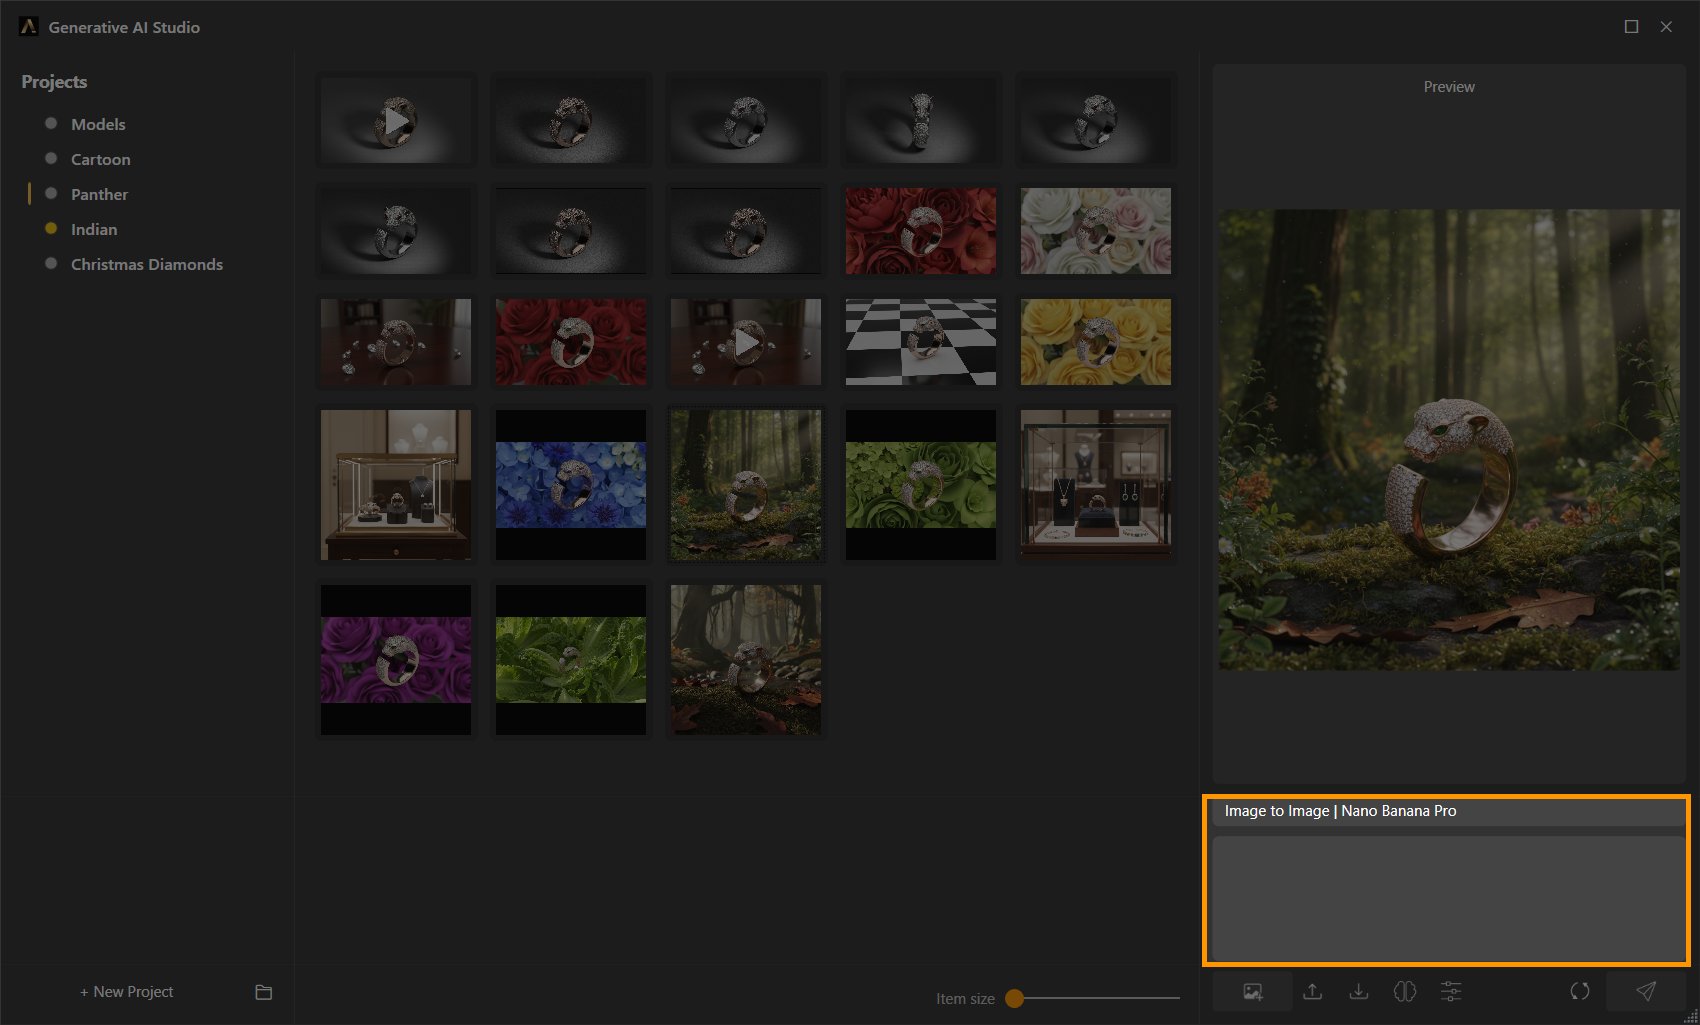
The bottom bar is where generations start:
- The mode/model chip shows the current capability and model — for example Image to Image · Nano Banana 2. Click it to open the Select Mode and Model dialog, with the capabilities on the left and the model cards — provider badge and description — on the right.
- The Model Options gear opens the settings of the current model: aspect ratio, duration, polycount and so on, depending on the model. See Modes & Models for the full list.
- The prompt box takes your instruction in plain language.
- Send launches the generation; while one is running it becomes Stop.
Toolbar
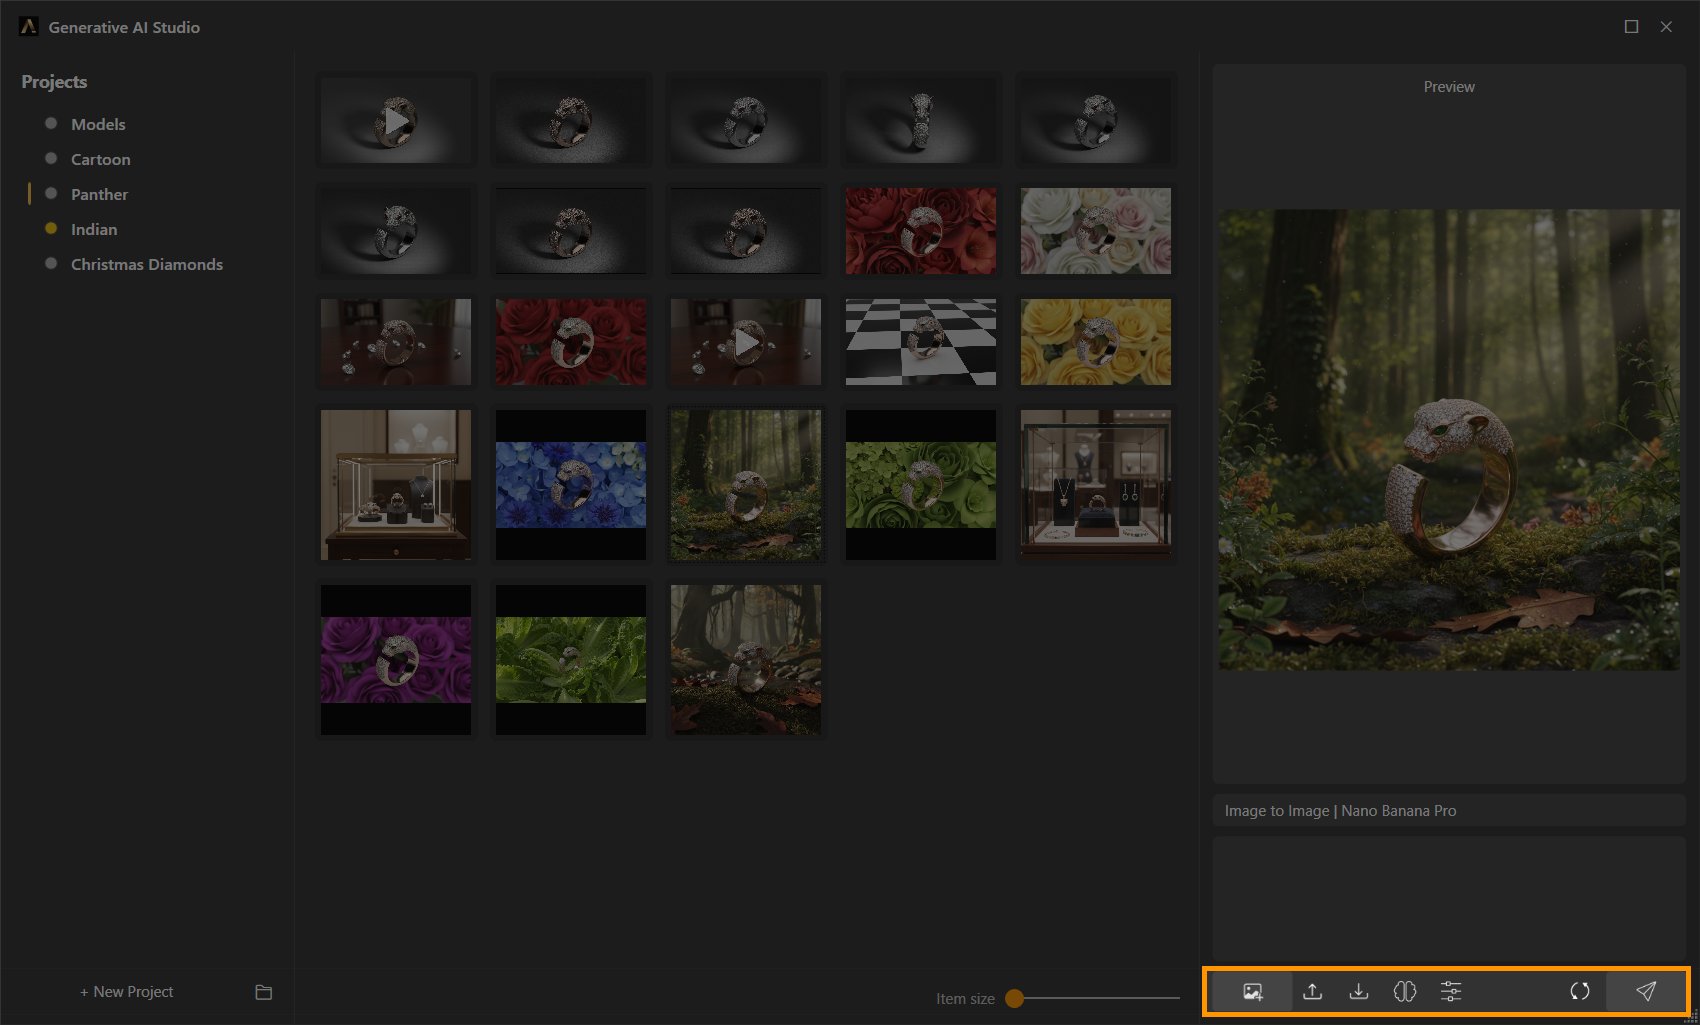
The button row under the prompt box, in order:
- Capture Snapshot — captures the active Rhino viewport at 1920×1080, clean — no grid, no axes — and adds it to the project as an input image.
- Import Files — adds files from disk: images (a photo, a sketch, a reference), videos, or 3D models.
- Download — saves the selected item’s media to disk.
- AI Modes and Models — opens the Select Mode and Model dialog, same as the prompt-bar chip.
- Model Options — opens the current model’s options, same as the gear.
- Refresh Project — reloads the project and picks up the state of queued jobs.
- Send — launches the generation; while one runs it becomes Stop.
Working with results
Chain one generation into the next
Whatever is selected in the gallery is the input of the next generation. That makes iterating natural: capture the viewport, generate a render, select the render and ask for a white gold version, select that and animate it into a clip. Each step lands in the same project, so the whole exploration stays together.
Queued jobs: video and 3D
Images generate synchronously — you’ll see the result as soon as the model finishes. Video and 3D generations run as queued jobs: the item appears in the gallery as processing and resolves automatically when it’s done. If you closed the Studio in between, Refresh Project picks up finished jobs.
While a request is running, Stop stops the wait on your side. A job that was already queued may still finish on the server — Refresh Project will pick it up.
Import to Rhino
On 3D results, Import to Rhino brings the generated mesh (GLB) into the active document, zooms the view to it, and closes the Studio so you can start working on the model right away. From there, refine it with Sculpt or SubD like any other mesh.
Everything is stored locally
Projects and all generated media live on your machine, under the RhinoArtisan User Folder in a Falai folder — one subfolder per project, plus a projects.json index. Open project folder takes you straight there, which makes it easy to back up a project or drop its files into other tools.