Hoop Earrings
Lesson 3 of 62
Reference Curves
Sign in to access this lesson
This lesson is part of Precision & Detail Design, which can come bundled with a RhinoArtisan Commercial license subject to current promotions. Log in with your customer account, or get in touch and we'll set you up.
Customers only
Solo para clientes
This lesson is part of Precision & Detail Design, which can be included with a RhinoArtisan Commercial license subject to current promotions. If you've already purchased and don't see it in your account, get in touch.
Objective: Learn how to lay out the reference curves that will drive the channels, the gemstones and the clasp.
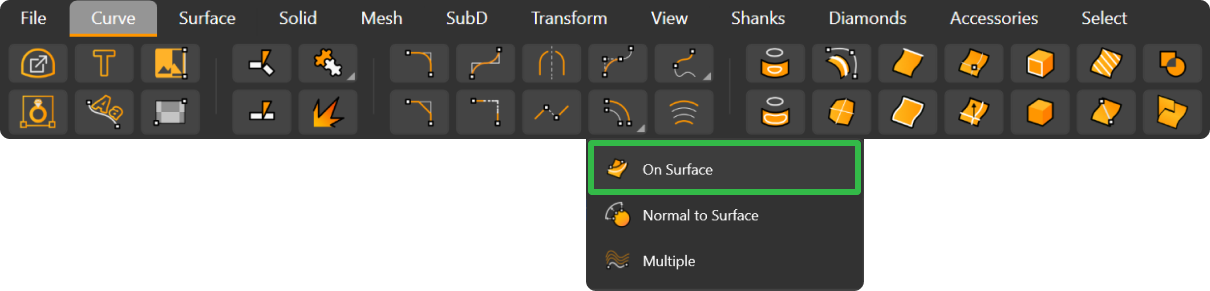
Offset Curve On Surface
Go to the “Curve” tab and click on the “Offset Curve On Surface” command. Select one of the top edges of the solid.
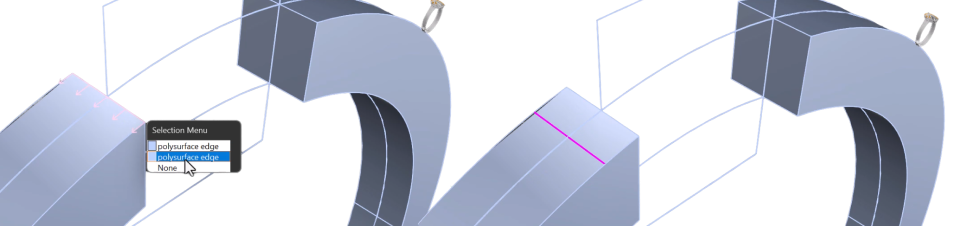
Hover over the selection options to make sure the direction is the correct one, then type 1 in the command bar and press Enter. The curve is created 1 millimeter away.
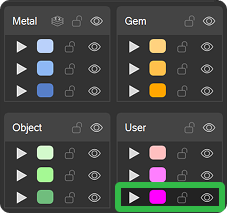
Move the Curve to a User Layer
Click on the corresponding arrow to move the curve to one of the user layers. Select that same layer as the working layer so the curves you create next are born directly in it.
Diagonal Line
Click on the “Line” command.

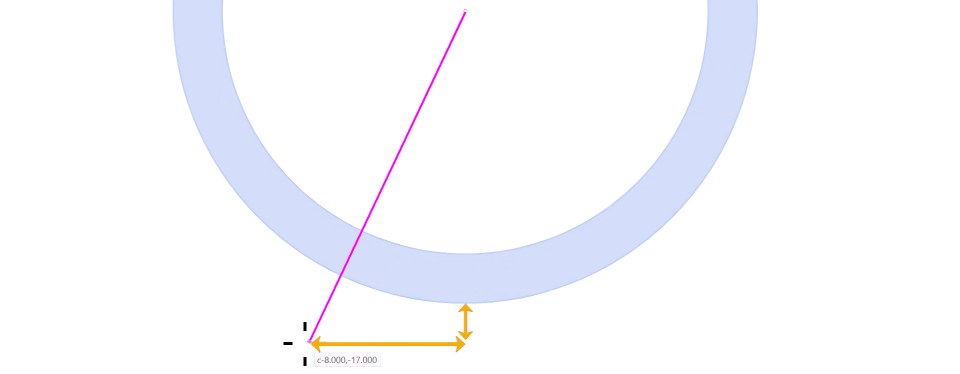
From the front view, type 0 to set the center as the start point.
Then draw a diagonal line that starts 2 mm from the bottom of the solid and 8 mm from the Z axis. With grid snap on, this is simply moving up three squares.
Project the Line
Use the “Project” command to project that line onto the solid. Restore all views to check the projections.

You can now delete the original line, and from the perspective view also delete the rectangle you created earlier.

Whenever you need it, use pan, zoom and rotate, followed by Zoom Extents All, to center the elements in every viewport.
Copy the Top Circle
Select the top circle and, while holding Alt, click on the gumball arrow to create a copy at 0.75 mm. Move the copy to the reference curves layer.
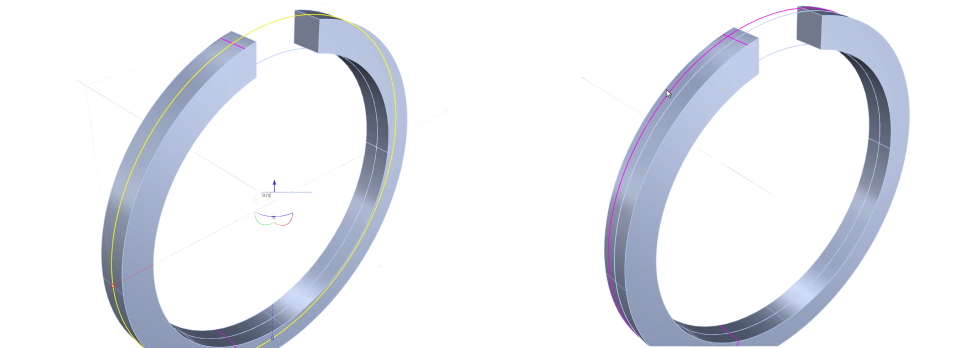
Mirror
Go to the “Transform” tab and use the “Mirror” command.

- Type
0to set the center. - Hold Shift and click on the right side of the viewport.
You now have two more reference curves.
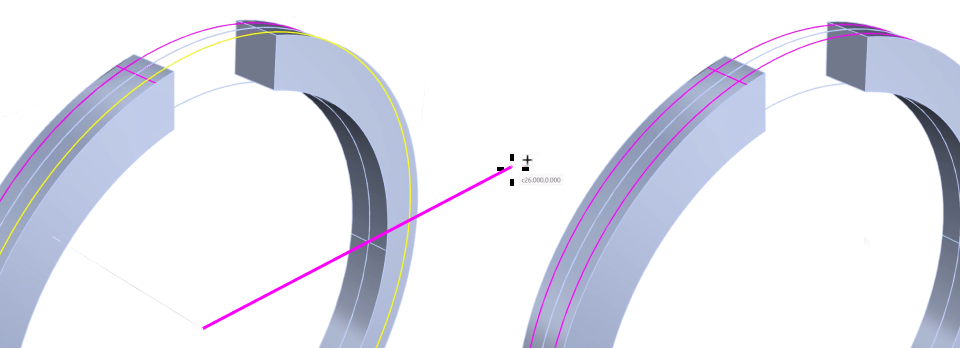
Perpendicular Line and Inner Offsets
Return to the “Curve” tab and create a line from the top line.
Use the front view to keep it perpendicular — in the perspective view perpendicularity is much harder to control.

Then use the “Offset Curve On Surface” command again:
- Select the solid’s edge, making sure the direction points inward.

- Type
0.5 mmand press Enter. - Repeat the process with the bottom edge.
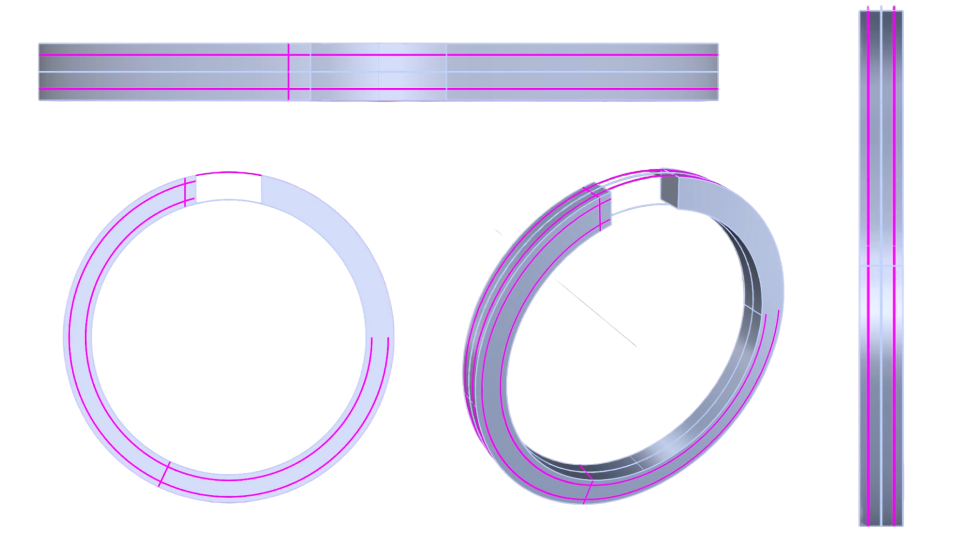
The model fills up with reference curves, but they are exactly what makes the rest of the process easy.
Video Lesson
Next Step
With the curves in place, we’ll carve the channels using Push and Pull.
Almost there — you still have some lessons to complete. Jump to the next one →
Impersonating — progress and reviews are disabled.
Course completed
You've completed Precision & Detail Design 🎉
Great work. Get your certificate of completion and, if you have a minute, let other jewelers know what you thought of the course.