Hoop Earrings
Lesson 5 of 62
Curves for the Gemstones
Sign in to access this lesson
This lesson is part of Precision & Detail Design, which can come bundled with a RhinoArtisan Commercial license subject to current promotions. Log in with your customer account, or get in touch and we'll set you up.
Customers only
Solo para clientes
This lesson is part of Precision & Detail Design, which can be included with a RhinoArtisan Commercial license subject to current promotions. If you've already purchased and don't see it in your account, get in touch.
Objective: Learn how to create and trim the guide curves that control where the gemstones sit.
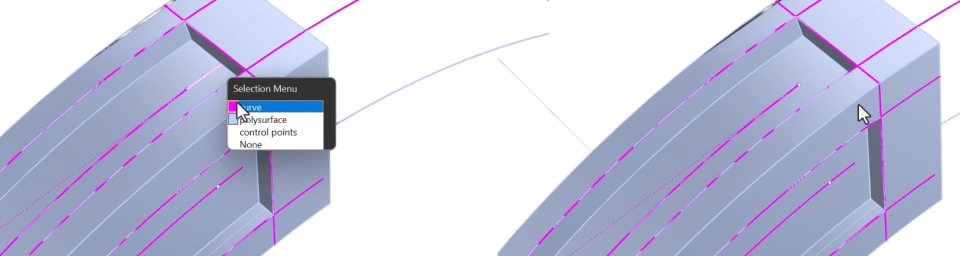
Extract Isocurve
Go to the “Curve” tab and click on the “Extract Isocurve” command.

- Select the solid.
- Make sure the direction is set to U.
- With the help of OSnap, click on the midpoint of the channel.
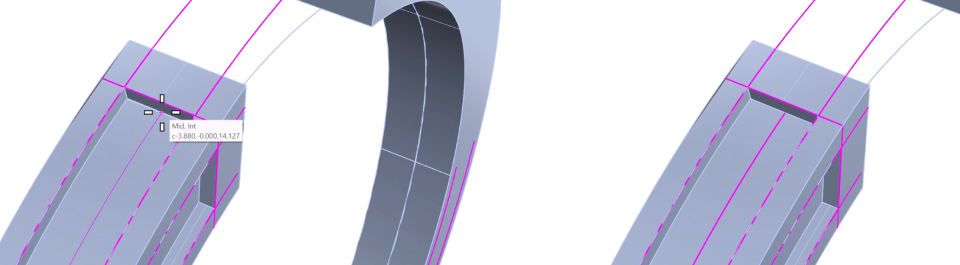
Curve for the Lateral Part
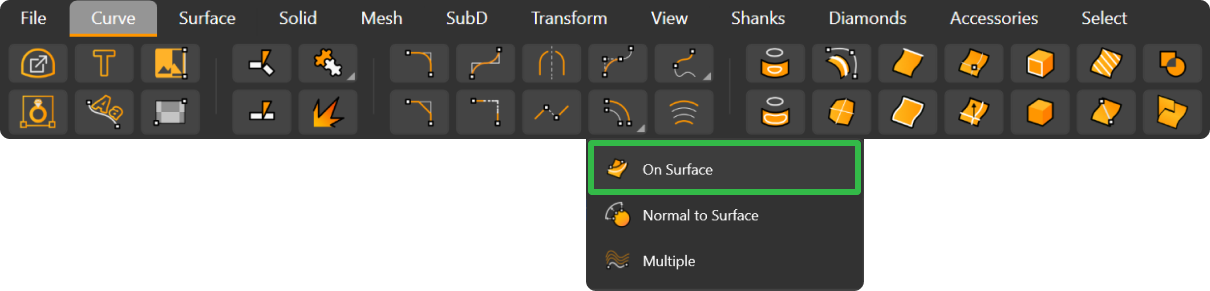
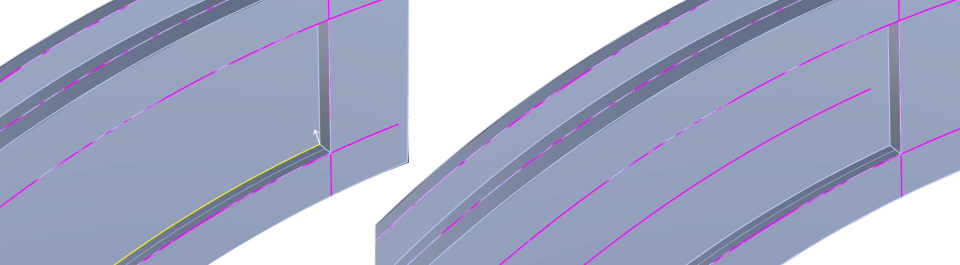
For the lateral side, use the “Offset Curve On Surface” command.
Select a channel edge and type 0.75, which is half the channel width.
Trim the Ends
The curves have to be adjusted so the gemstones don’t intersect the solid, leaving a margin at the edges.
Use the “Point” command

to place a point at each end of the created curves — four ends in total.
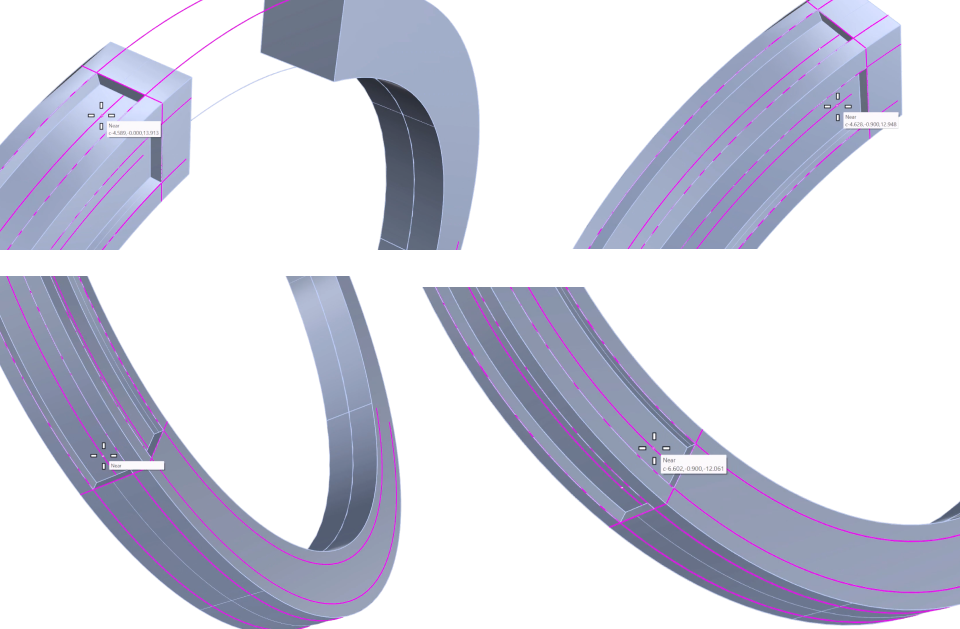
- Select the curve, click on the “Split” command, select the point and press Enter.

- Delete the leftover curve segment.
- Repeat the process for all four ends.
Video Lesson
Next Step
With two clean curves and a safe margin at both edges, we’ll place the gemstones and generate the prongs and cutters.
Almost there — you still have some lessons to complete. Jump to the next one →
Impersonating — progress and reviews are disabled.
Course completed
You've completed Precision & Detail Design 🎉
Great work. Get your certificate of completion and, if you have a minute, let other jewelers know what you thought of the course.