Moebius Diamond Pendant
Lesson 61 of 62
Bail with Arc and Pipe
Sign in to access this lesson
This lesson is part of Precision & Detail Design, which can come bundled with a RhinoArtisan Commercial license subject to current promotions. Log in with your customer account, or get in touch and we'll set you up.
Customers only
Solo para clientes
This lesson is part of Precision & Detail Design, which can be included with a RhinoArtisan Commercial license subject to current promotions. If you've already purchased and don't see it in your account, get in touch.
Objective: Learn how to create the solid that lets you attach a chain to the pendant.
Arc Command
Use the four view layout. From the right view, go to the “Curve” tab and use the “Arc” command, choosing the start and end point option.
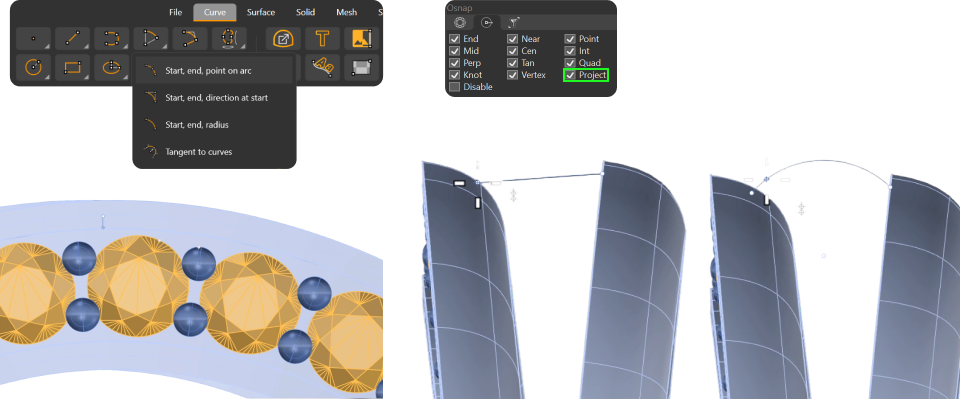
In the OSnap options, activate the Project setting to make sure the curve is centered.
- Select a point on the right side of the solid.
- Then another on the left.
- Adjust the curvature.
Pipe
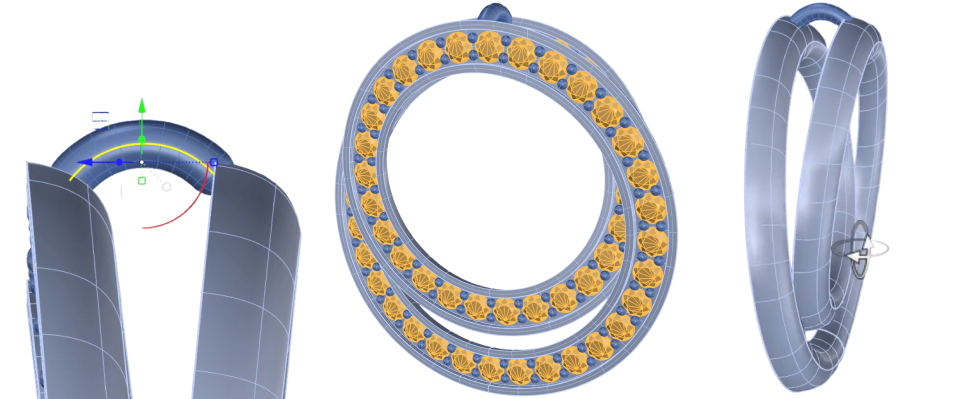
Go to the “Solid” tab and use the “Pipe” command. In the command bar:

- Change the output to
SubD. - Change the cap option to
Round. - Type
0.5 mmand press Enter. - Type
0.5again and press Enter to create the SubD.
Video Lesson
Next Step
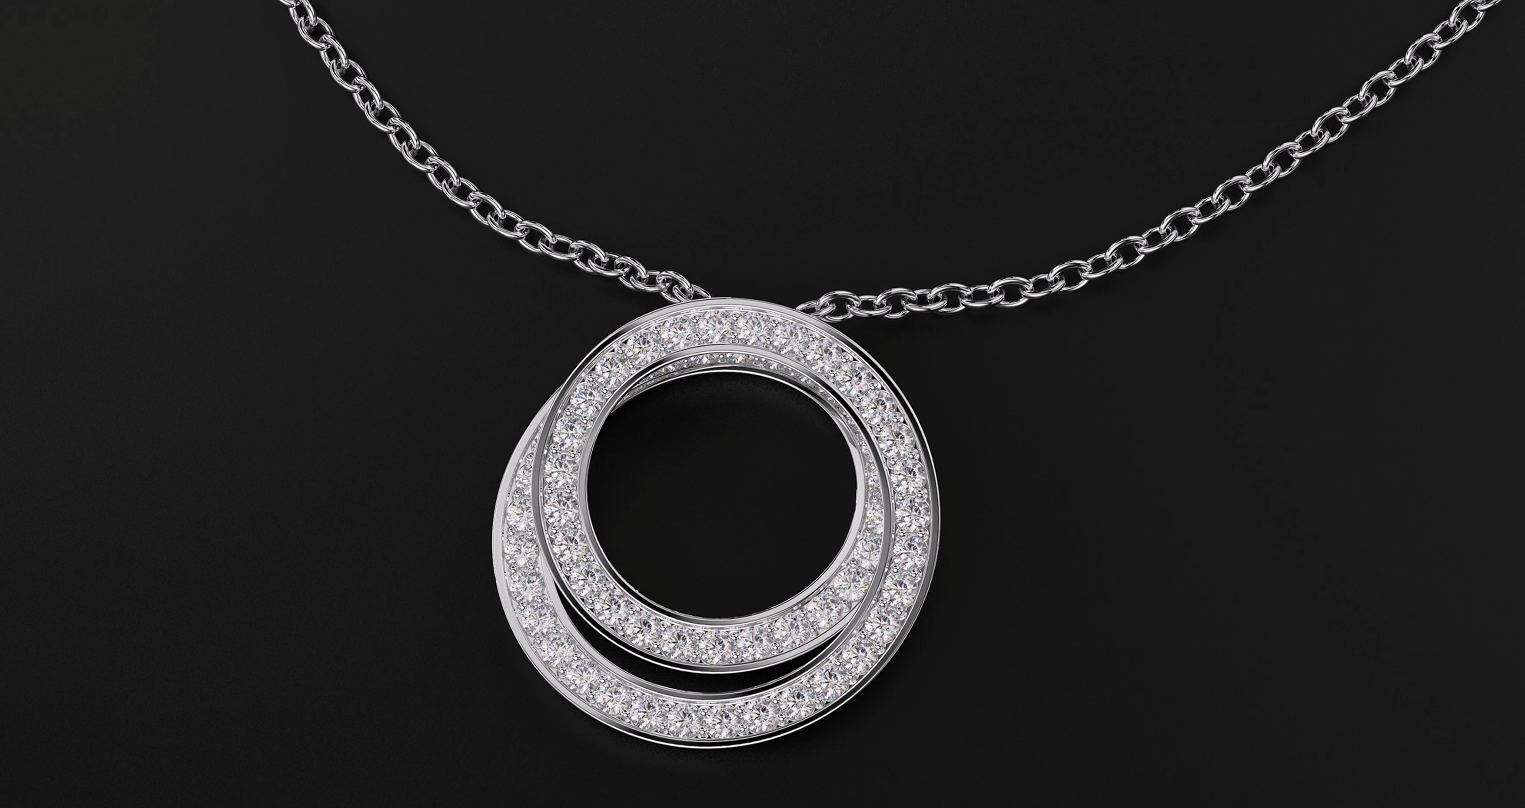
The model is completely finished. Watch the full video lesson to follow the whole process end to end, then render it for your social media — and feel free to share your results with us.
Almost there — you still have some lessons to complete. Jump to the next one →
Impersonating — progress and reviews are disabled.
Course completed
You've completed Precision & Detail Design 🎉
Great work. Get your certificate of completion and, if you have a minute, let other jewelers know what you thought of the course.