Moebius Diamond Pendant
Lesson 53 of 62
Rotate and Position the Arcs
Sign in to access this lesson
This lesson is part of Precision & Detail Design, which can come bundled with a RhinoArtisan Commercial license subject to current promotions. Log in with your customer account, or get in touch and we'll set you up.
Customers only
Solo para clientes
This lesson is part of Precision & Detail Design, which can be included with a RhinoArtisan Commercial license subject to current promotions. If you've already purchased and don't see it in your account, get in touch.
Objective: Learn how to twist the arcs and align their end points so they can be joined later.
Rotate the Outer Arcs
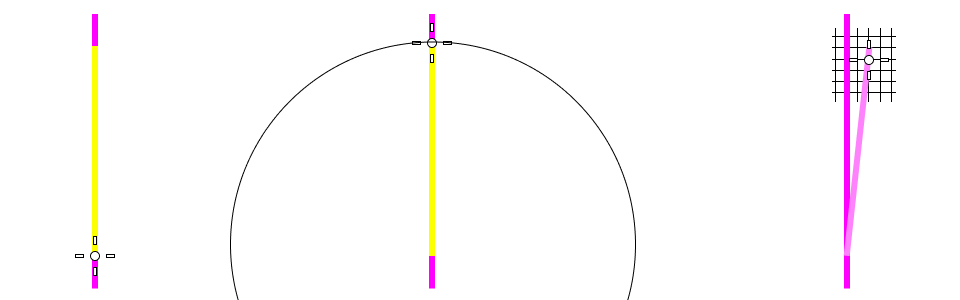
Go to the “Transform” tab. From the perspective view, select the curve on the far right and use the “Rotate” command.

- From the right view, select the bottom point of the selected curve, then the top point.
- With the help of grid snap, rotate two squares to the left.
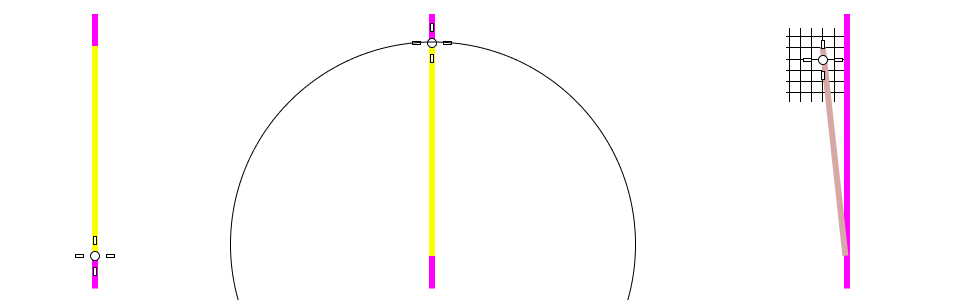
Now select the curve on the left from the perspective view and repeat the procedure, this time rotating two squares to the right.
Position the Inner Arcs
Use the perspective view again and deactivate the grid snap option — this step needs a high level of precision.
Select the curves that remain on the axis, the inner ones, and use the “Move” command:
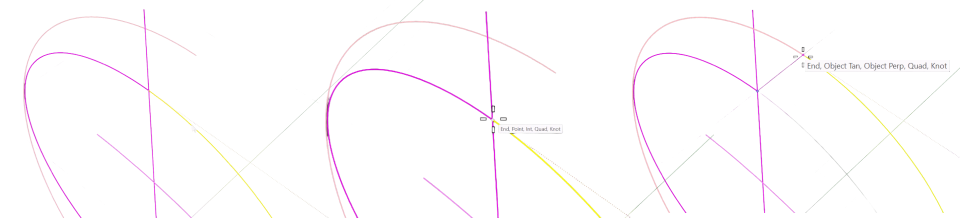
- Select the top point of the curve.
- Then select the top end of the outer curve.
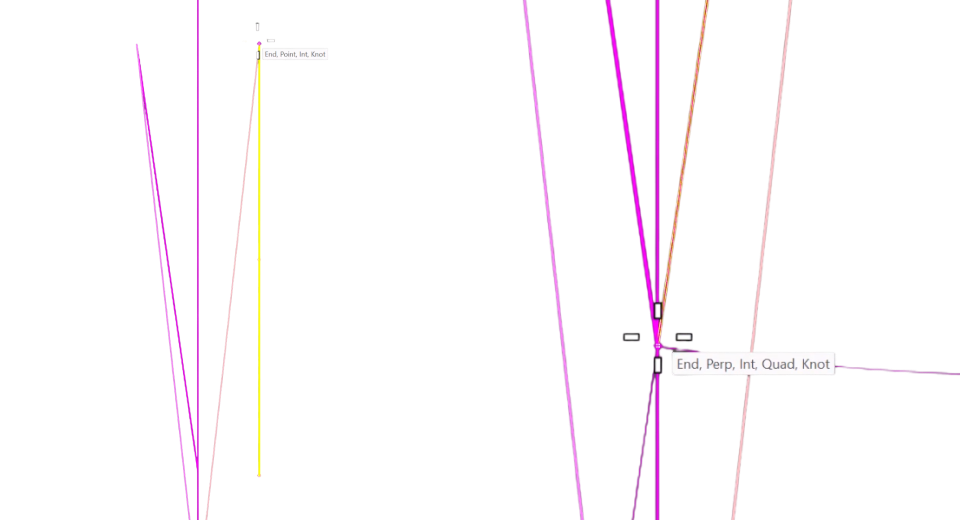
- Use the OSnap guides and click when you see end.
Repeat the same with the other one, positioning it at the other end of the outer curve.
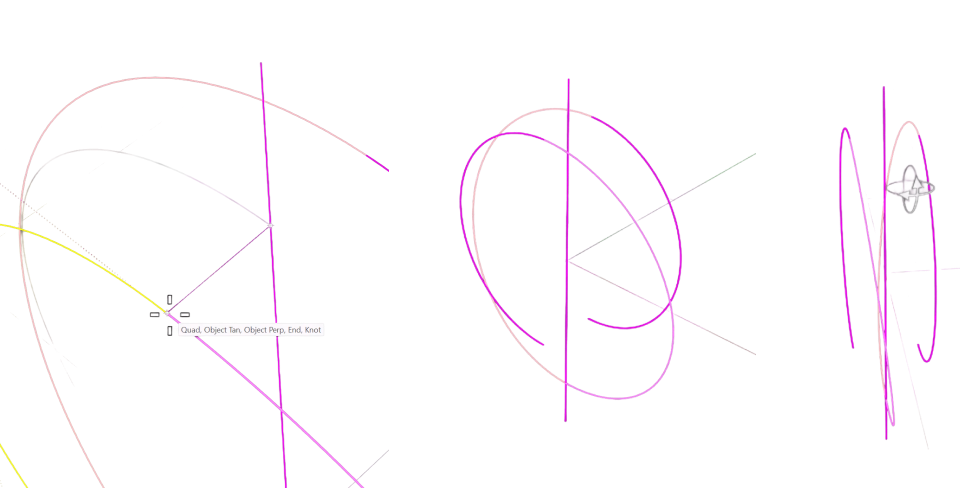
This step is important: the curves need to be at exactly the same point in order to join them later.
Final Rotation
Go to the right view, which is very helpful for the final transformation. Select the curve located furthest to the left and use the “Rotate” command.
- Click on the highest point of the curve, then on the lower end.
- With the help of OSnap, move the cursor to the central curve and click when the int guide (short for intersection) appears.
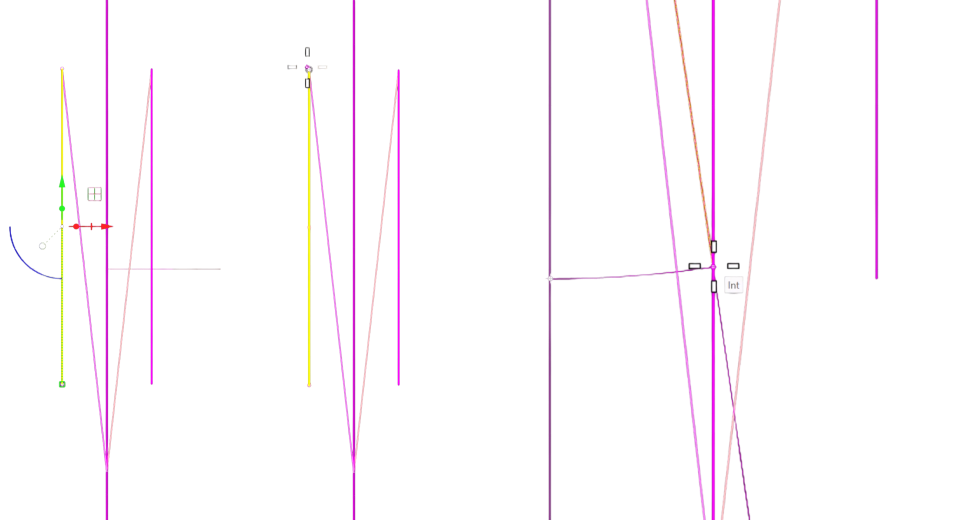
Repeat the same process with the curve on the right: select it, use “Rotate”, click on the top point, then the bottom point, move the cursor to the central curve and click when int appears.
Video Lesson
Next Step
Next, we’ll join the four arcs into one single closed curve.
Almost there — you still have some lessons to complete. Jump to the next one →
Impersonating — progress and reviews are disabled.
Course completed
You've completed Precision & Detail Design 🎉
Great work. Get your certificate of completion and, if you have a minute, let other jewelers know what you thought of the course.