Halo Pendant
Lesson 1 of 34
Lesson Overview
Sign in to access this lesson
This lesson is part of Timeless Jewels, which can come bundled with a RhinoArtisan Commercial license subject to current promotions. Log in with your customer account, or get in touch and we'll set you up.
Customers only
Solo para clientes
This lesson is part of Timeless Jewels, which can be included with a RhinoArtisan Commercial license subject to current promotions. If you've already purchased and don't see it in your account, get in touch.
This tutorial covers how to design a halo pendant entirely, and even render it, everything using RhinoArtisan. The design resulting from this guide will be composed of an elegant pendant with a bright gem and diamond set on a halo setting.

What You’ll Learn
Create the Centerpiece
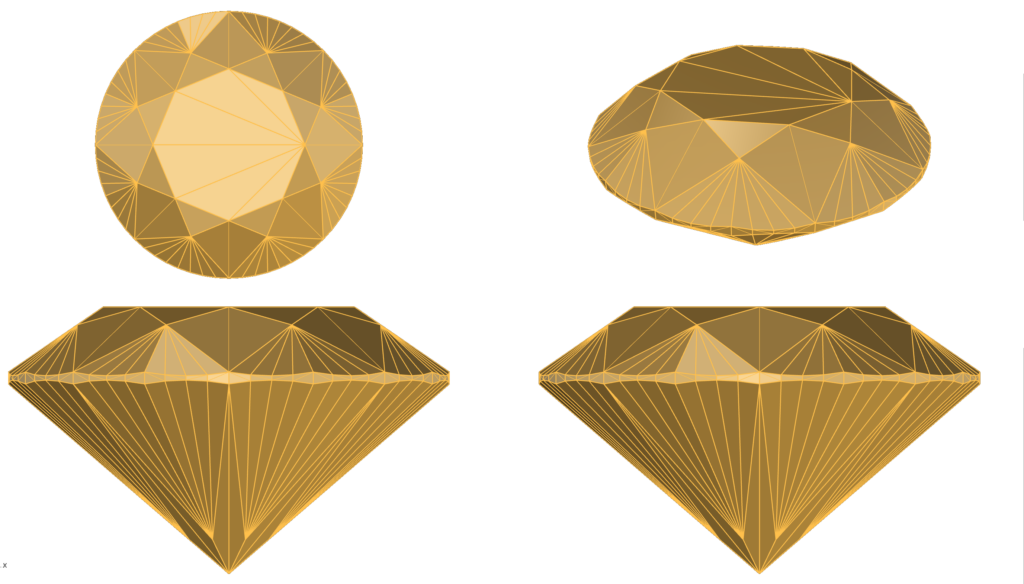
Start by crafting the pendant’s centerpiece—a brilliant 0.4-carat diamond. Set your scene with a clear visual by switching to the Shaded Display Mode for better clarity.
Design the Halo Setting
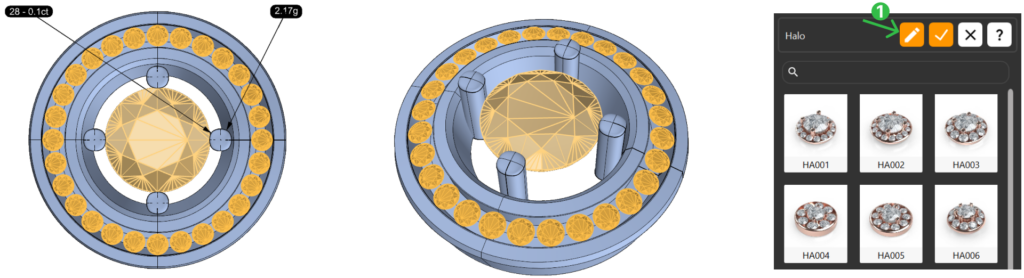
Build a beautiful halo that highlights the center diamond. Adjust the width, height, and prongs to create a balanced, eye-catching setting around the gemstone. Refine every prong, drill, and inner gem distance for that perfect touch.
Position and Add the Bail
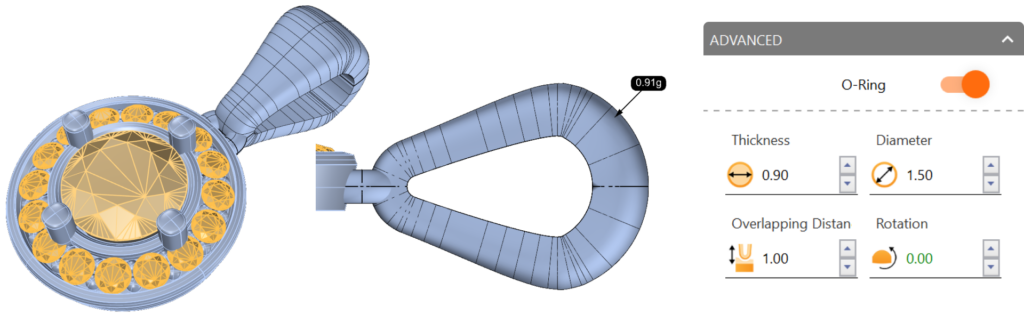
Perfectly position your centerpiece and halo, then customize the pendant’s bail for elegance and functionality. Fine-tune its profile and add an O-Ring for versatility.
Pose for Render
Rotate and pose the pendant so that it aligns perfectly for display. Use array techniques for a symmetrical layout, showcasing the pendant from all sides.

Render Your Design
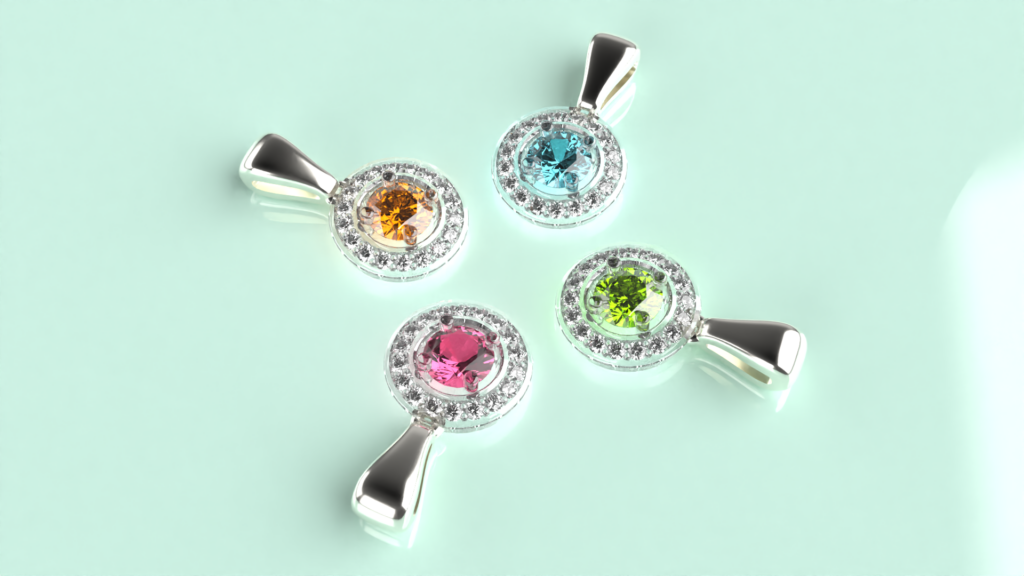
Bring your pendant to life with White Gold 18K, diamond textures, and an elegant ground. Adjust angles, resolution, and lighting to capture every detail. Hit render, and your design is ready for the spotlight!
What You’ll Need
You’ll only need RhinoArtisan installed. We’ll guide you through every step, helping you master each tool with confidence and ease.