Eternal Orbits
Lesson 8 of 35
Sphere & Orbit Curves
Sign in to access this lesson
This lesson is part of Sculpted Elegance: Statement Jewelry Designs, which can come bundled with a RhinoArtisan Commercial license subject to current promotions. Log in with your customer account, or get in touch and we'll set you up.
Customers only
Solo para clientes
This lesson is part of Sculpted Elegance: Statement Jewelry Designs, which can be included with a RhinoArtisan Commercial license subject to current promotions. If you've already purchased and don't see it in your account, get in touch.
1. Create the base sphere and orient it correctly
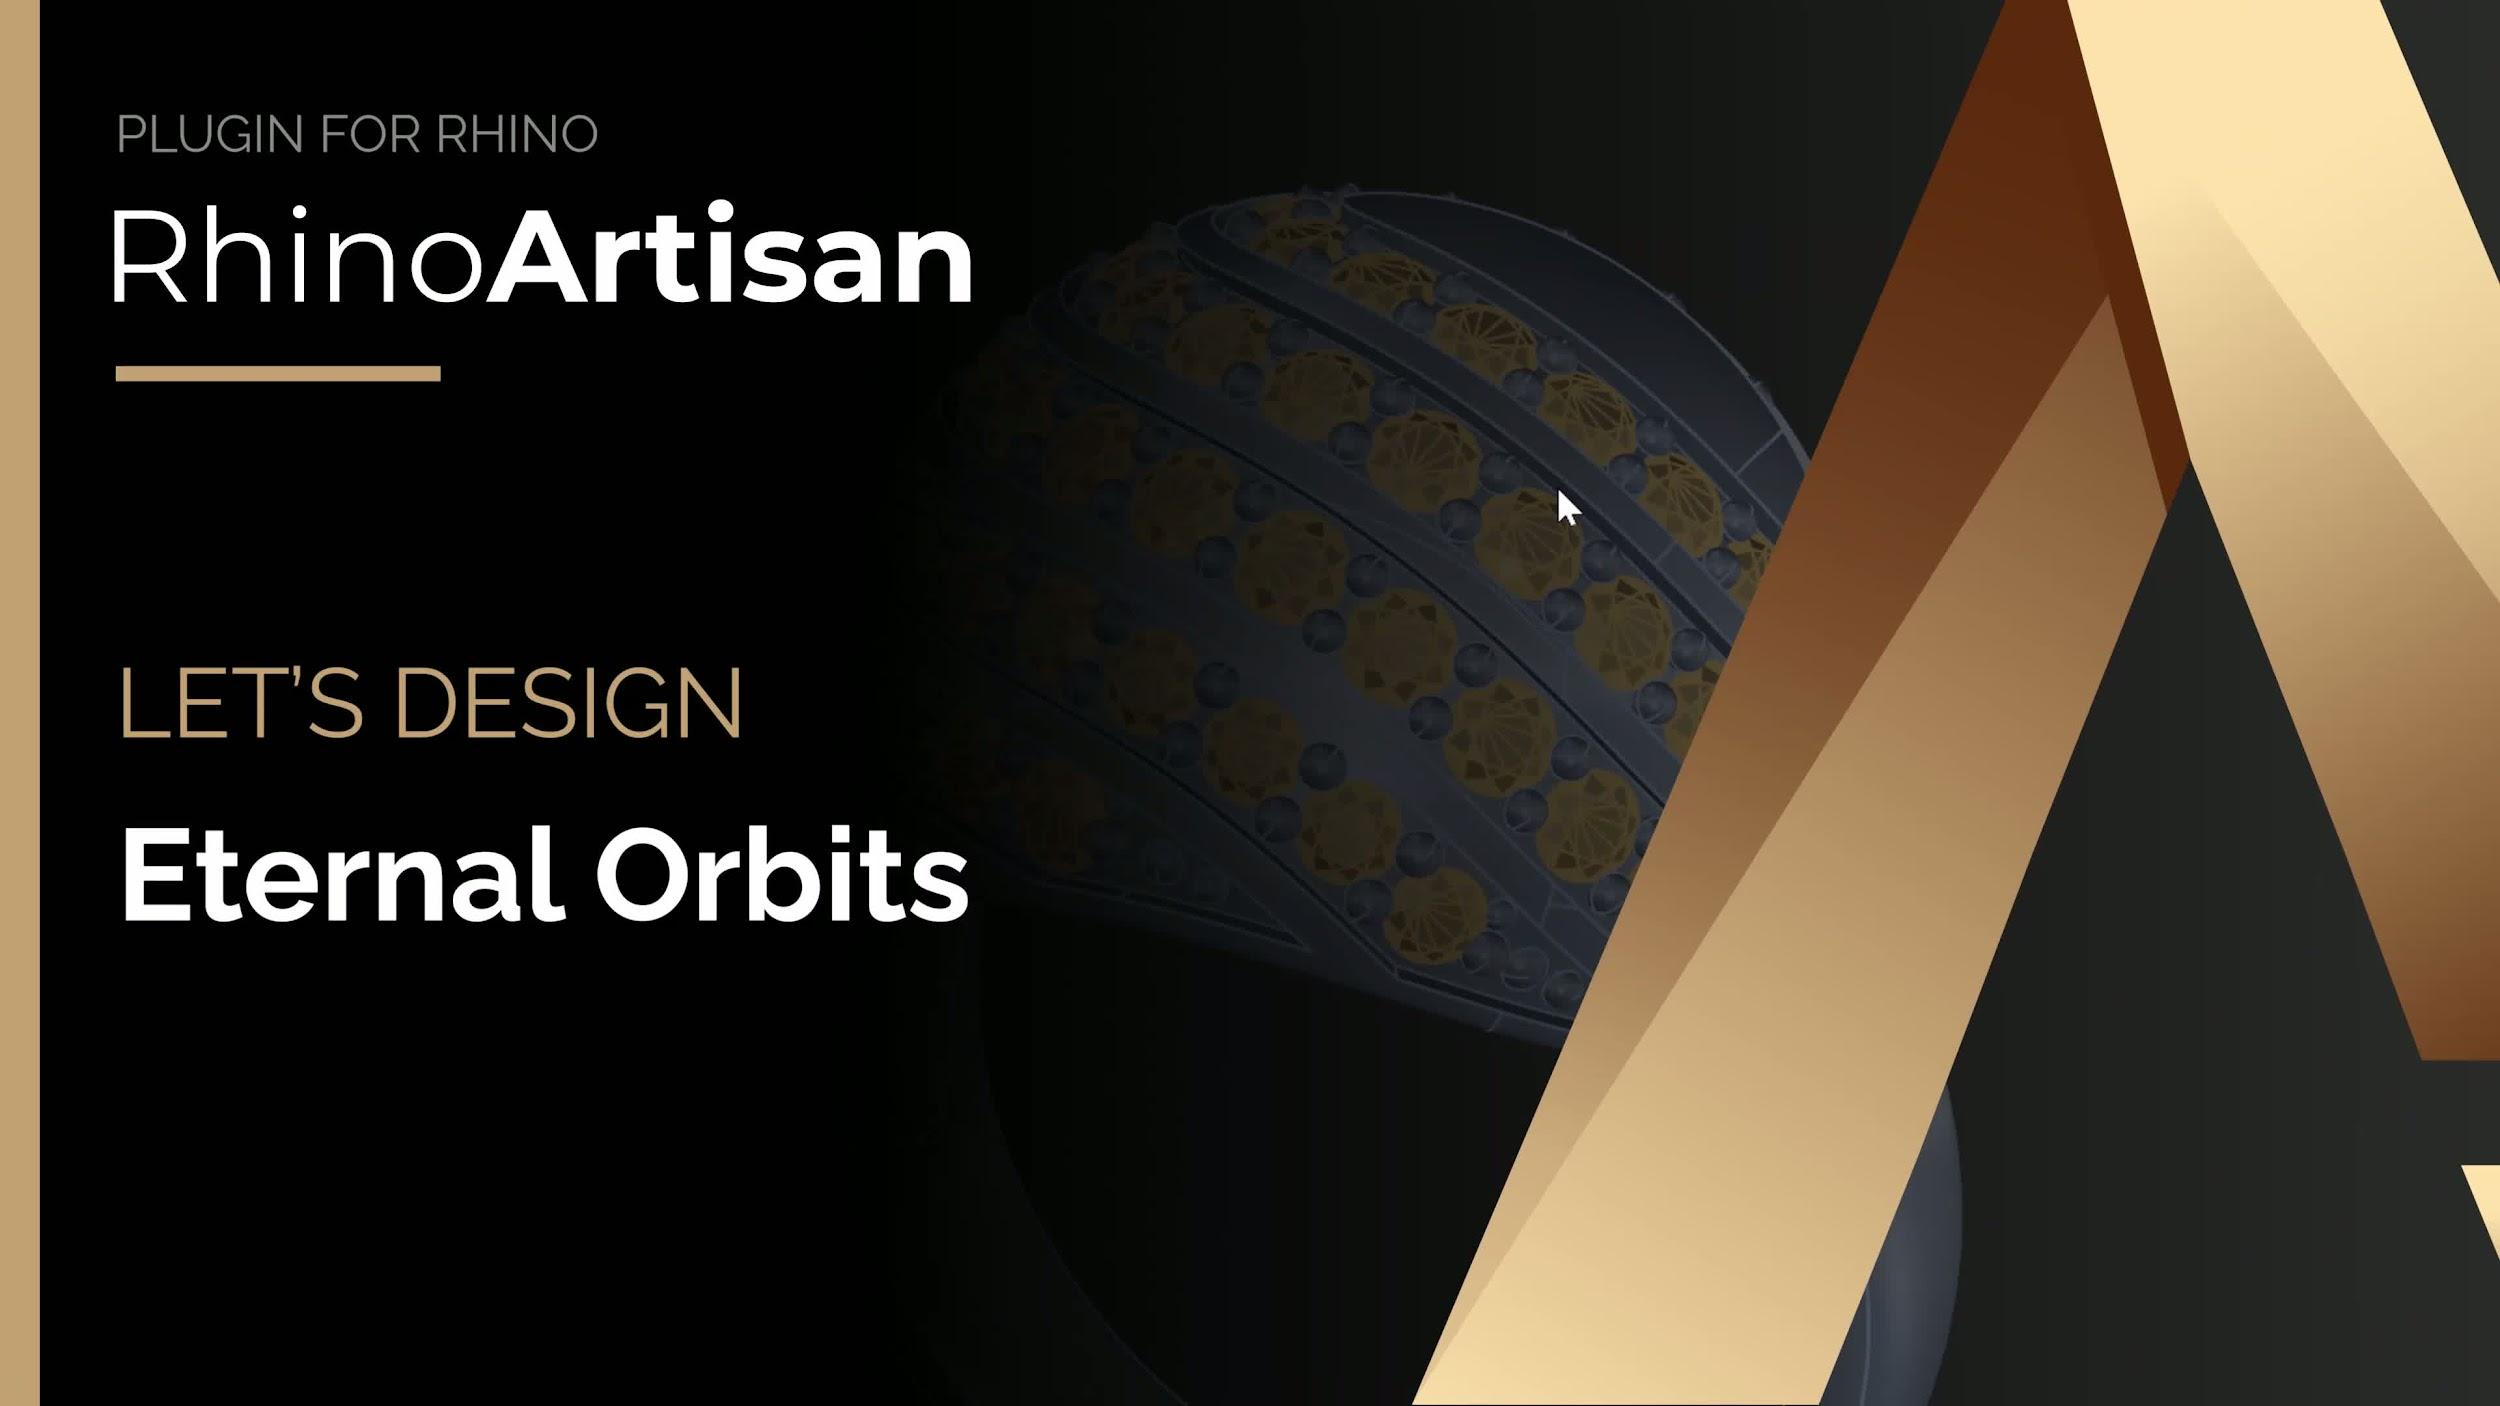
Create a Sphere centered at 0 with 16.4 mm, placing it with Shift (Ortho) from Perspective. Rotate it 90° so the seam sits at the bottom, then another 90° on Y to match the reference orientation.
2. Create the initial ring curve and position the sphere
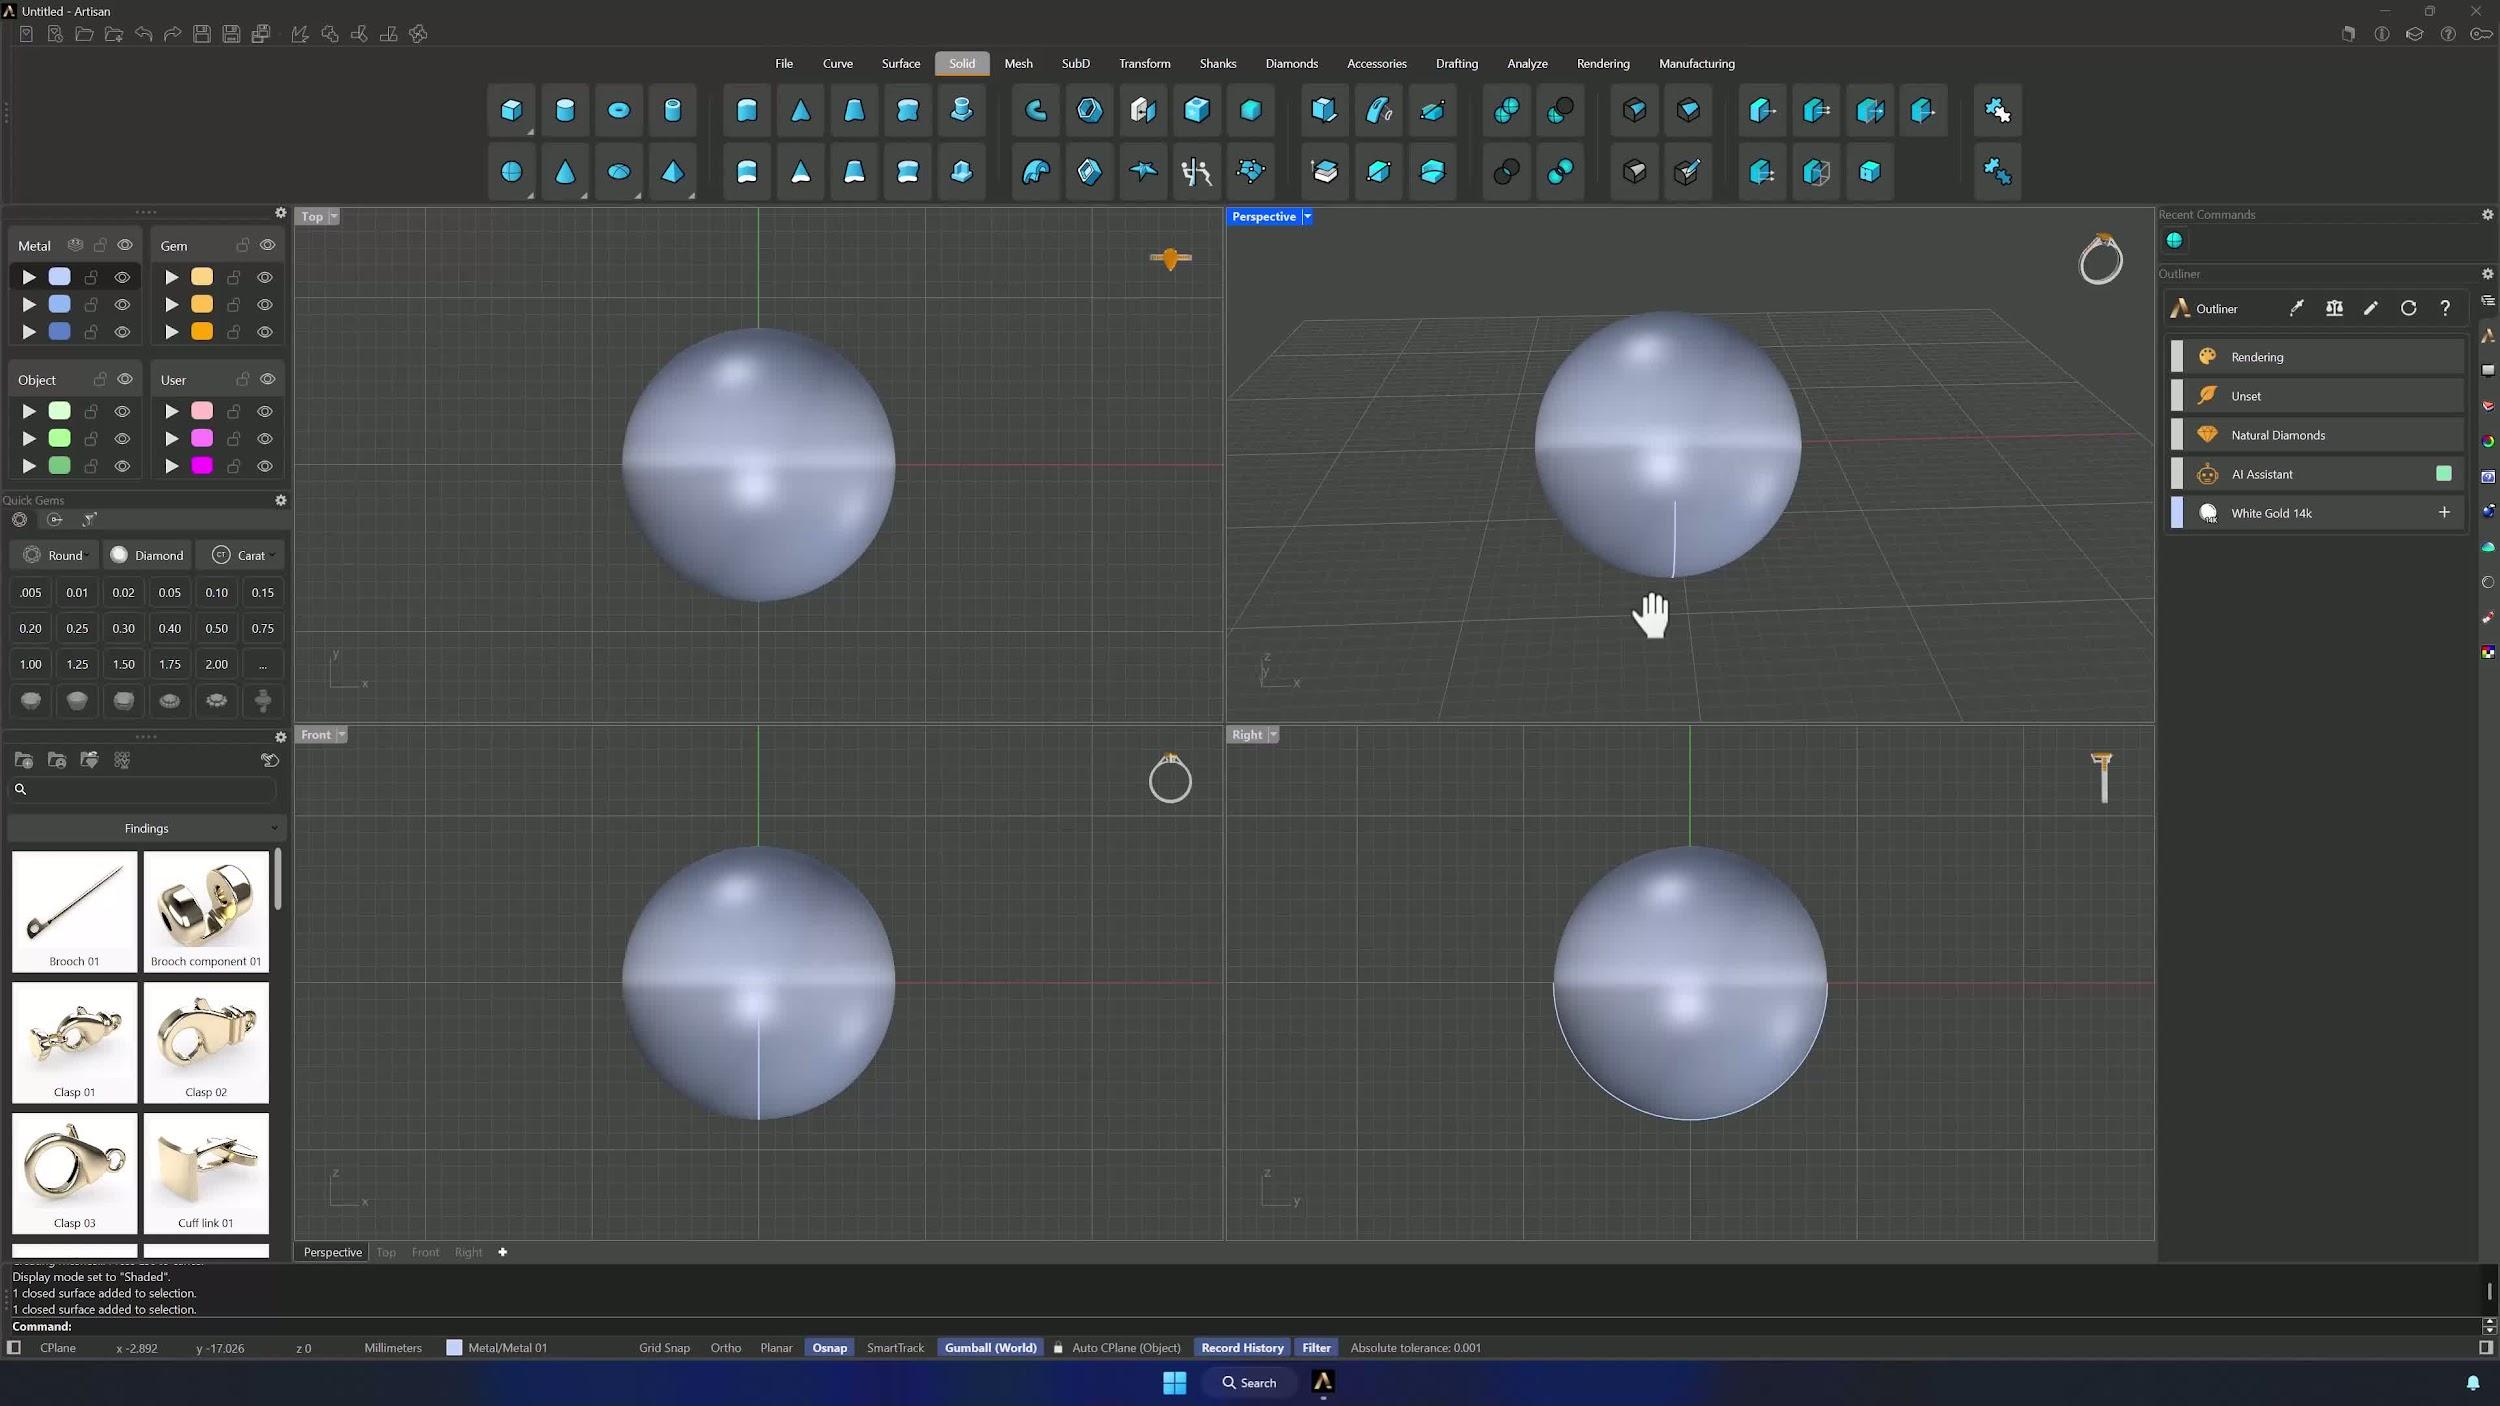
From the Shanks tab, create a Curve for USA size 6.5, then move the sphere 8.4 mm upward with the Gumball. Zoom Extents All keeps everything in frame.
3. Cut the sphere and extract the working surface
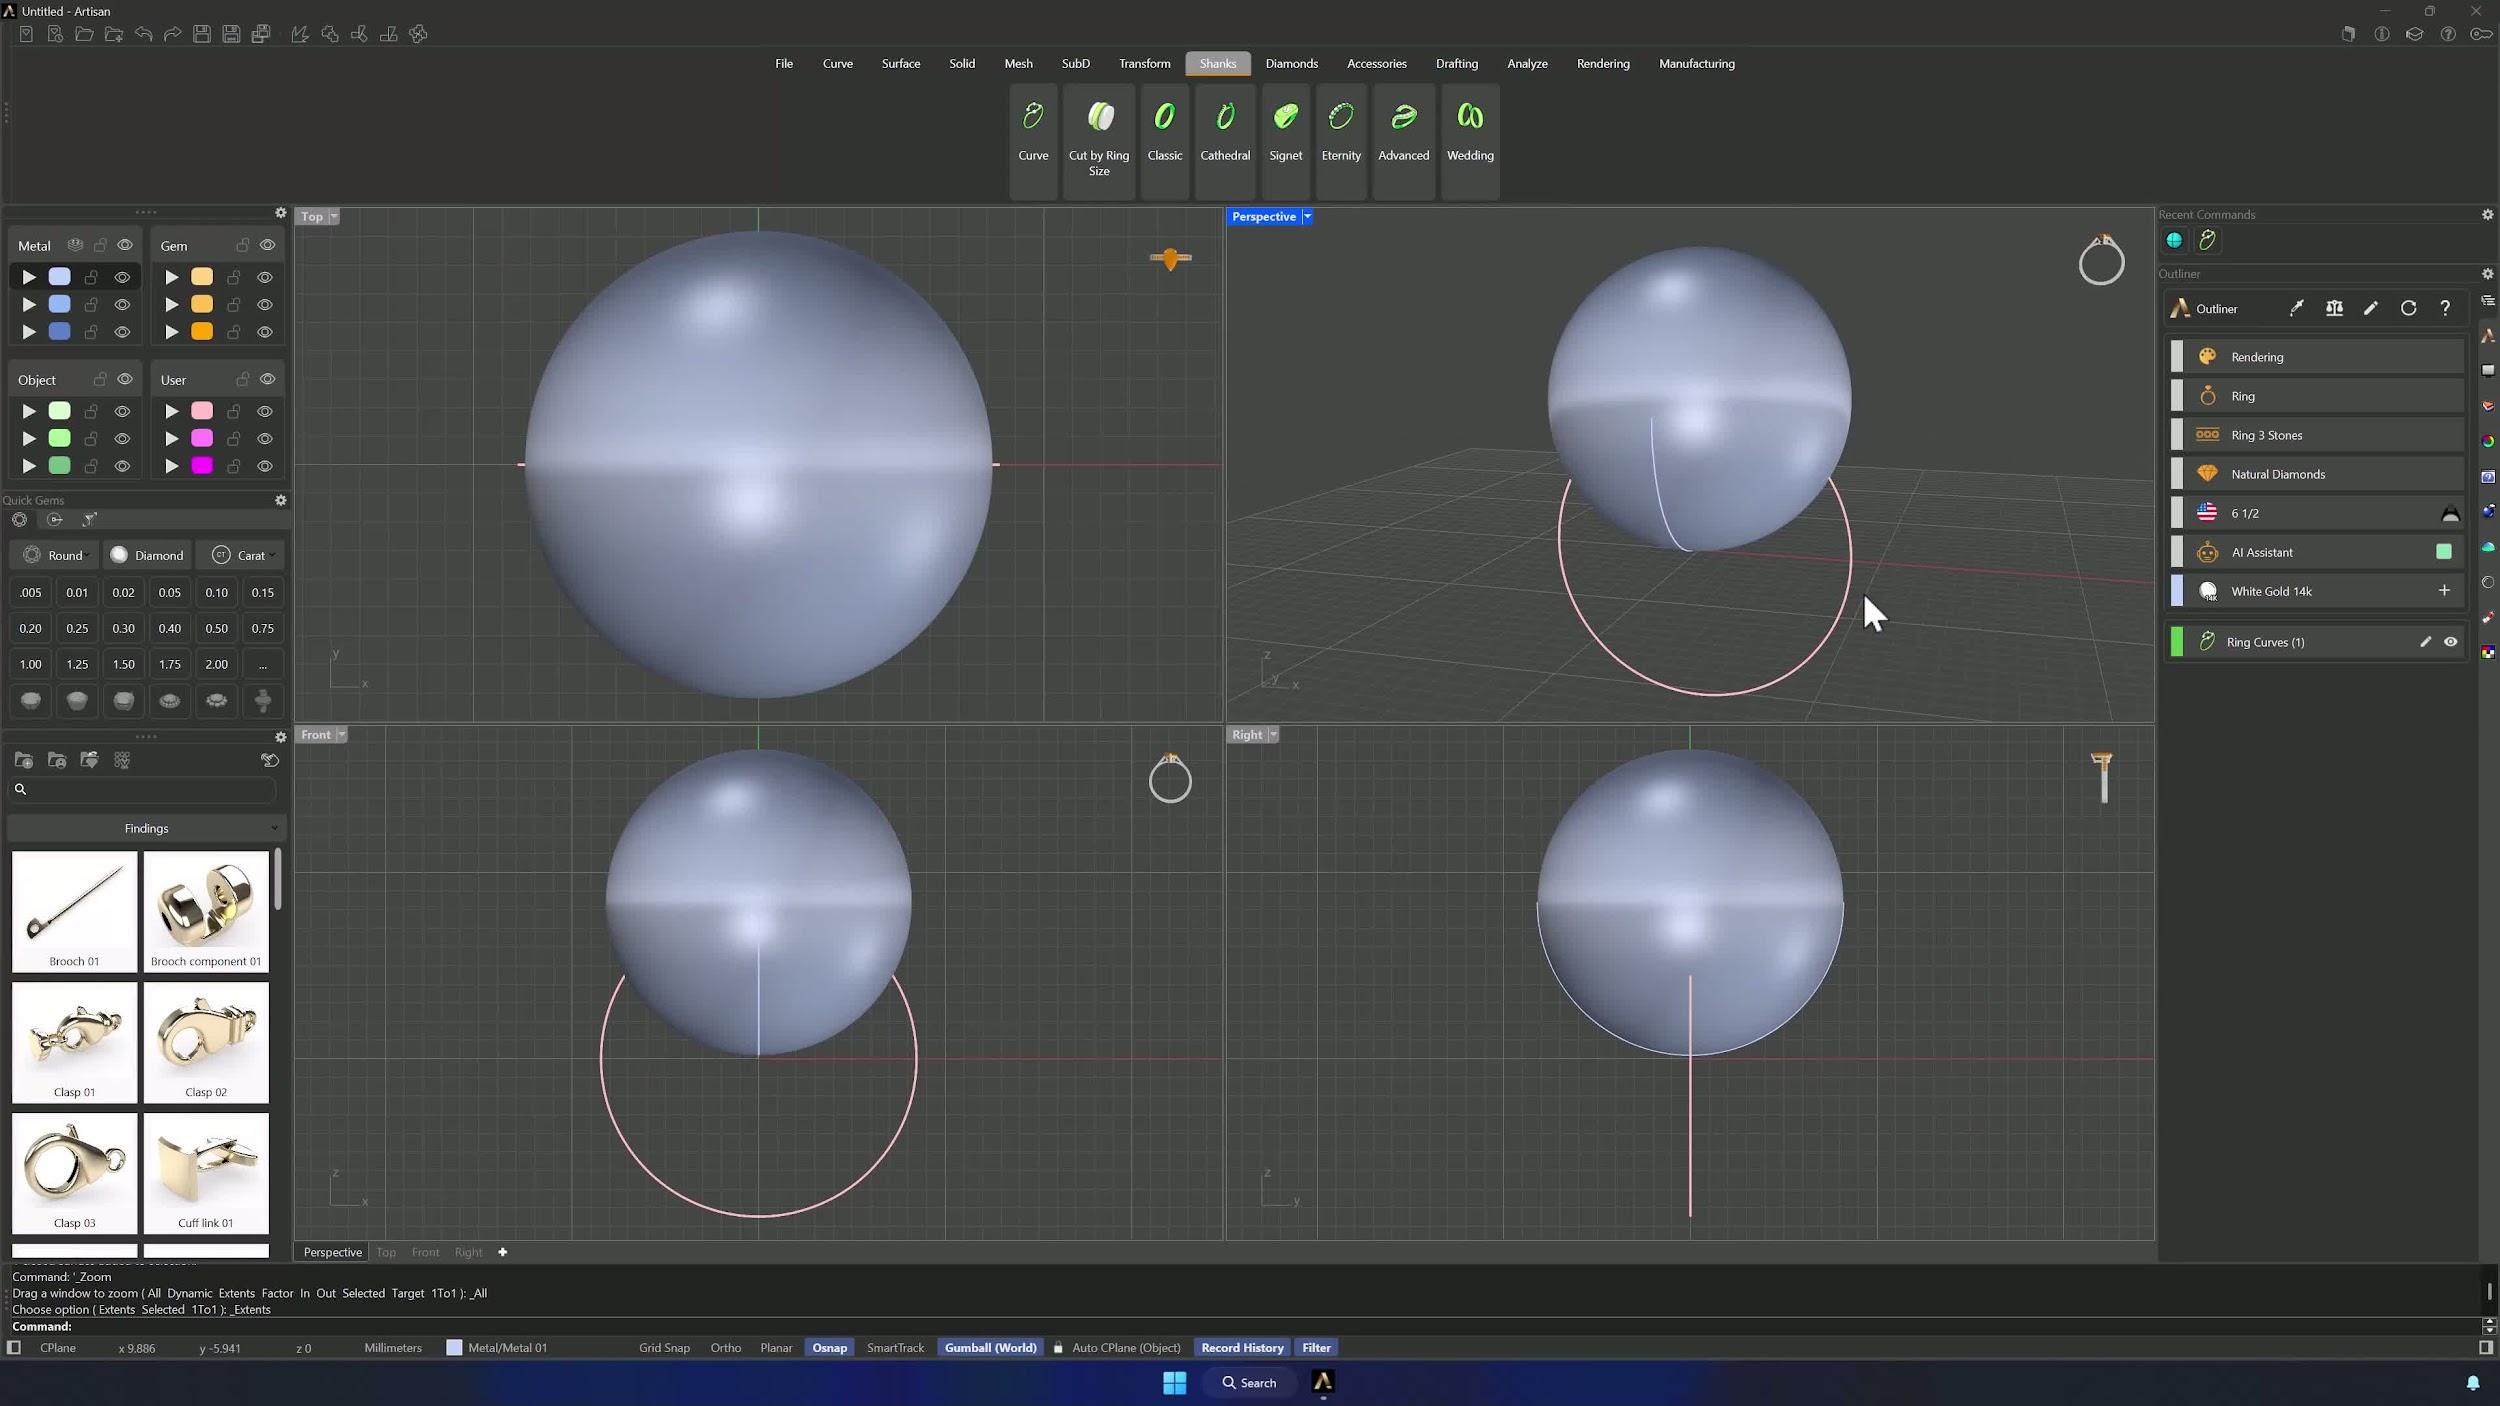
Use Cut from the Solid tab: the ring curve as cutter, then the sphere. Extract Surface with Copy enabled, move the extracted surface to its own layer and hide the sphere.
4. Create UV curves and a surface patch
Run Create UV Curve on the extracted surface and center the result with Artisan Center, nudging it off the ring surface along Y. Then Surface by Points with Osnap, picking upper left → left end → lower right → upper right, and park the new surface on its own layer.
5. Build the reference rectangle and circle for flow mapping
In the Top view, draw a Rectangle from the surface’s upper-left corner: 28.75 mm by 9.64 mm. Move its corner onto the reference corner, create a 7.04 mm Circle there (Shift + click to place), delete the rectangle and keep the circle with the other curves.
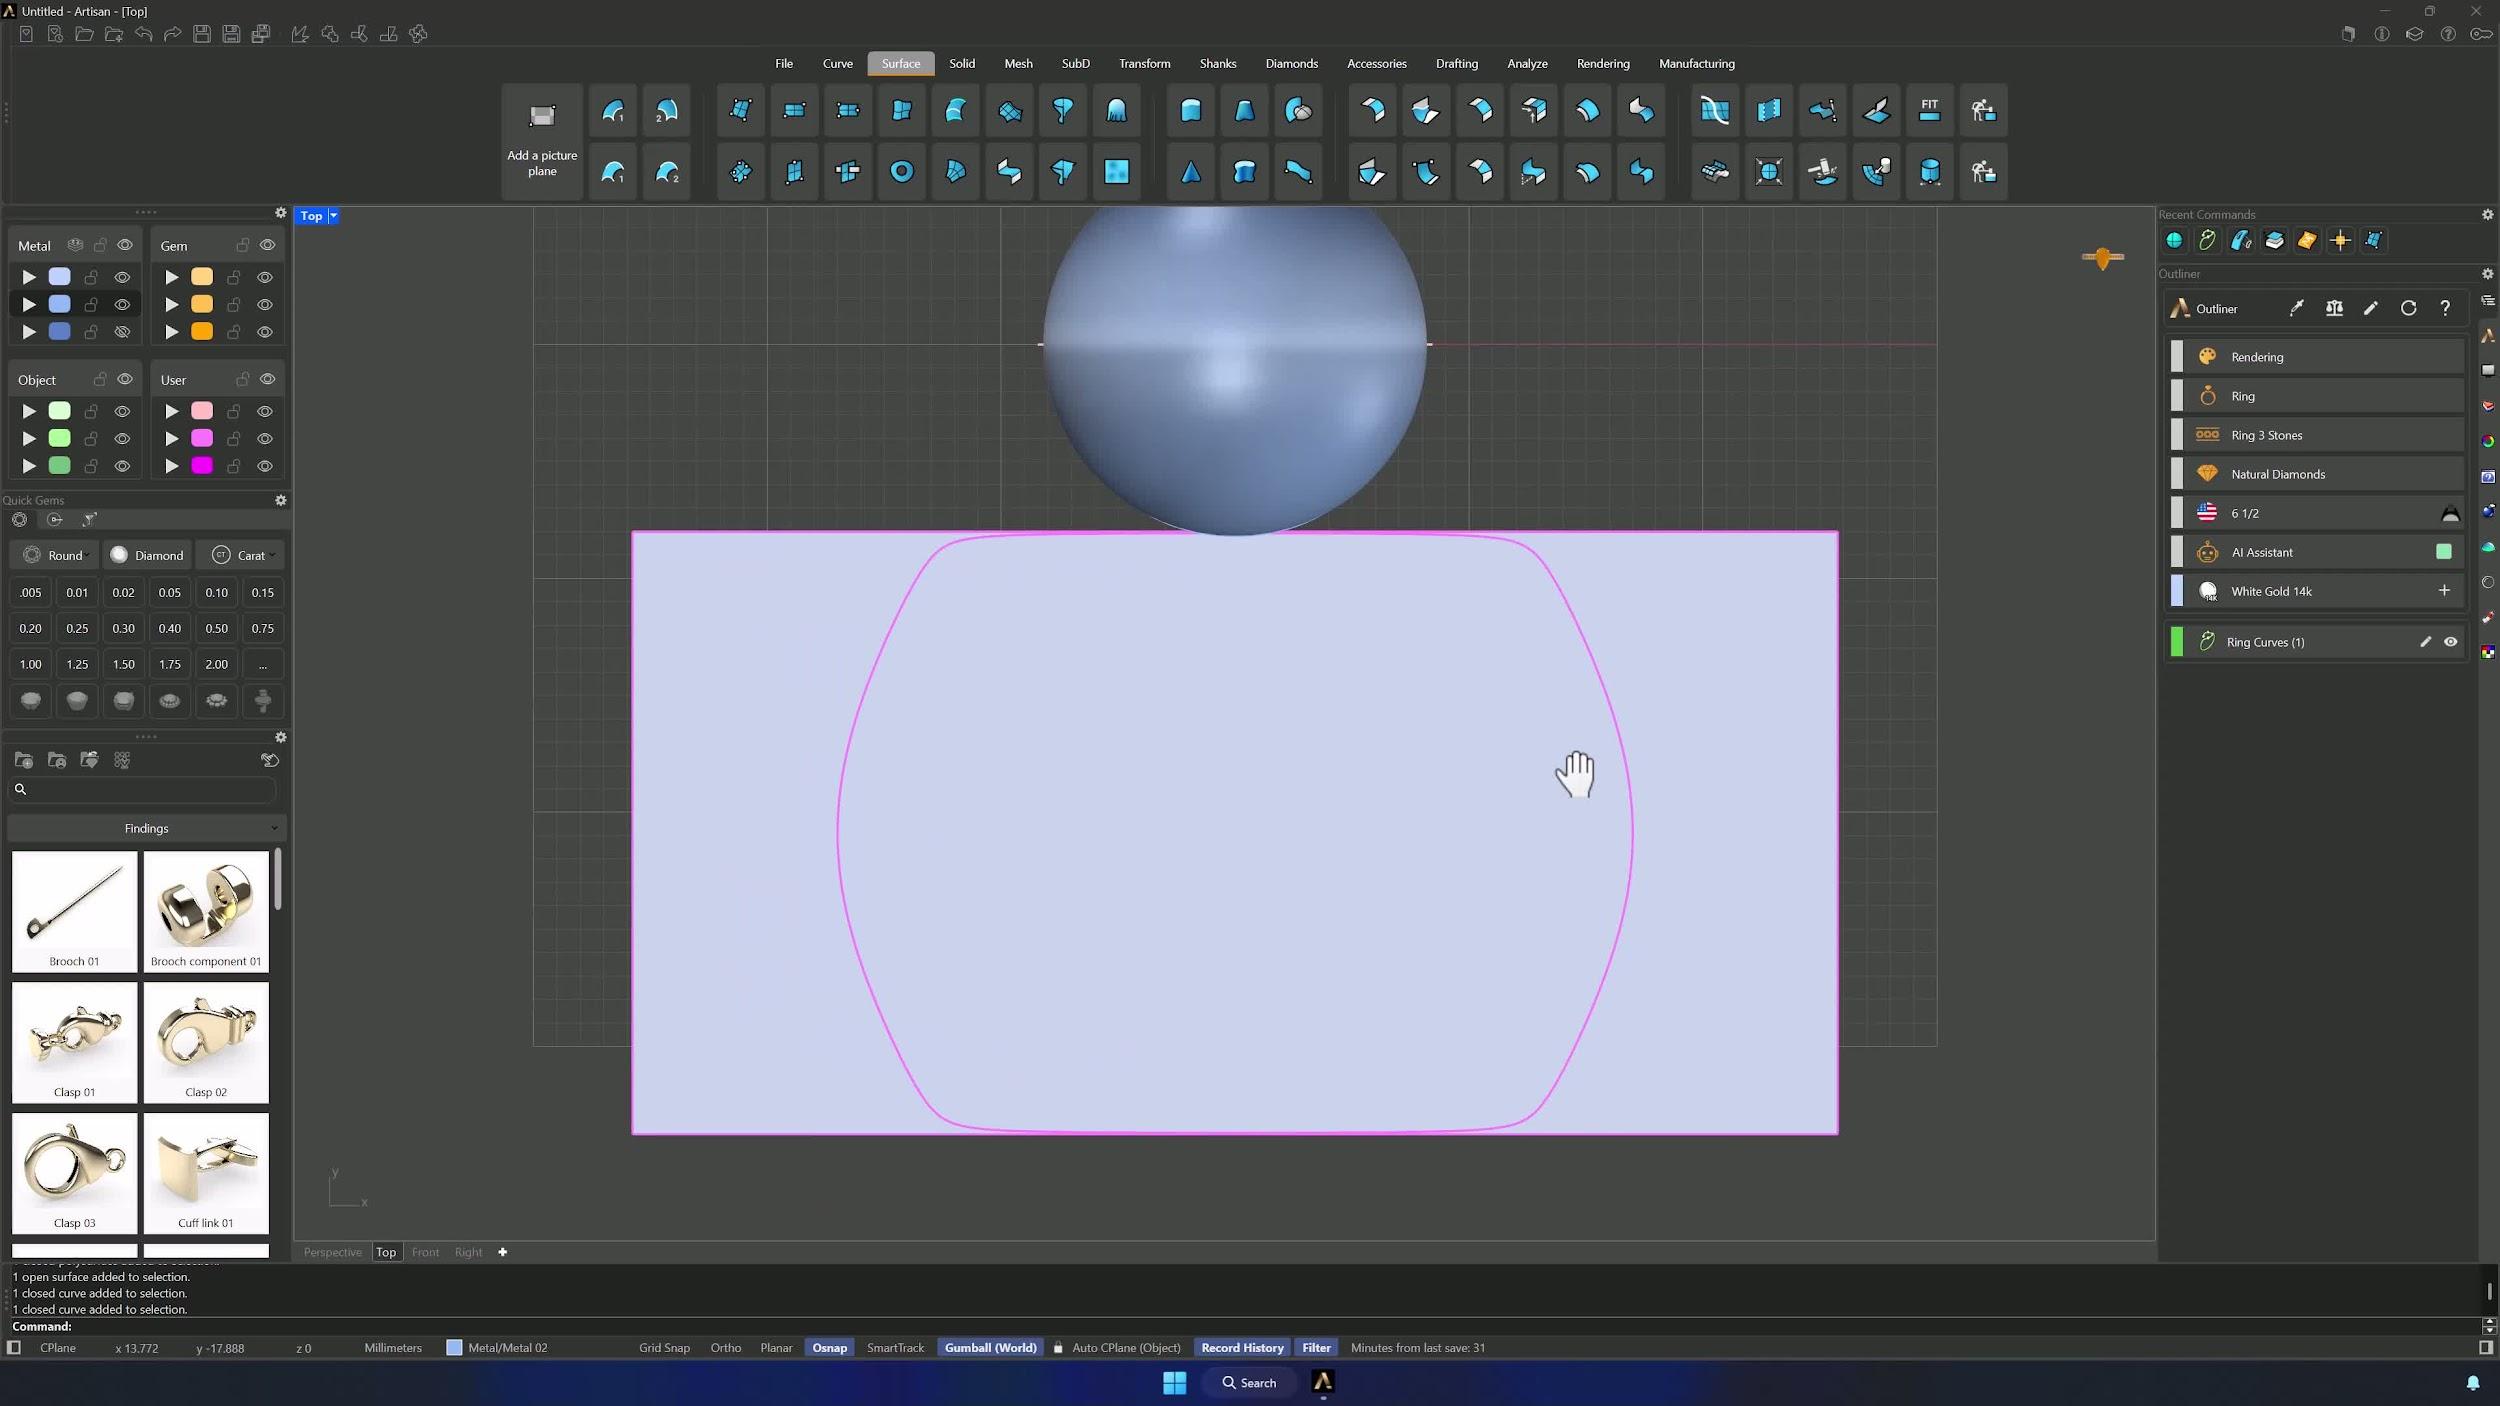
6. Flow the circle onto the sphere and mirror it if needed
Flow Along Surface: the circle as object, the rectangular surface as base, the sphere-derived surface as target. If it lands on the wrong side, Mirror from center 0 with Shift + click on the top point. Clean up the original curve and hide the non-ring elements.
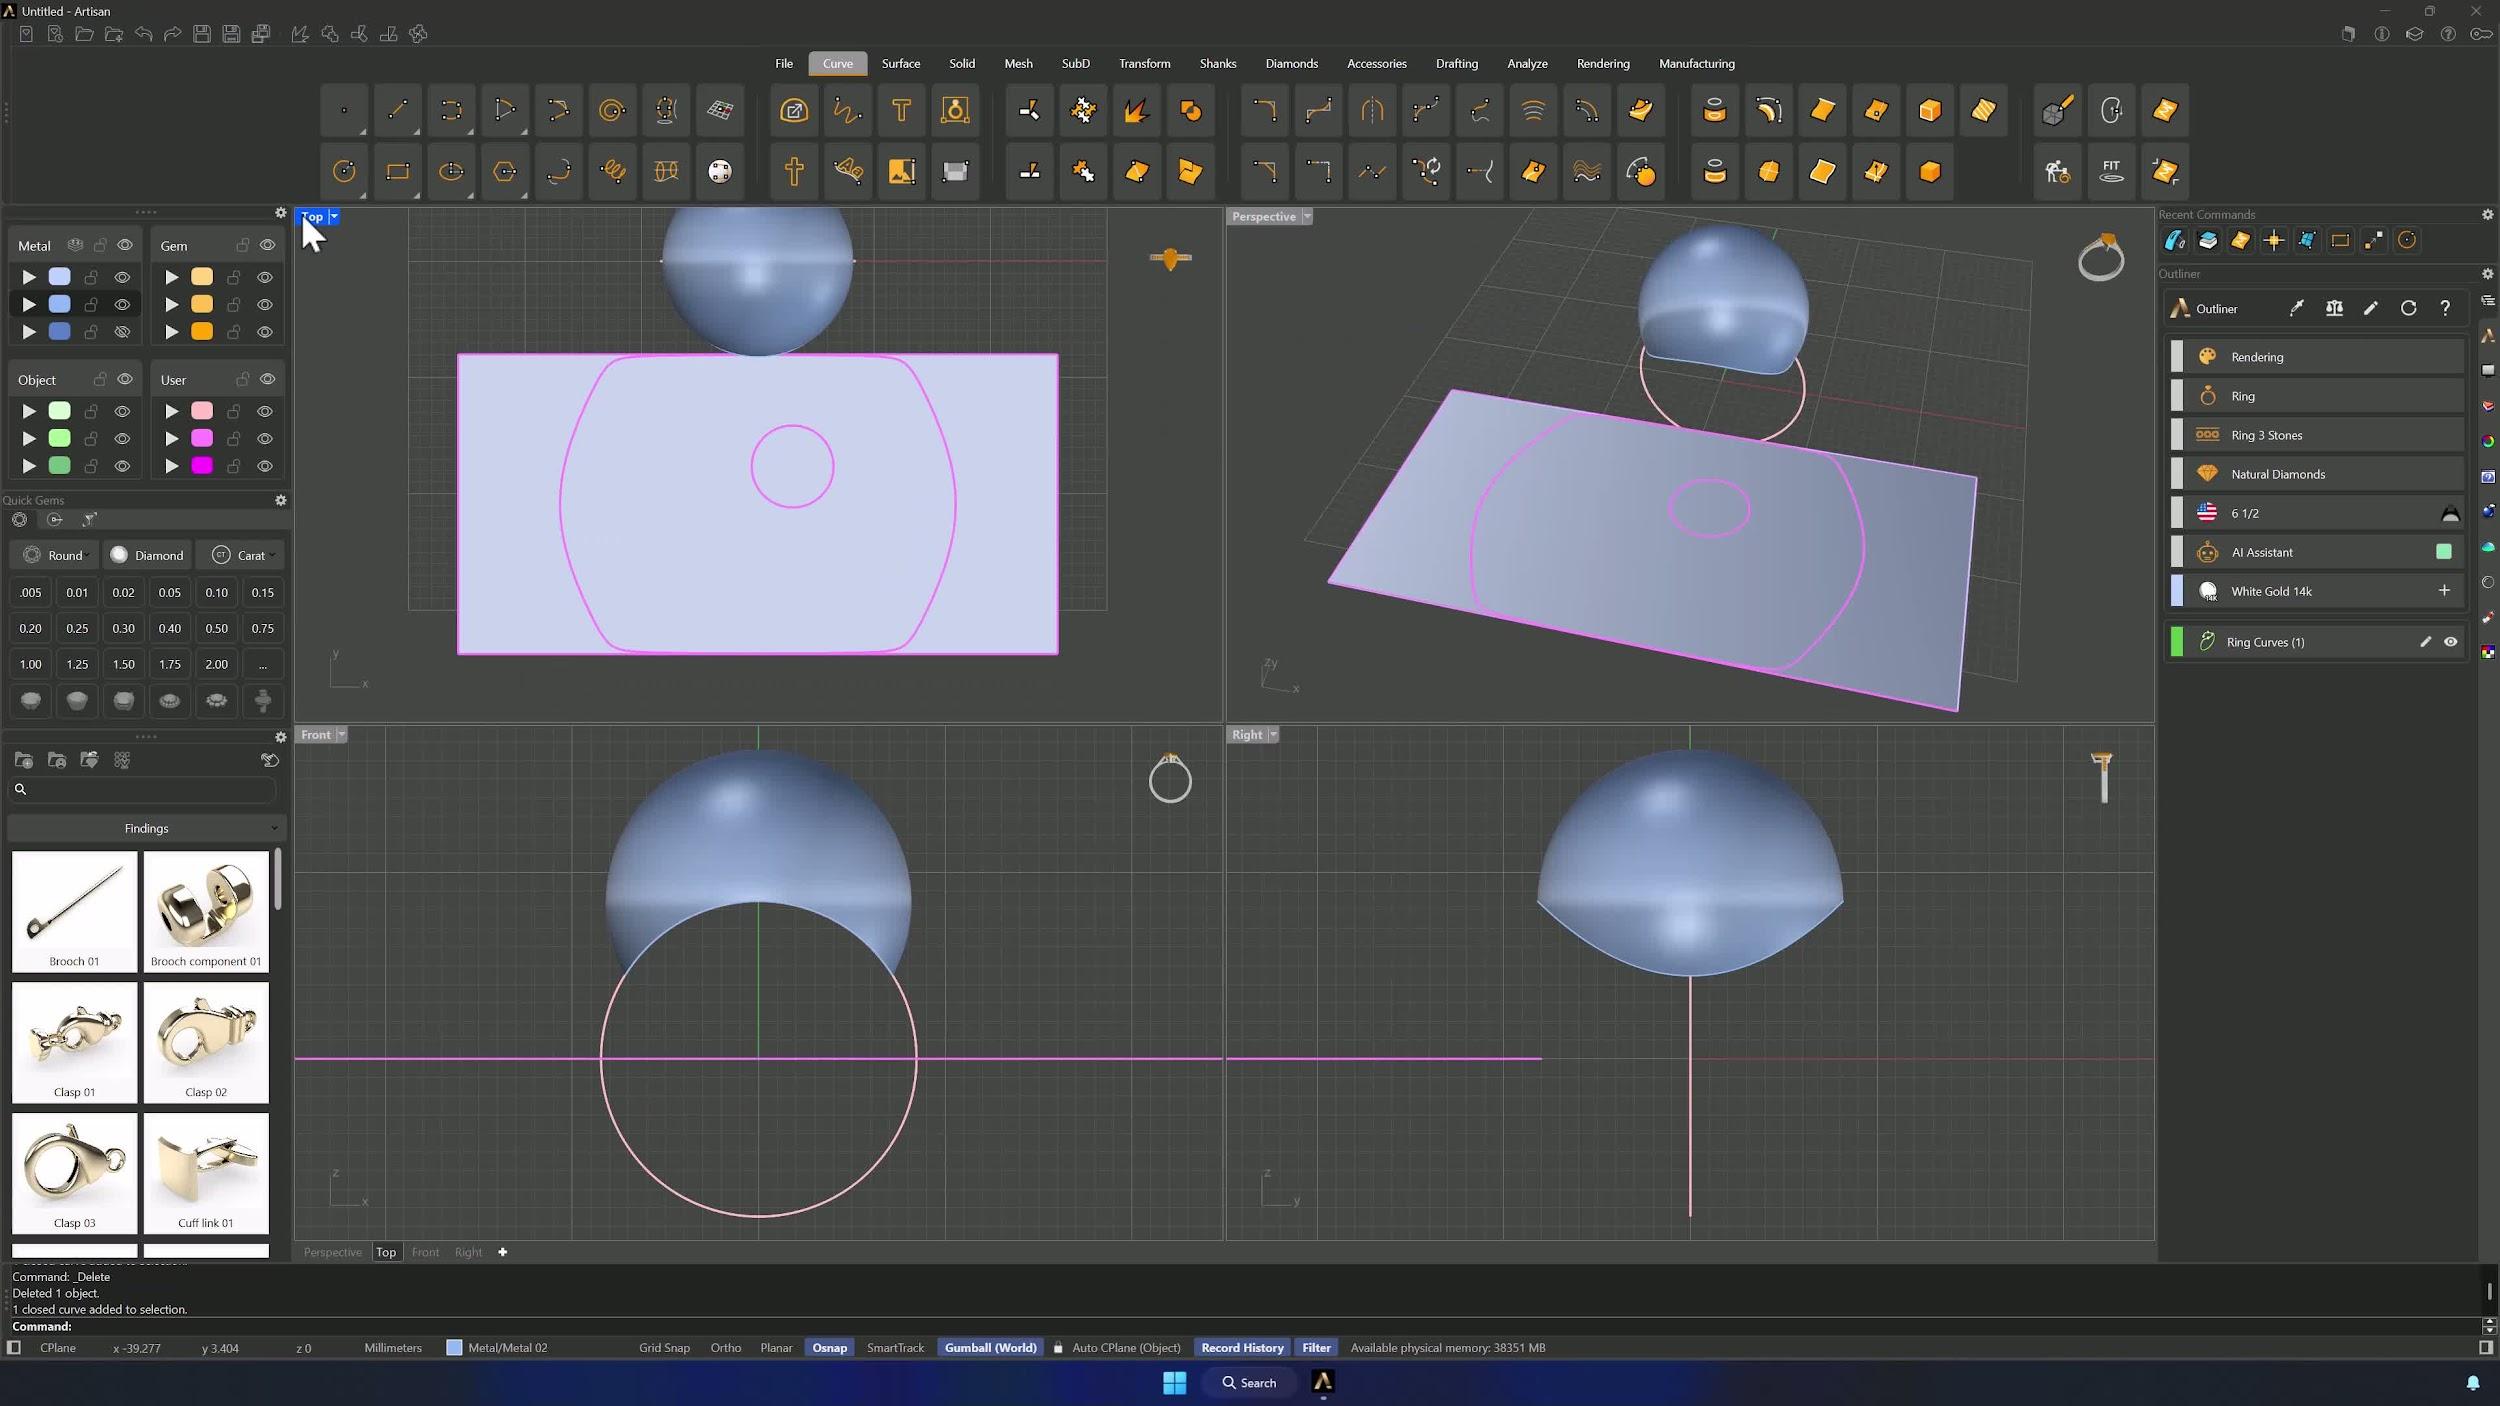
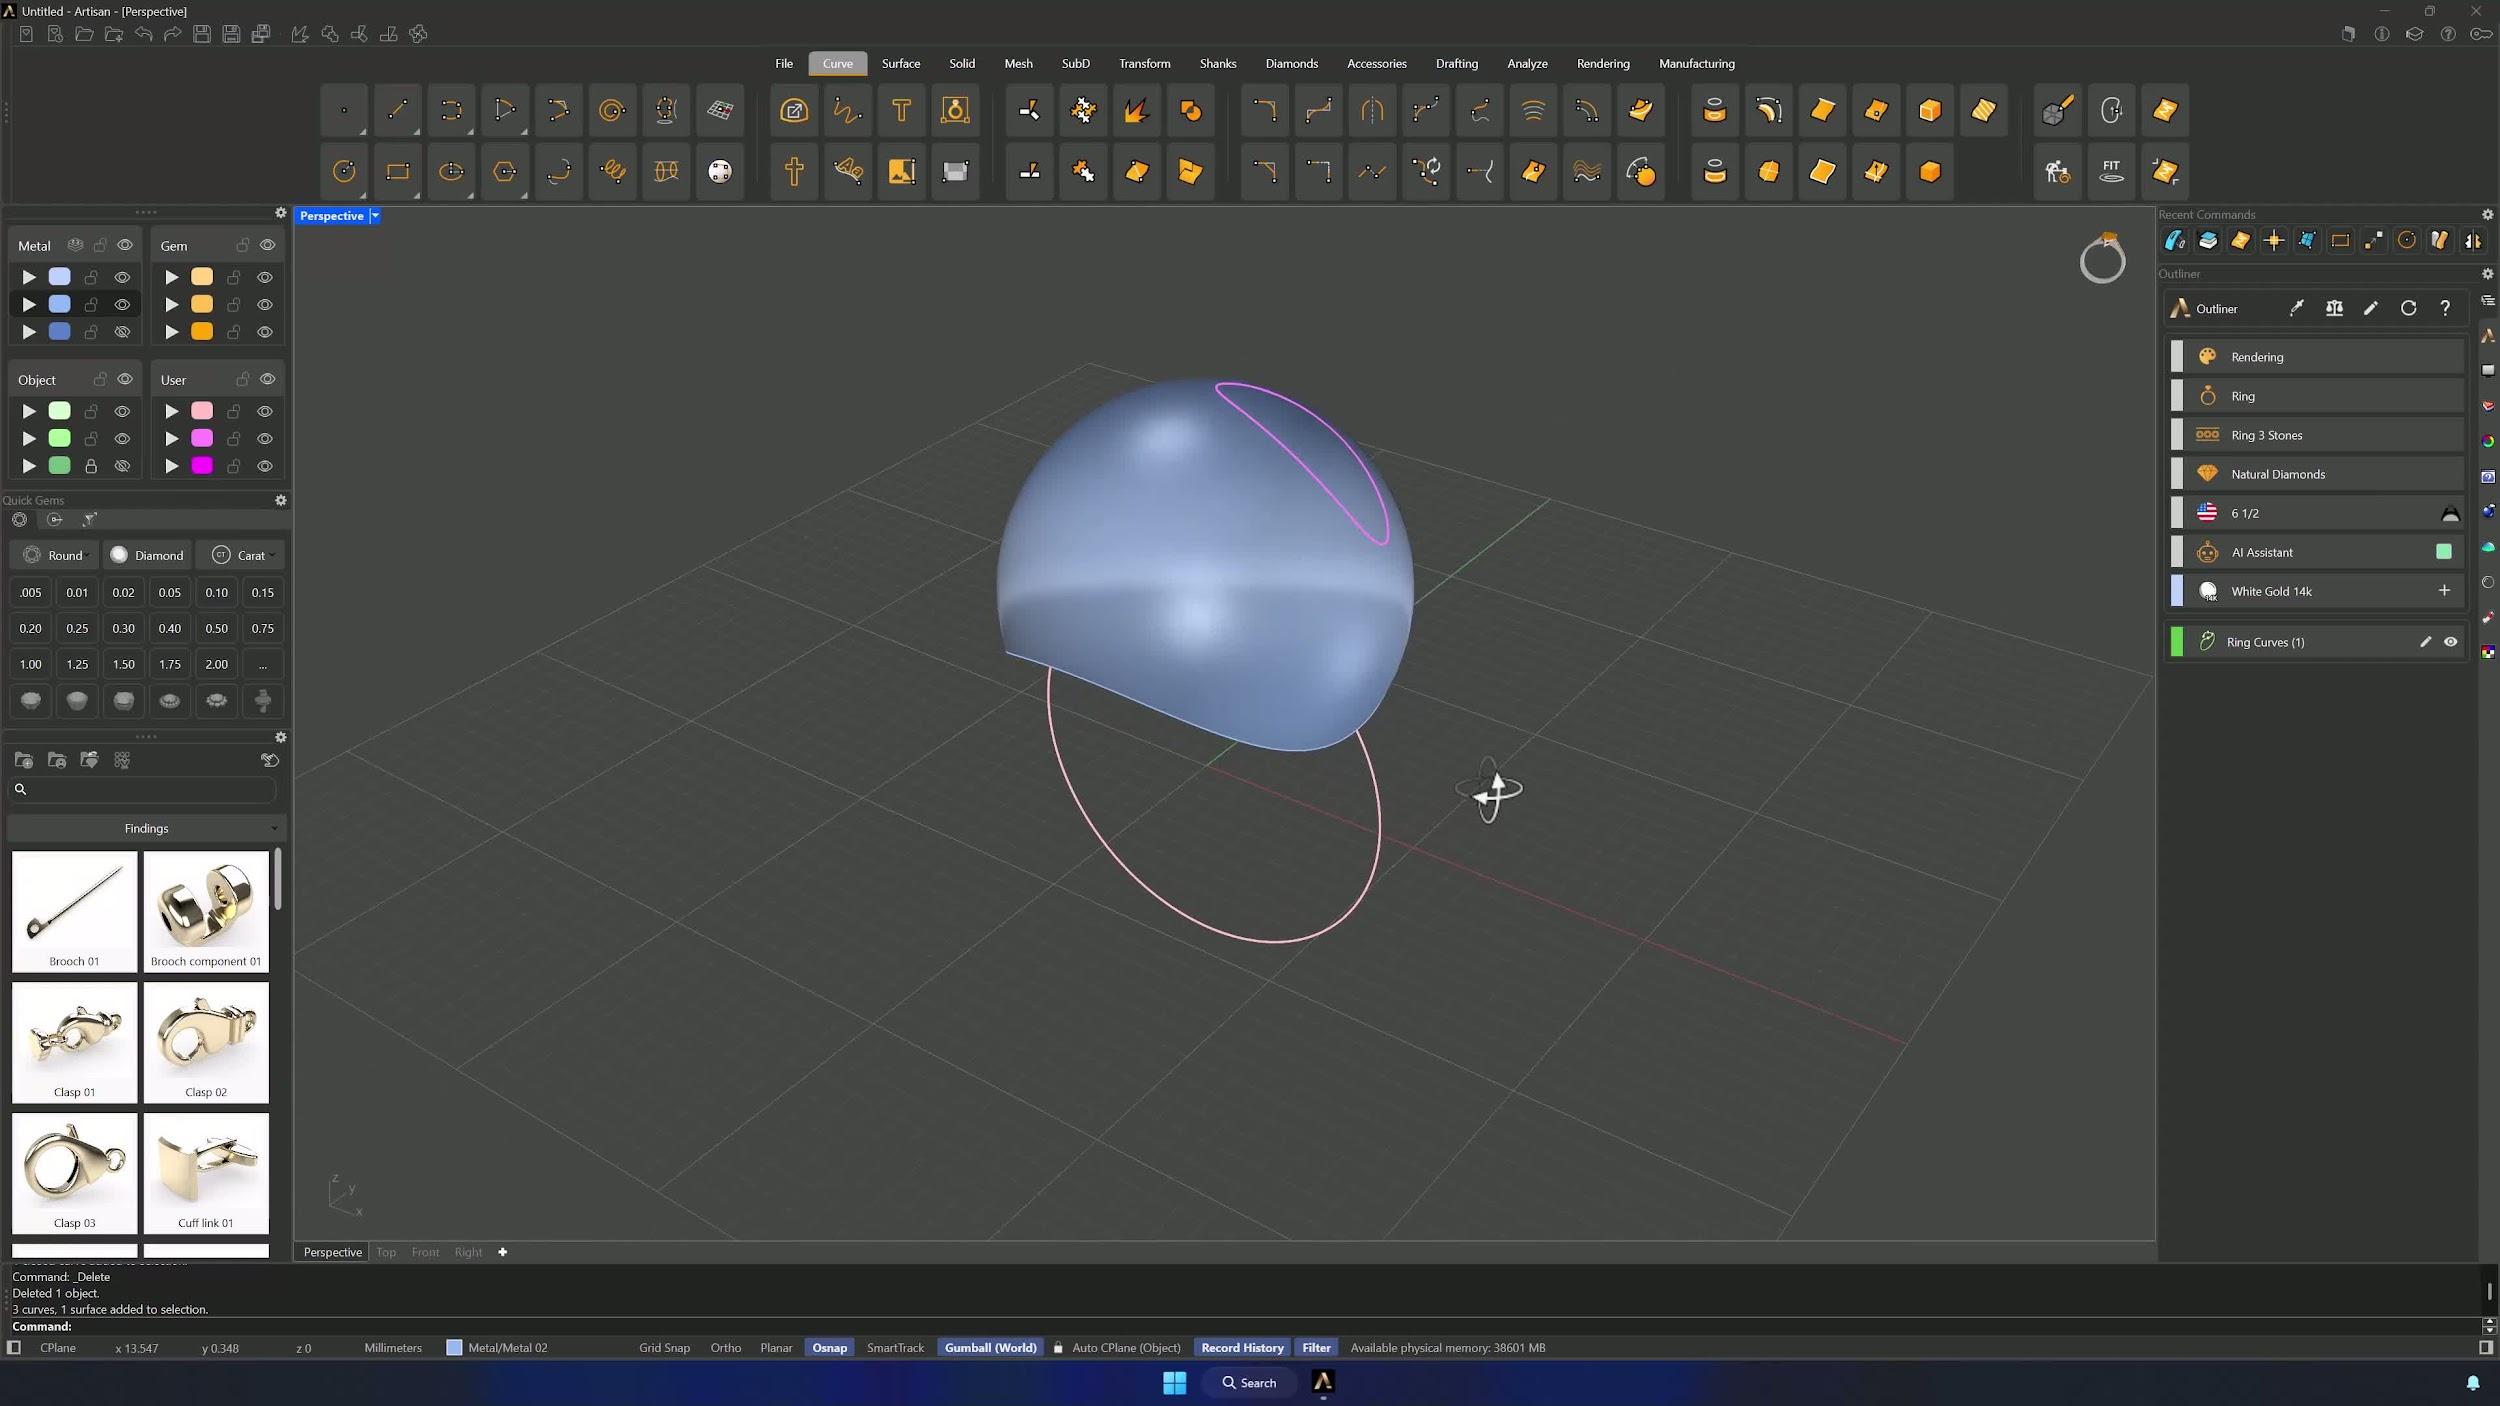
7. Create offset curves around the sphere
Offset Curve on Surface from the flowed circle, arrows pointing outward, alternating 2 mm and 0.6 mm until the sphere is covered — the right-click rerun shortcut speeds this up. Trim sections that overshoot the surface and keep alternating offsets after trimming so everything fits cleanly.
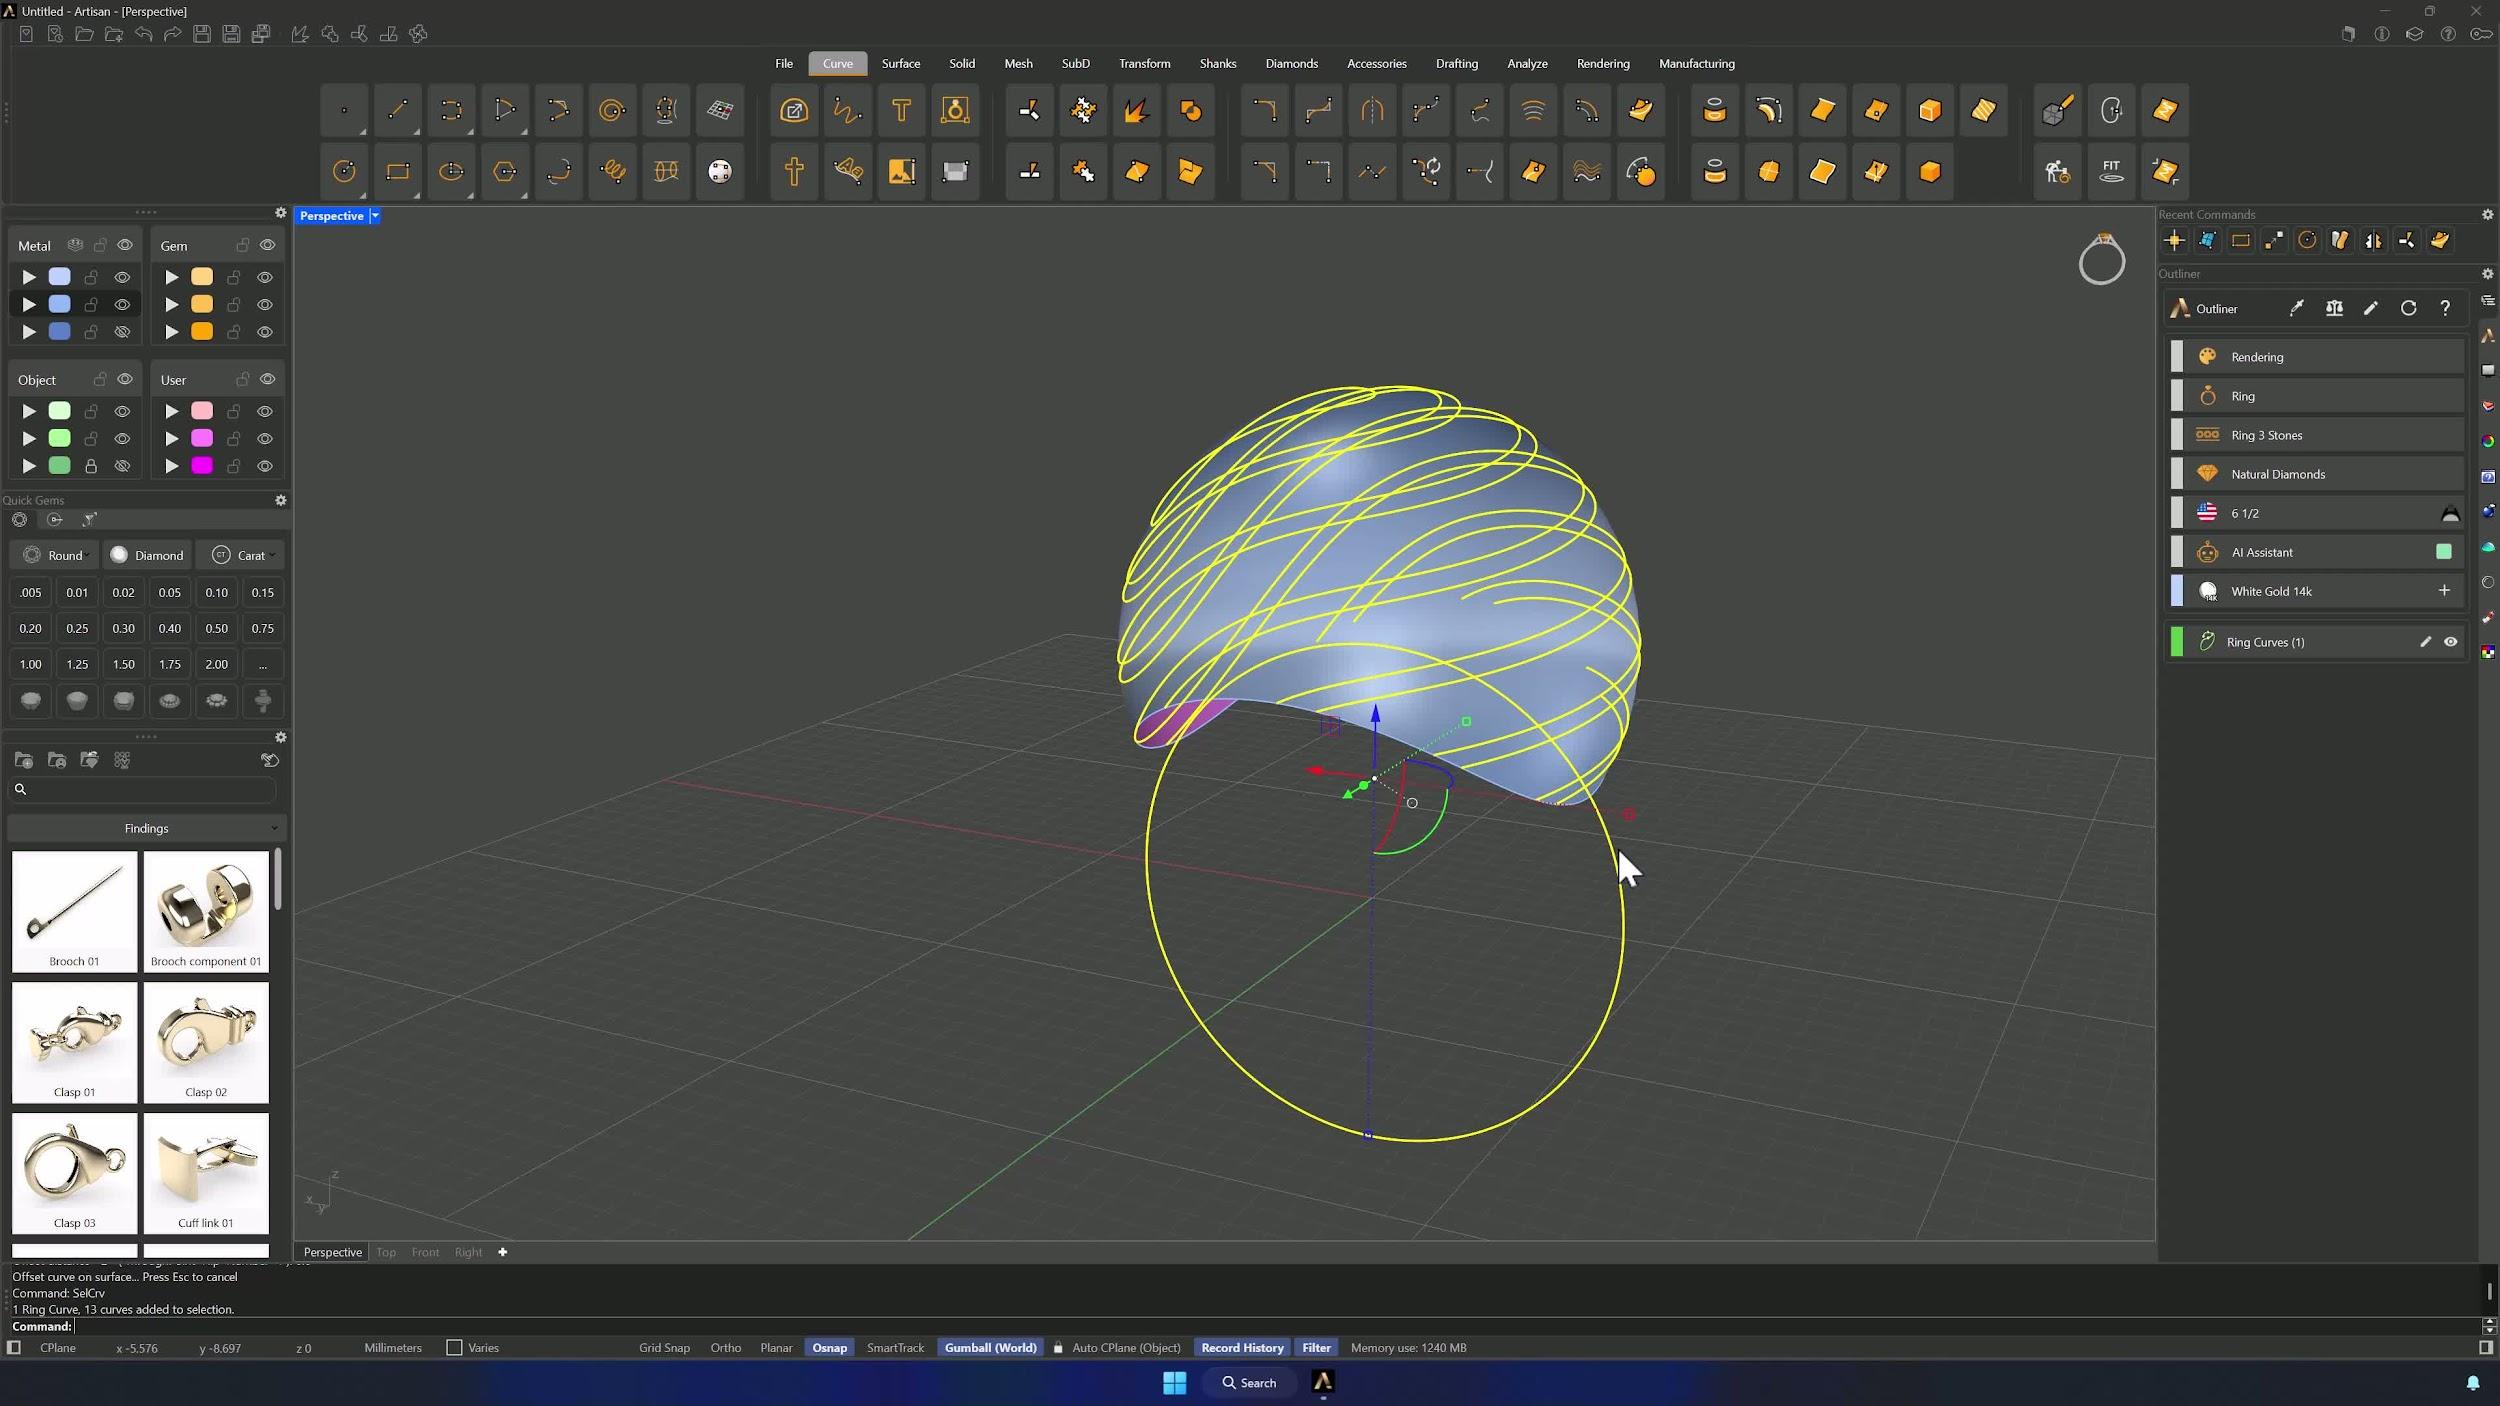
8. Organize curves and create the final lower offset
SelCrv selects every visible curve — Ctrl-click the ring-size curve to keep it out — and moves them to a user layer. One final 0.6 mm offset at the bottom edge of the sphere closes the pattern.
Almost there — you still have some lessons to complete. Jump to the next one →
Impersonating — progress and reviews are disabled.
Course completed
You've completed Sculpted Elegance: Statement Jewelry Designs 🎉
Great work. Get your certificate of completion and, if you have a minute, let other jewelers know what you thought of the course.