Three-stone Princess Ring
Lesson 33 of 35
Organic Prong Curves & Pipes
Sign in to access this lesson
This lesson is part of Sculpted Elegance: Statement Jewelry Designs, which can come bundled with a RhinoArtisan Commercial license subject to current promotions. Log in with your customer account, or get in touch and we'll set you up.
Customers only
Solo para clientes
This lesson is part of Sculpted Elegance: Statement Jewelry Designs, which can be included with a RhinoArtisan Commercial license subject to current promotions. If you've already purchased and don't see it in your account, get in touch.
4. Create and adjust prong guide edges
Duplicate Edge creates the three guides — two on the shank plus one at the tip of the side gem — on their own layer (pink in the tutorial). Move the first edge roughly into position with the Gumball: the model is organic, harmony matters more than measurements.
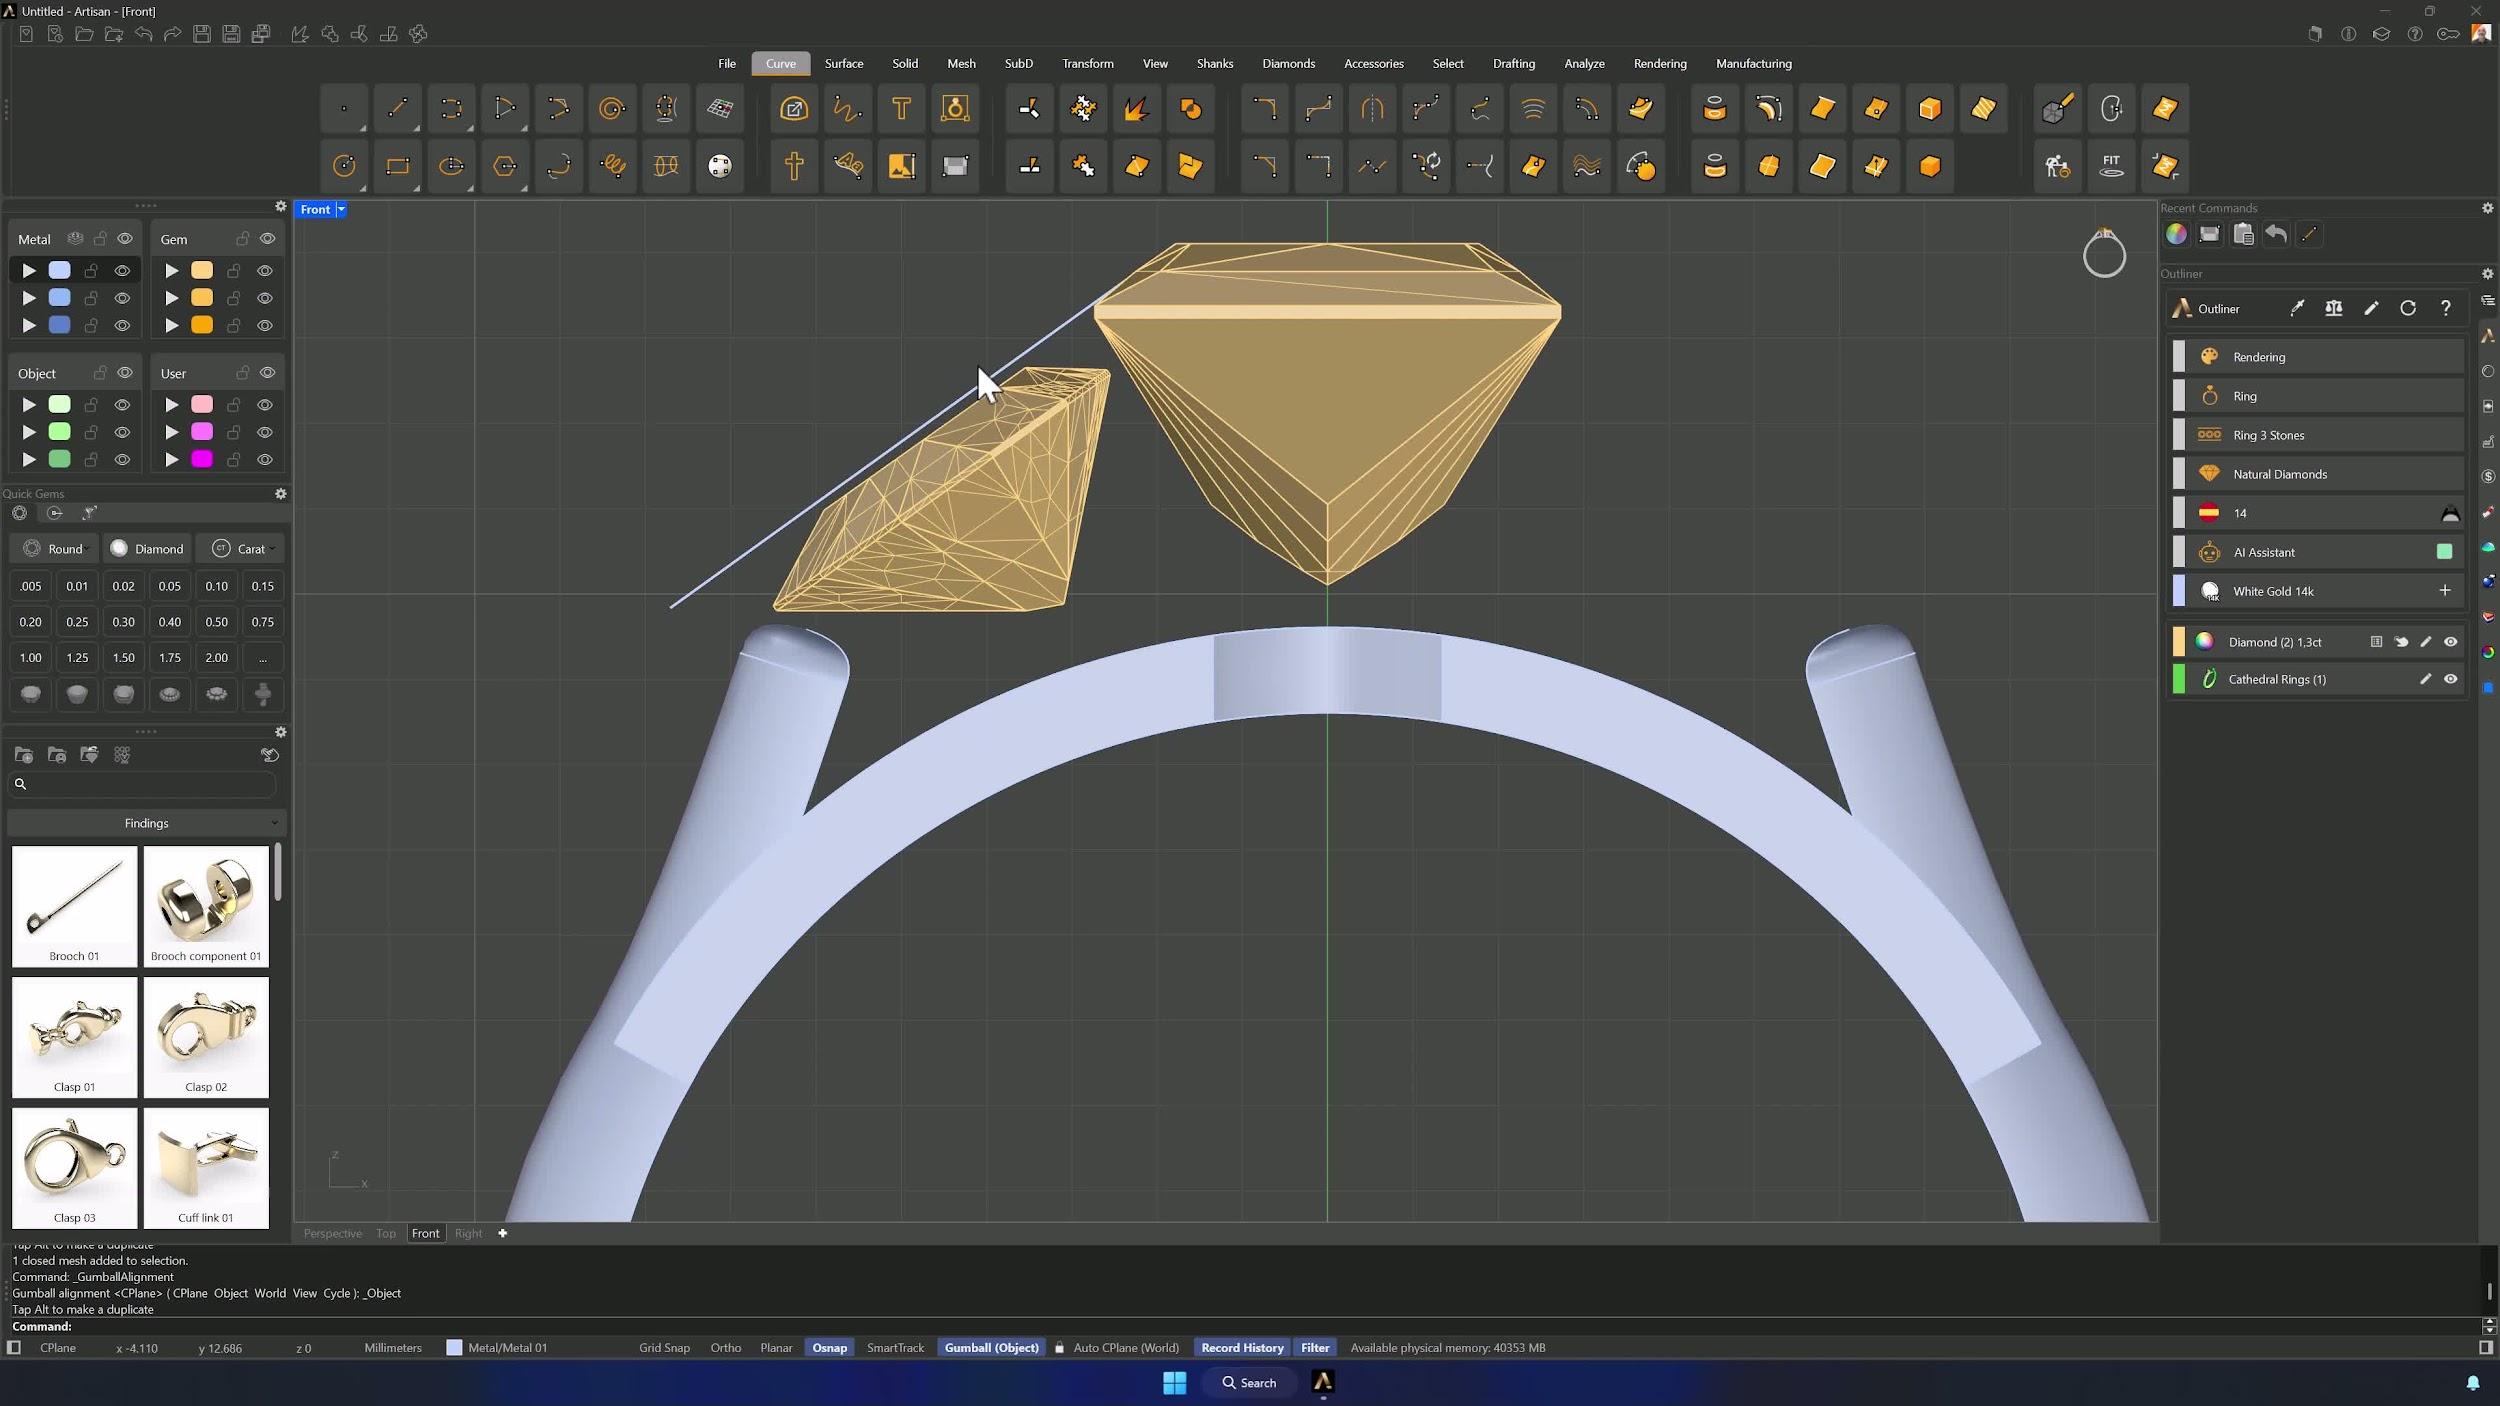
5. Center the side gem and refine the curve connection
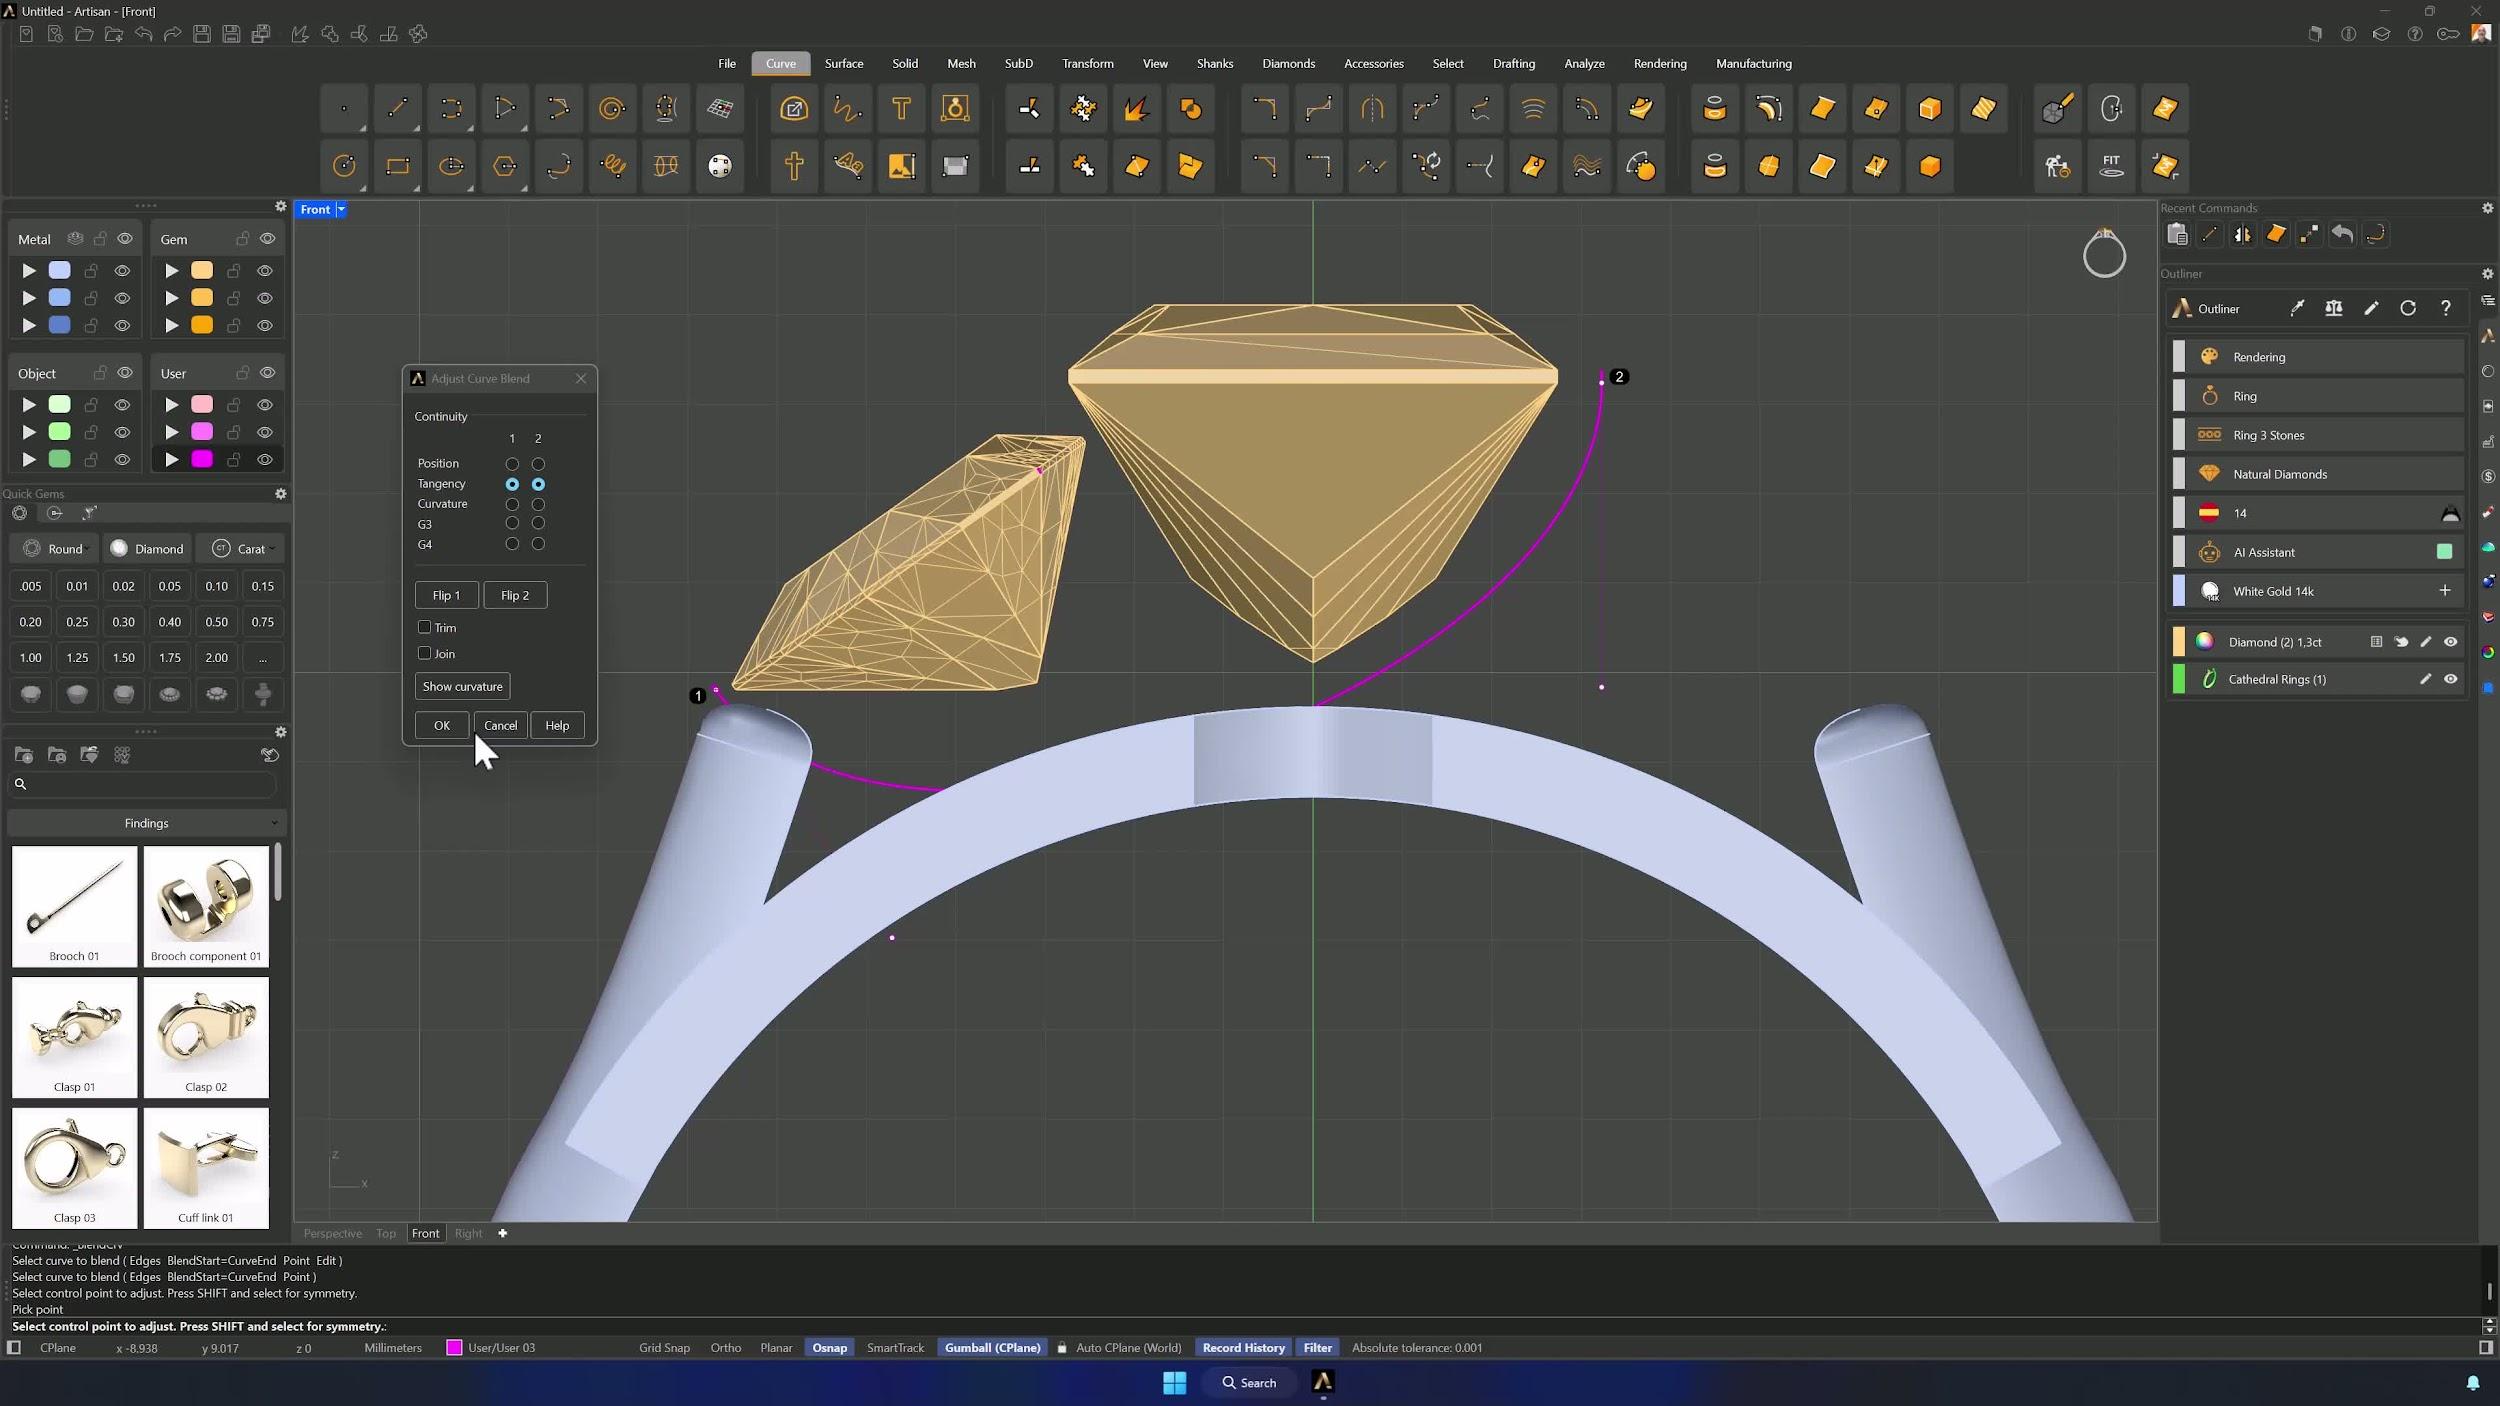
The trillion’s offset pivot leaves it off-center after rotation: select gem and edges, Move by the bottom vertex with Grid Snap and Shift to recenter at the same height. Then Blend edge to edge with Tangent continuity, moving both control points together (Shift) — when the curve crosses the bridge center, it’s right.
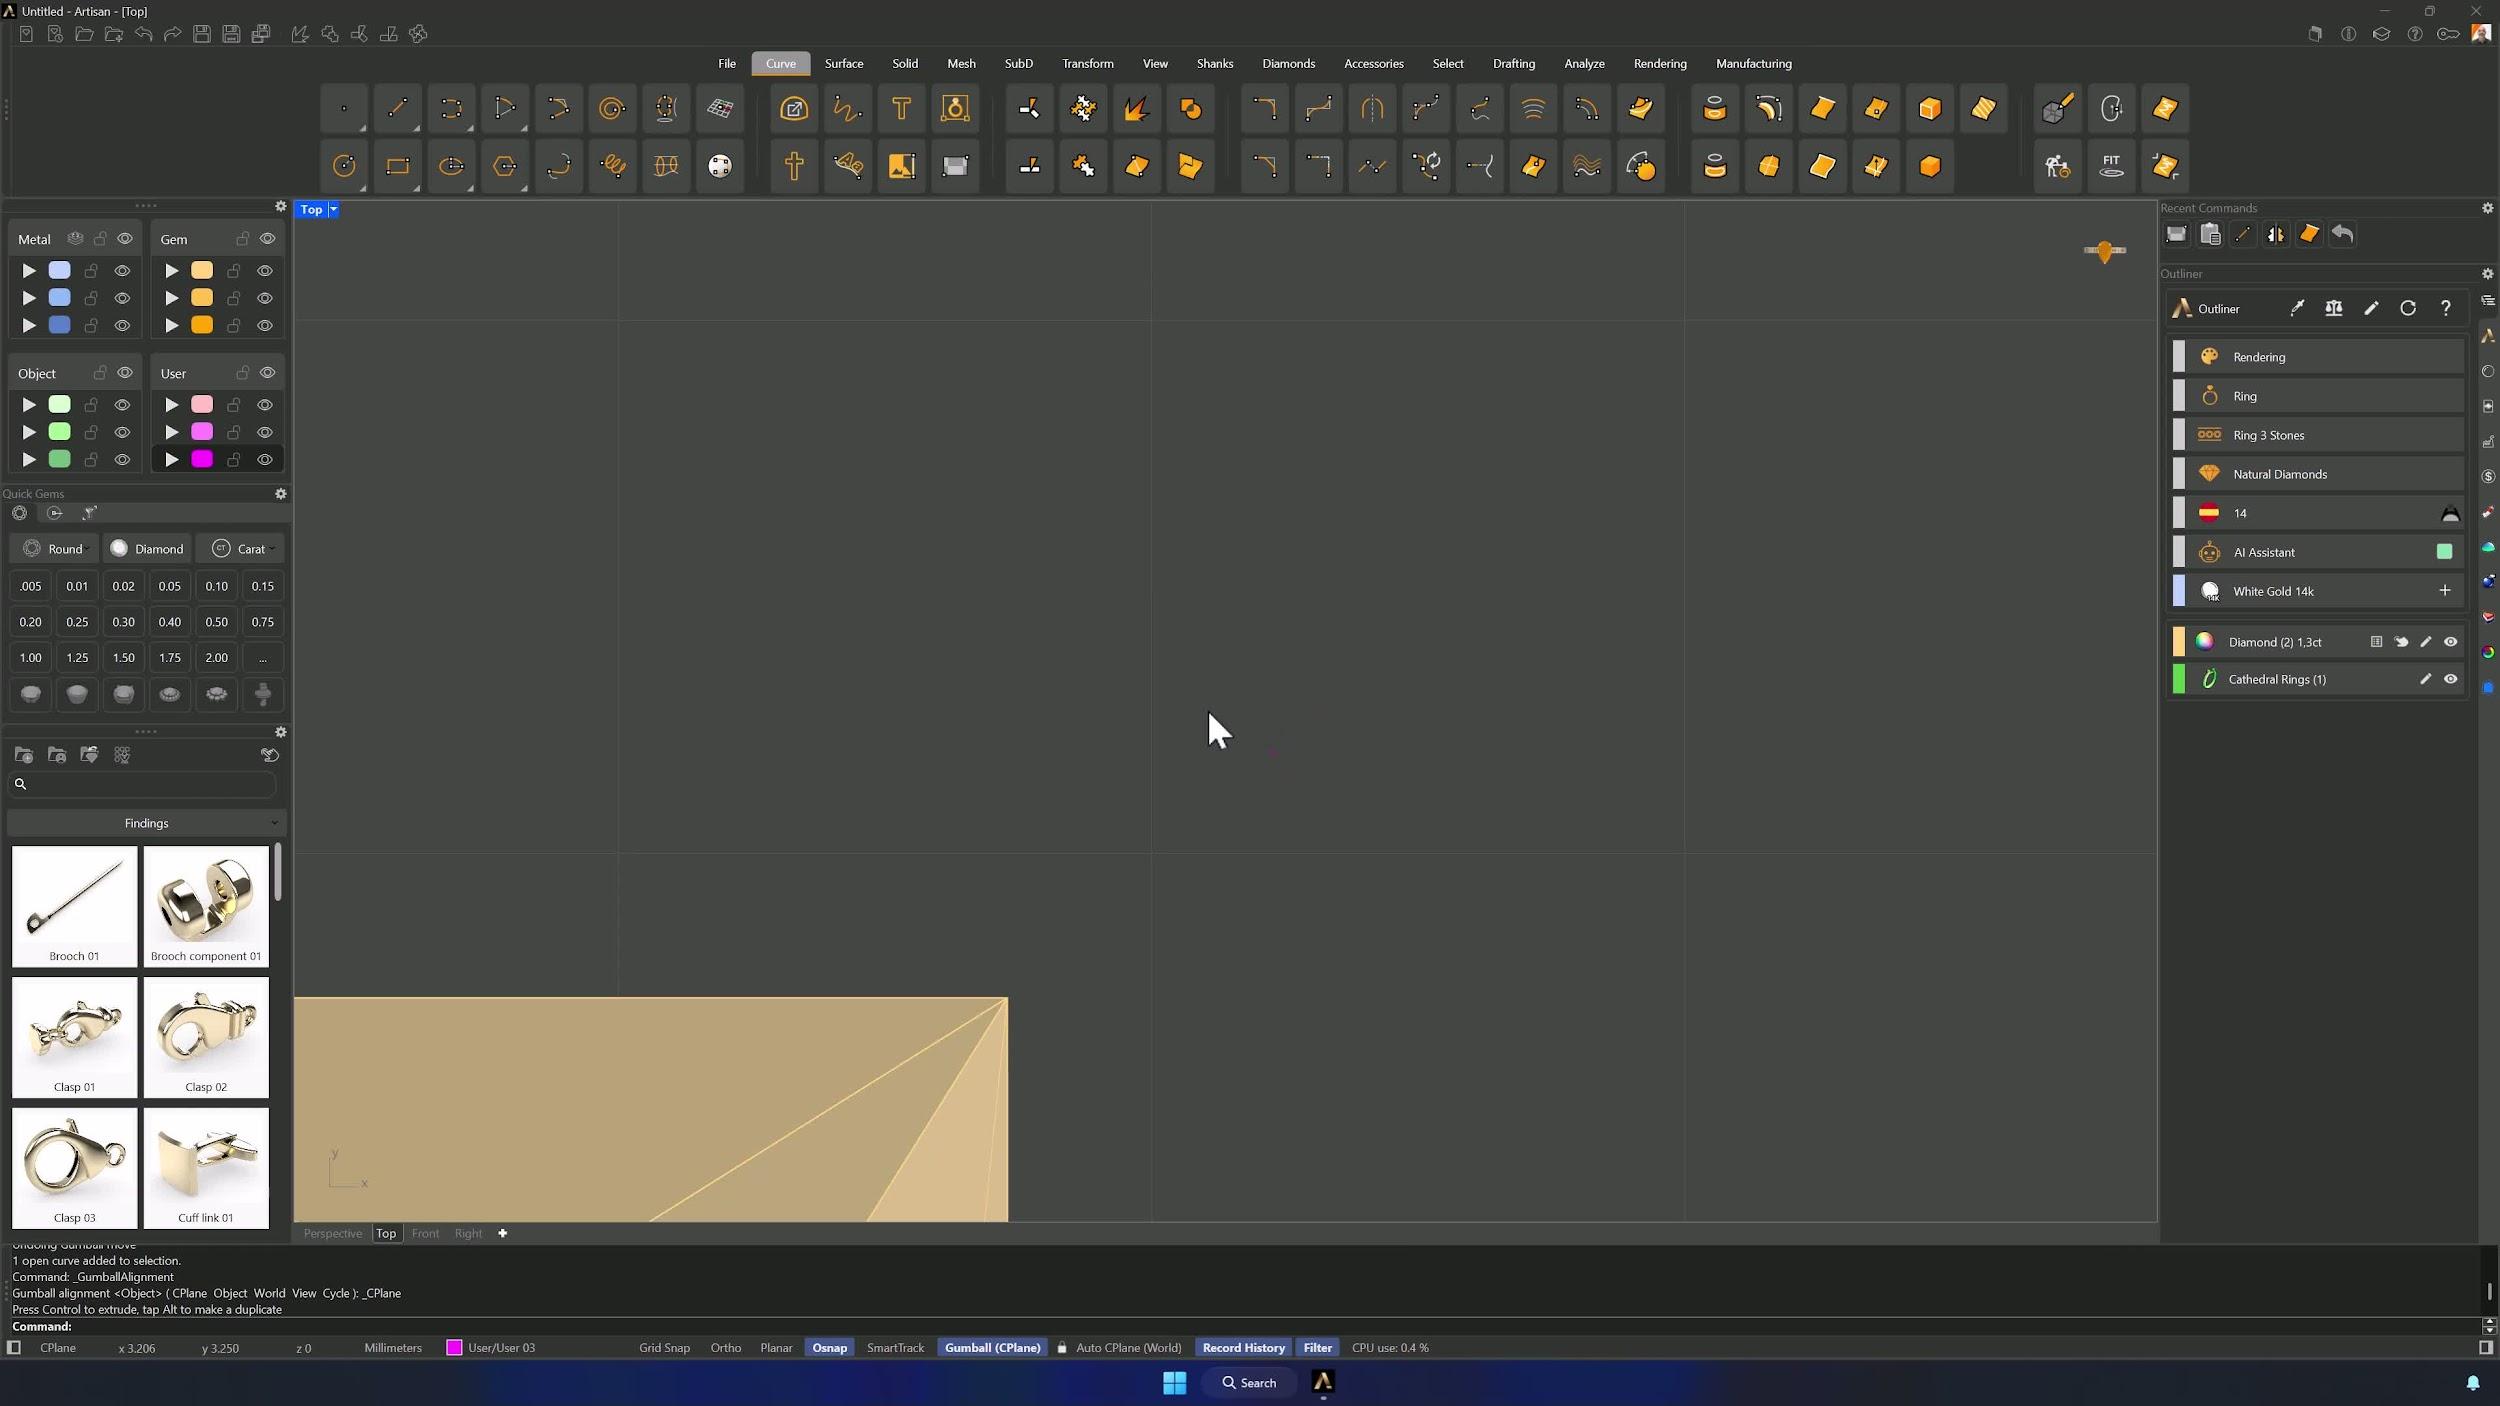
6. Rebuild and shape the first prong curve
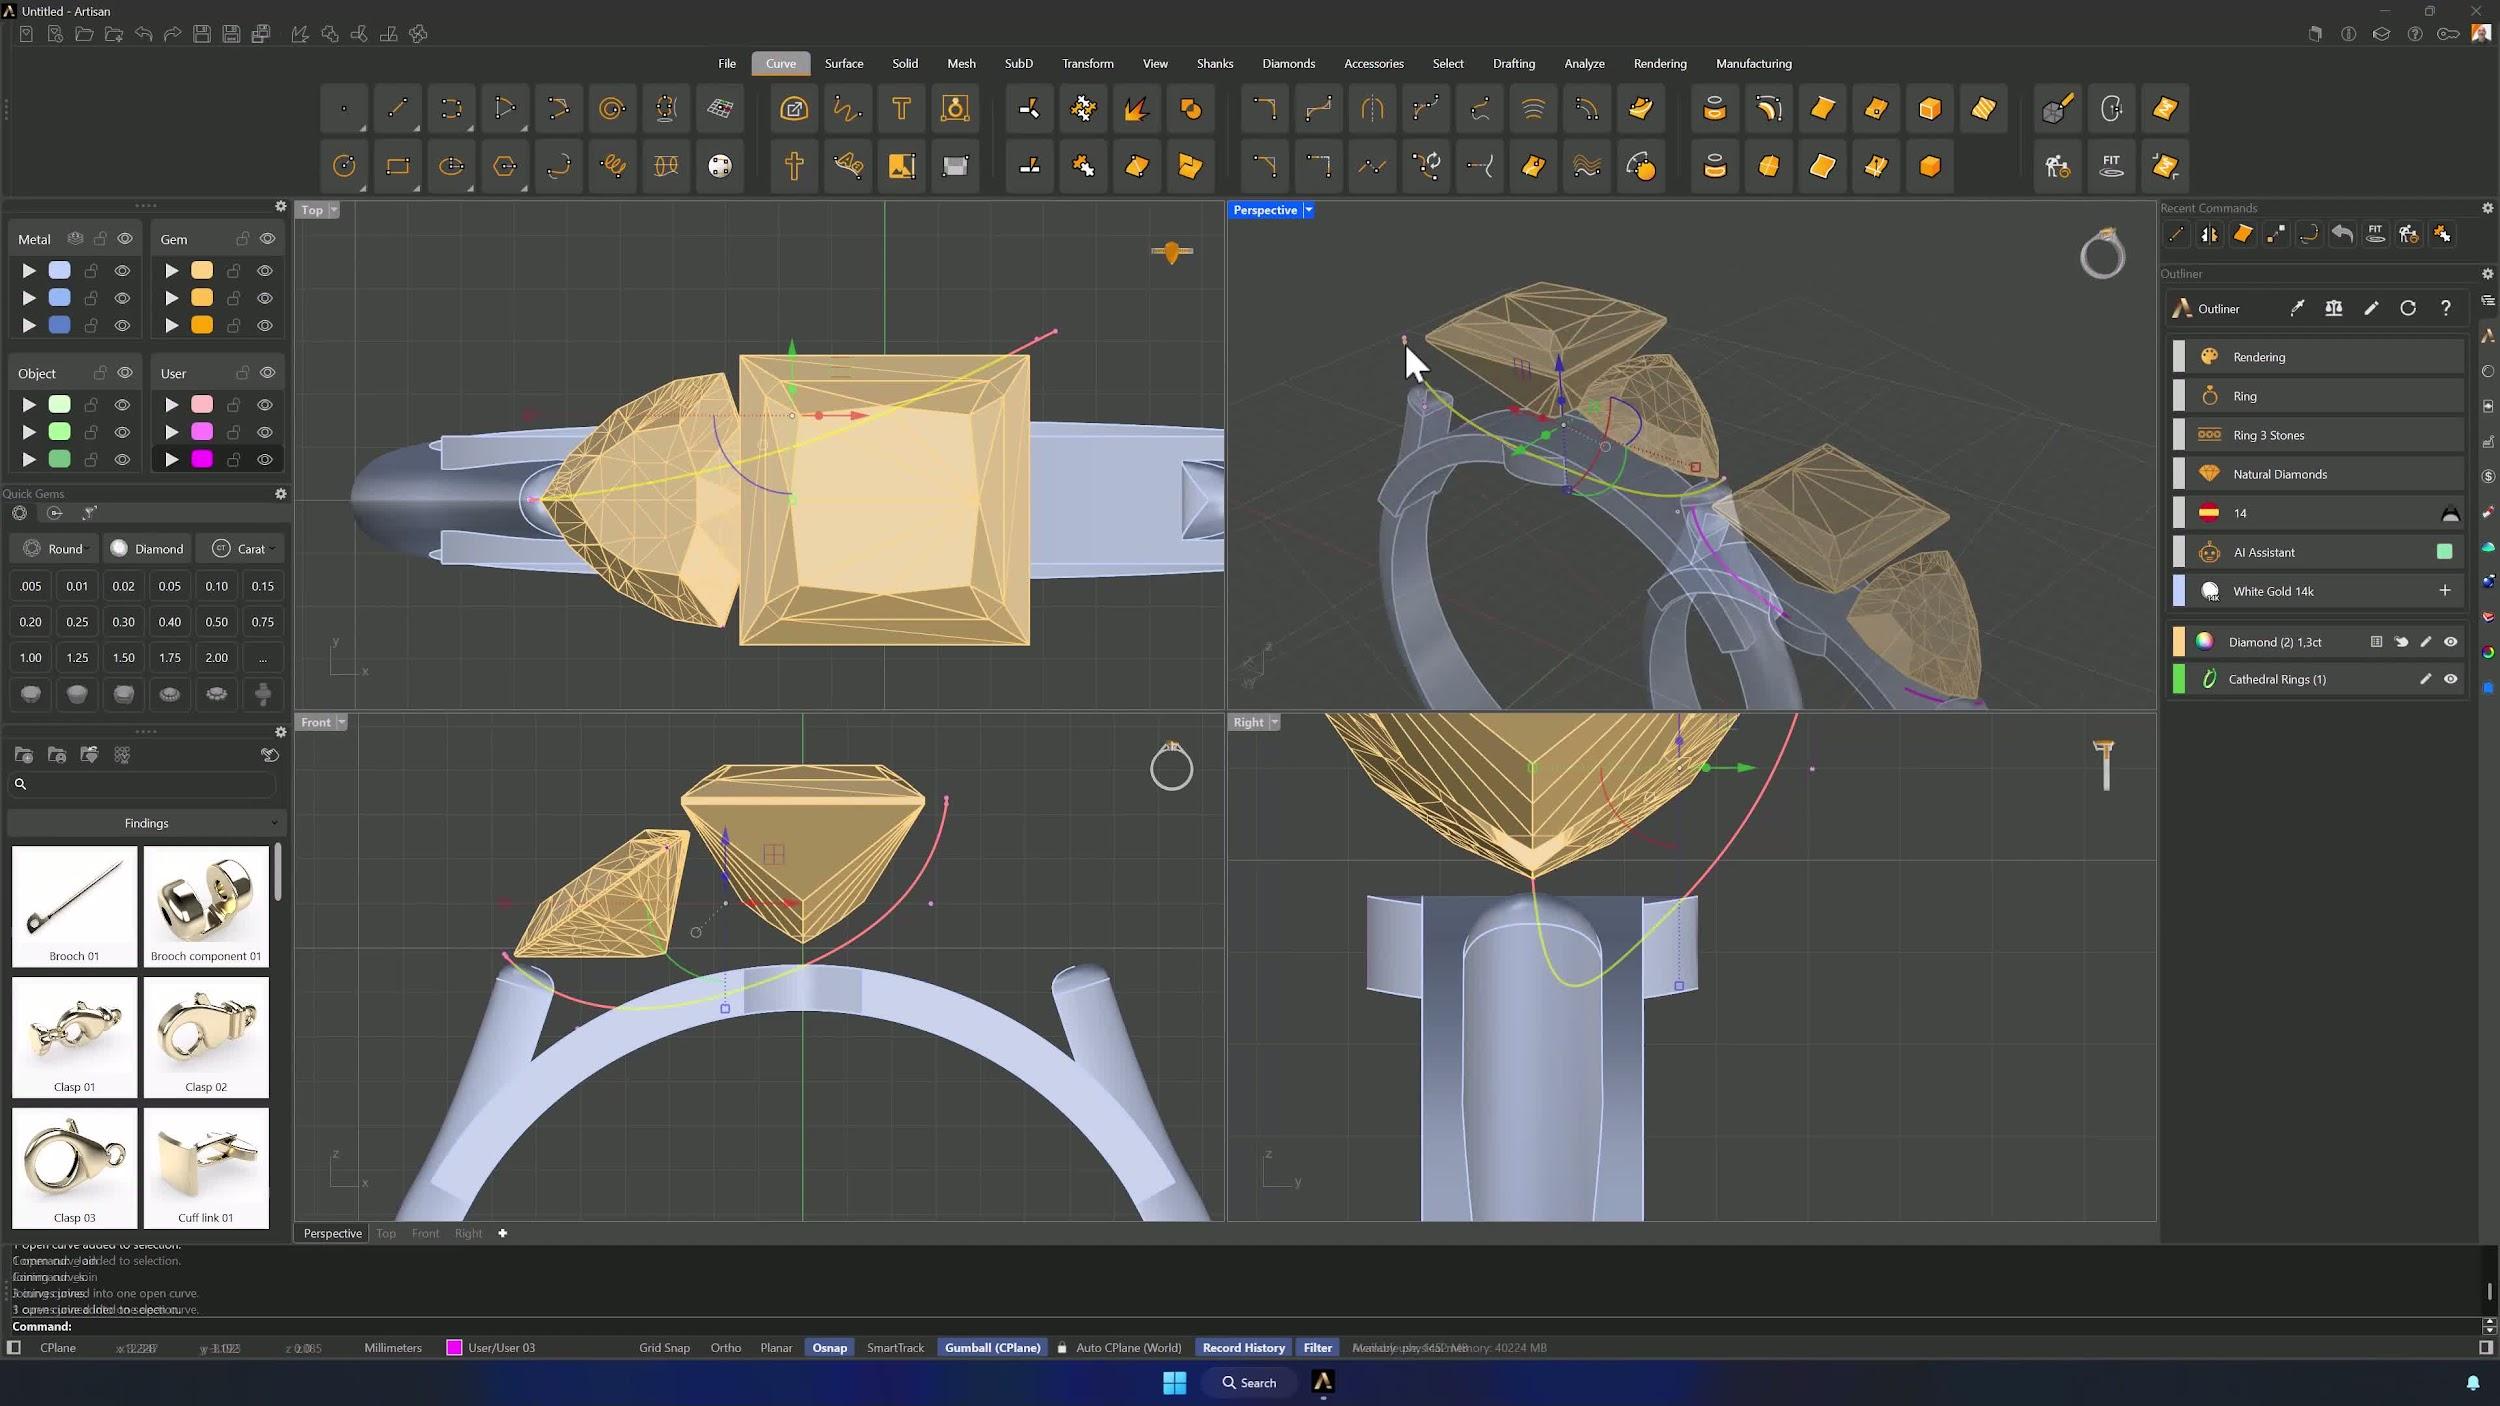
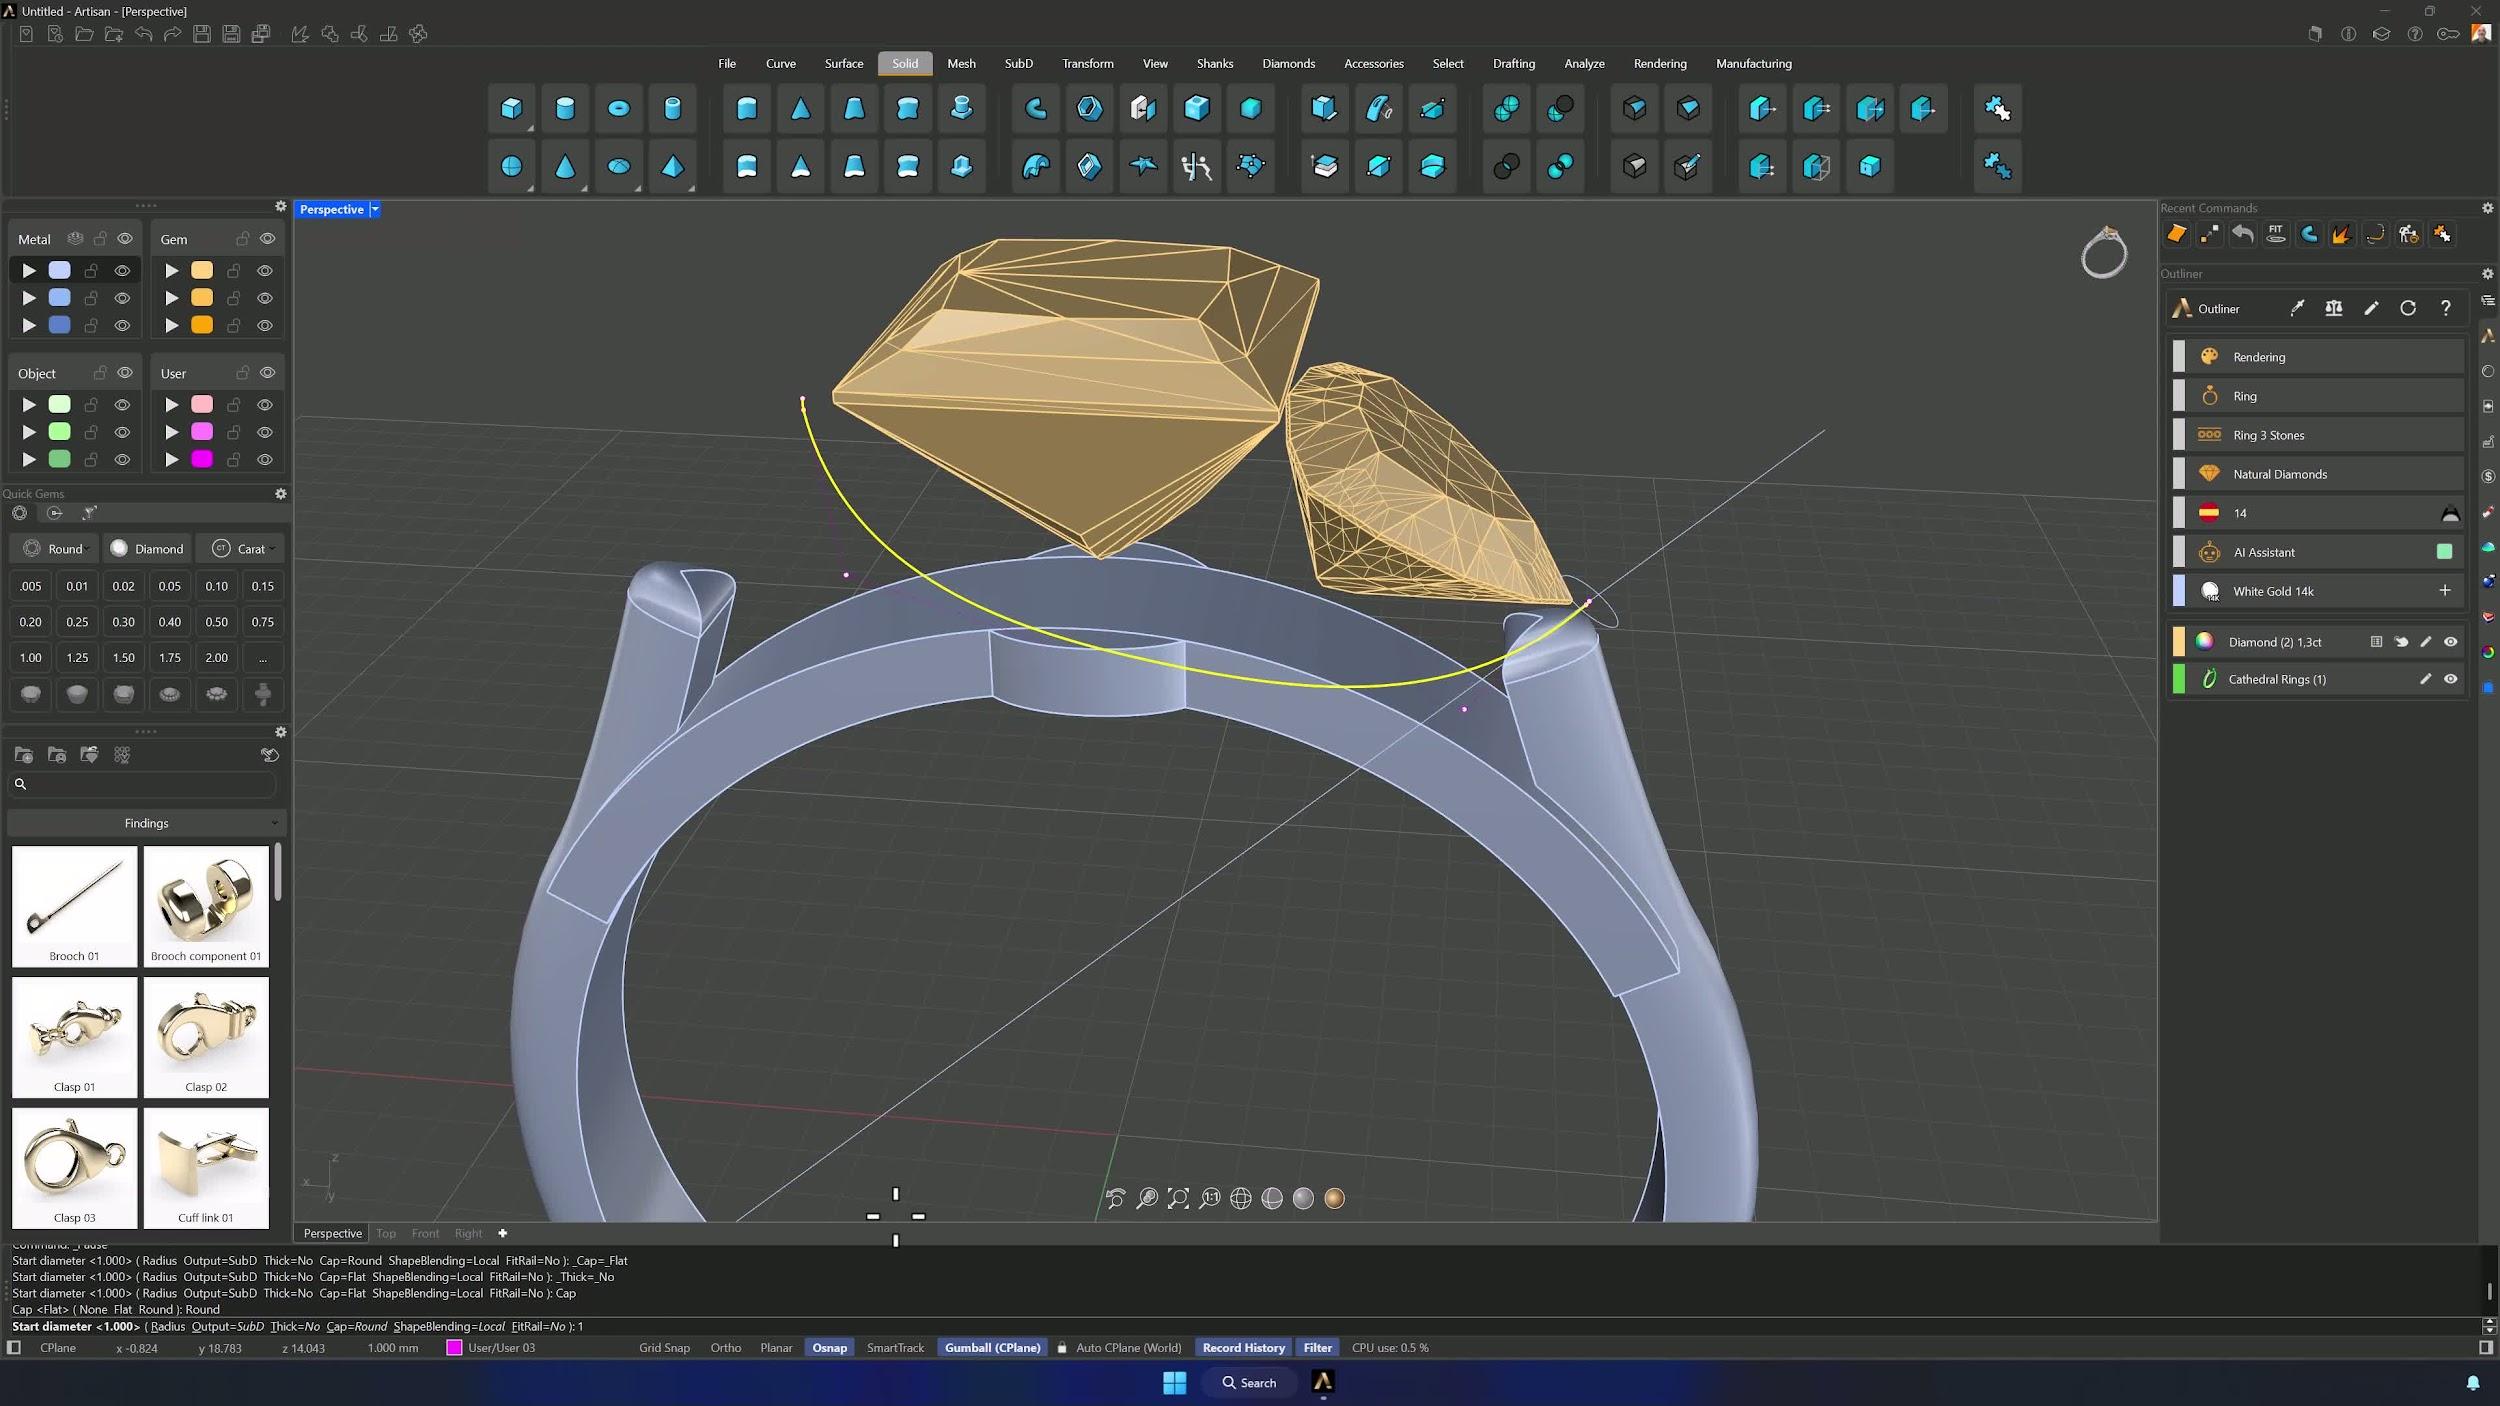
Rebuild the blend to 5 points (Preserve Tangent Directions off, Delete input on) and sculpt the control points — the lower one moves inward, about halfway between bridge end and shank, using the Right view. Join the blend with the two side edges into a single prong curve.
7. Create the first prong as a pipe and correct its shape if needed
Pipe the curve with Diameter Mode: Output SubD, Cap Round, 1 mm. If the prong floats too far from the gem, explode the curve, delete the blend, pull the edge closer, blend and rebuild again, and re-pipe — iteration is the technique here.
8. Mirror the first prong and prepare the shank reference curve
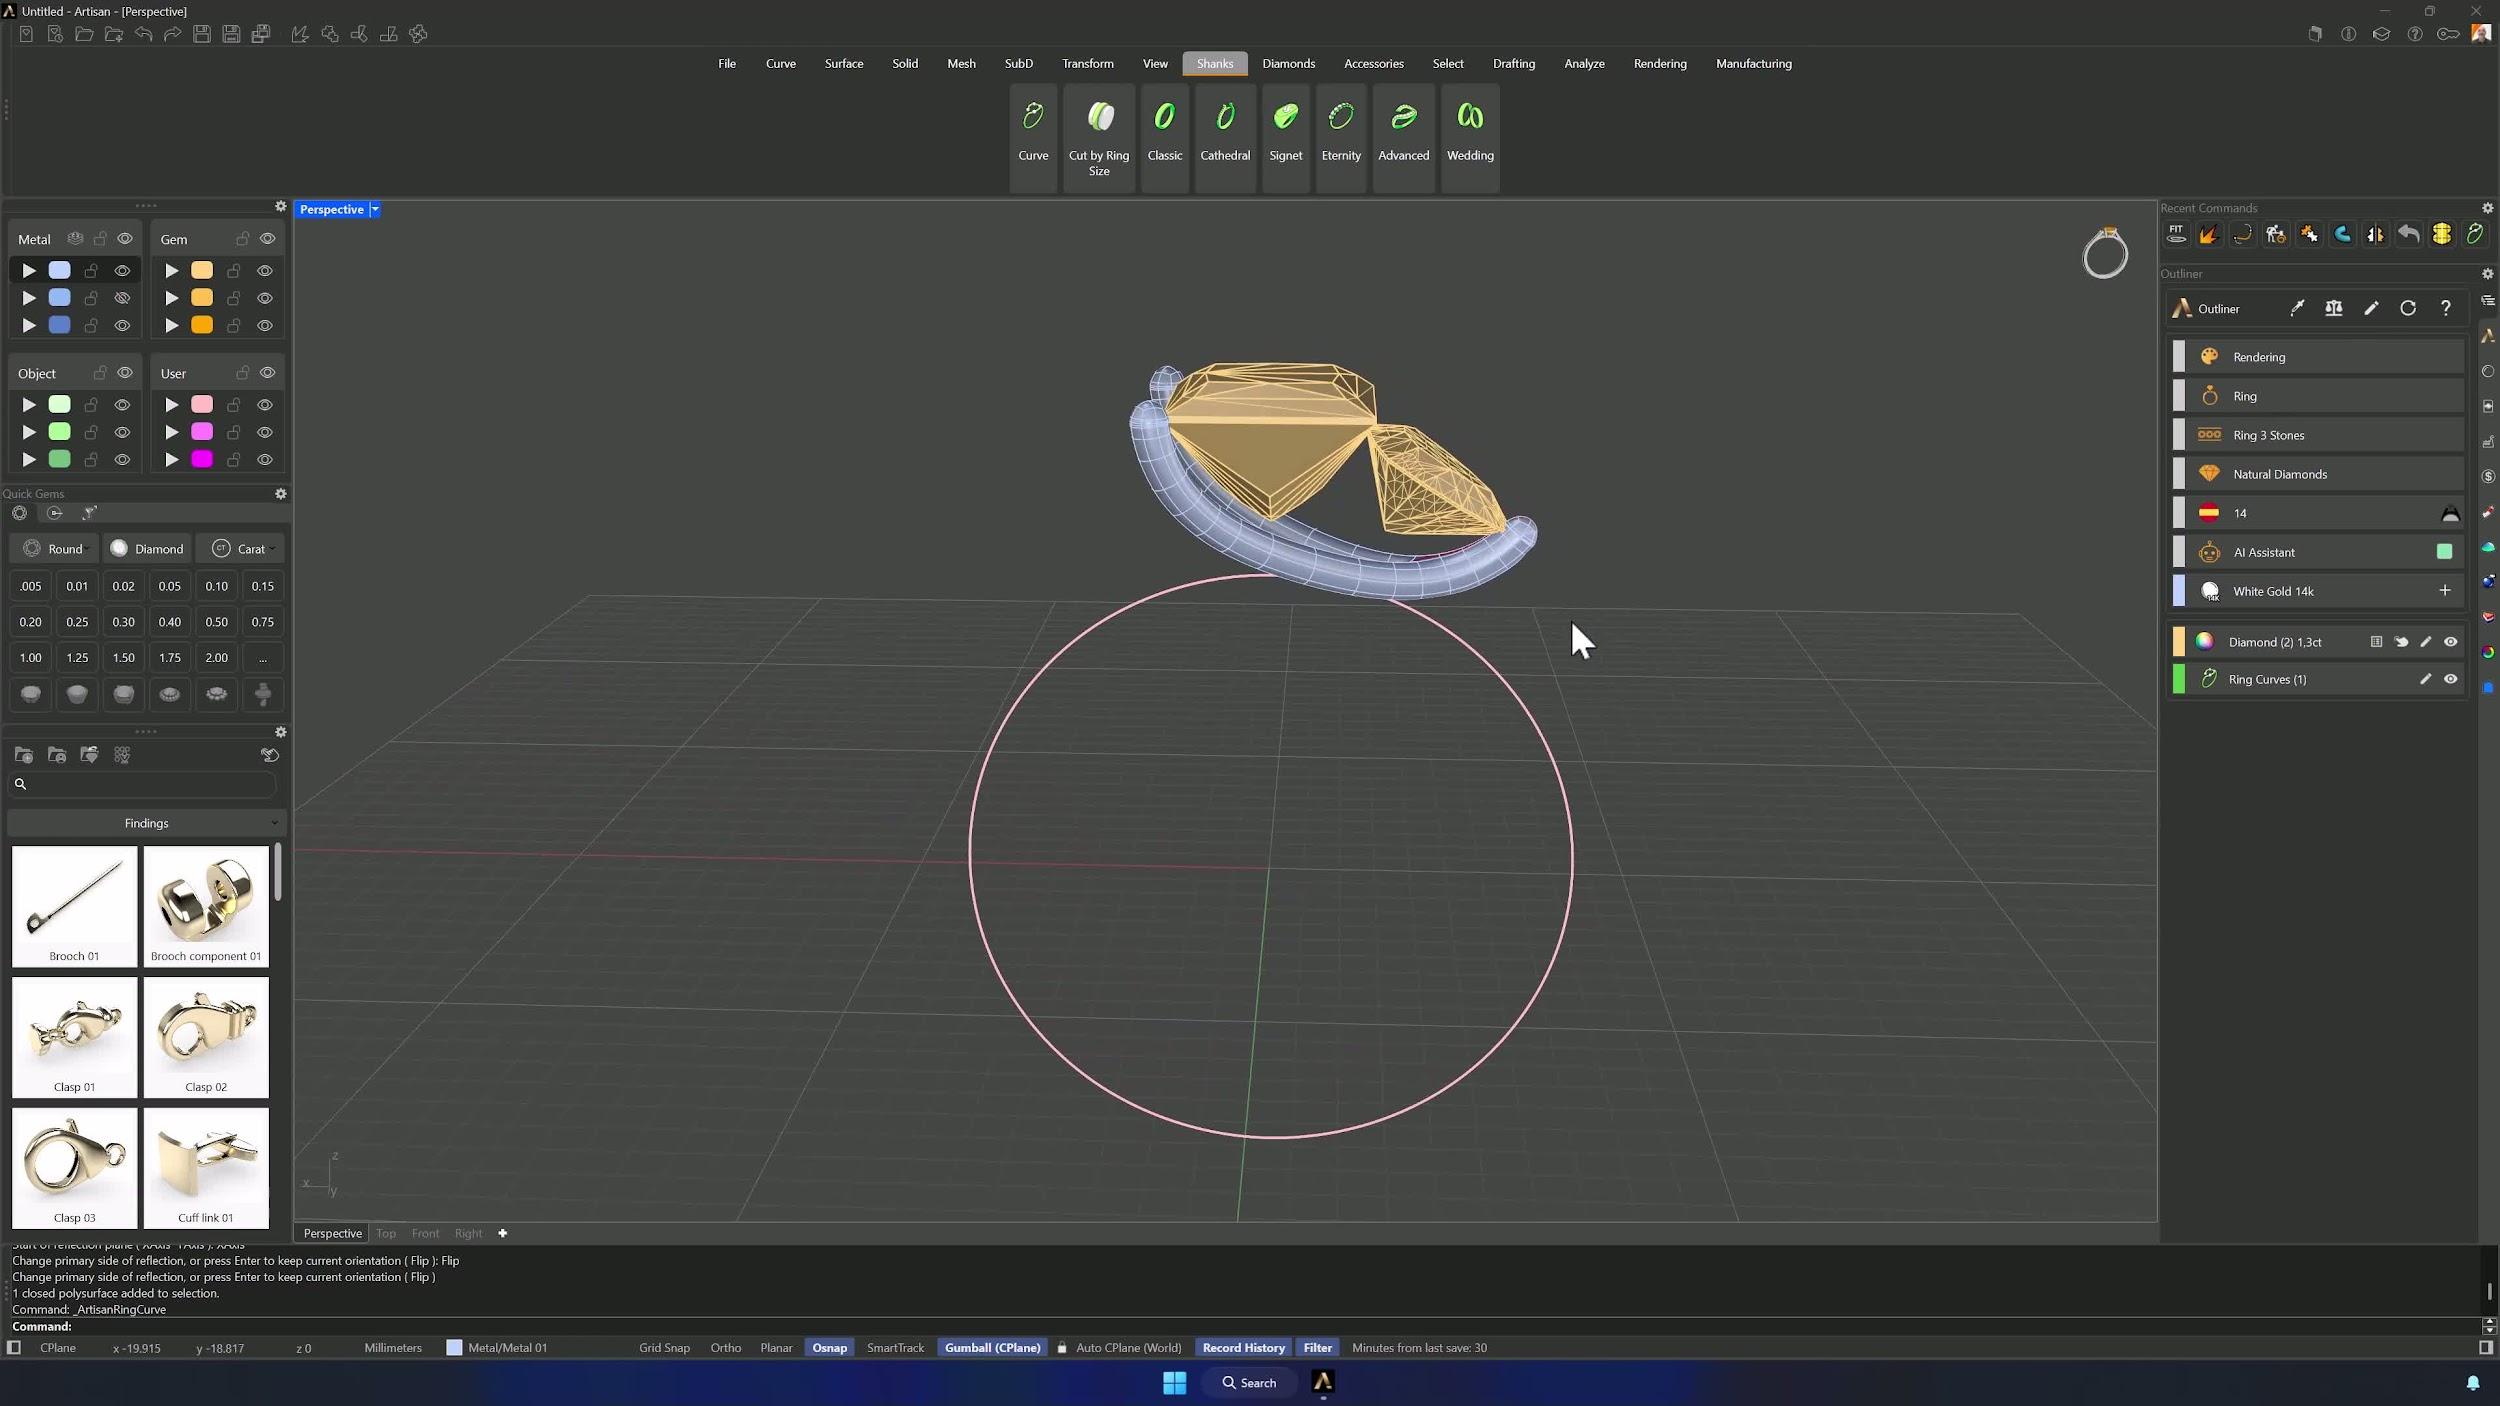
Reflect the prong across X (Flip until the arrows point at the side to mirror). Hide the shank on its layer and generate a fresh size 14 reference Curve from the Shanks tab.
9. Build the second setting curve and pipe
Offset the new shank curve 0.5 mm from the Front view. Blend the remaining edge into the offset (Flip inverted points), bring the curve end almost to the gem, Rebuild at 5 points, and refine the lower control point from the Right view until it crosses the gem or aligns with the prong center. Join, delete the junction point, Pipe with the same settings, and Reflect across X.
Almost there — you still have some lessons to complete. Jump to the next one →
Impersonating — progress and reviews are disabled.
Course completed
You've completed Sculpted Elegance: Statement Jewelry Designs 🎉
Great work. Get your certificate of completion and, if you have a minute, let other jewelers know what you thought of the course.