Dual Pear Diamond Ring
Lesson 29 of 35
Pavé, Millgrain & Finishing
Sign in to access this lesson
This lesson is part of Sculpted Elegance: Statement Jewelry Designs, which can come bundled with a RhinoArtisan Commercial license subject to current promotions. Log in with your customer account, or get in touch and we'll set you up.
Customers only
Solo para clientes
This lesson is part of Sculpted Elegance: Statement Jewelry Designs, which can be included with a RhinoArtisan Commercial license subject to current promotions. If you've already purchased and don't see it in your account, get in touch.
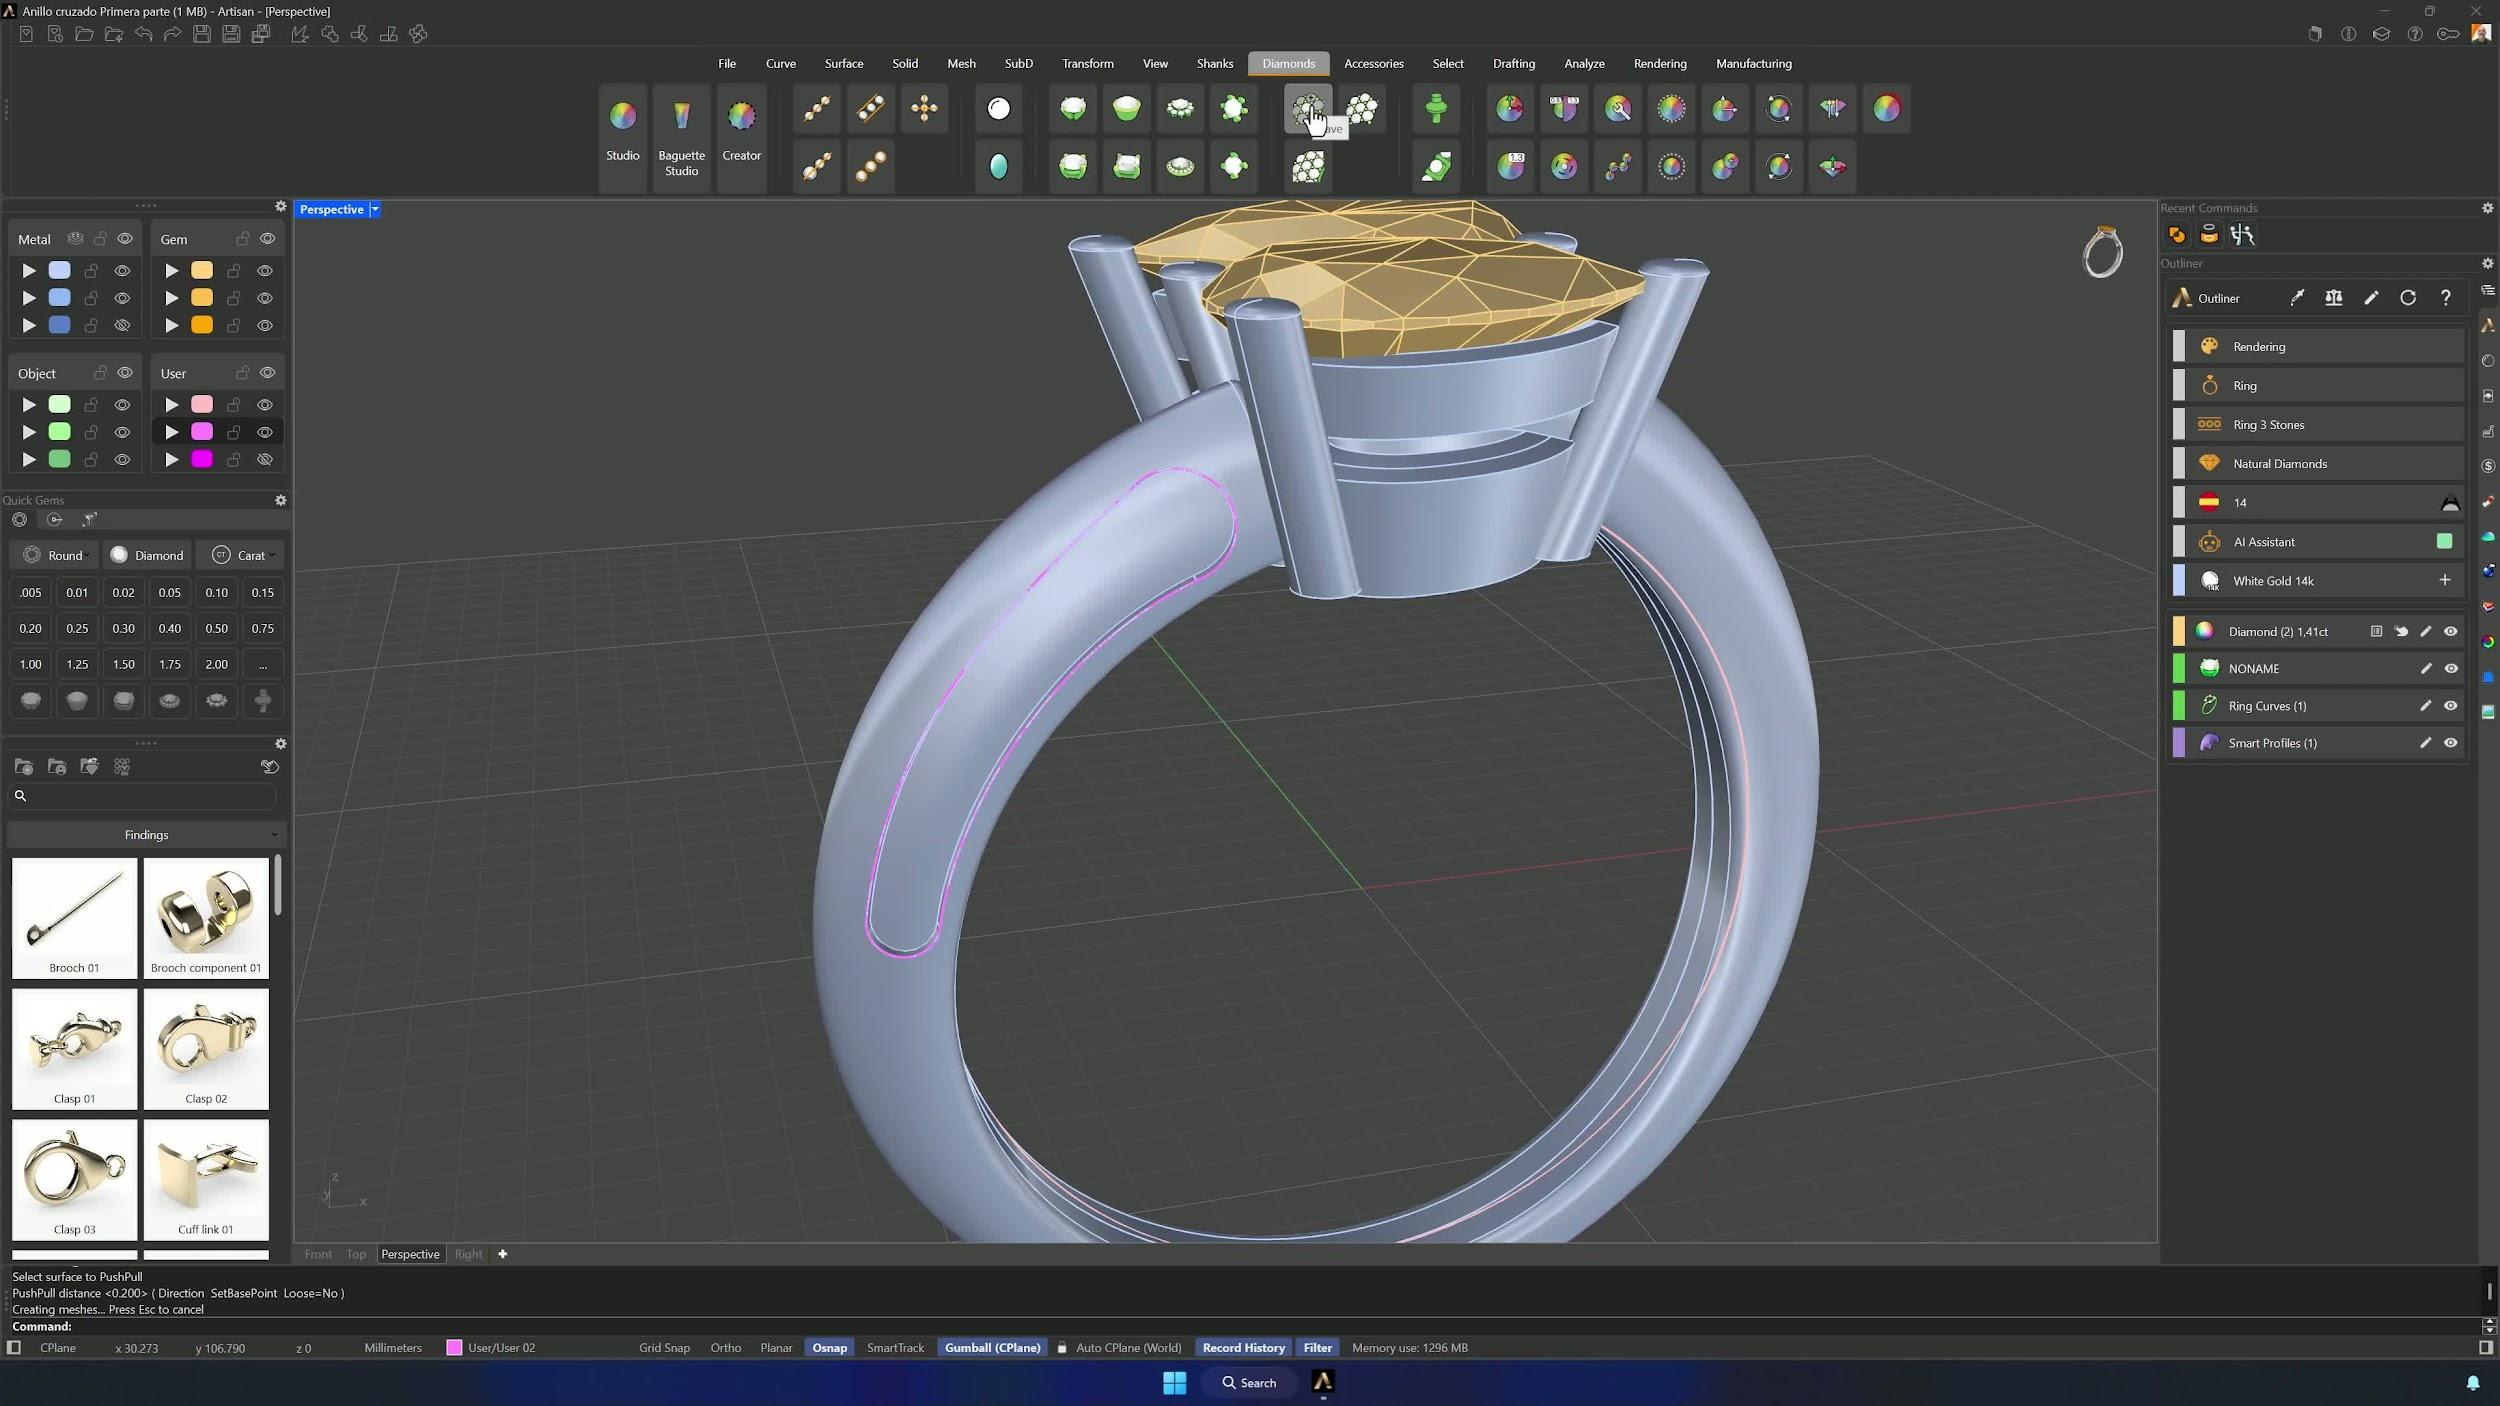
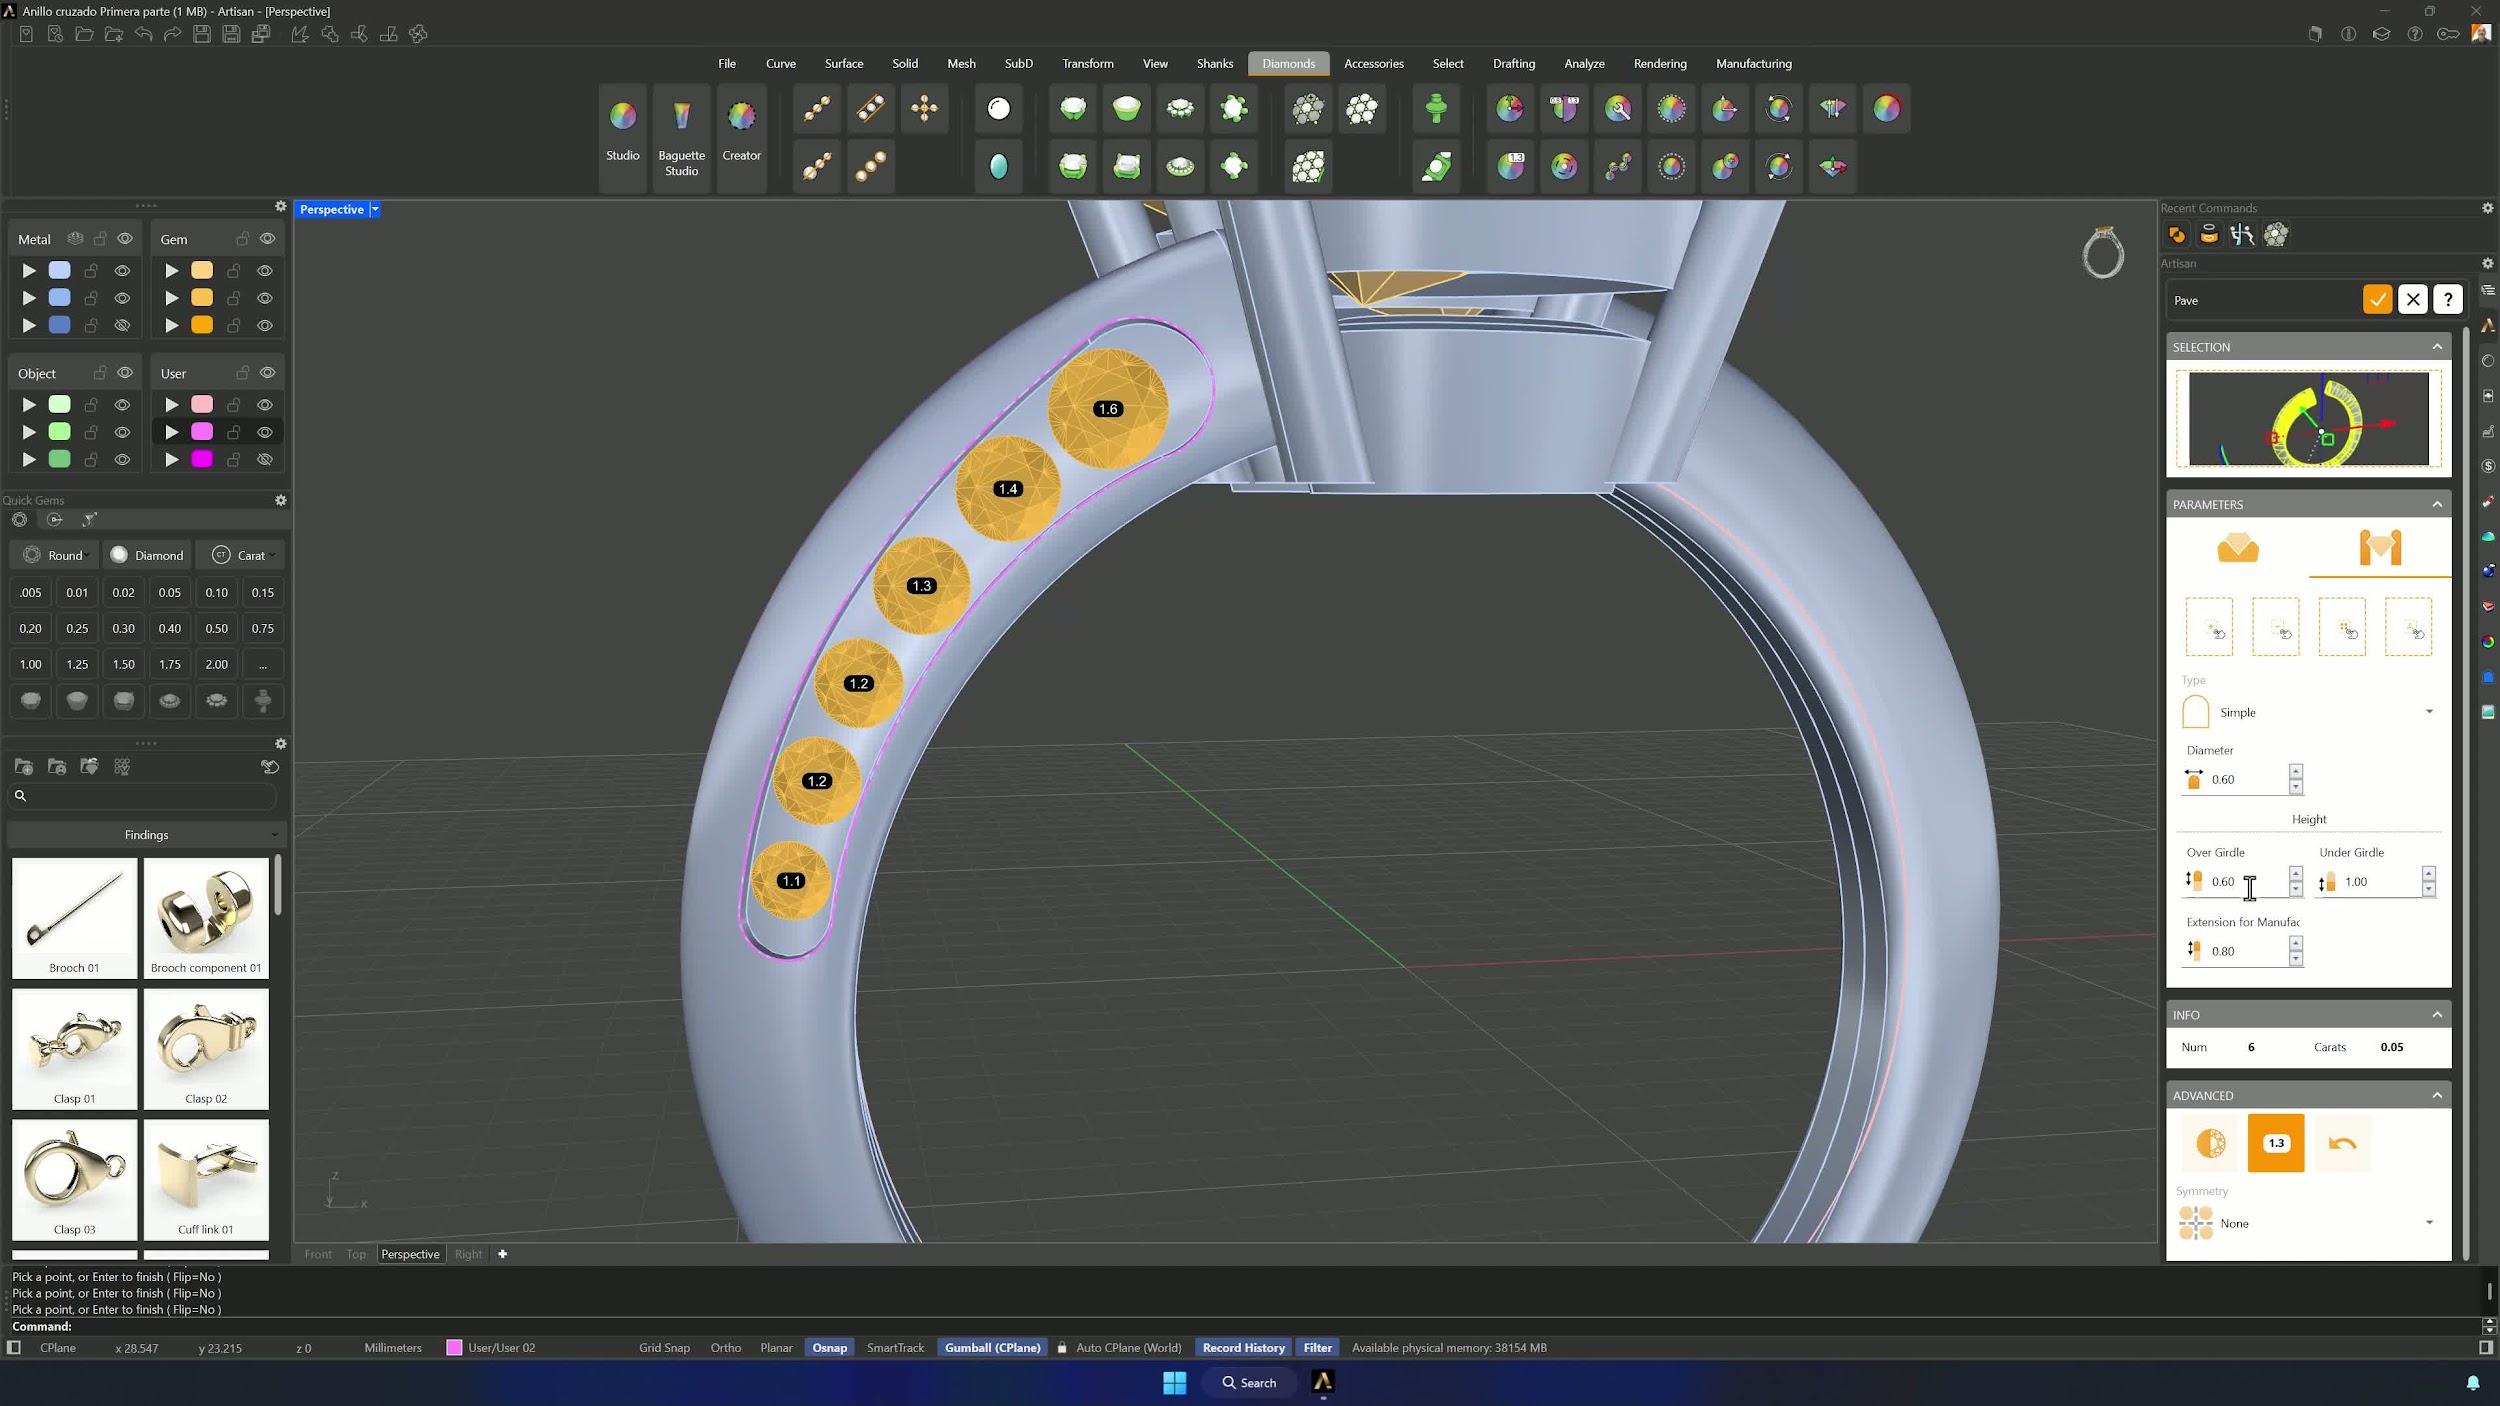
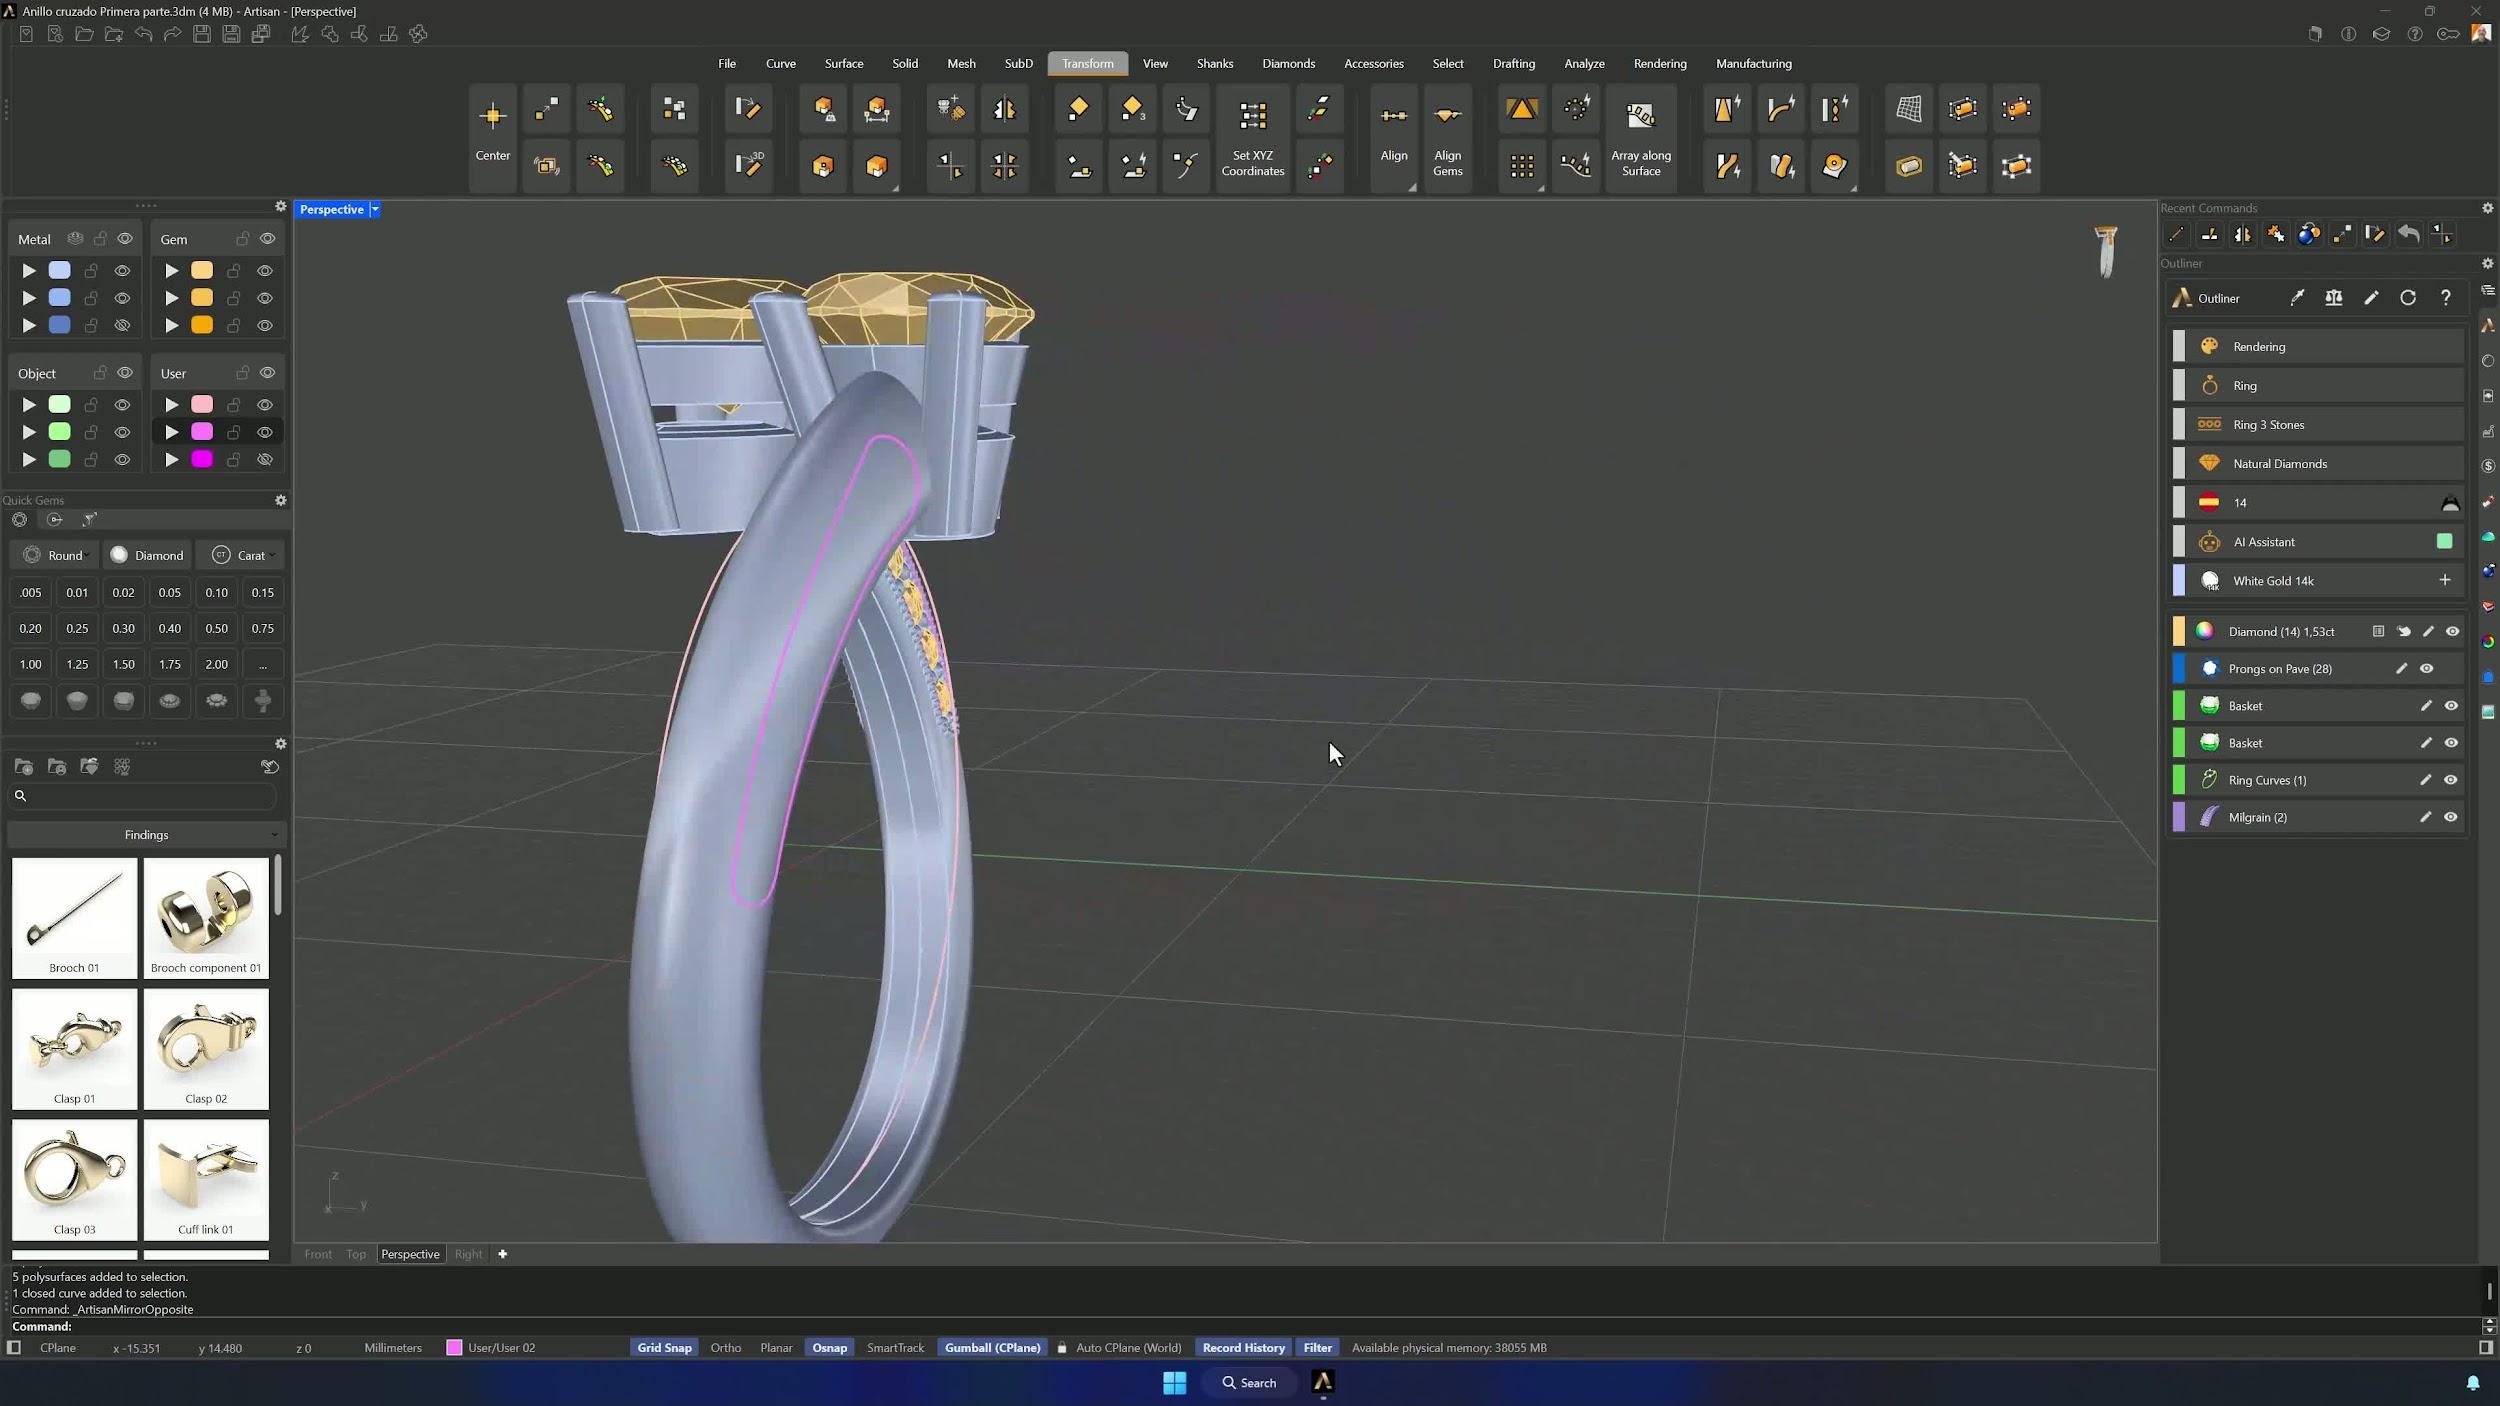
16. Place pave gemstones along the channel
Pave with the solid assigned: start with a 1.6 mm stone — leaving room for the prongs — and graduate down the channel with 1.4, 1.3, 1.2 and 1.1 mm, keeping the spacing consistent with the flow.
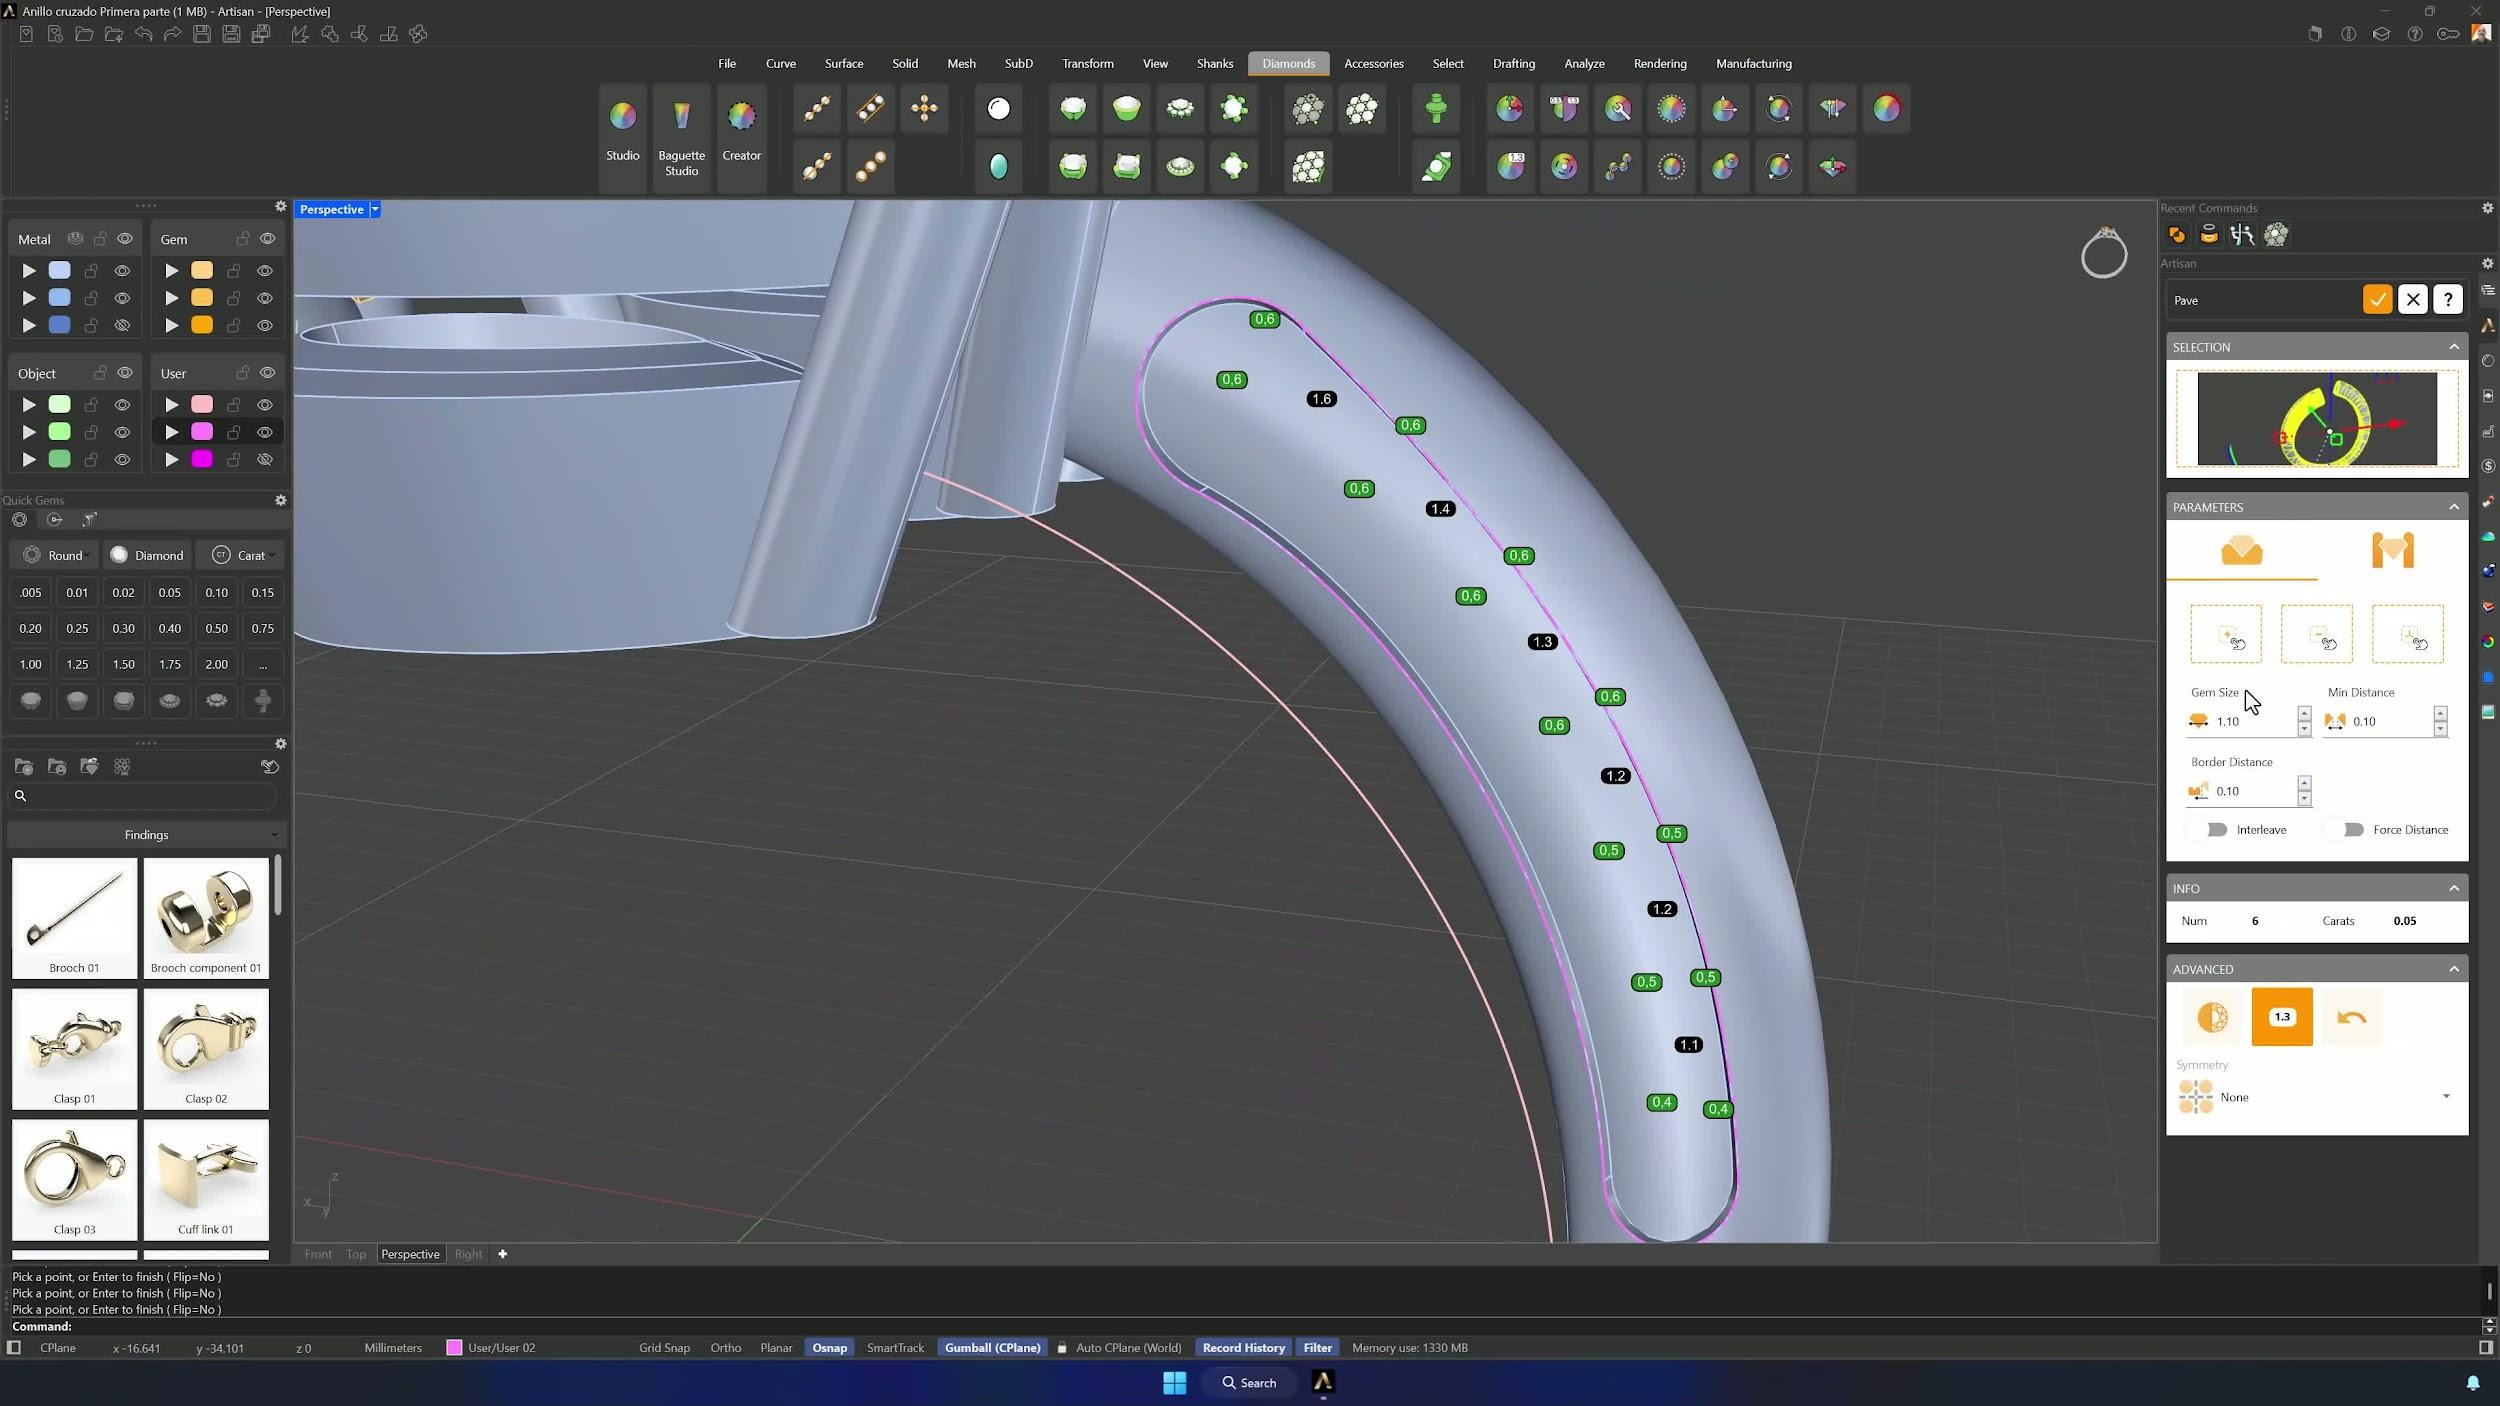
17. Add prongs for the pave stones
Prongs at diameter 0.6 mm, overgirdle 0.20, undergirdle 0.4, manufacturing extension 0.3 — placed carefully, dropping to 0.5 or 0.4 mm where a finer look fits better.
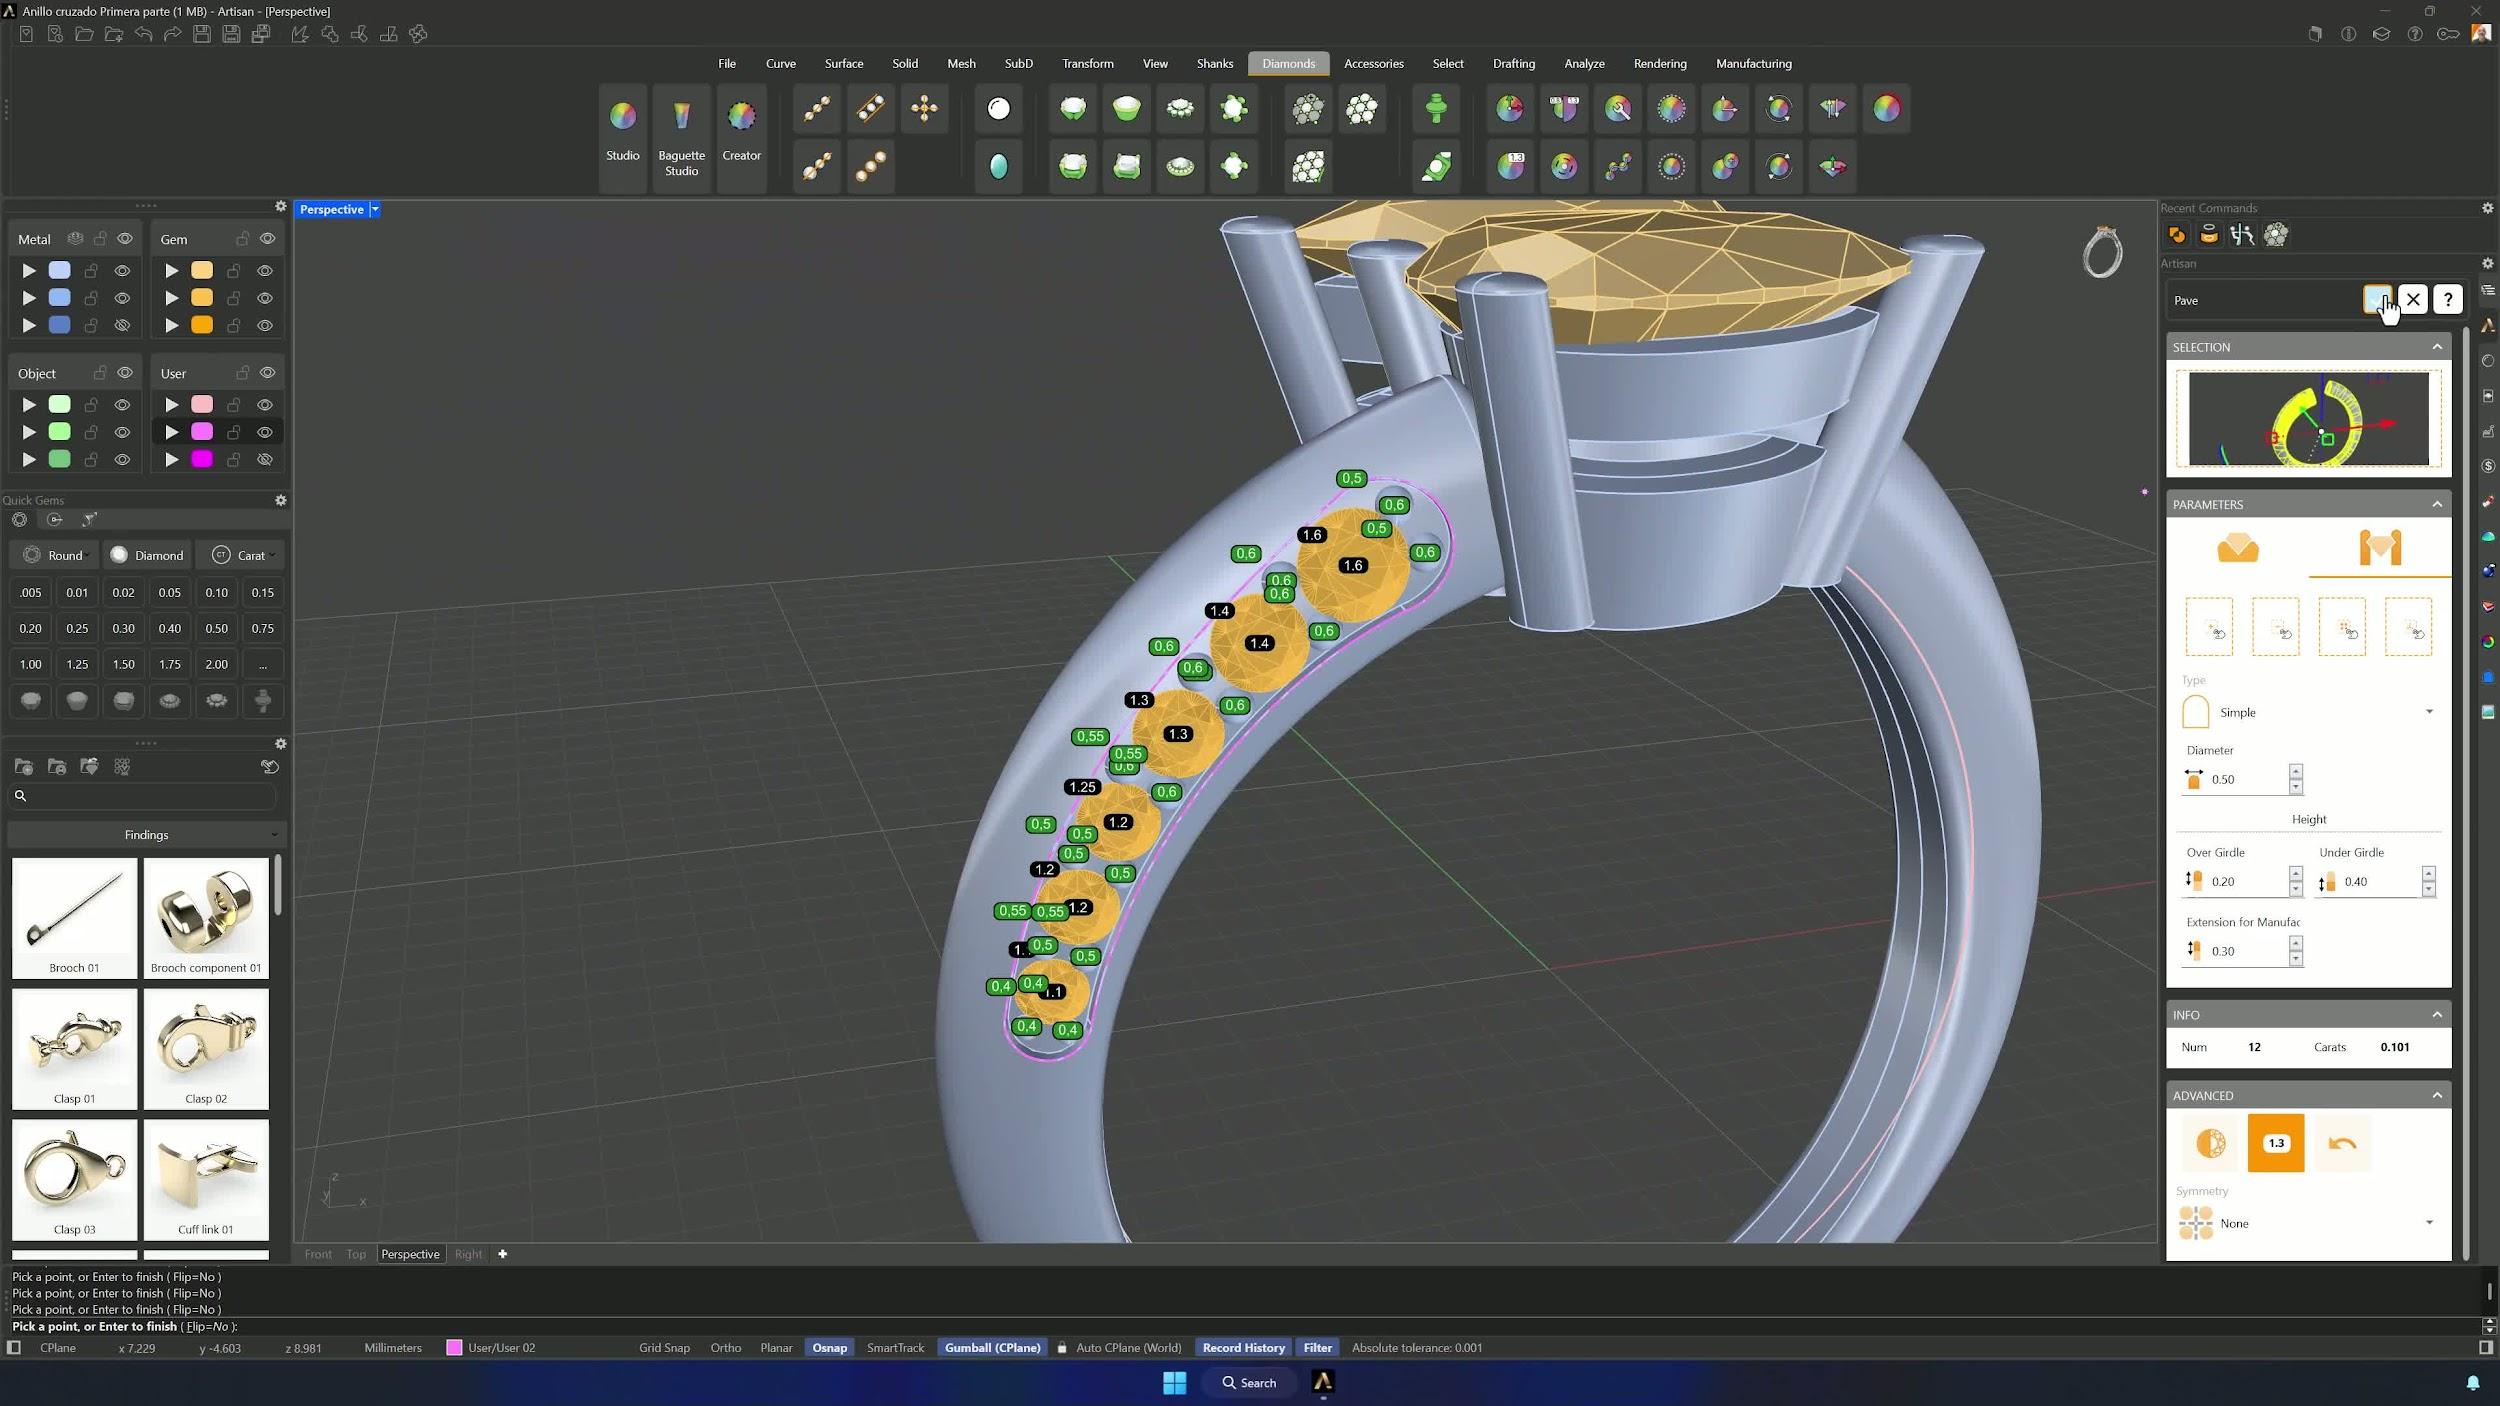
18. Mirror the pave layout to the opposite side
Repeat the sequence on the other arm — 1.6, 1.4, 1.3, 1.25, 1.2 and 1.1 mm — adjusting or resizing stones until both sides read as one design, and confirm.
19. Offset the surface curve and add millgrain detail
Curve Offset on Surface at 0.01 along each channel edge, then Accessories > Mill Grain at diameter 0.2 assigned to the curve — adjusted to 0.3 with Overlapping at 0. Apply Style copies it to the other curve, and a −0.05 mm inward nudge refines the finish.
20. Mirror the remaining details and finish the model
Mirror Opposite the curve, re-project, repeat the 0.20 mm Push and Pull on the other side, and Mirror Opposite the gems and millgrain. Hide the construction curves, create the cutters, and a final Boolean Difference completes the symmetrical, render-ready ring.
Tips for a clean result
- Confirm the curves sit at the correct ring size before building shank or settings.
- Watch the ± signs when rotating segments — a flipped angle breaks the symmetry.
- If a profile doesn’t fit, check the orientation surface before touching dimensions.
- Duplicate edited profiles instead of recreating them, and use Apply Style for matching details.
- Check prong and stone spacing to avoid collisions.
- Validate one side completely before mirroring — rework doubles otherwise.
Almost there — you still have some lessons to complete. Jump to the next one →
Impersonating — progress and reviews are disabled.
Course completed
You've completed Sculpted Elegance: Statement Jewelry Designs 🎉
Great work. Get your certificate of completion and, if you have a minute, let other jewelers know what you thought of the course.