Sapphire Eternity Ring
Lesson 15 of 35
Reference Curves & Center Gems
Sign in to access this lesson
This lesson is part of Sculpted Elegance: Statement Jewelry Designs, which can come bundled with a RhinoArtisan Commercial license subject to current promotions. Log in with your customer account, or get in touch and we'll set you up.
Customers only
Solo para clientes
This lesson is part of Sculpted Elegance: Statement Jewelry Designs, which can be included with a RhinoArtisan Commercial license subject to current promotions. If you've already purchased and don't see it in your account, get in touch.
1. Set up the workspace and create the initial ring curve
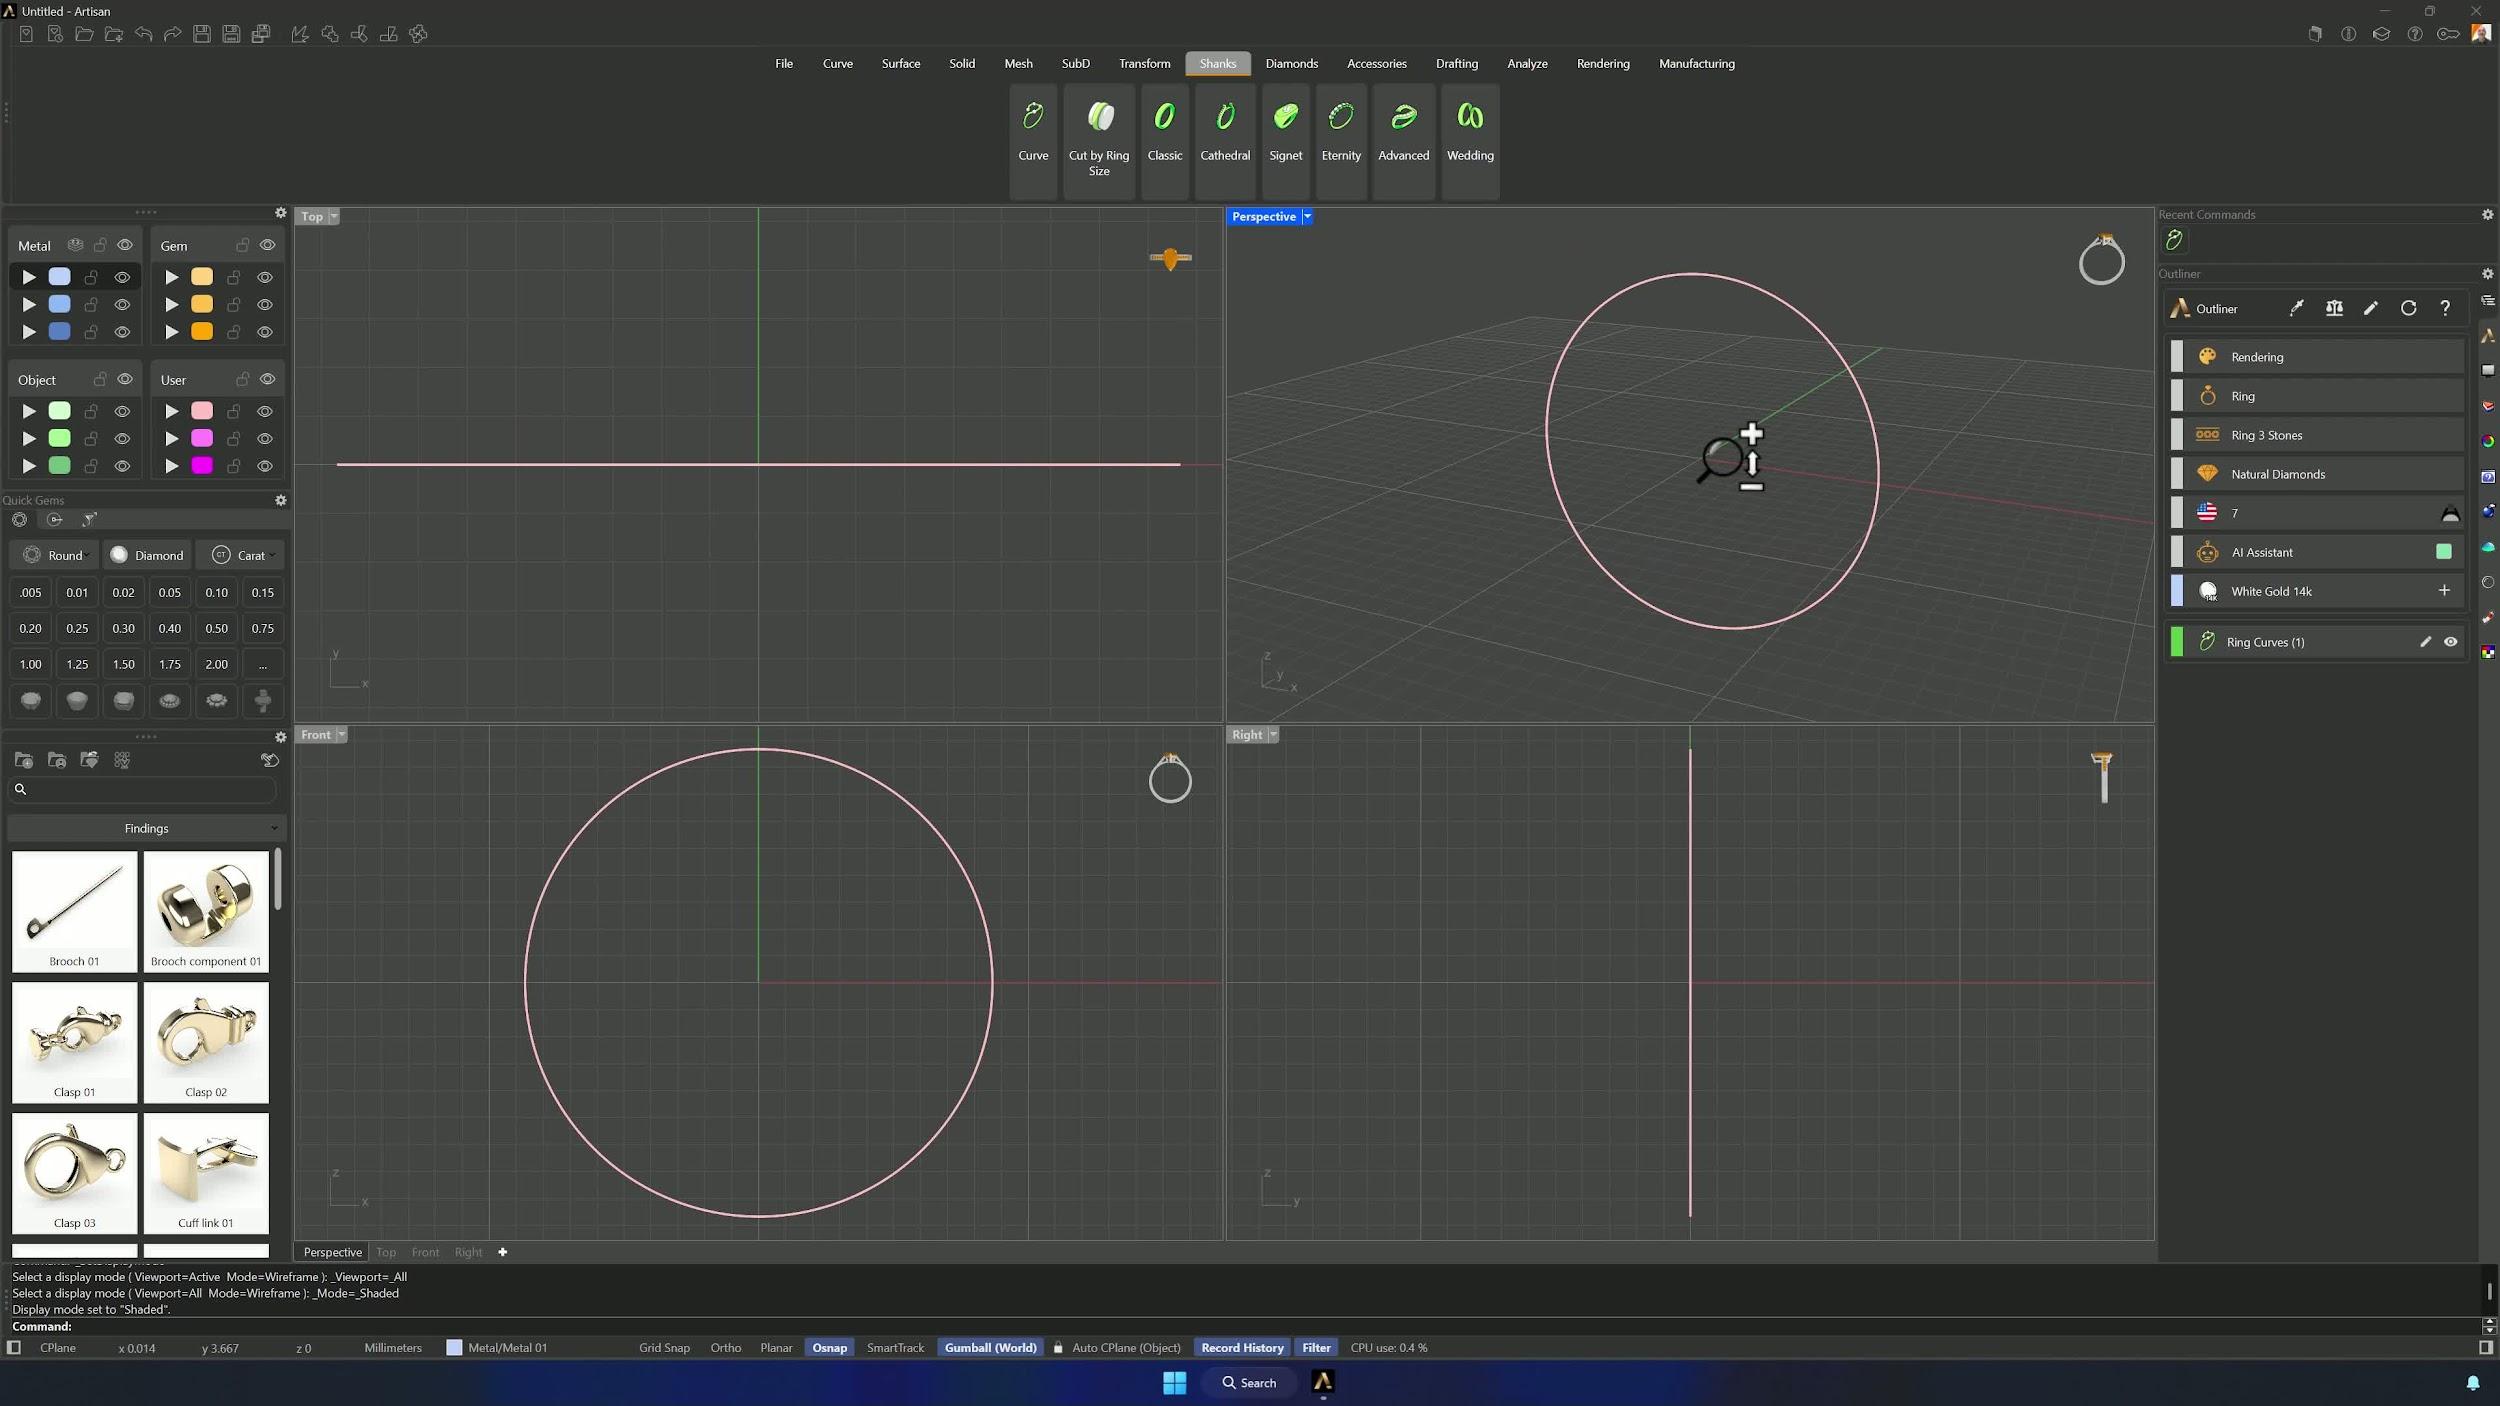
Create a Curve from the Shanks tab for United States size 7 and accept. Zoom Extents All centers the model, and Shift + Shaded applies the display mode to every viewport.
2. Build reference curves in the front view
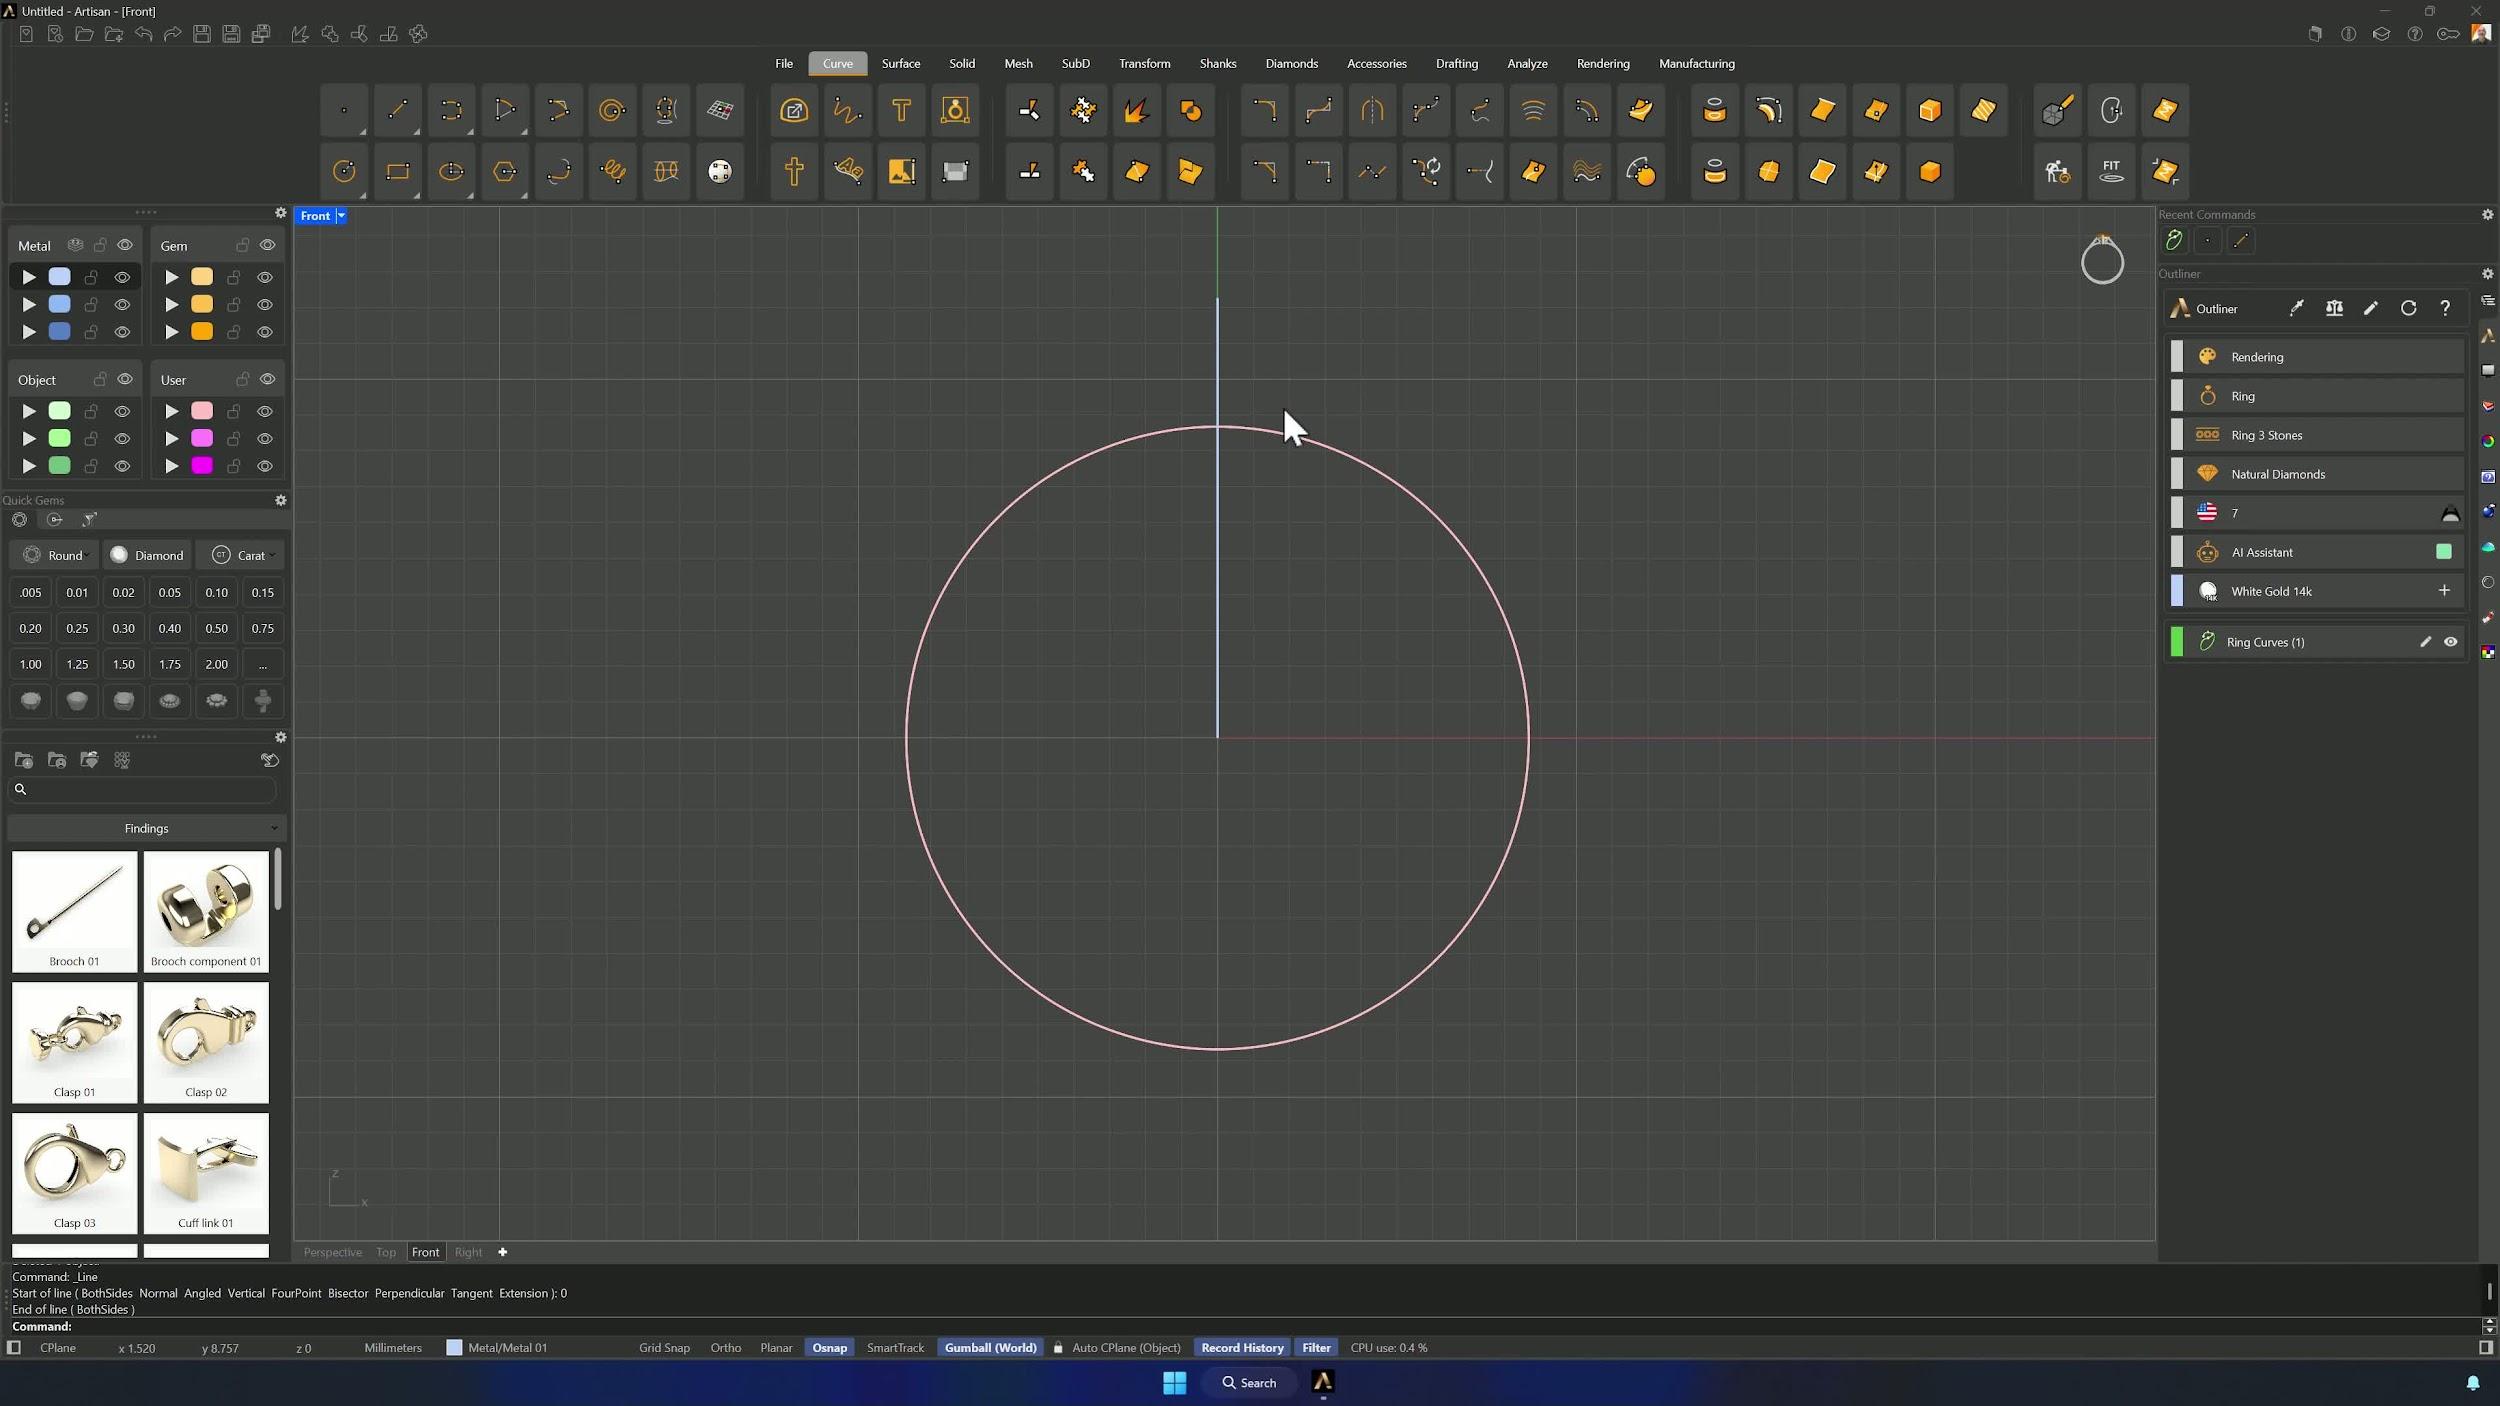
Maximize the Front view and draw the first vertical Line from the center: type 0, then 12.26 mm, holding Shift to stay on the Z axis.
3. Add the second reference line and curve guide
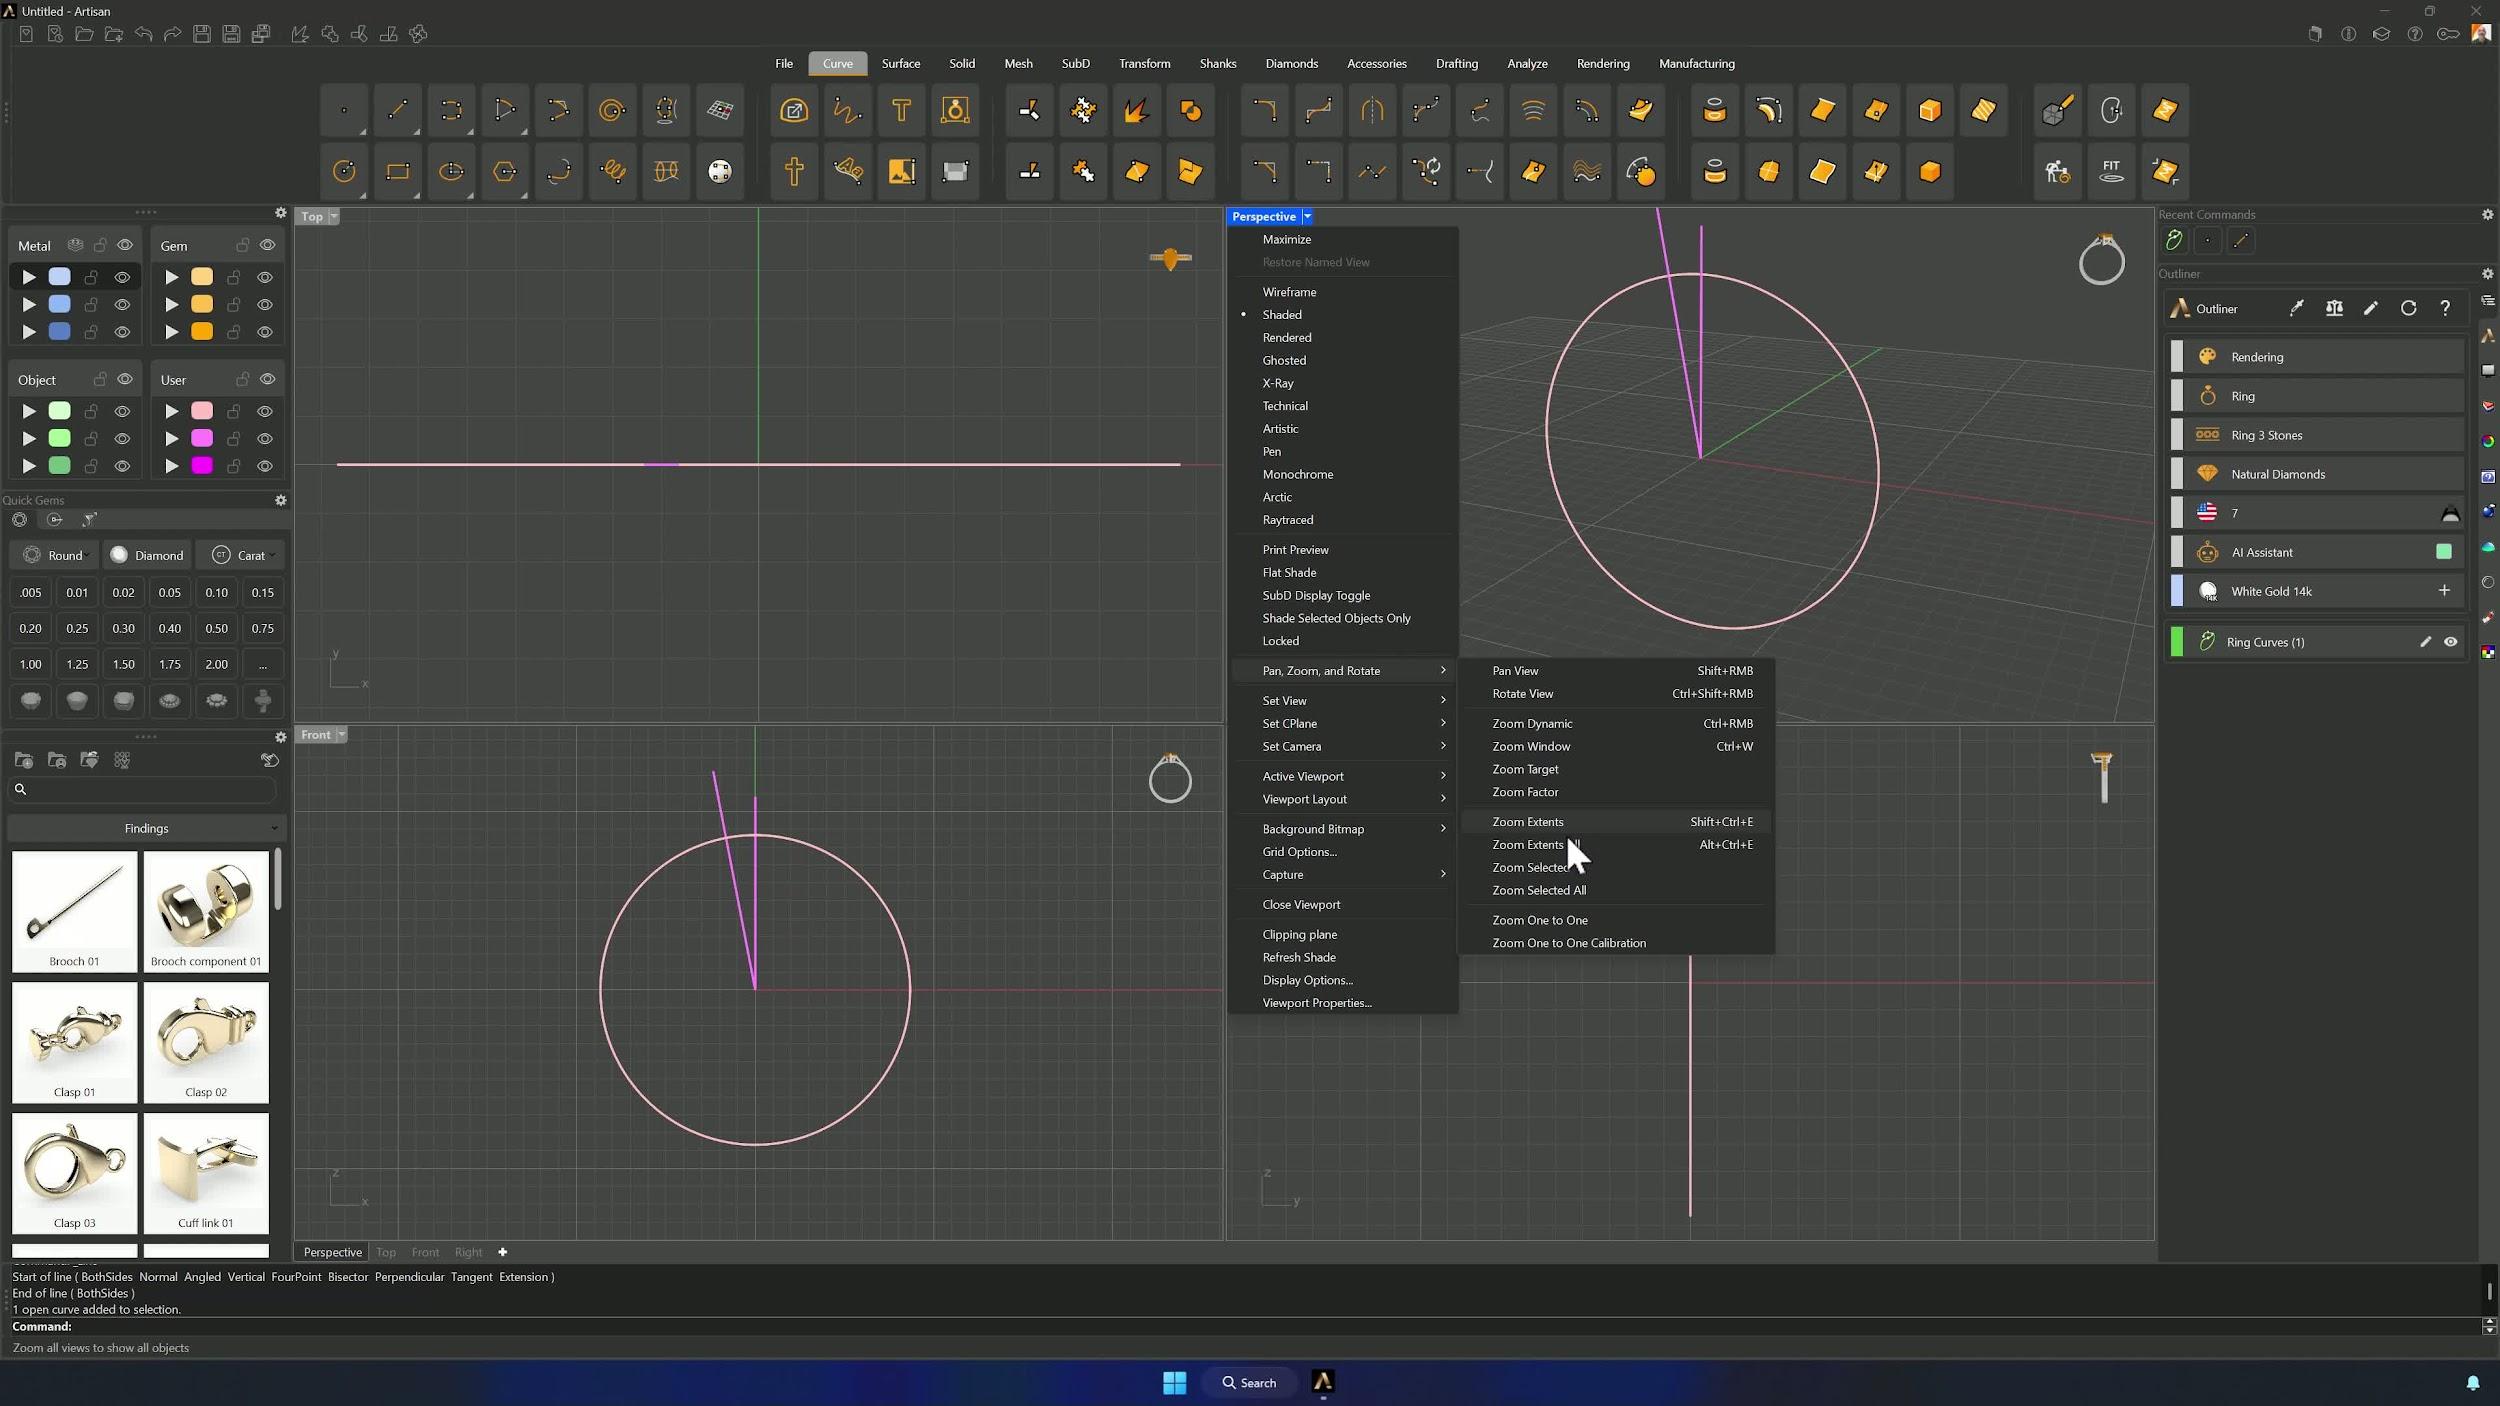
From the top of that line (Osnap on), draw 2.36 mm to the left, then a curve from the center toward the far left end of the upper line. Delete the two construction lines, keep the curve on its own layer, and add another vertical line from the center at 10.85 mm.
4. Create and position the first gem
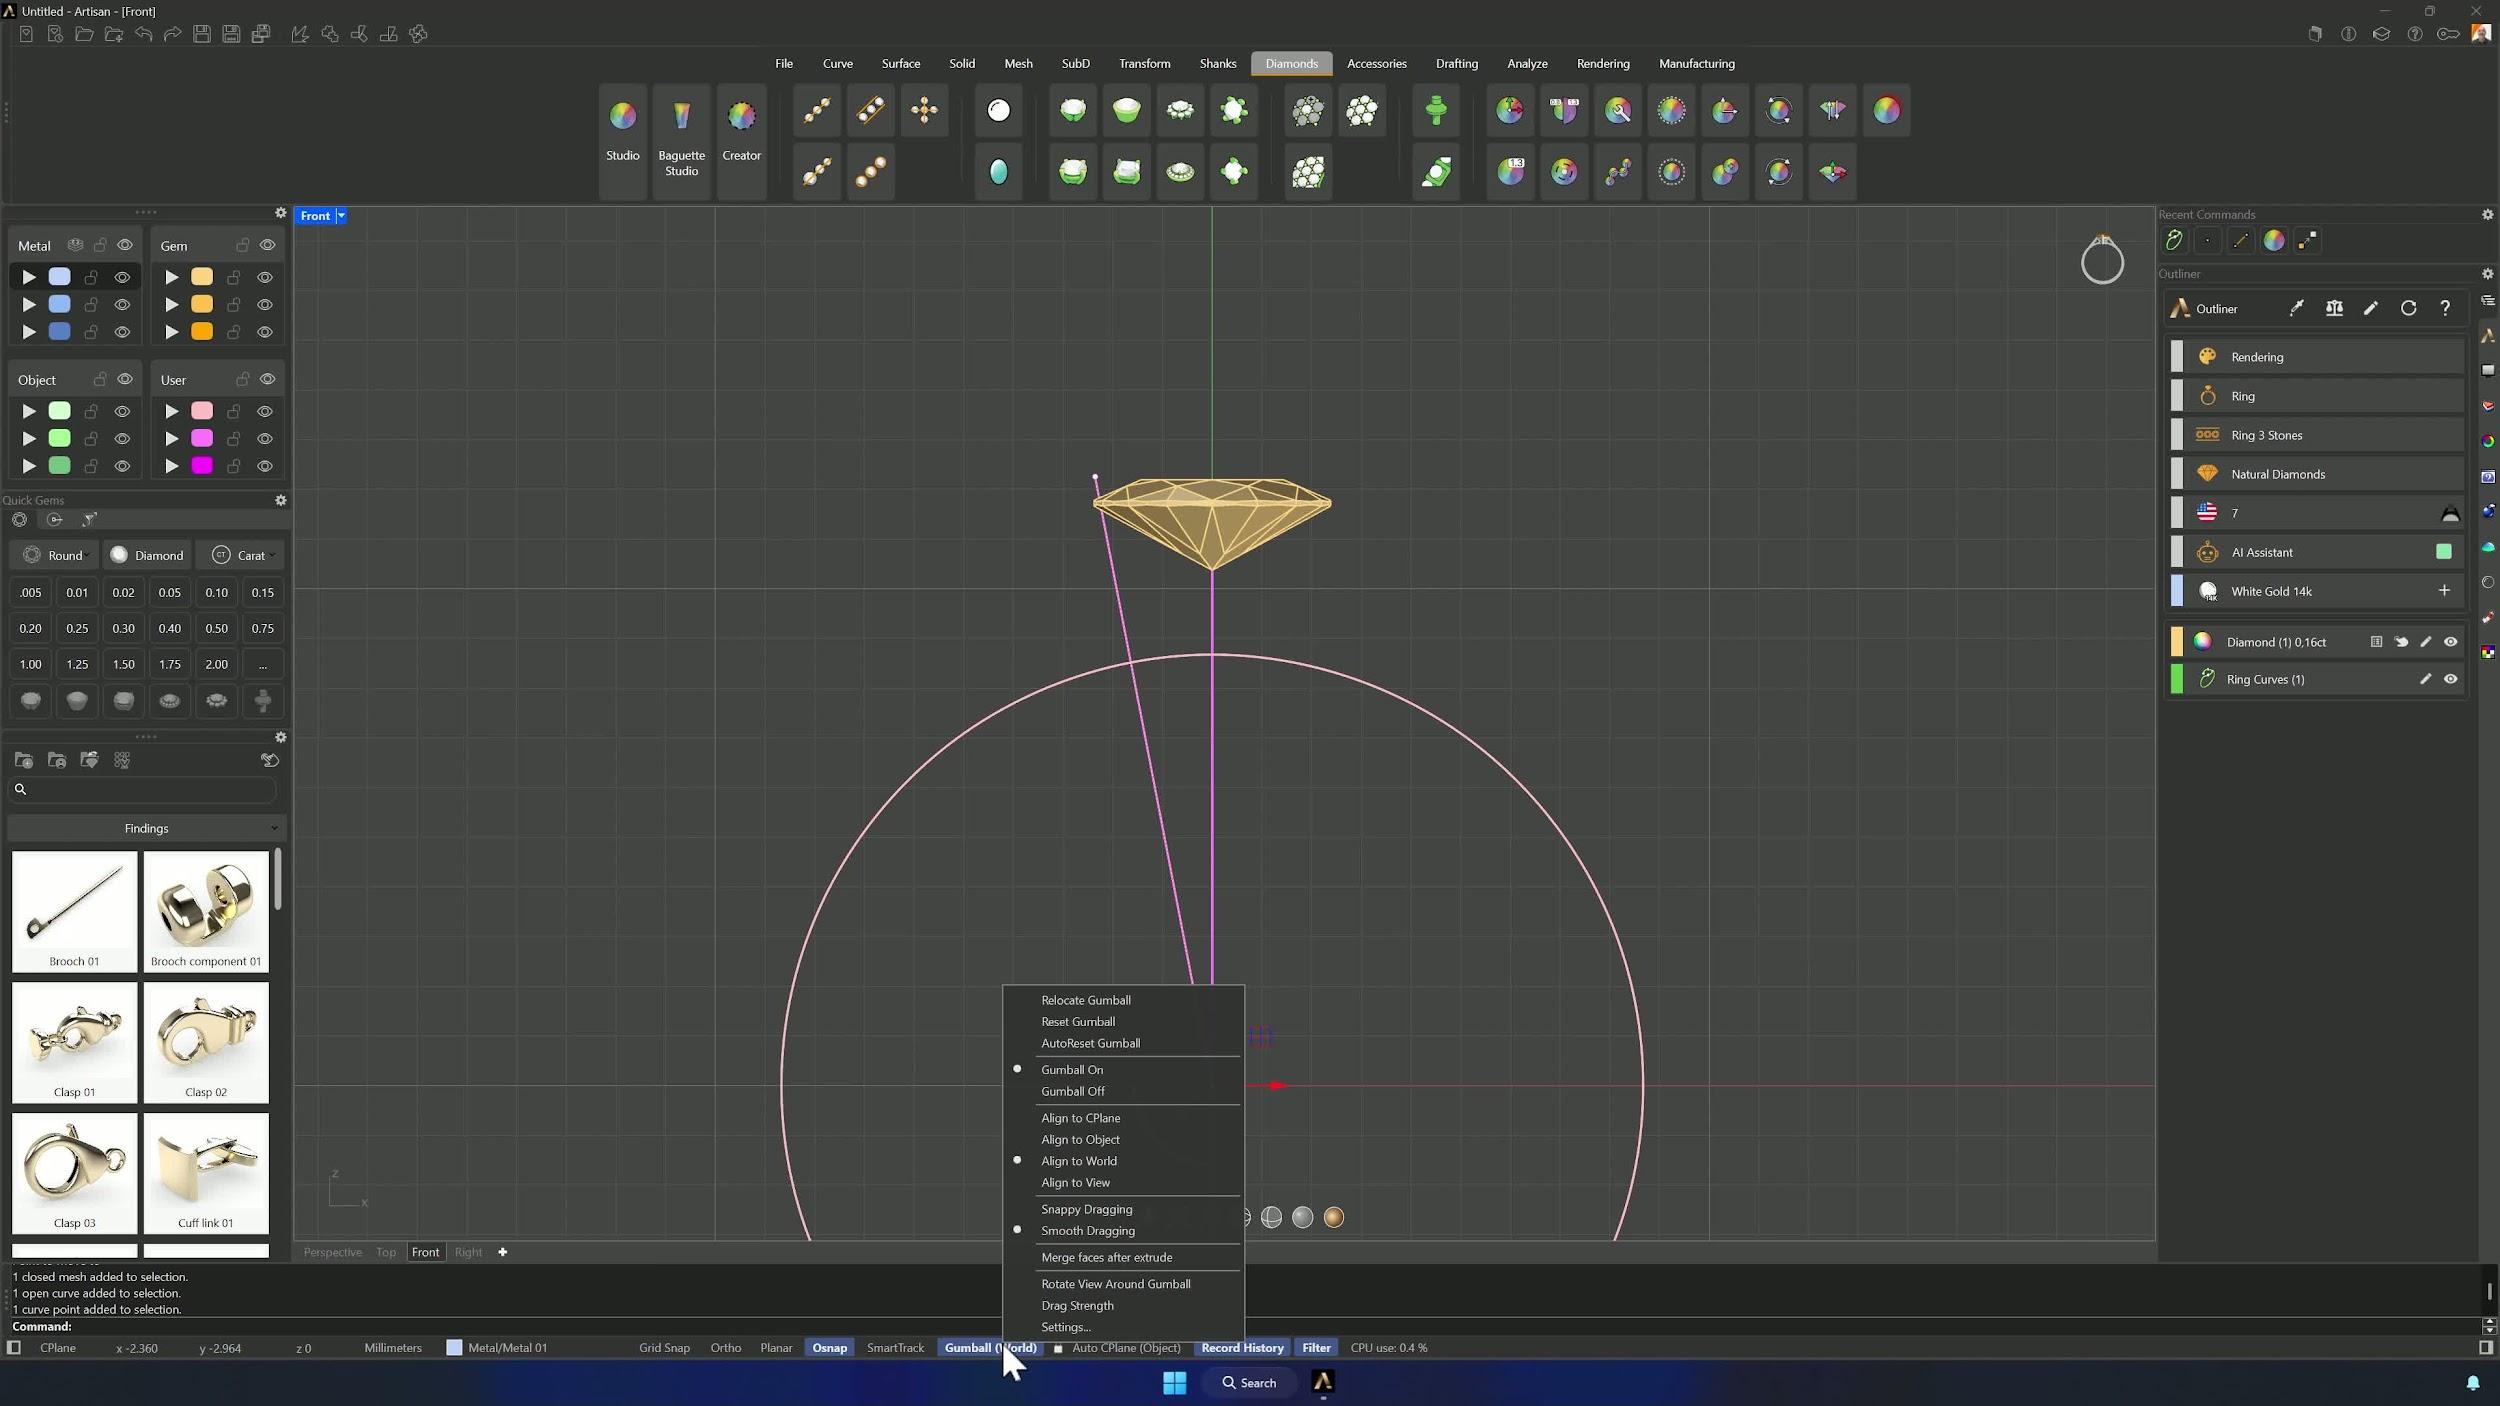
In Studio, create an Oval gem at 0.16 carats. Rotate it 90° from the Top view, enable Vertex in the Osnap panel, Move its culet to the uppermost point of the ring circle, and raise it 1.70 mm with the Gumball.
5. Align the curve to the gem and mirror it
Select the diagonal line’s lower control point (Gumball aligned to Object) and raise it until it sits inside the gem girdle — Wireframe mode lets you see through the stone. Mirror the curve across the Y axis and Blend the two halves with tangency, flipping directions if needed.
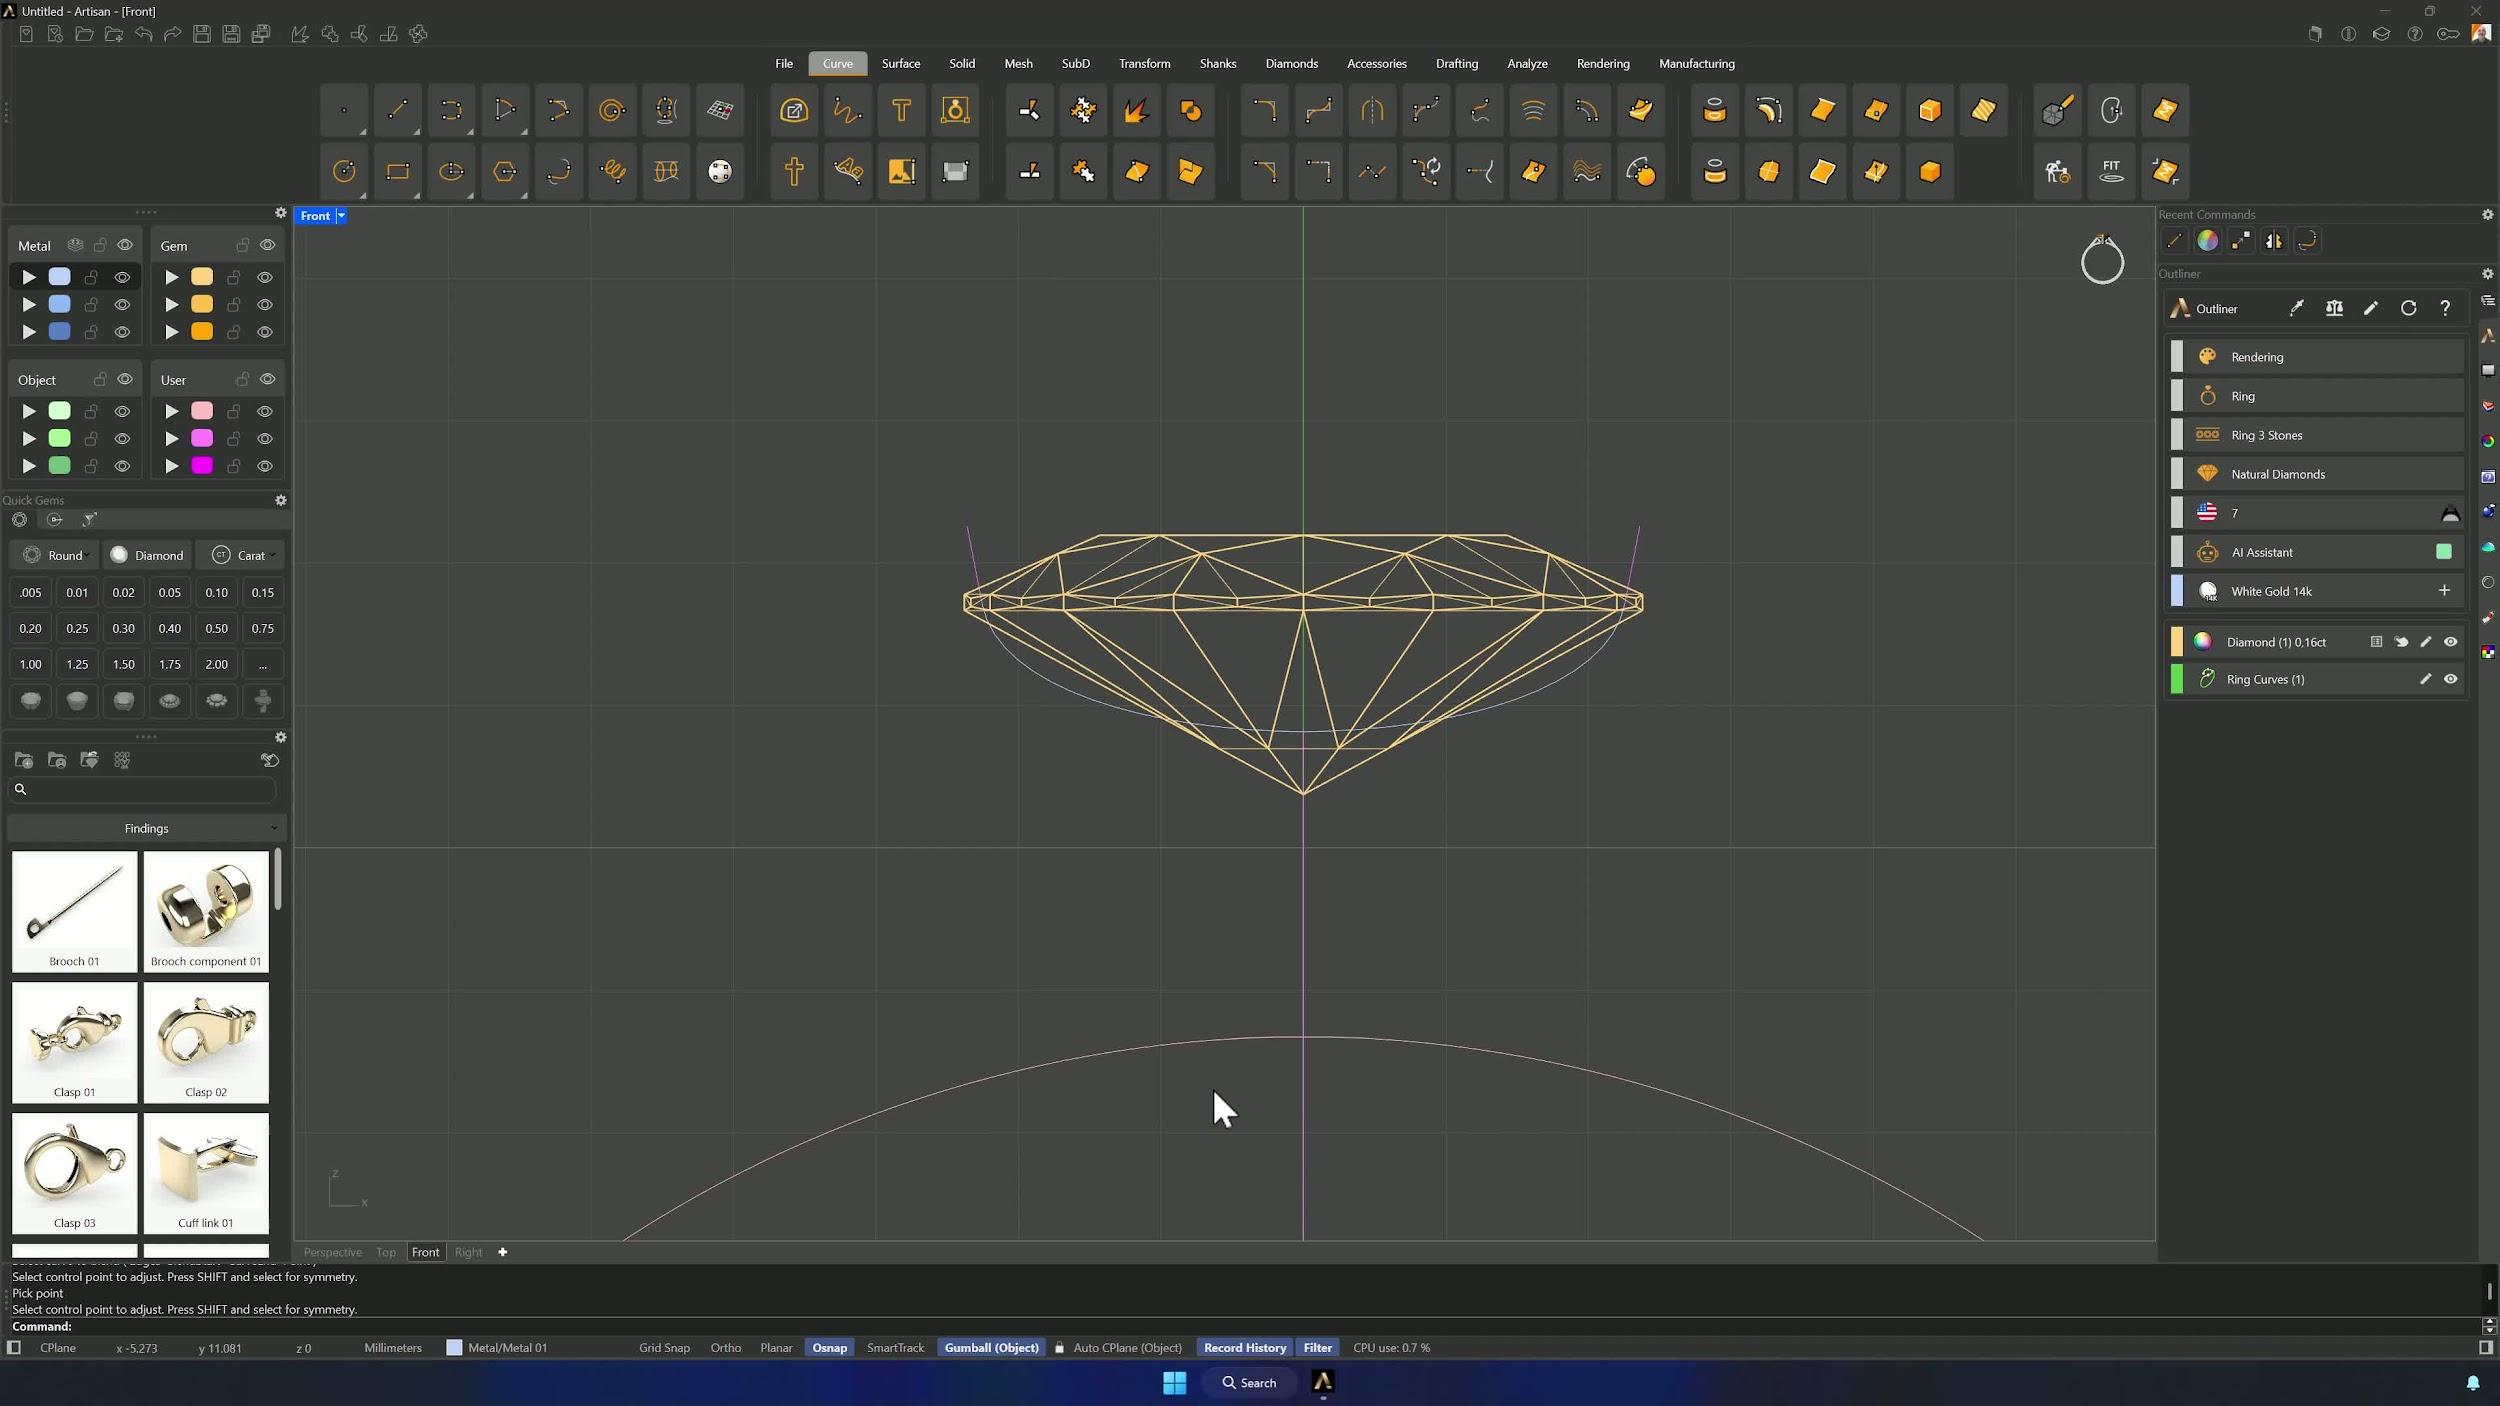
6. Join, fit, and offset the main curve
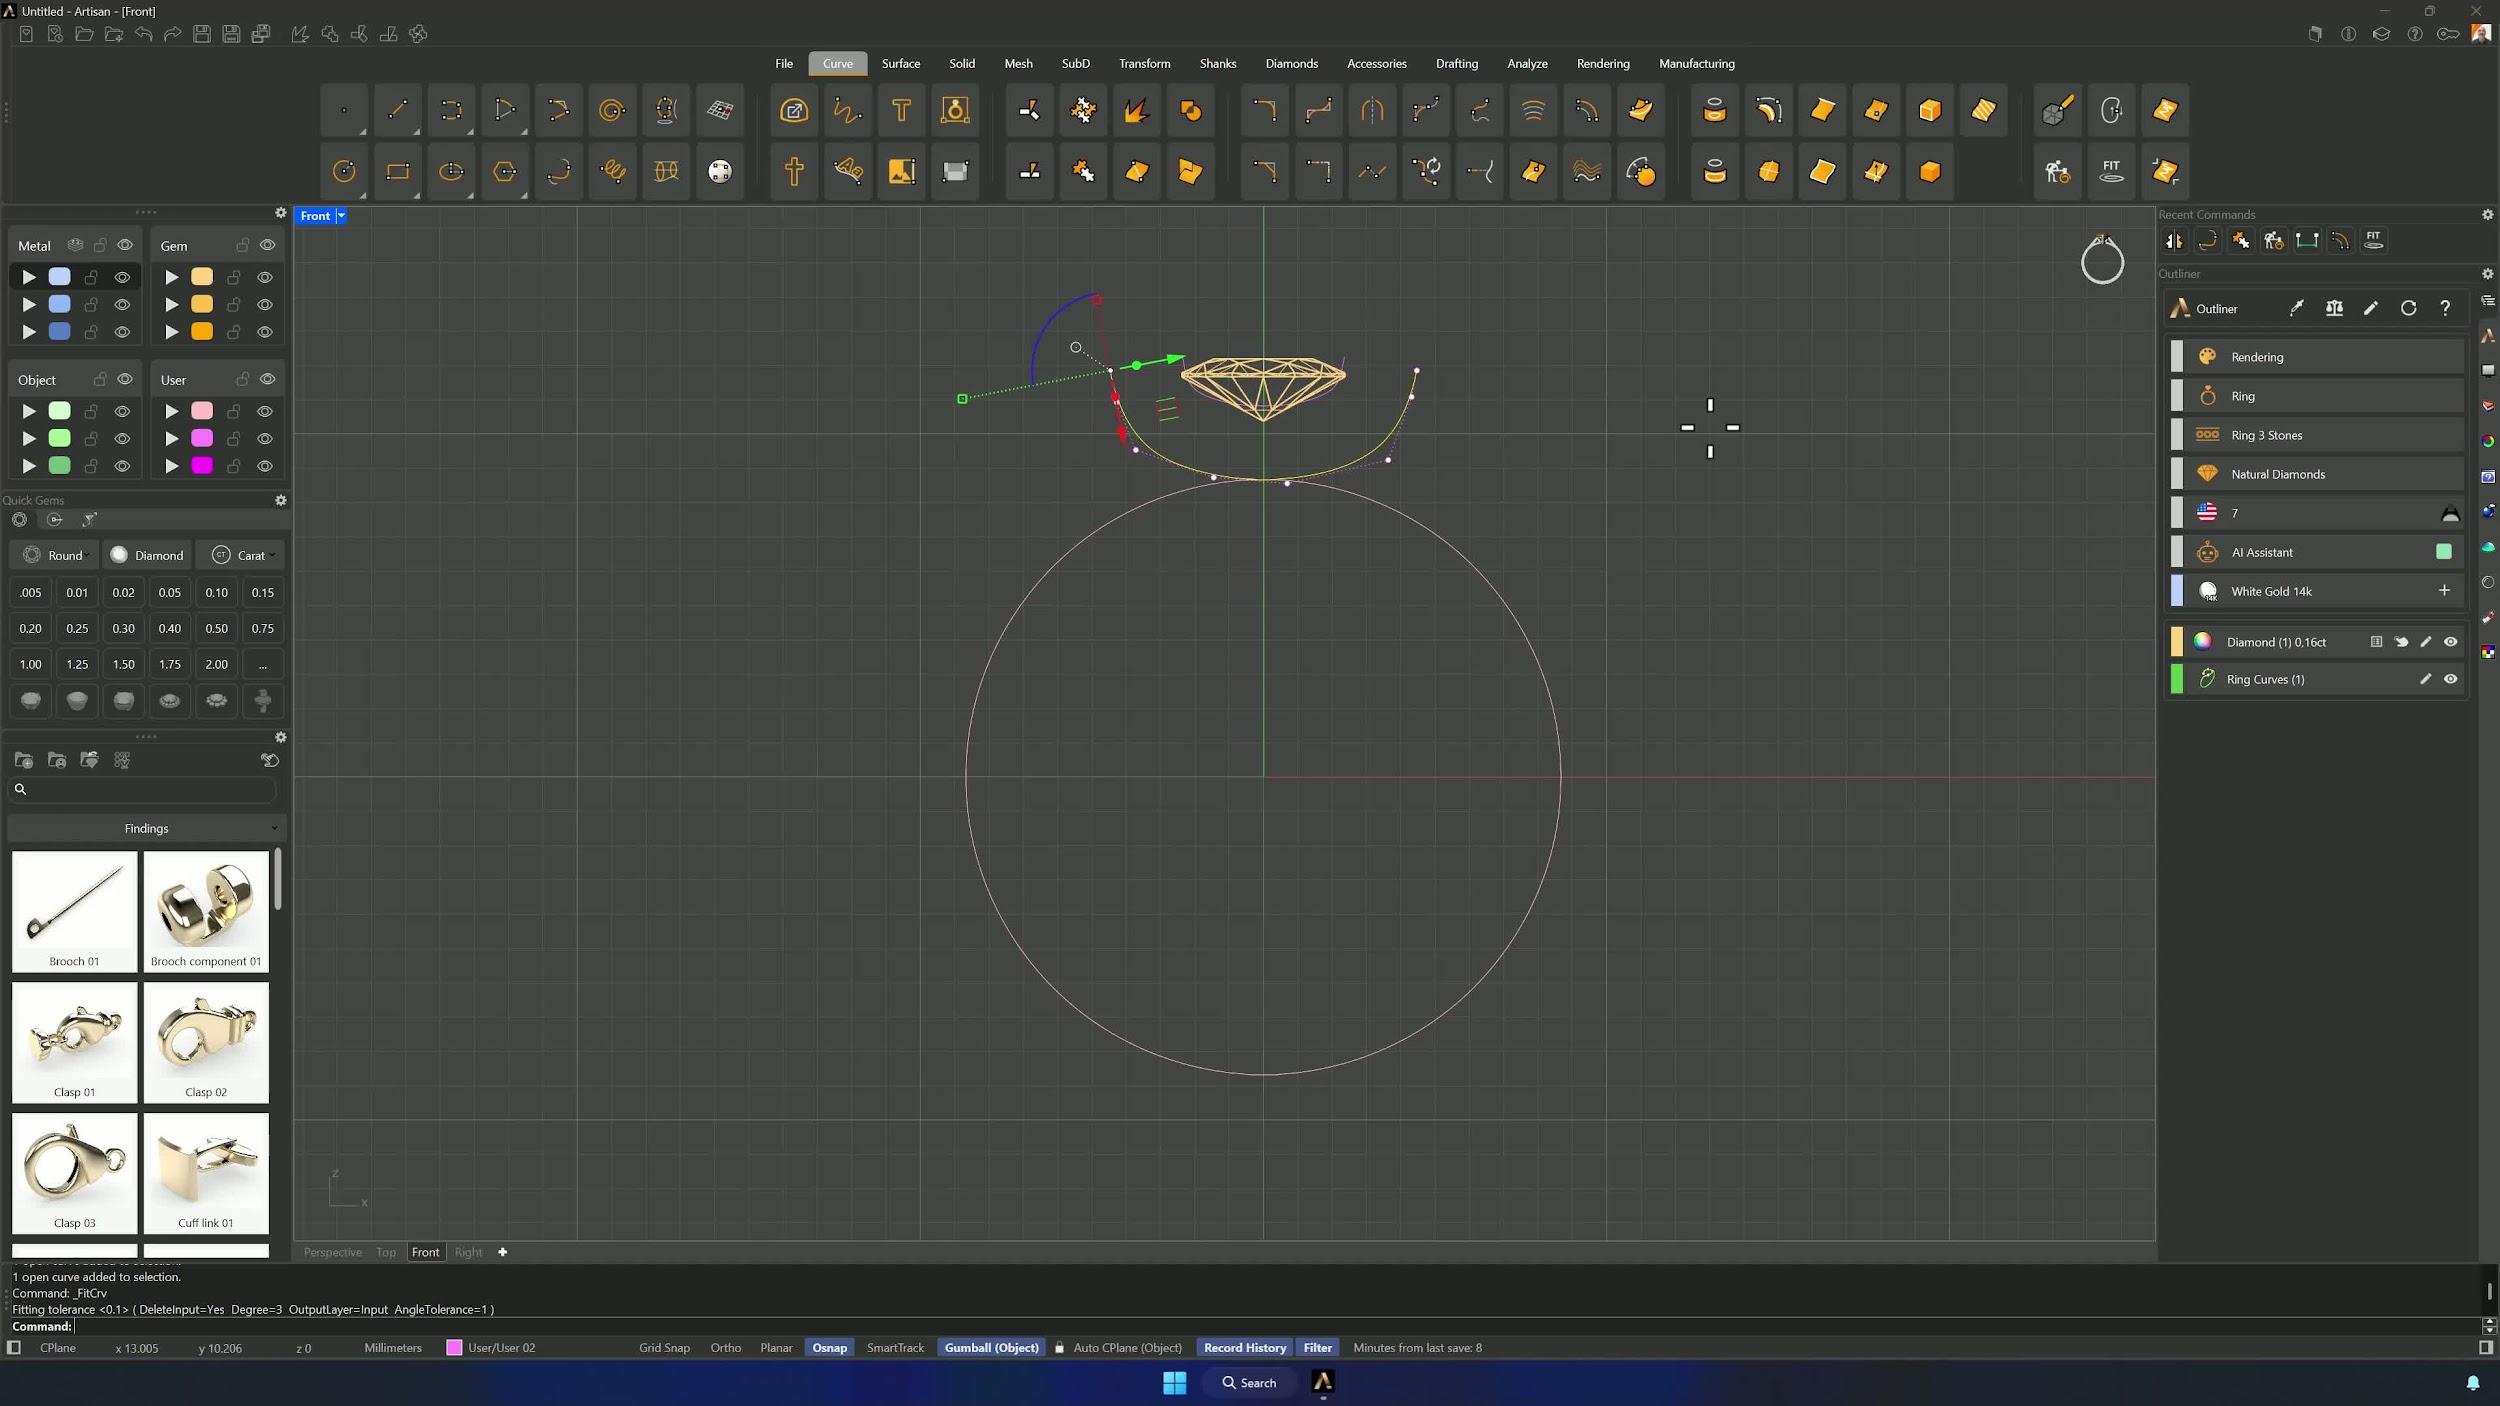
Back in Shaded mode, delete the central reference line, Join the two side lines with the blend, and Fit at the default 0.1 tolerance. Measure from the curve center to the top of the ring curve with Analyze > Distance — 2.146 mm — and Offset by exactly that, clicking the lower side. Fit the new curve too.
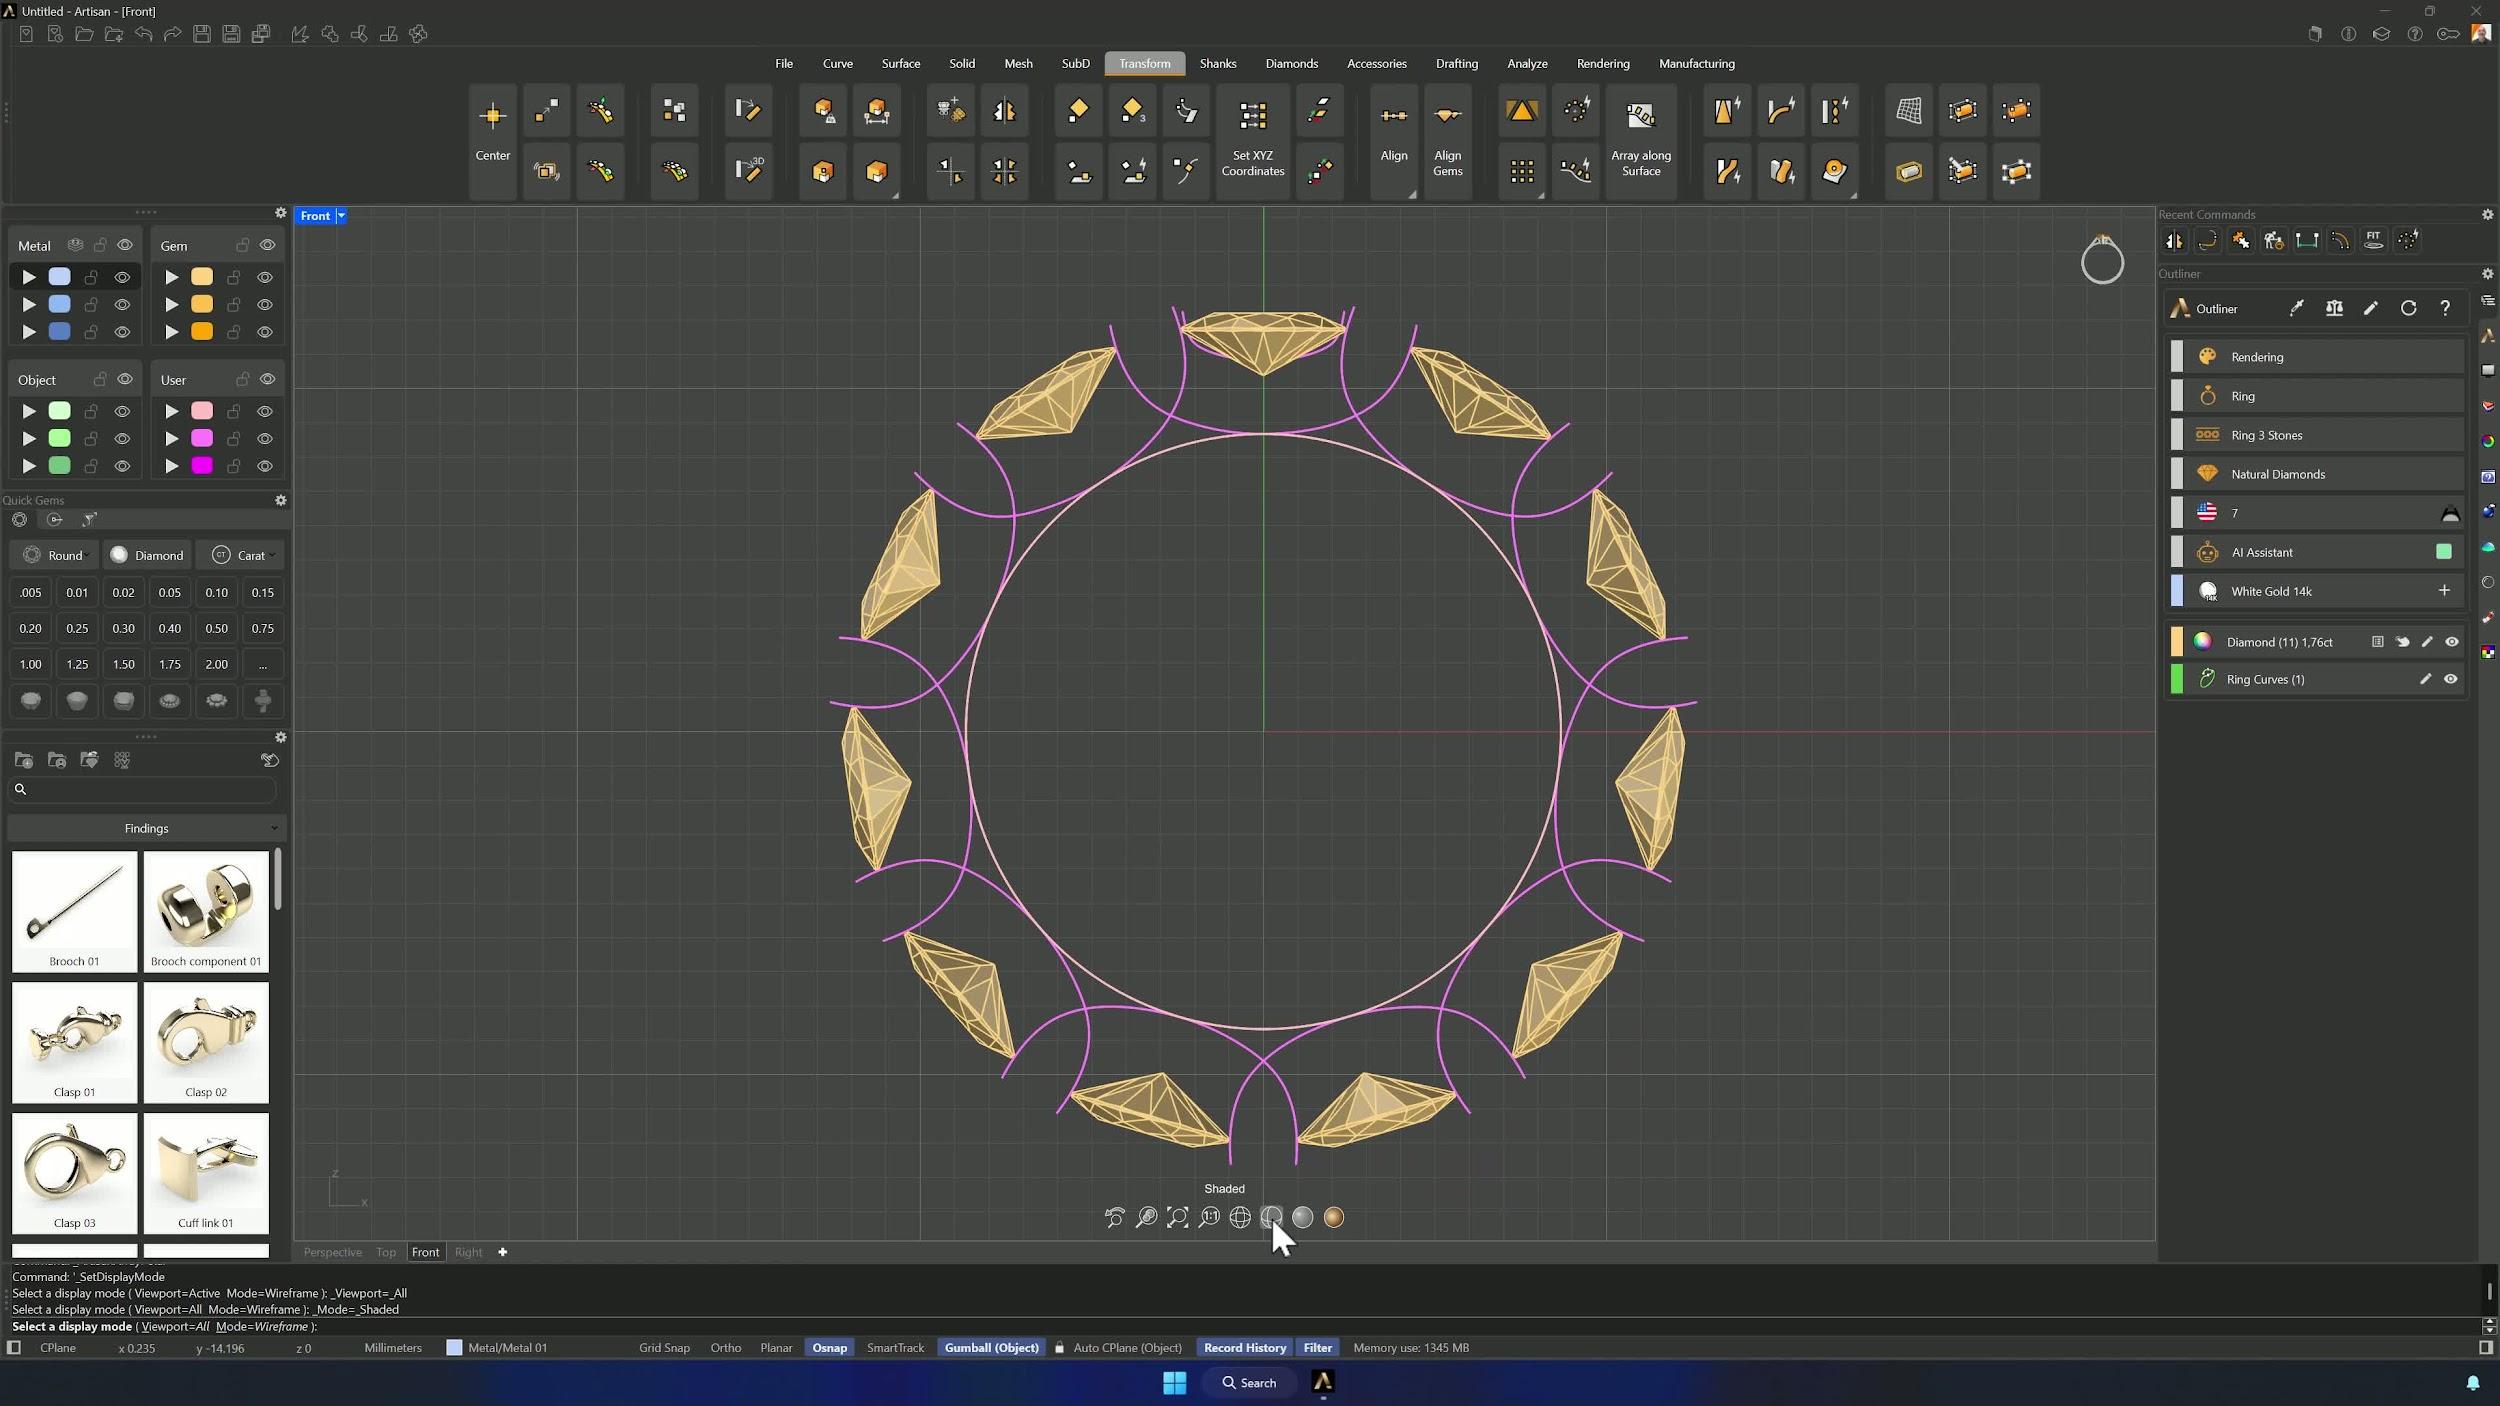
7. Array the curves and gems around the ring
Quick Polar Array on the curve with 11 copies, then the same for the gem. Eleven sapphires and their guide curves, evenly distributed around the band.
8. Trim the curve set for the ring layout
Right-click the curve layer’s color to select everything on it, and Trim the curve ends carefully. The skeleton of the eternity ring is ready.
Almost there — you still have some lessons to complete. Jump to the next one →
Impersonating — progress and reviews are disabled.
Course completed
You've completed Sculpted Elegance: Statement Jewelry Designs 🎉
Great work. Get your certificate of completion and, if you have a minute, let other jewelers know what you thought of the course.