Christmas Tree Pendant
Lesson 27 of 38
Surface & Channels
Sign in to access this lesson
This lesson is part of Modern Elegance: Fashion Jewelry Modeling, which can come bundled with a RhinoArtisan Commercial license subject to current promotions. Log in with your customer account, or get in touch and we'll set you up.
Customers only
Solo para clientes
This lesson is part of Modern Elegance: Fashion Jewelry Modeling, which can be included with a RhinoArtisan Commercial license subject to current promotions. If you've already purchased and don't see it in your account, get in touch.
Downloads
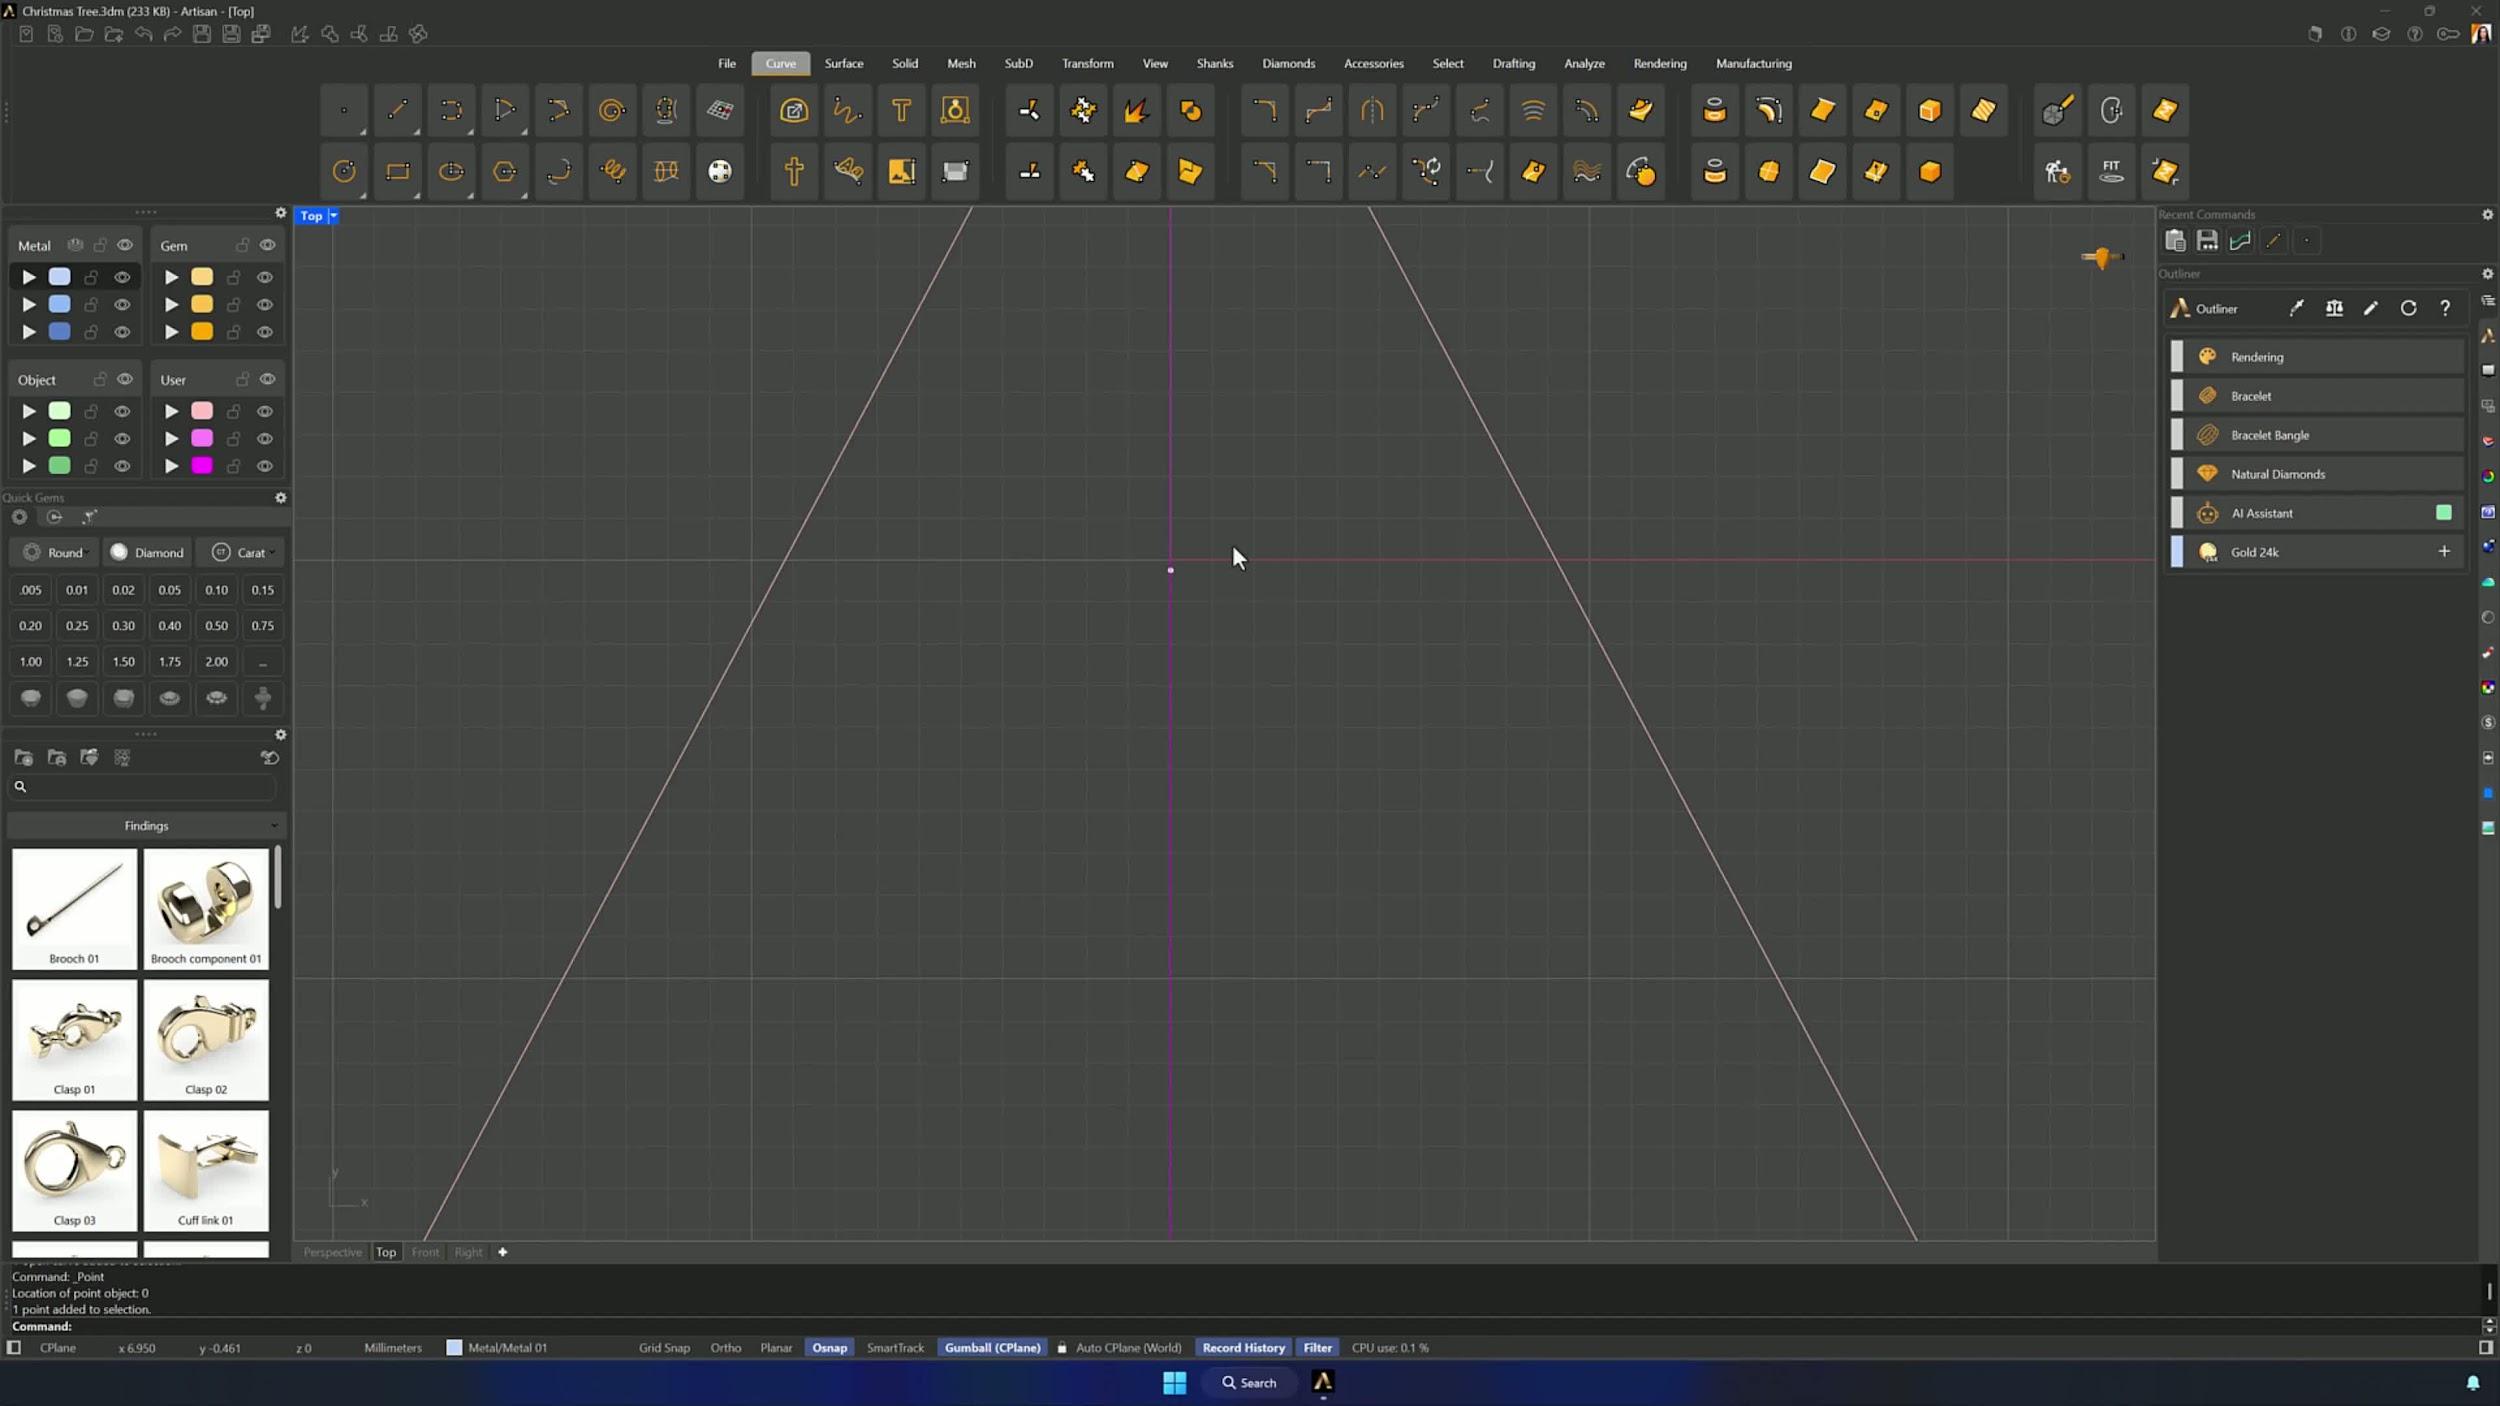
1. Open the reference file and establish the main guide geometry
Open the file with the reference curves (Downloads below) and study the shape. Draw a vertical center Line through all curves with Osnap on — that’s your symmetry axis — and park it on its own layer. In Top view, create a reference point at the viewport center and drop it 0.25 with the Gumball.

2. Create the main cross-section arc and surface
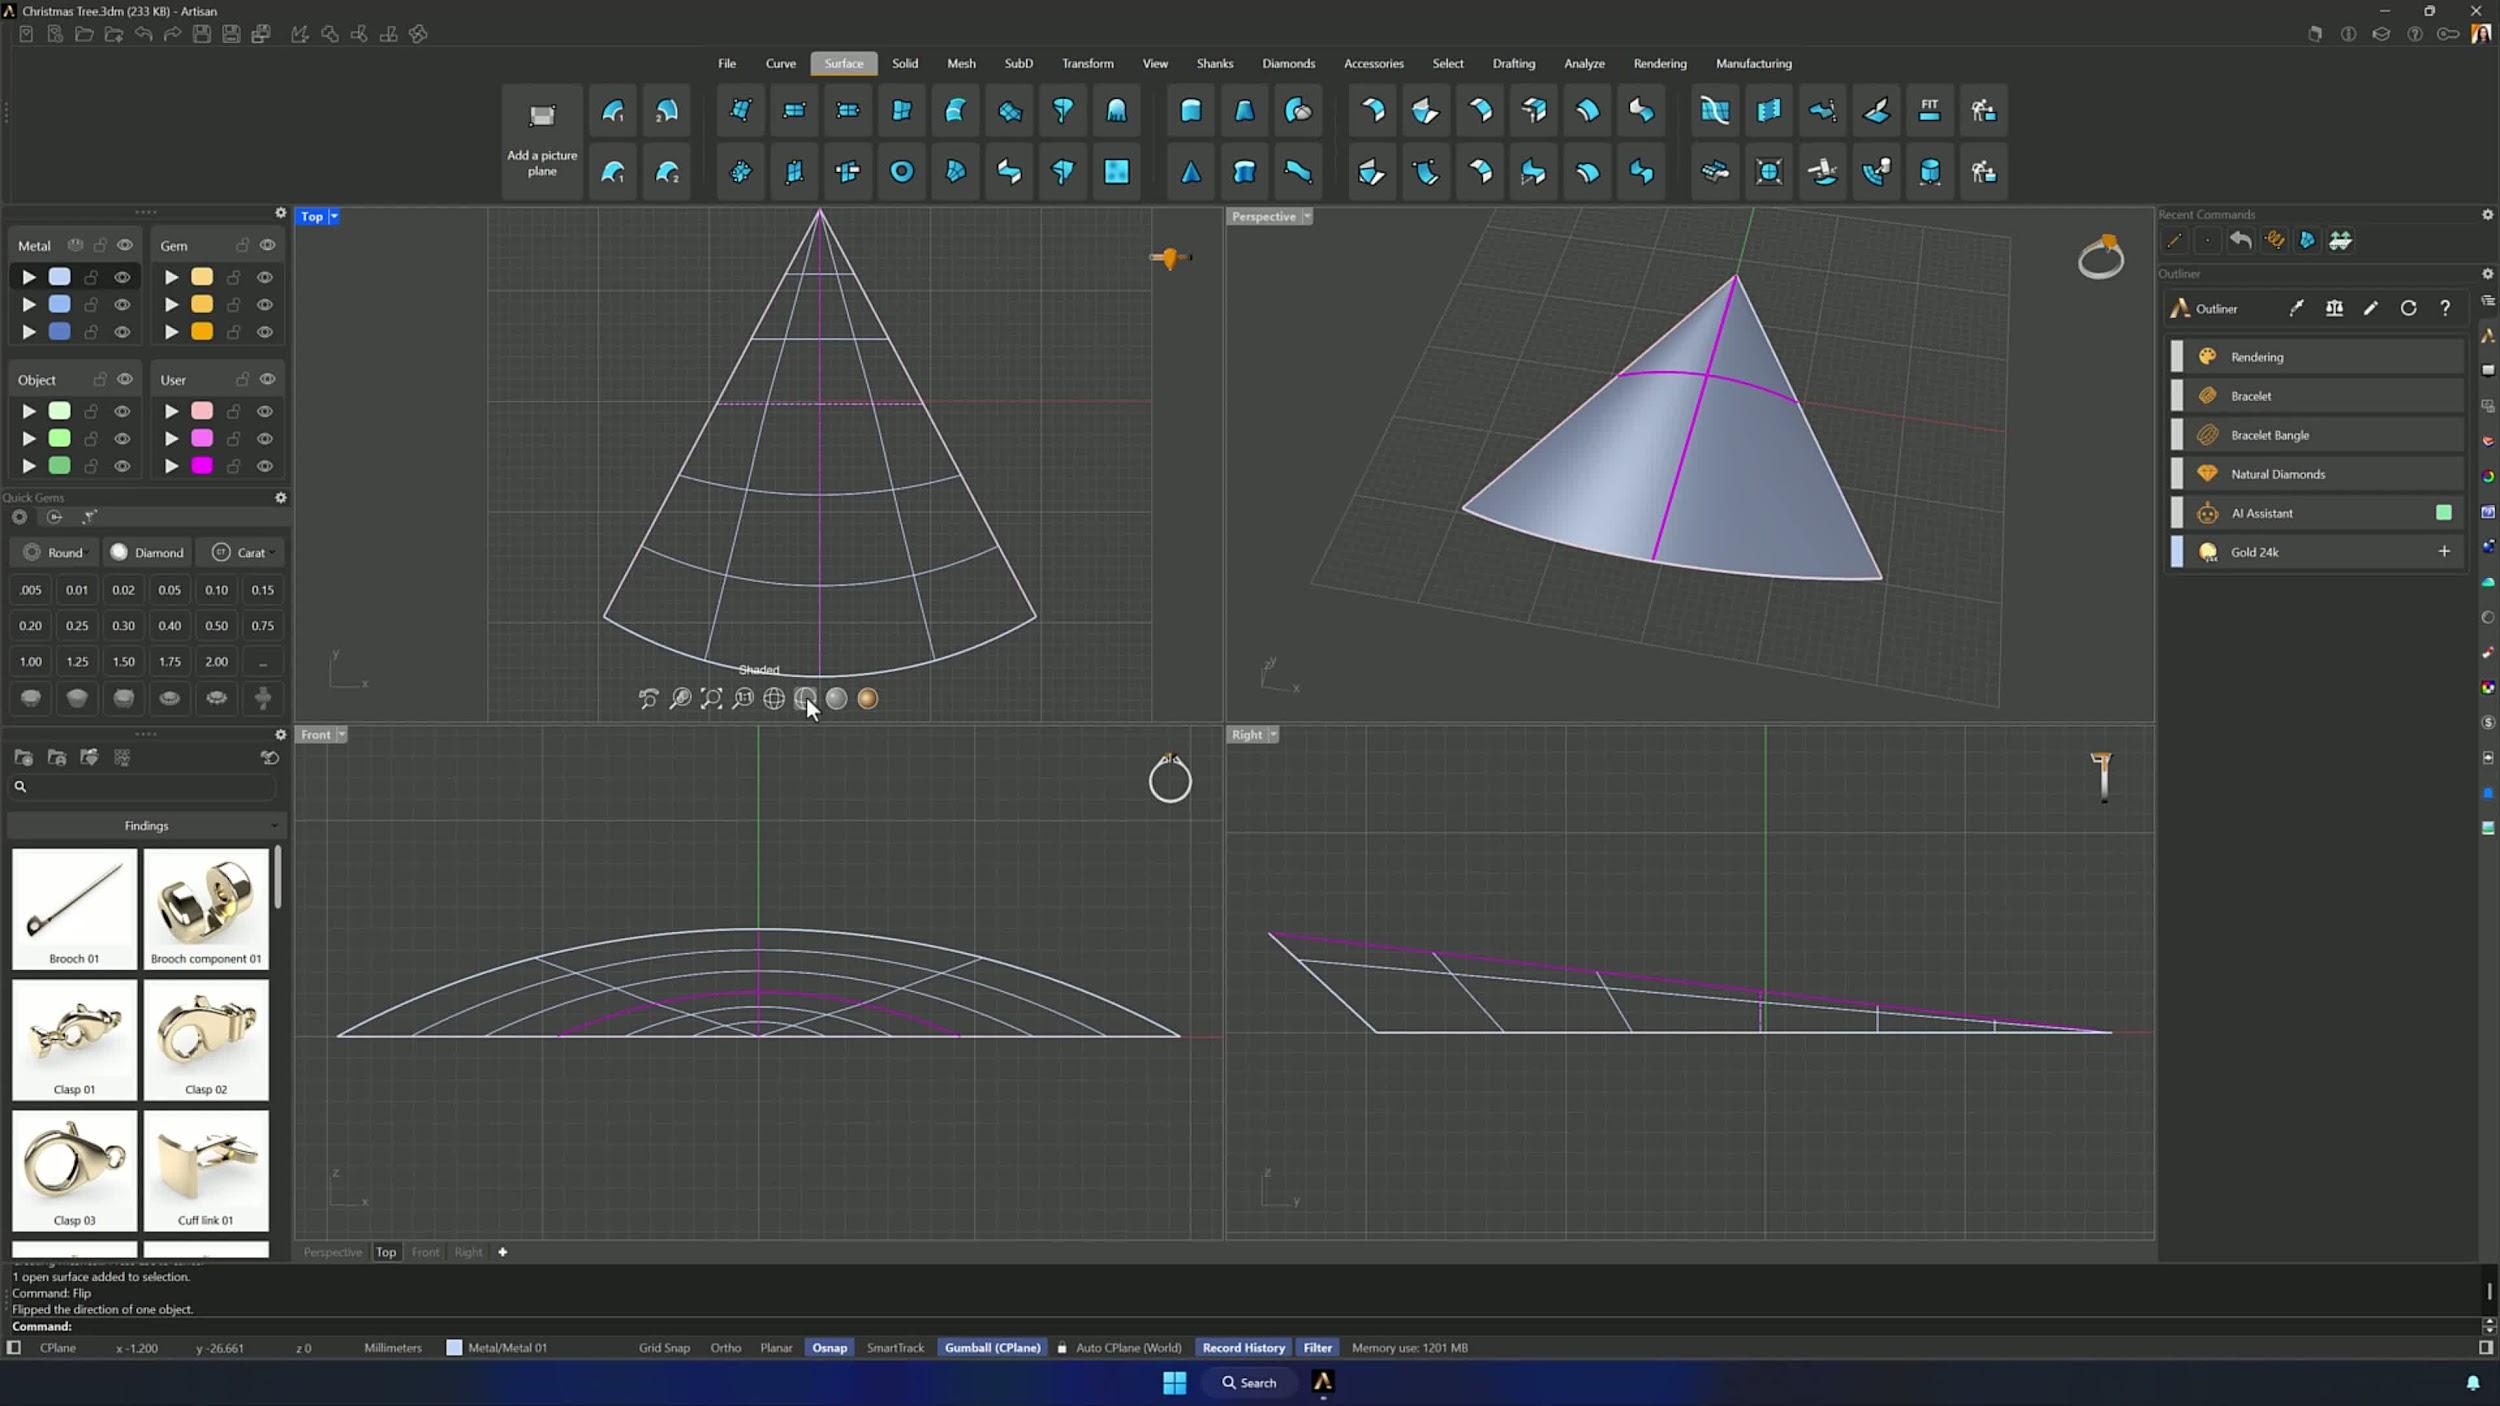
Use Cross Section to arc across the left, center and right curves: click the reference point, then hold Shift for a straight segment to one end. Delete the temporary point, select all curves in Perspective and run Network Surface with defaults — Flip if it comes out inverted — and set every viewport to Shaded.
3. Build offset guide curves for the channel layout
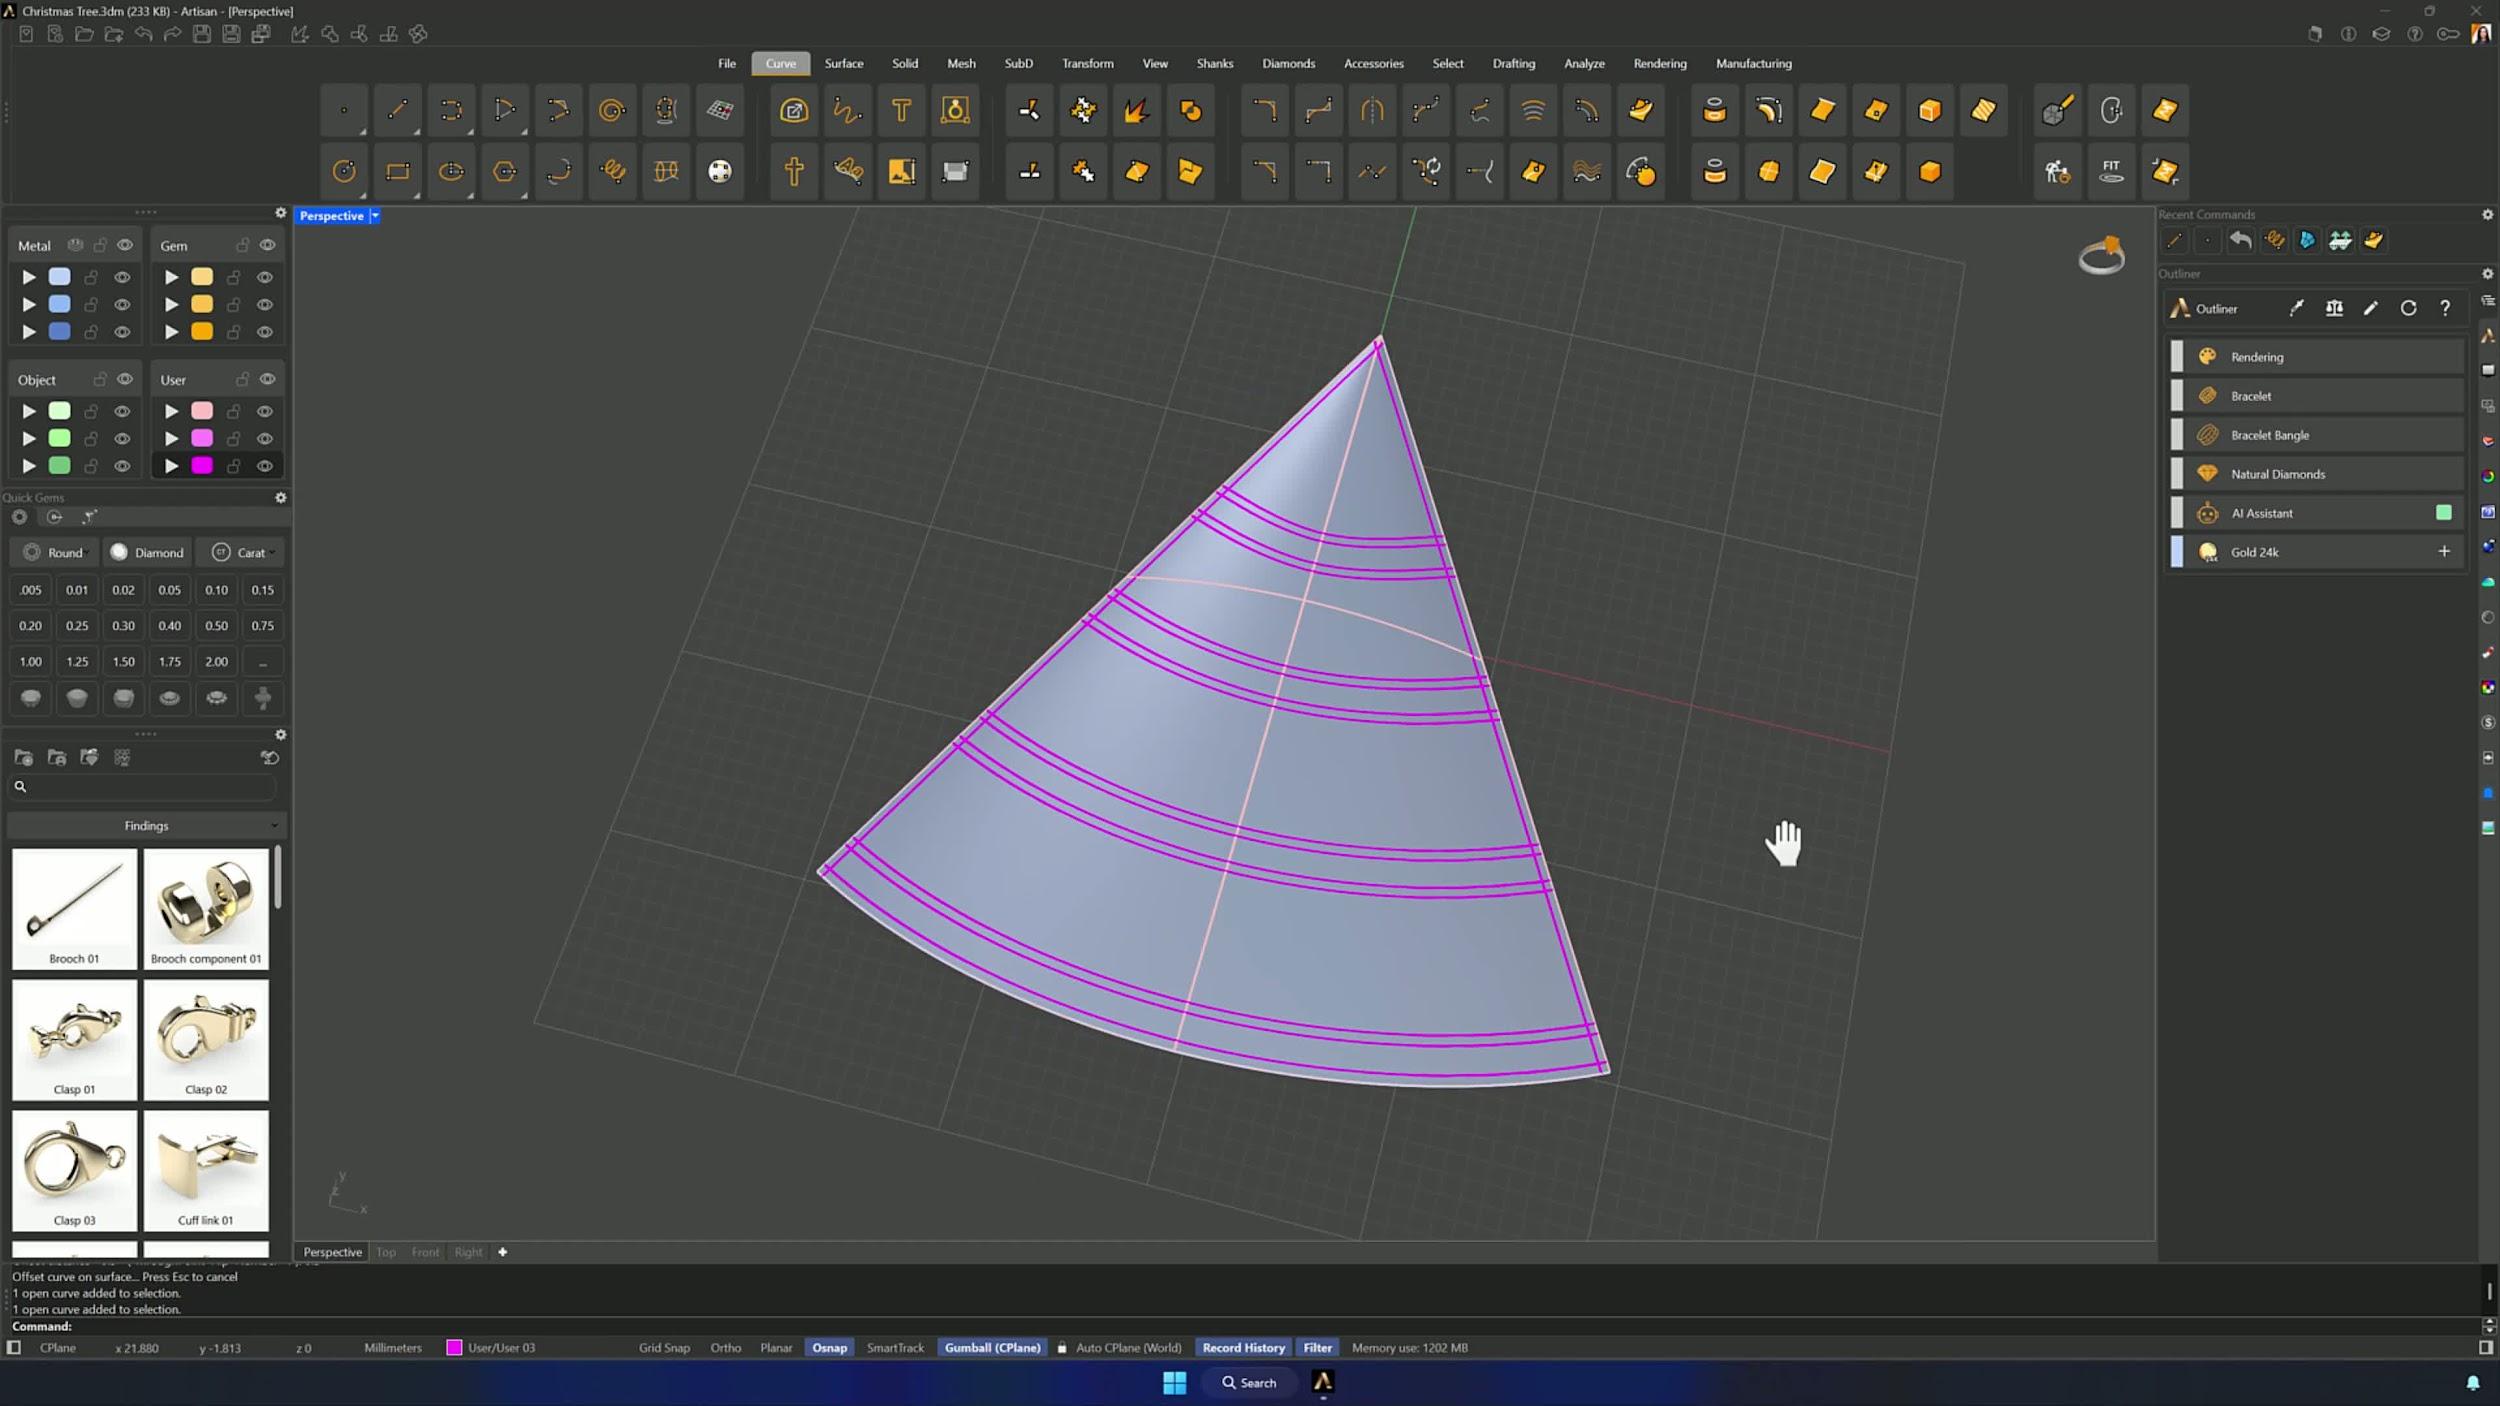
With Offset on Surface, offset the bottom edge 0.5 mm toward the surface — setting the default layer first keeps the new curves organized. Repeat the pattern up the tree alternating 1.4 mm, 0.5 mm and 6.8 mm rails, add 0.5 mm side offsets to bound the surface, and move unrelated curves out of the way.
4. Form the body thickness and carve the channels
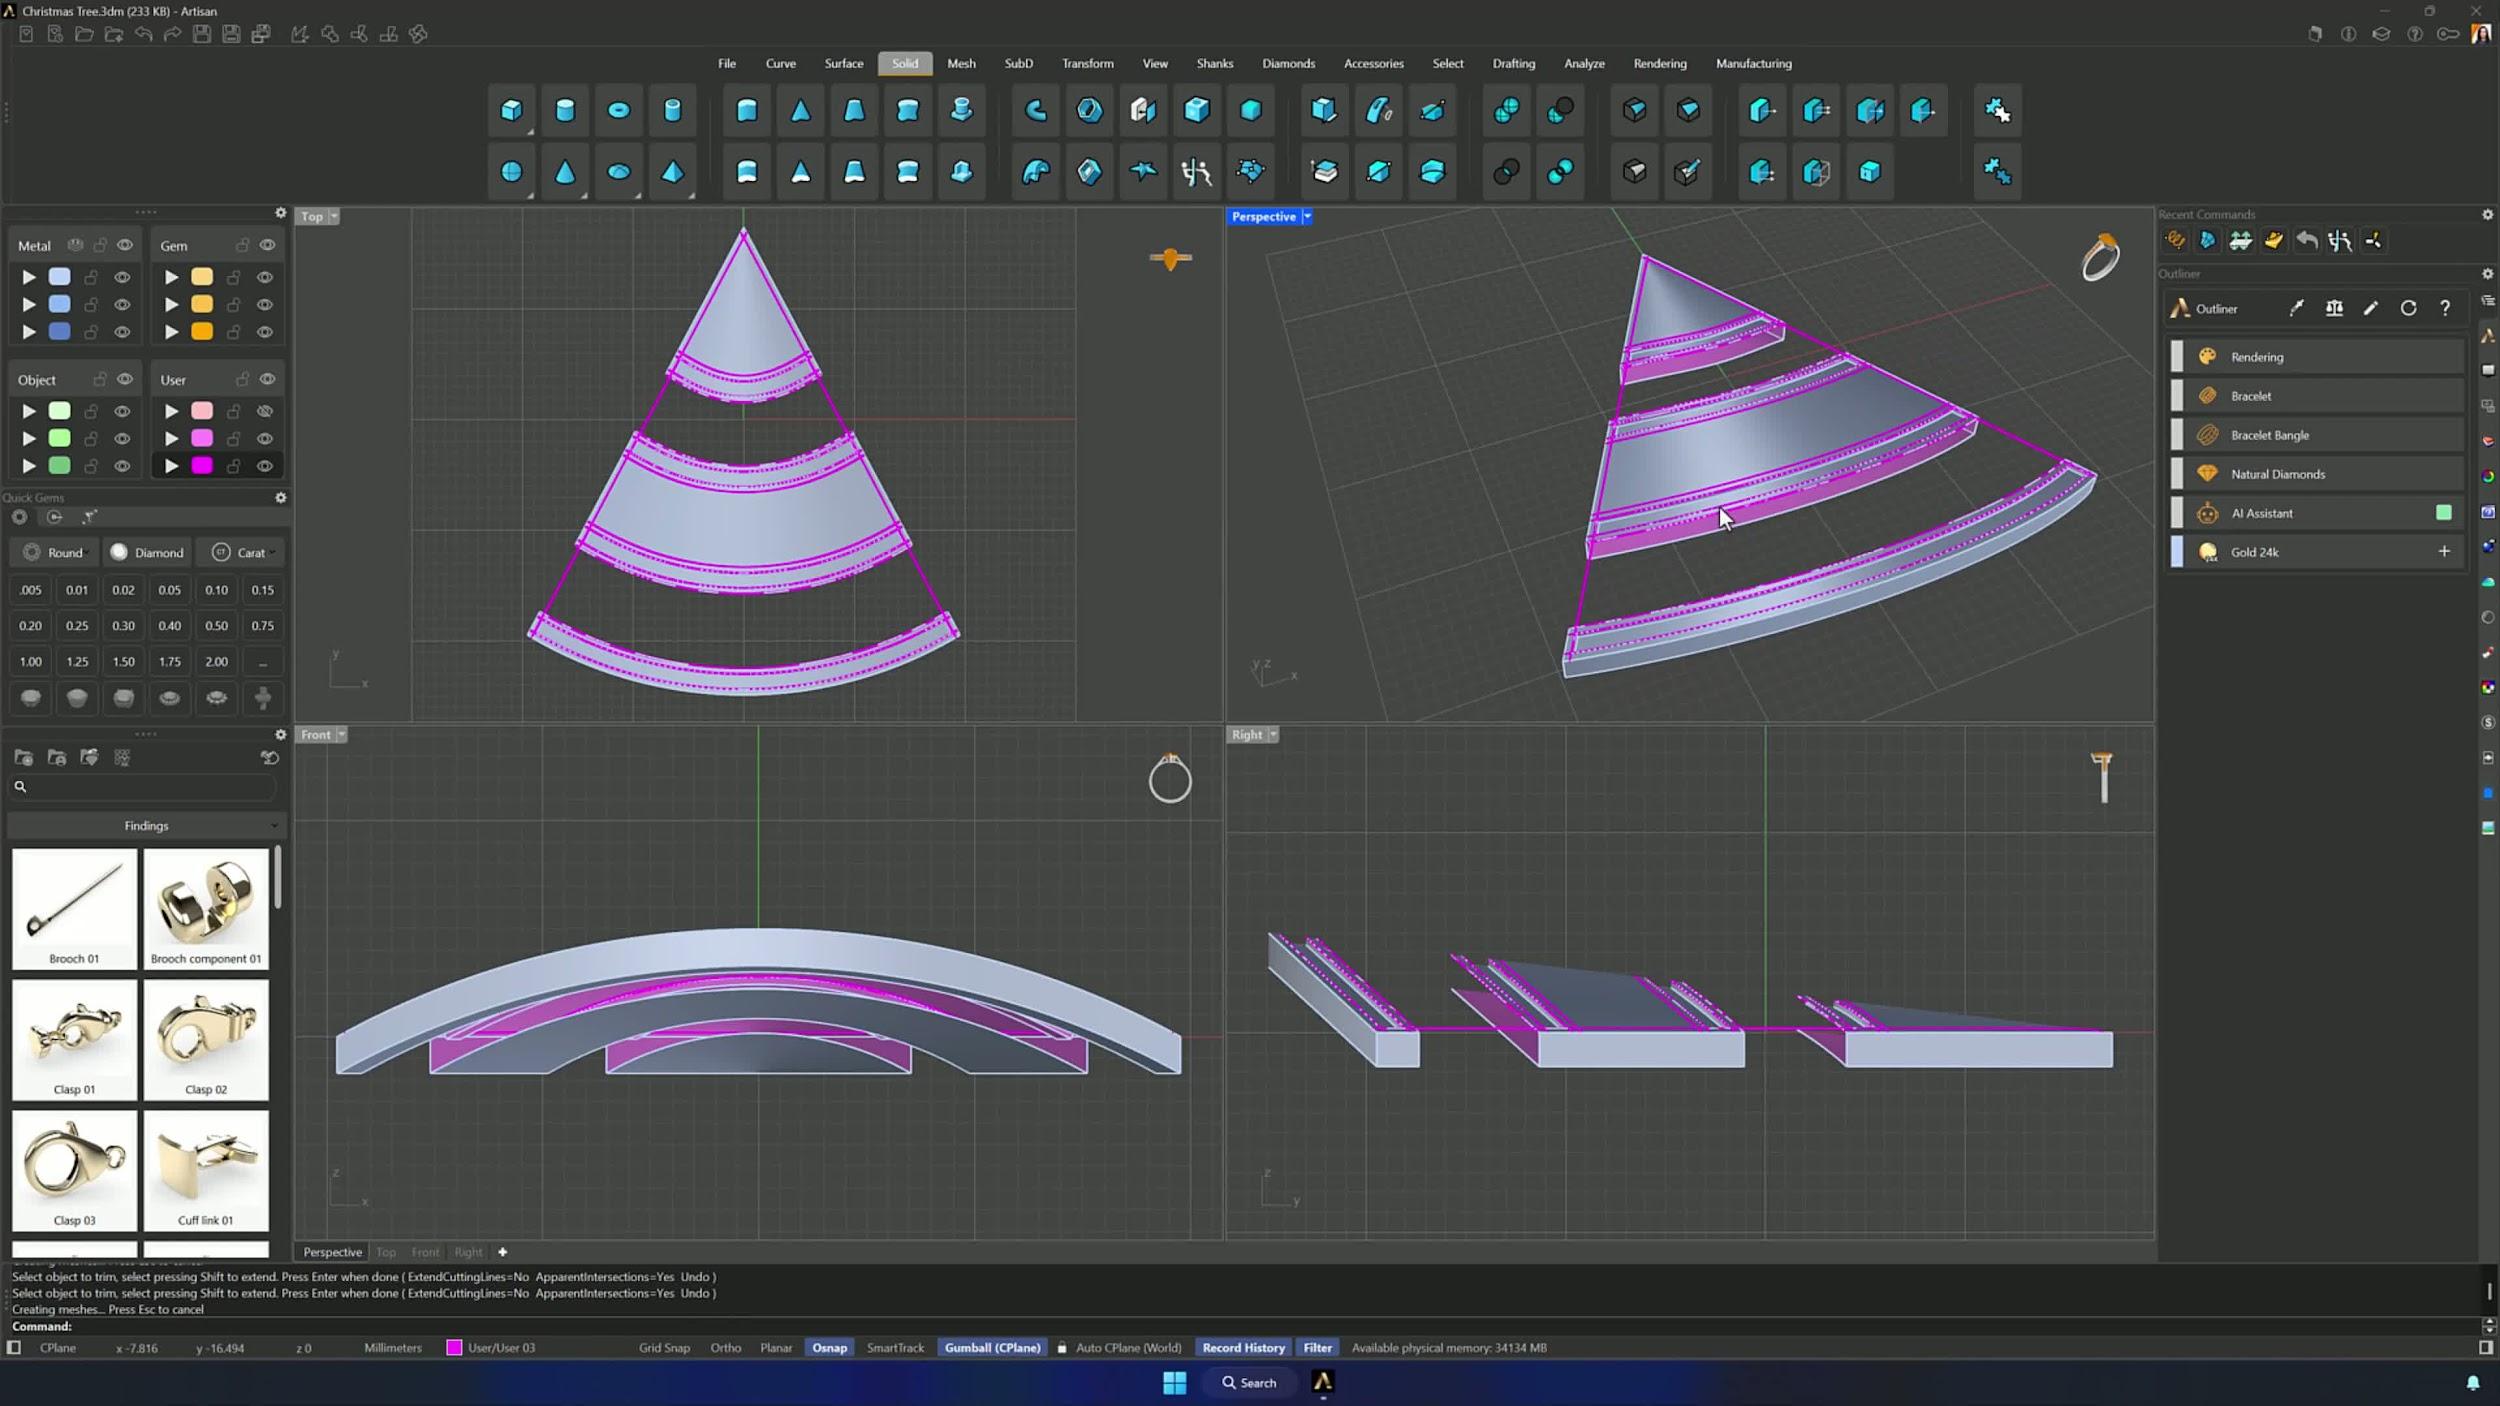
Extrude the surface downward by 1.7 mm. Then Push and Pull on the four 1.4 mm rails — pulling downward only — by 0.35 mm to carve the four channels. Select the boundary curves of the wider top and bottom surfaces and Trim from the Top view to separate the element into three parts.
5. Close openings and finish the channel body
Loft each opening closed, edge pair by edge pair, flipping any inverted loft, and Join the new surfaces back to the body. A second Push and Pull sinks the remaining two surfaces by 0.35 mm.
Almost there — you still have some lessons to complete. Jump to the next one →
Impersonating — progress and reviews are disabled.
Course completed
You've completed Modern Elegance: Fashion Jewelry Modeling 🎉
Great work. Get your certificate of completion and, if you have a minute, let other jewelers know what you thought of the course.