Claw Prongs Ring
Lesson 24 of 38
Mirror, Shank Closure & Final Cut
Sign in to access this lesson
This lesson is part of Modern Elegance: Fashion Jewelry Modeling, which can come bundled with a RhinoArtisan Commercial license subject to current promotions. Log in with your customer account, or get in touch and we'll set you up.
Customers only
Solo para clientes
This lesson is part of Modern Elegance: Fashion Jewelry Modeling, which can be included with a RhinoArtisan Commercial license subject to current promotions. If you've already purchased and don't see it in your account, get in touch.
11. Apply the basket to all gems and mirror the design
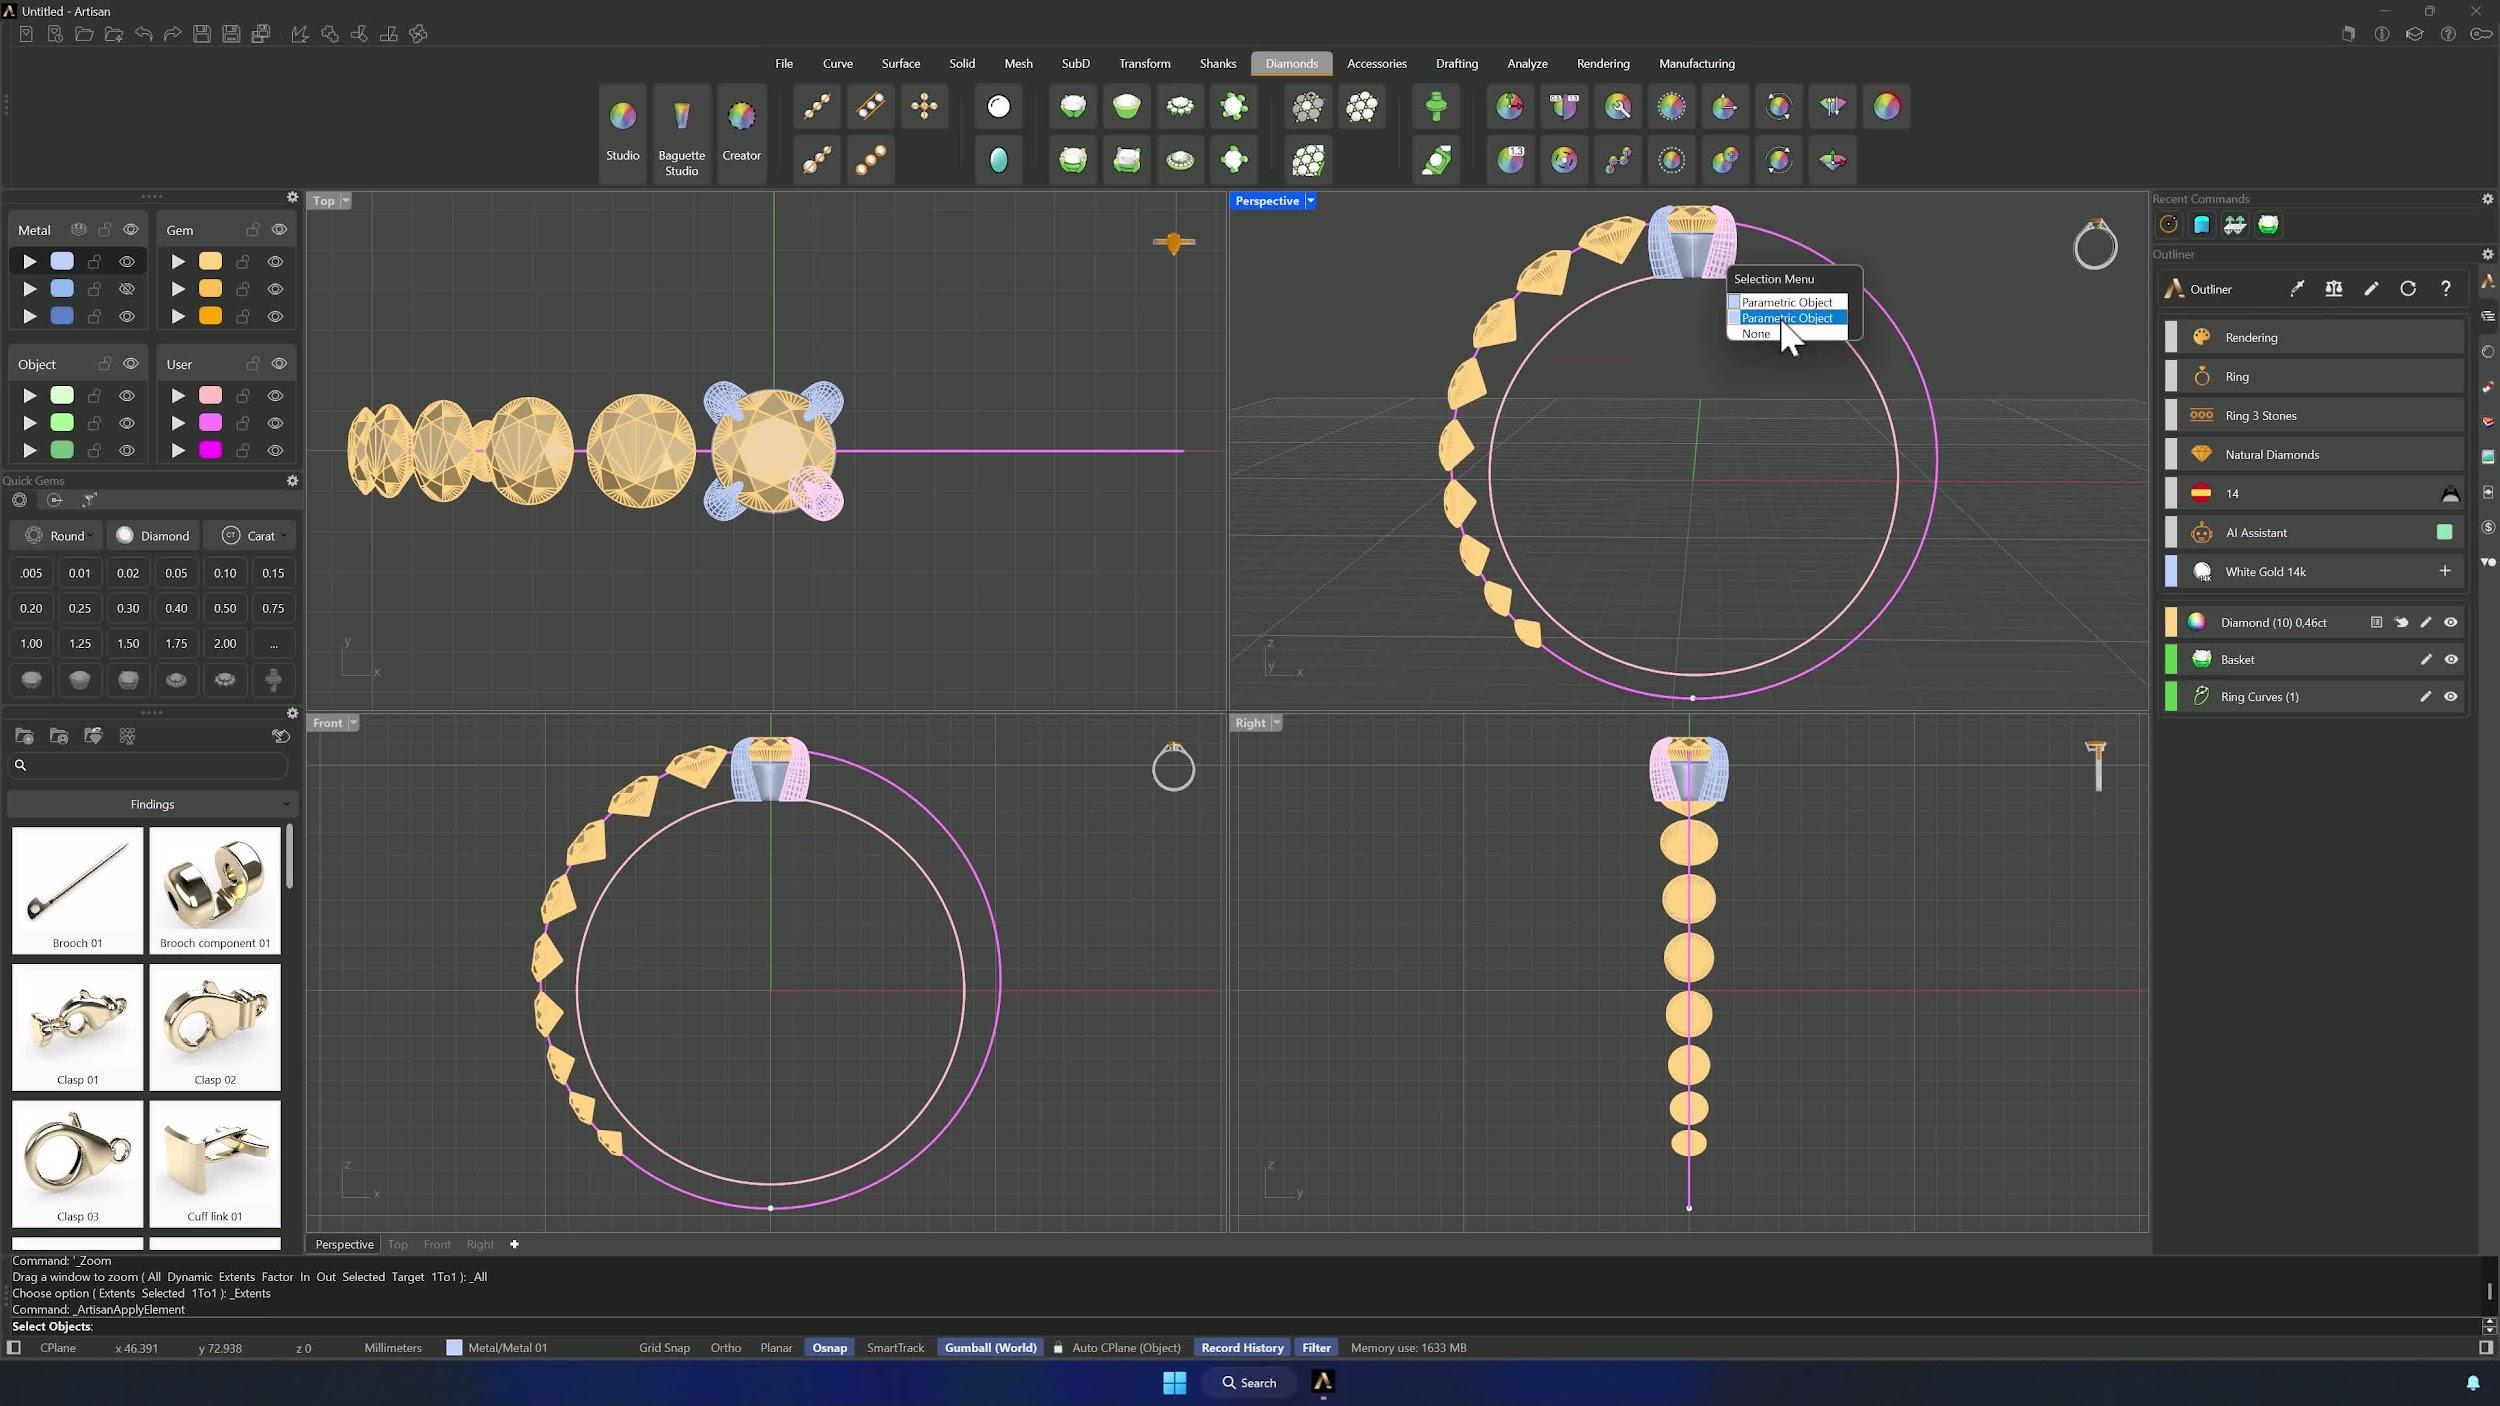
Apply Elements puts the basket on every gem. Lock the user layers, then Mirror everything except the top basket and gem across the Y axis, and refresh the Outliner so the new baskets display correctly.
12. Hide temporary elements and create the lower shank guide
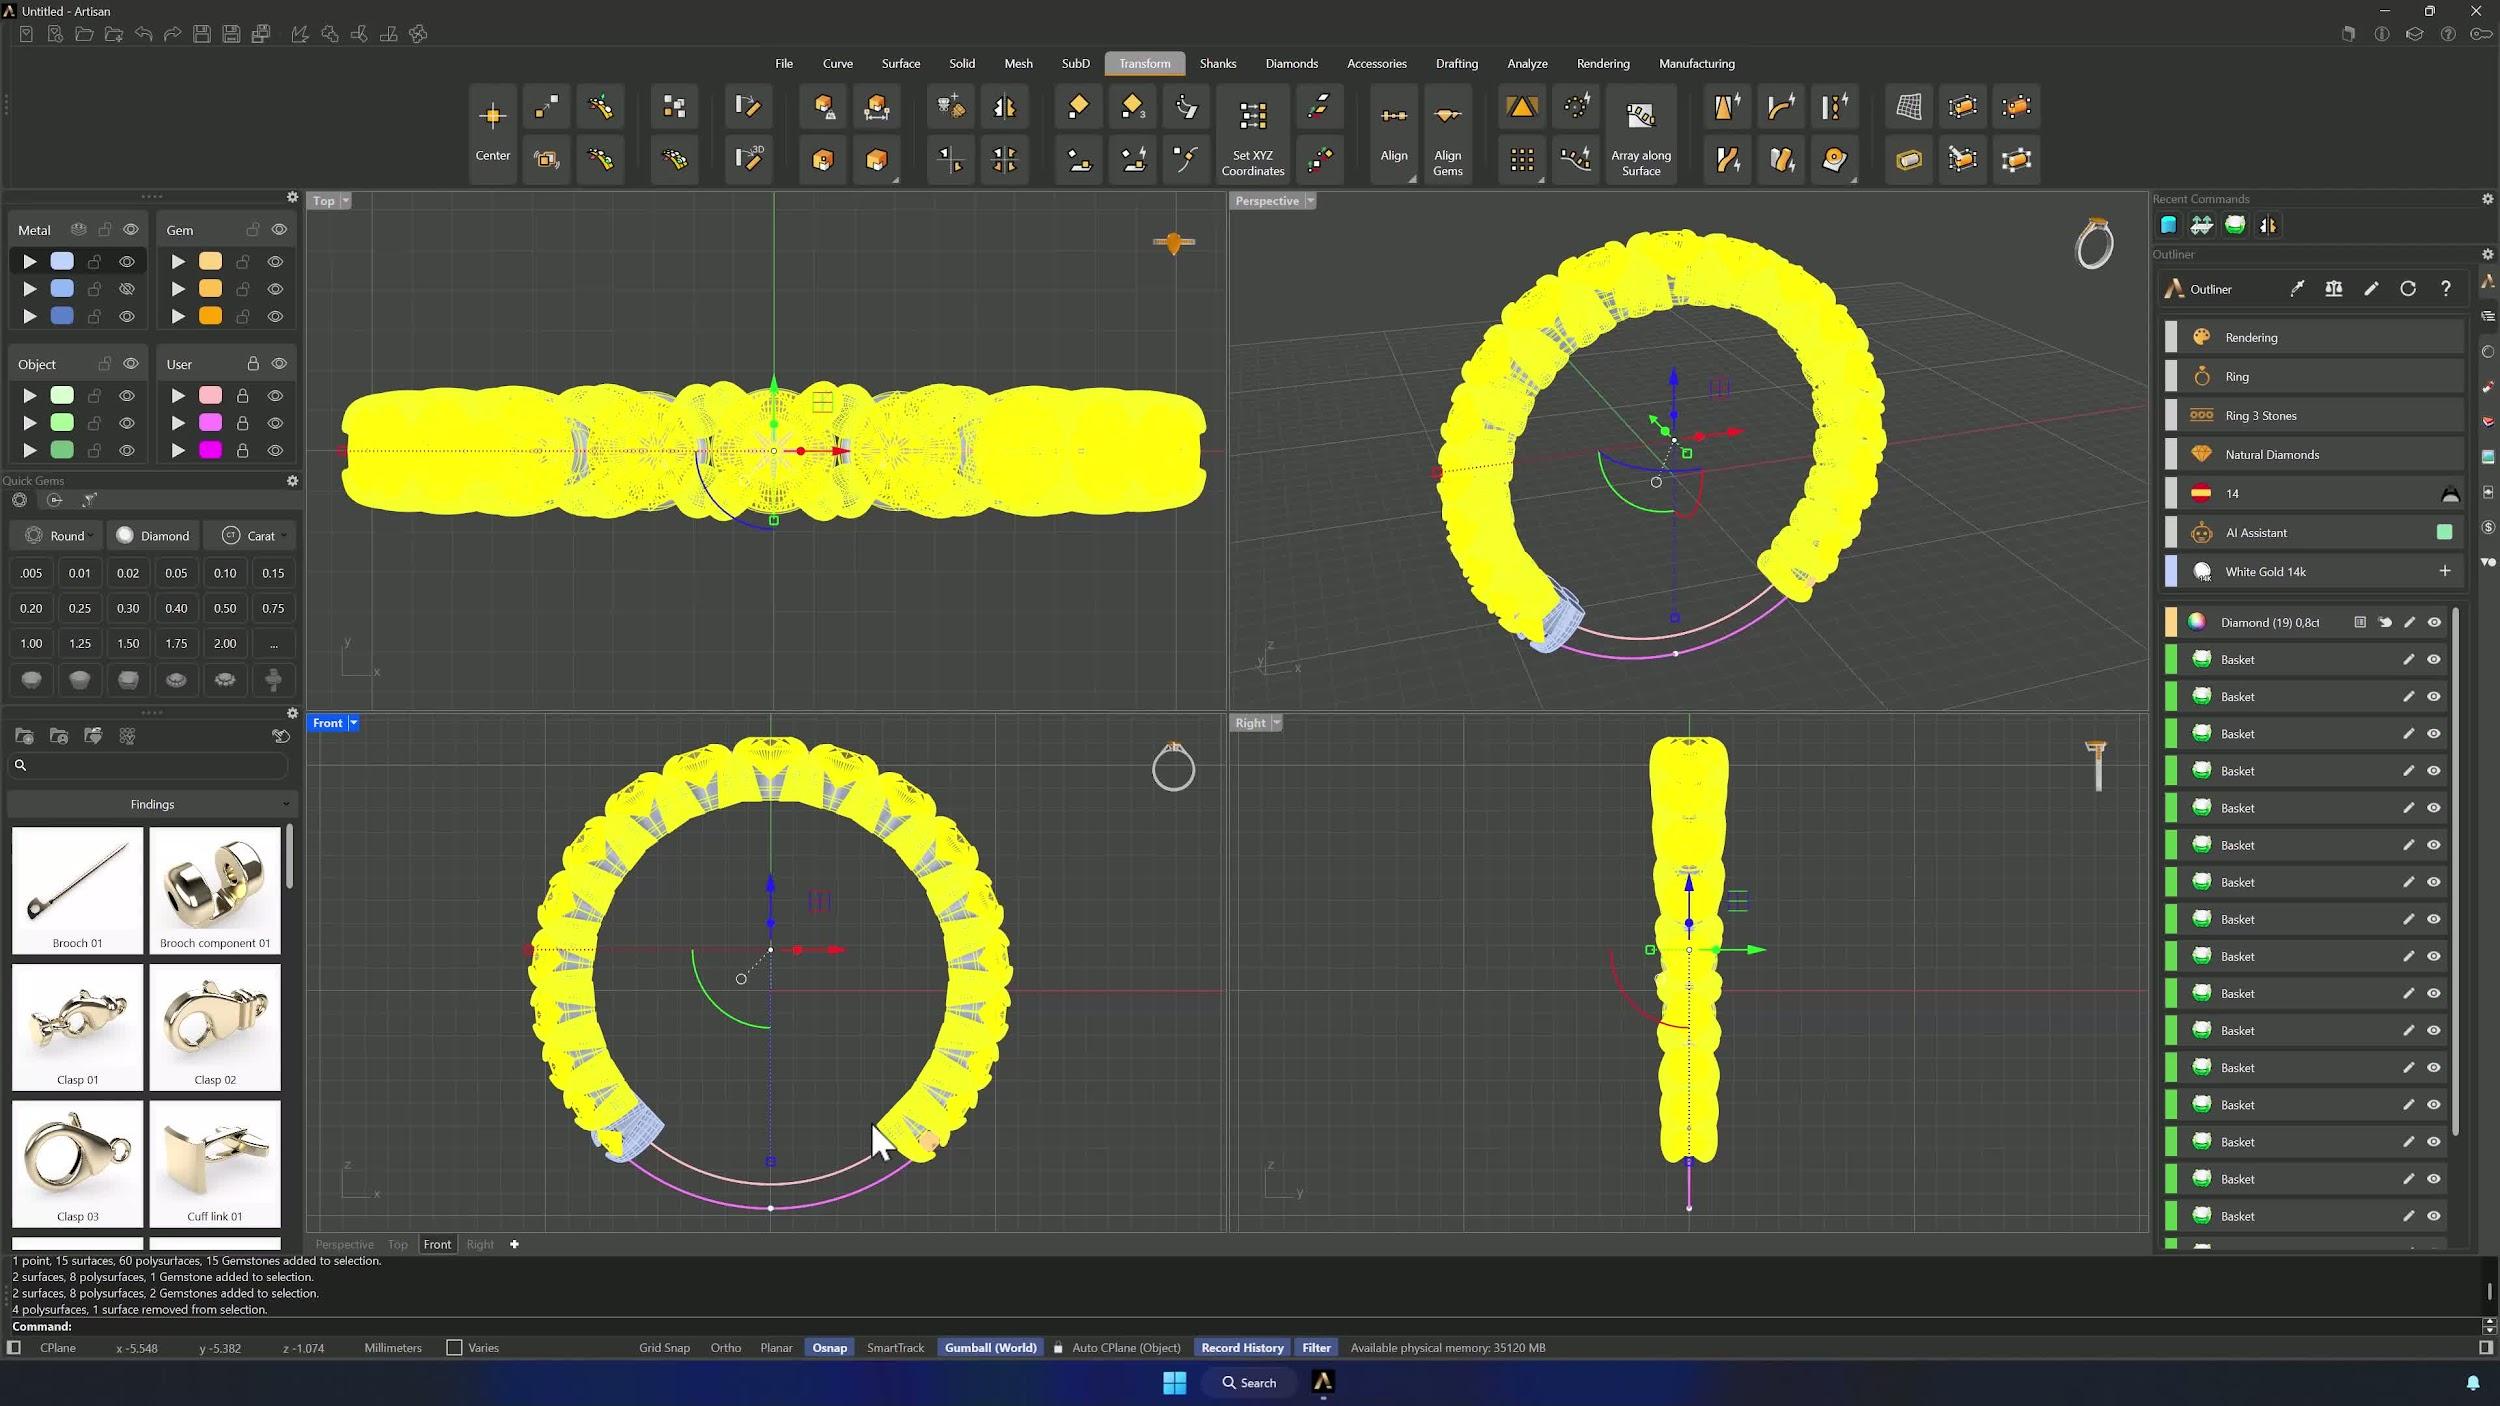
Hide all baskets and gems except the end elements. Unlock the user layer, copy the inner curve along Y with Alt + Gumball, and from the Front view Project it onto the baskets. Then hide the baskets and clear the leftover curves, keeping only the larger circle.
13. Trim the curve to create the bottom shank closure
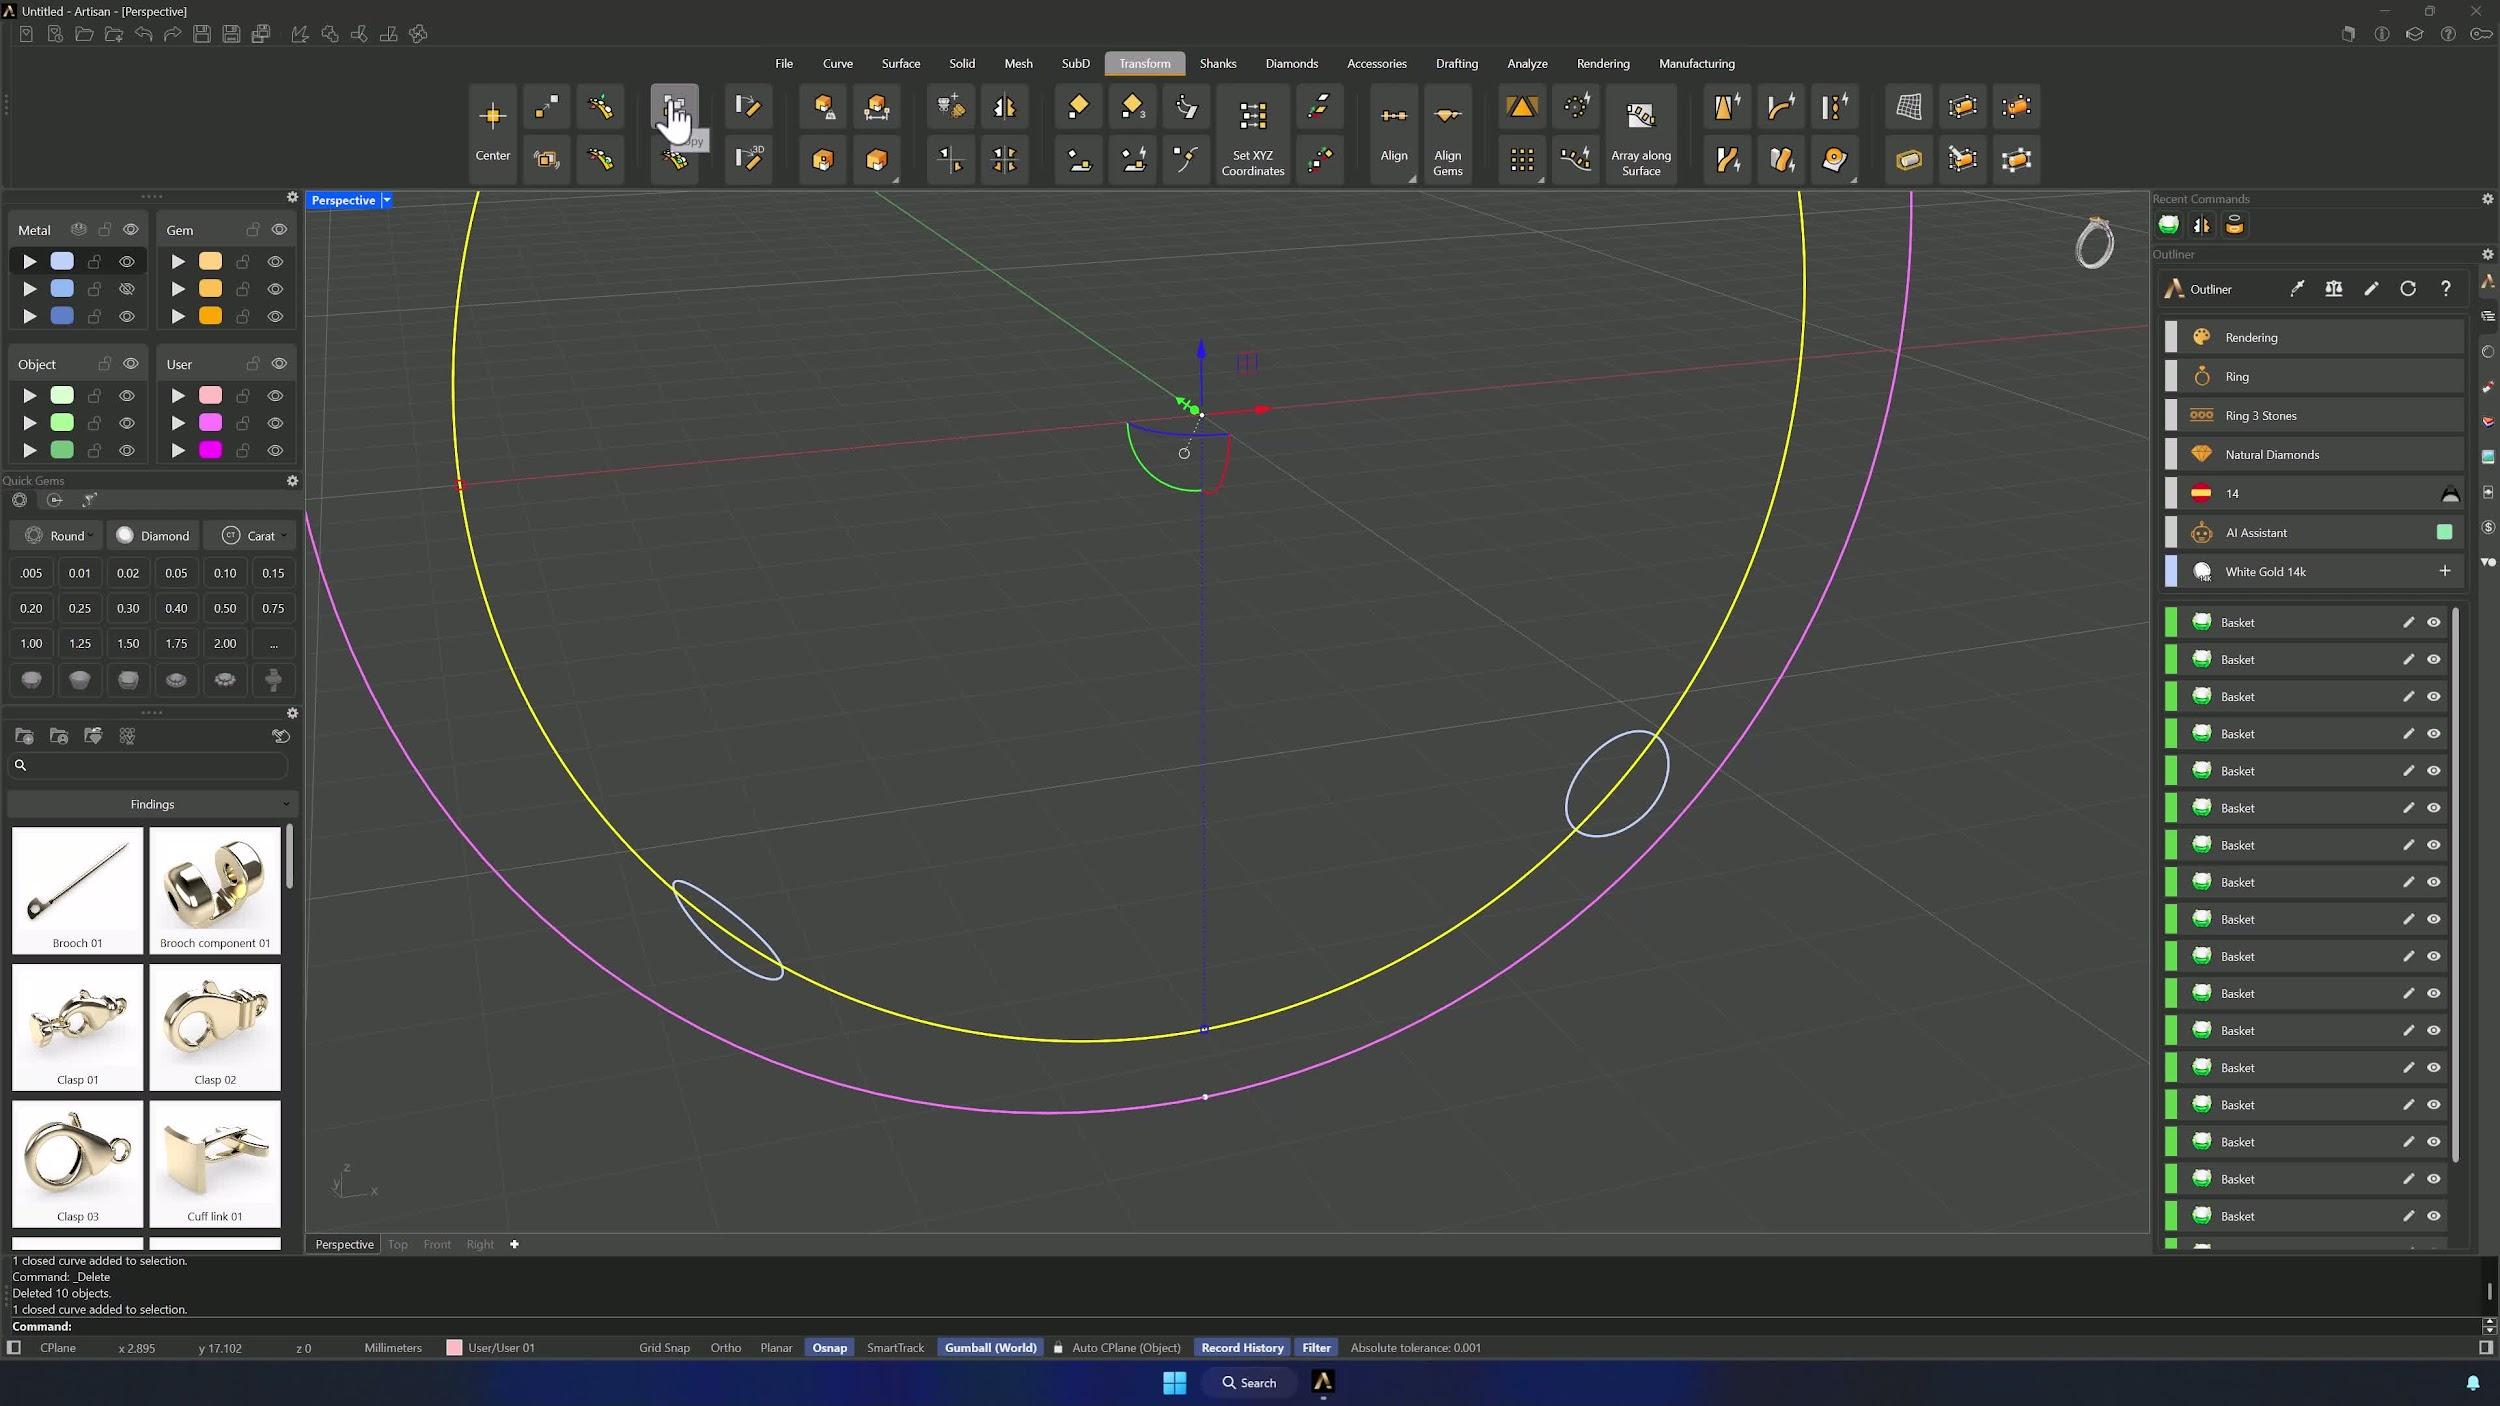
Select the curve and the two circles and Trim away the portion inside the circles, keeping only the lower segment — that arc is exactly the right size to close the bottom of the shank.
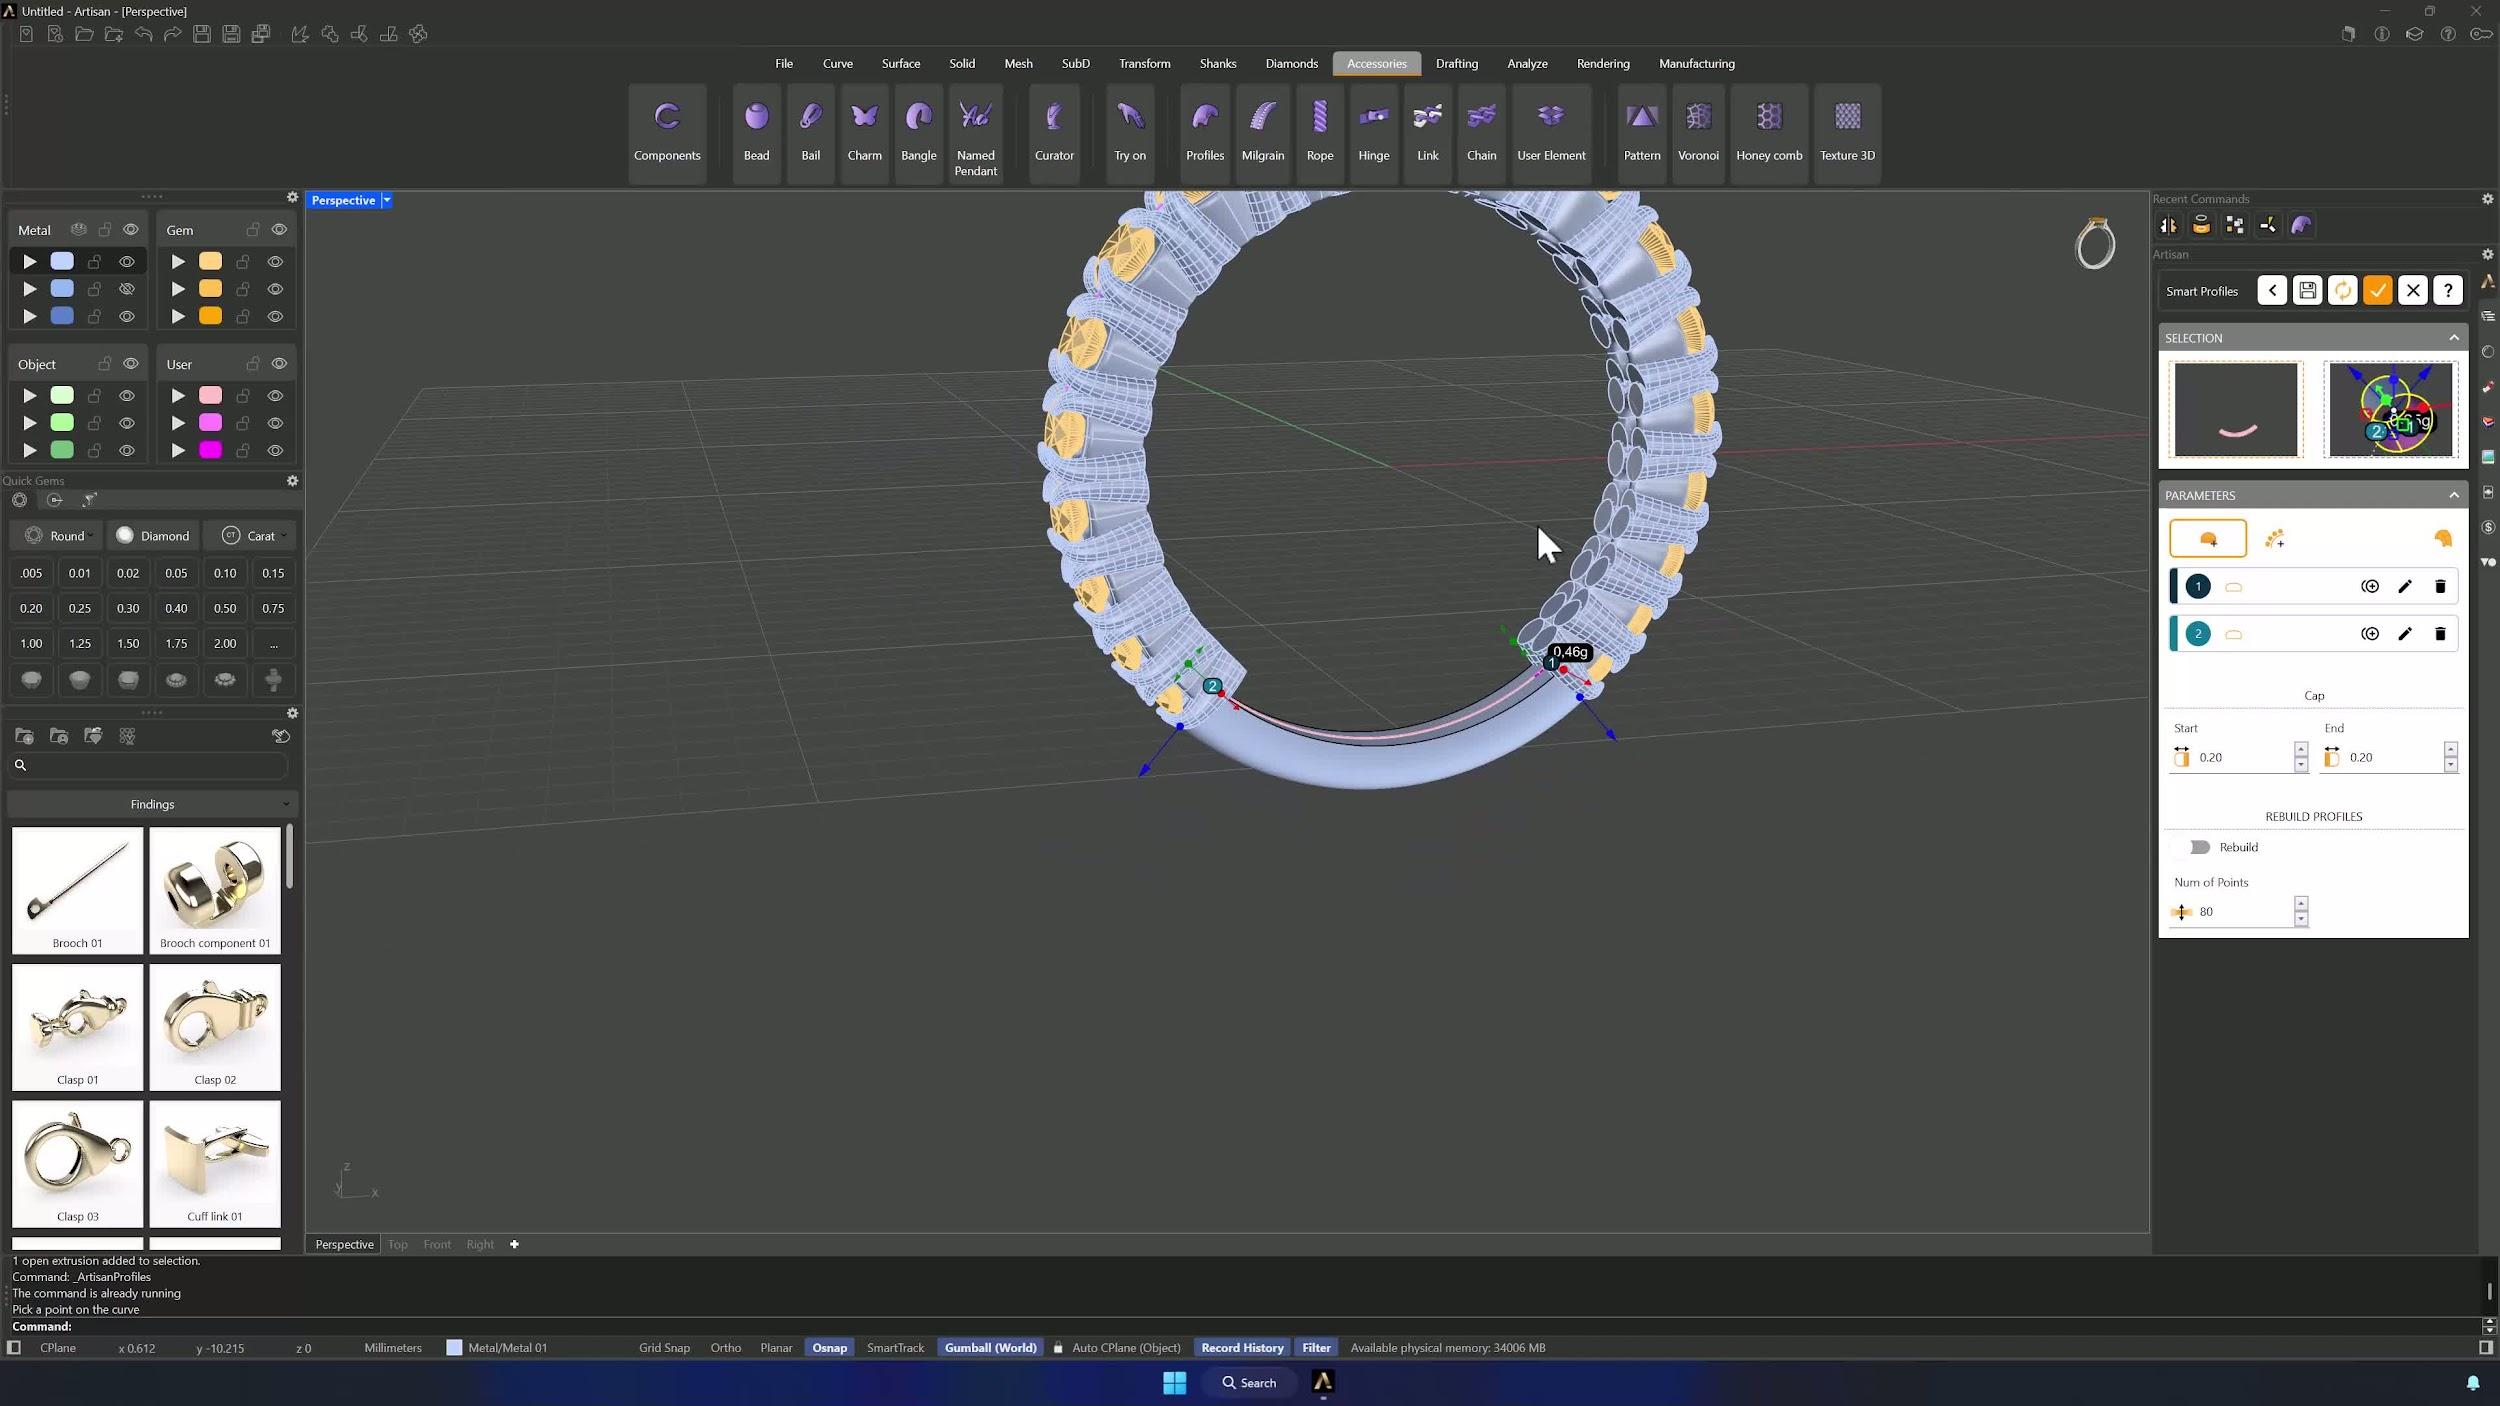
14. Add and adjust the end profiles
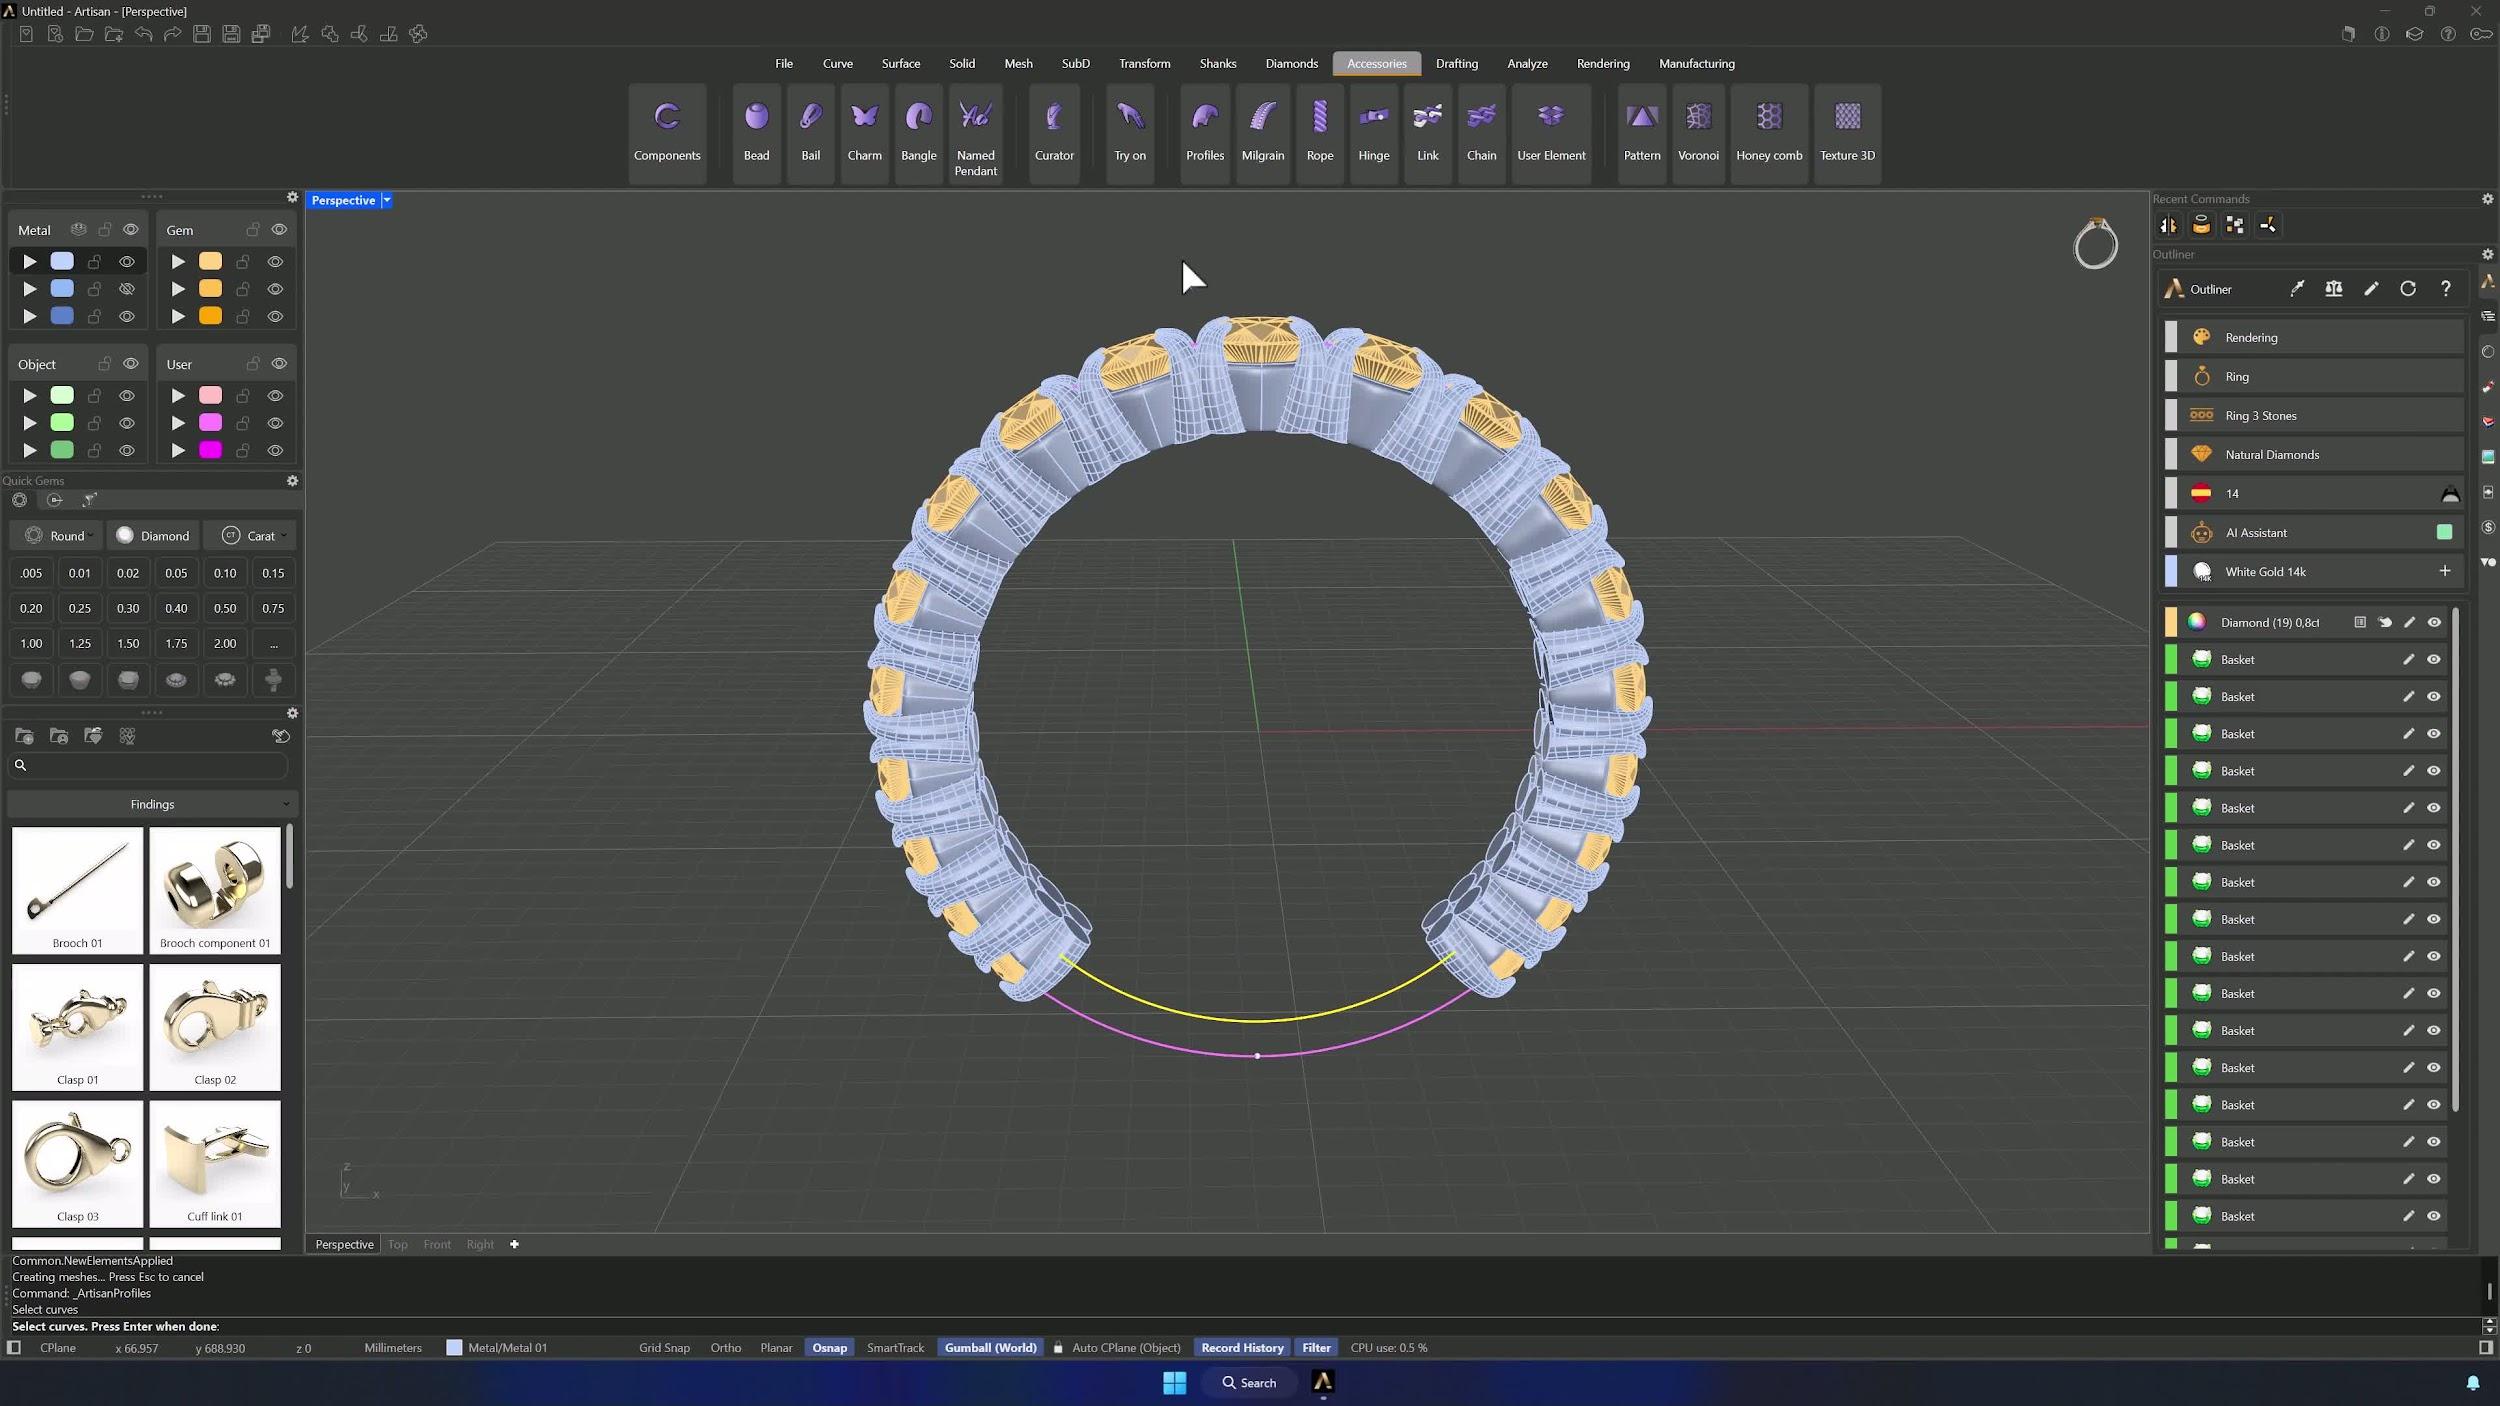
Open Profiles with asset 008 and edit it, adding the reference surface to the selector (then hiding it again). Delete one profile, switch the remaining one’s curve to No. 014 at 1.90 × 1.60 mm, and accept. Duplicate Profile places the twin on the other end — Osnap for accuracy — and the caps get trimmed to 0.2 mm on both sides so nothing pokes past the gems or rails.
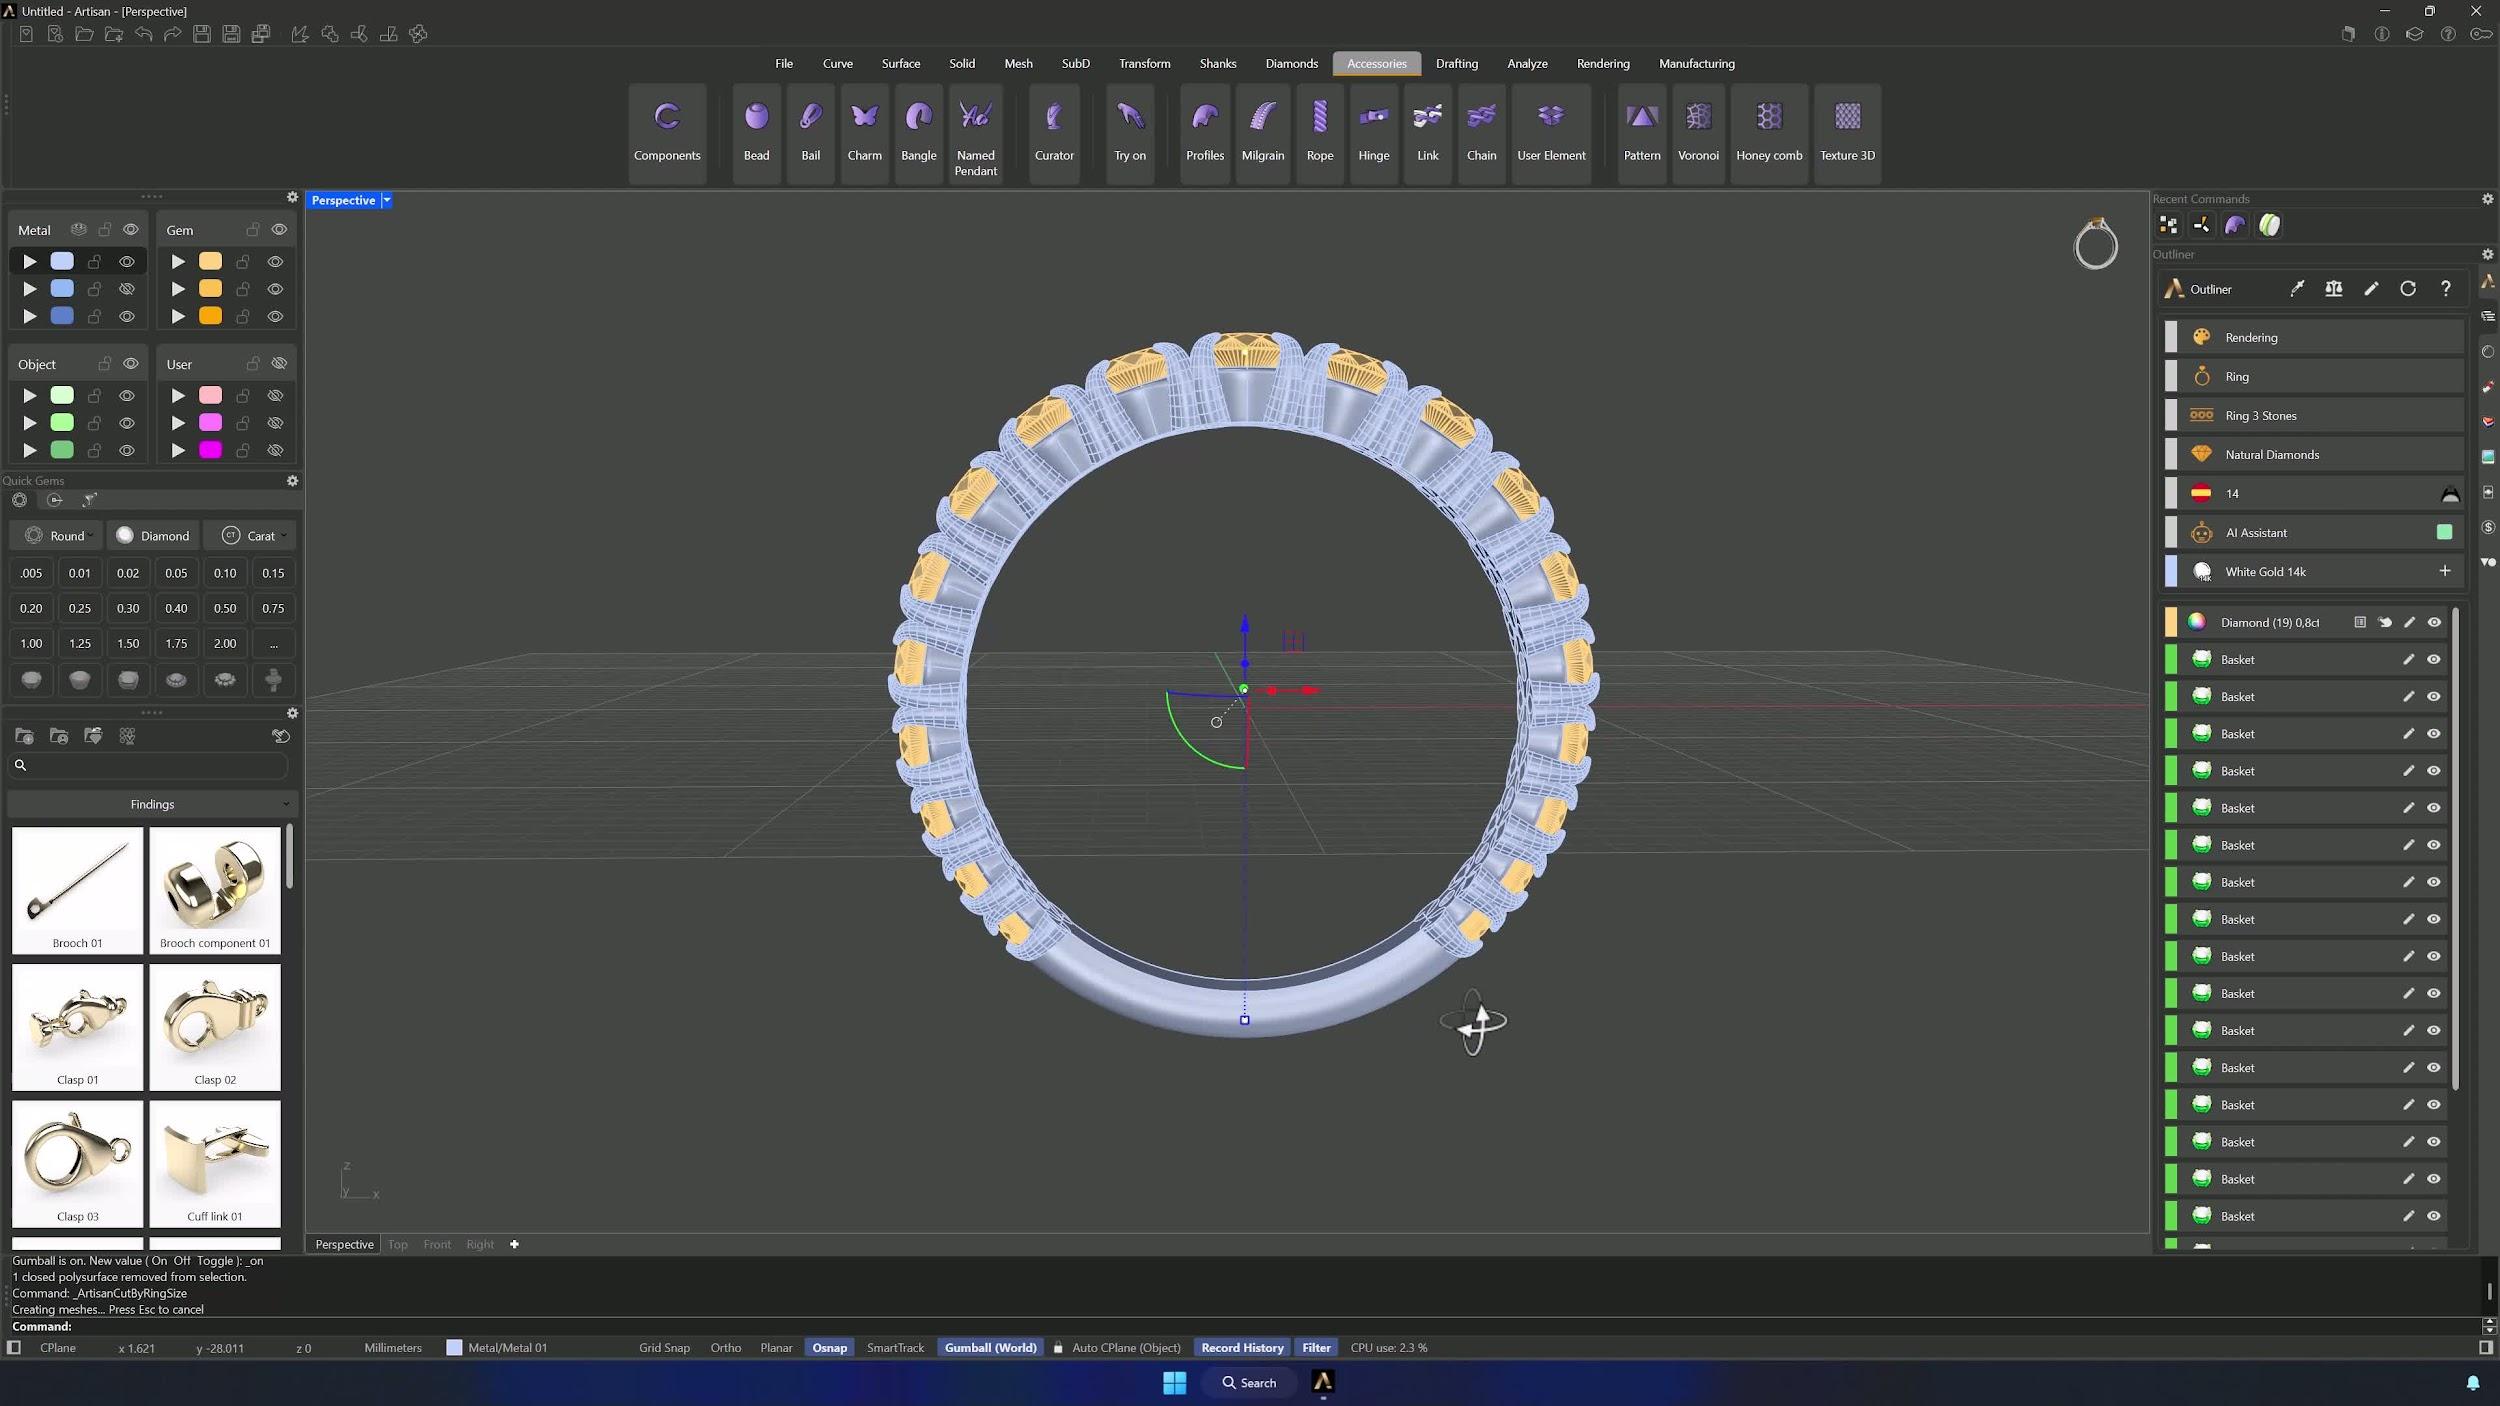
15. Cut baskets to the final ring size and complete the model
Select the metal layer’s elements (right-click the layer color), Ctrl-deselect the bottom of the shank, and with the ring size curve visible click the ring-size icon in the Outliner. The baskets are cut to size and the ring is complete.
16. Optional: modify the center gem and update the basket
Want a different center stone? Delete the old reference points (SelPt in the command bar), edit the top gem from the Outliner, switch the shape to Cushion and grow it by 0.13. Update the Outliner and click Update — the basket refits itself to the new gem automatically.
Tips for a clean result
- Keep Osnap on before placing or duplicating geometry — misalignment here propagates everywhere.
- If Gems on Curve comes out inverted, rotate the curve 180° and Update rather than fighting the placement.
- Don’t delete reference geometry until every dependent step is done.
- When mirroring, exclude the top basket and gem so the original reference stays intact.
- Refresh the Outliner after creating or mirroring elements, and check what’s visible before trimming or cutting.
- Build one side first and Mirror the rest — and reuse profile assets, editing only what needs to change.
Almost there — you still have some lessons to complete. Jump to the next one →
Impersonating — progress and reviews are disabled.
Course completed
You've completed Modern Elegance: Fashion Jewelry Modeling 🎉
Great work. Get your certificate of completion and, if you have a minute, let other jewelers know what you thought of the course.