Scatter Ring
Lesson 18 of 38
Flowing the Layout onto the Ring
Sign in to access this lesson
This lesson is part of Modern Elegance: Fashion Jewelry Modeling, which can come bundled with a RhinoArtisan Commercial license subject to current promotions. Log in with your customer account, or get in touch and we'll set you up.
Customers only
Solo para clientes
This lesson is part of Modern Elegance: Fashion Jewelry Modeling, which can be included with a RhinoArtisan Commercial license subject to current promotions. If you've already purchased and don't see it in your account, get in touch.
11. Measure the ring curve and create the base reference line
Measure the ring curve with Analyze > Length — 53.143 mm in the example. From the Top view, use Line from Midpoint with Grid Snap on: pick a point on the Y axis at the center and draw a straight line along X using half the ring measurement, then verify its length with Analyze.
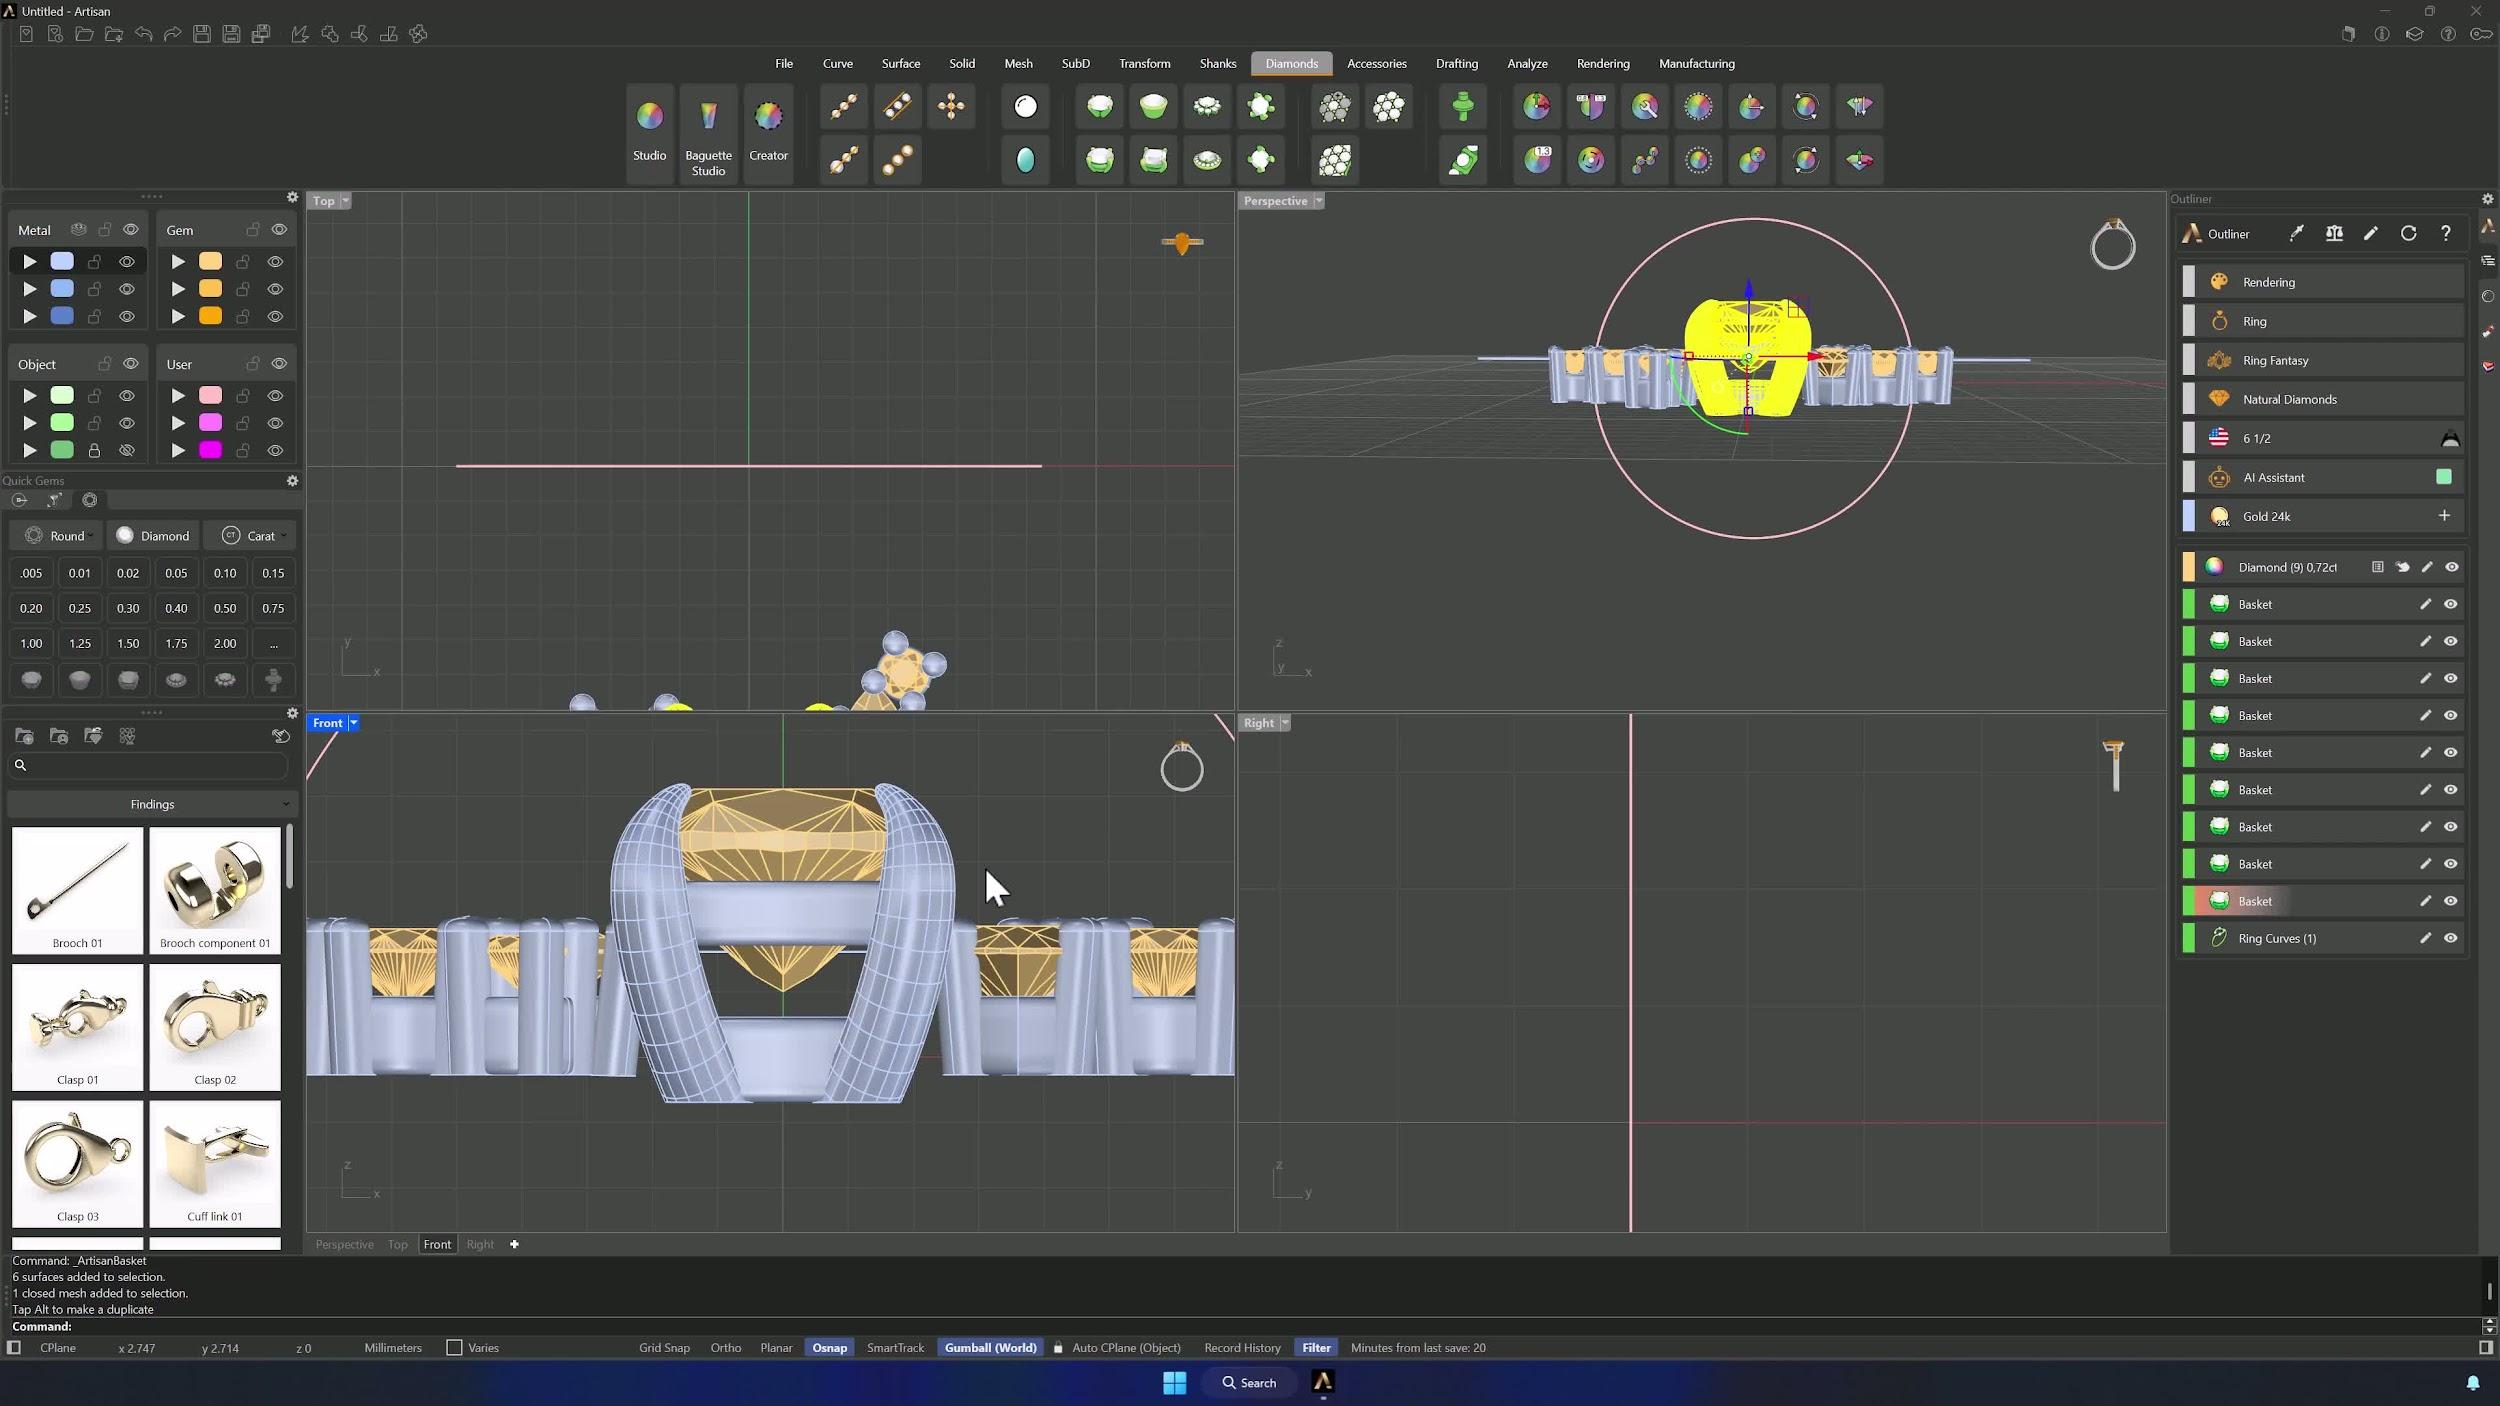
12. Measure the offset distance and create the second reference curve
From the Front view, measure the distance between the two lines with Drafting > Dimensions, then Offset the curve by that spacing — 1.61 mm here. Measure the new circle’s length and draw a second Line from Midpoint at that measurement. Hiding the gems and coloring the curve layers keeps this step readable.
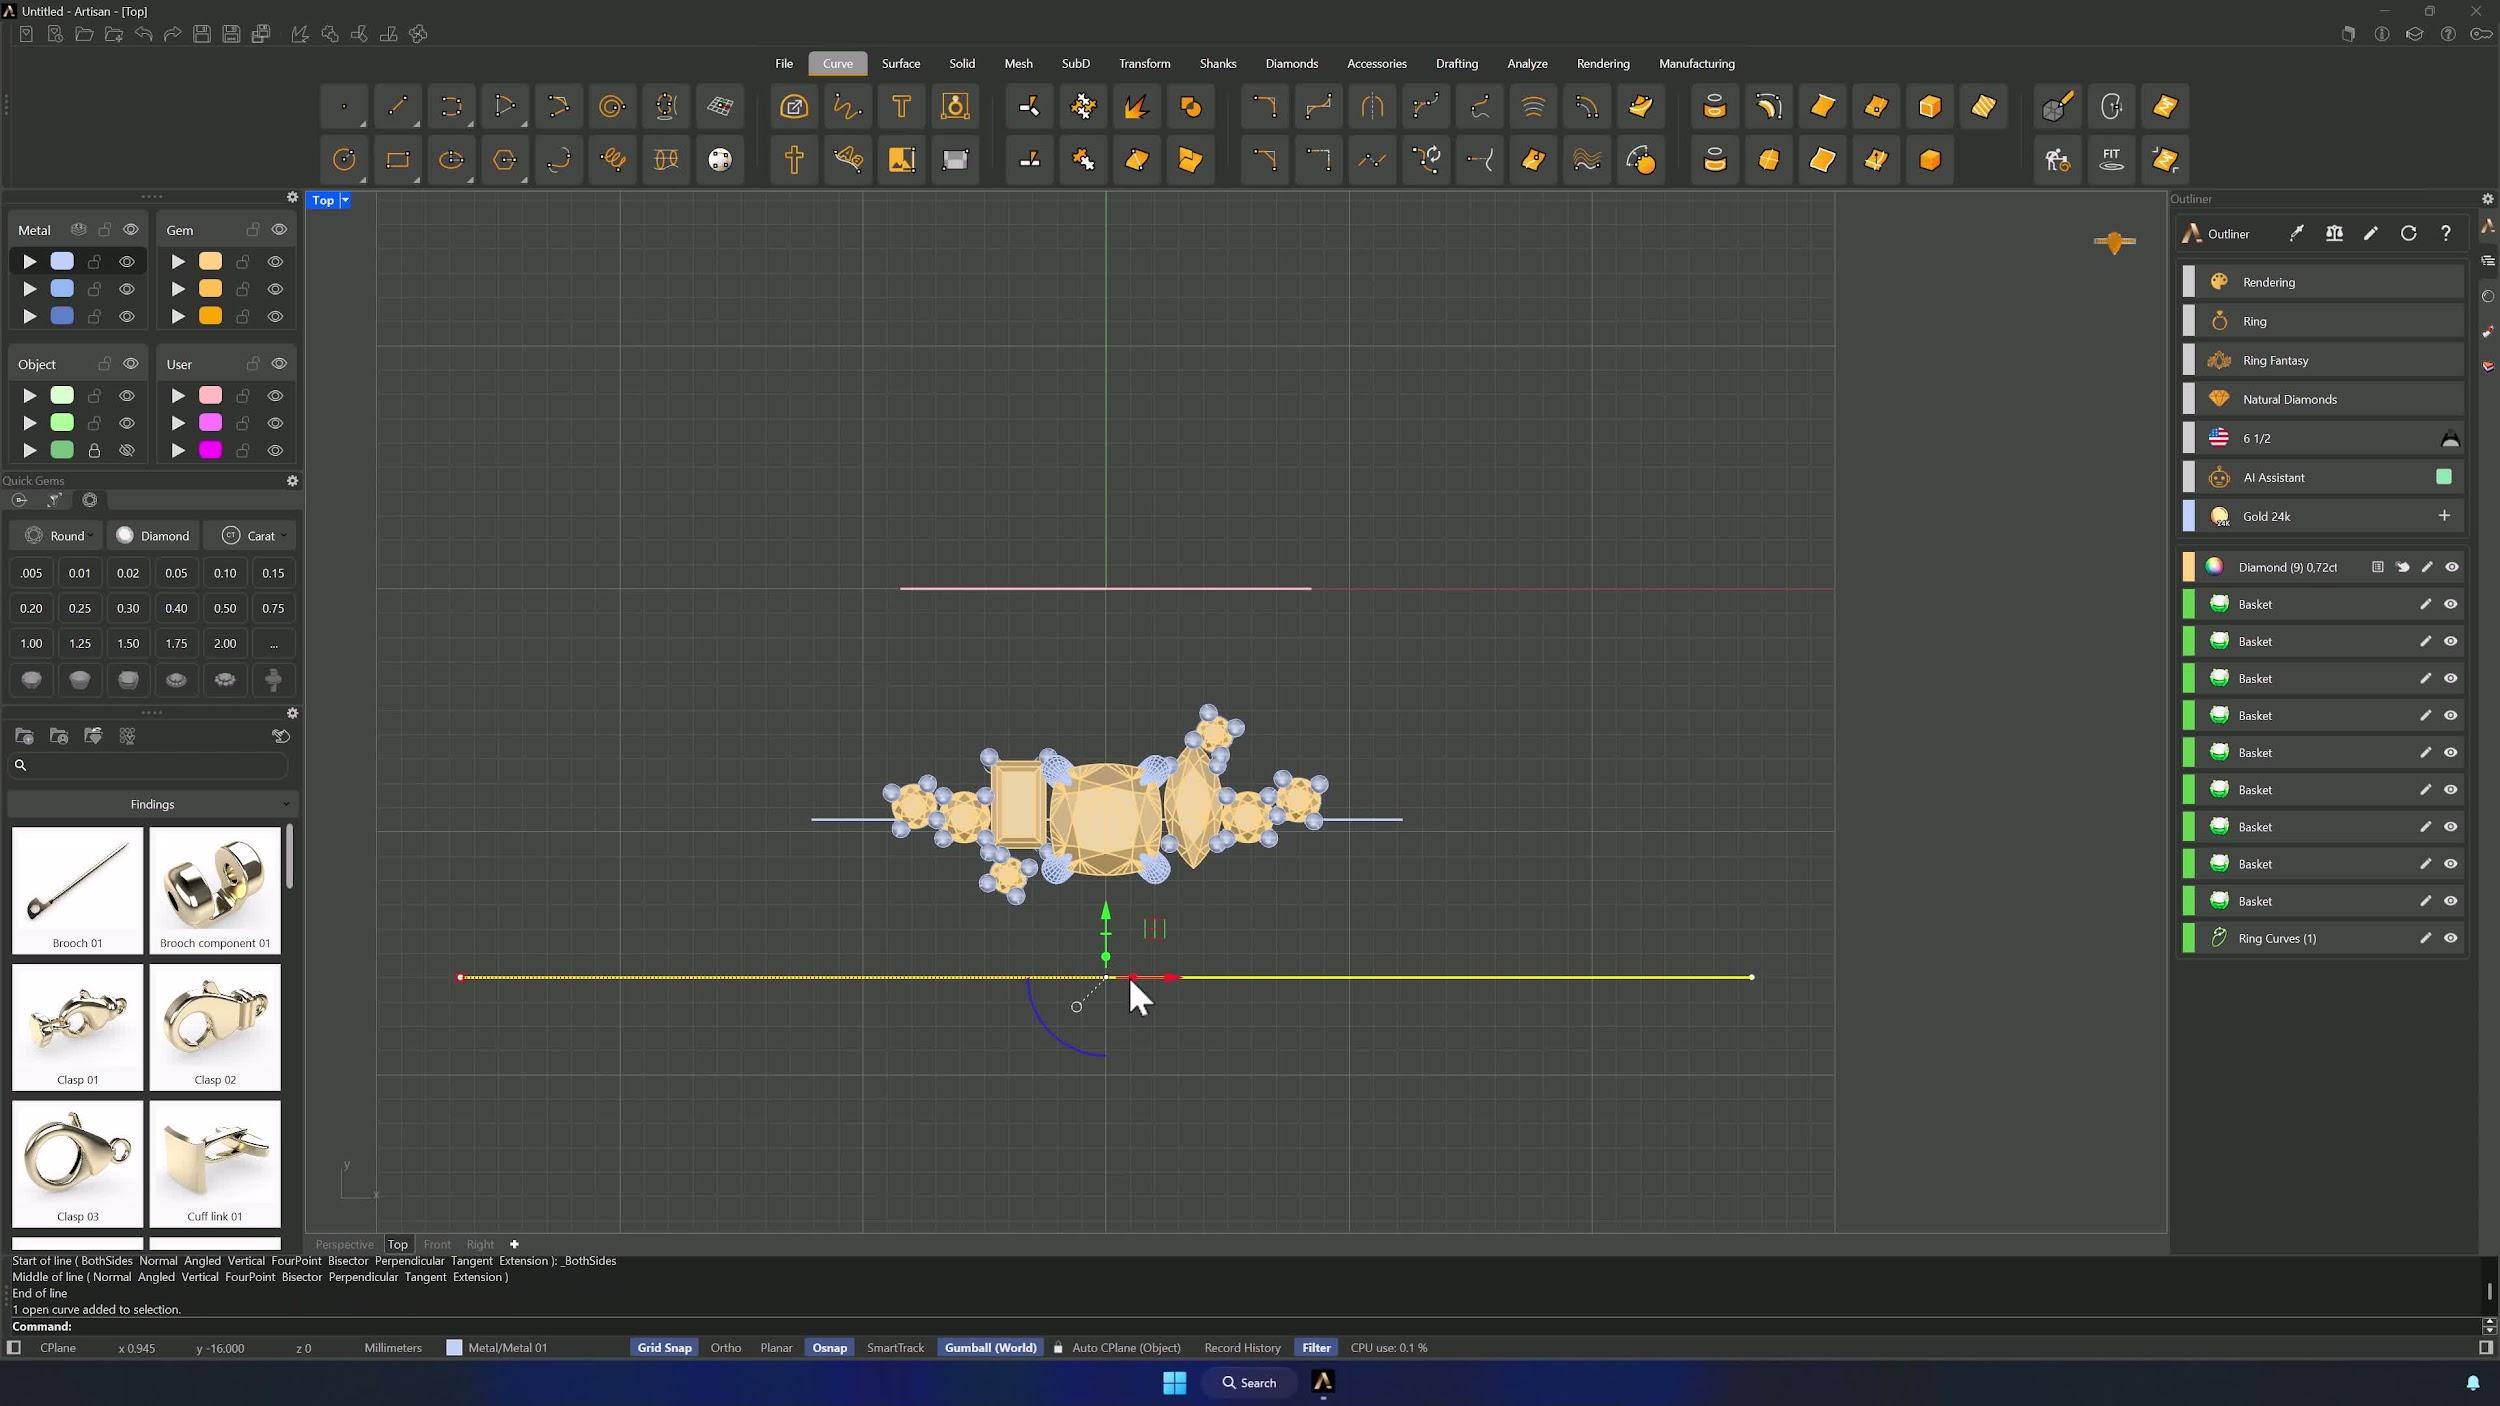
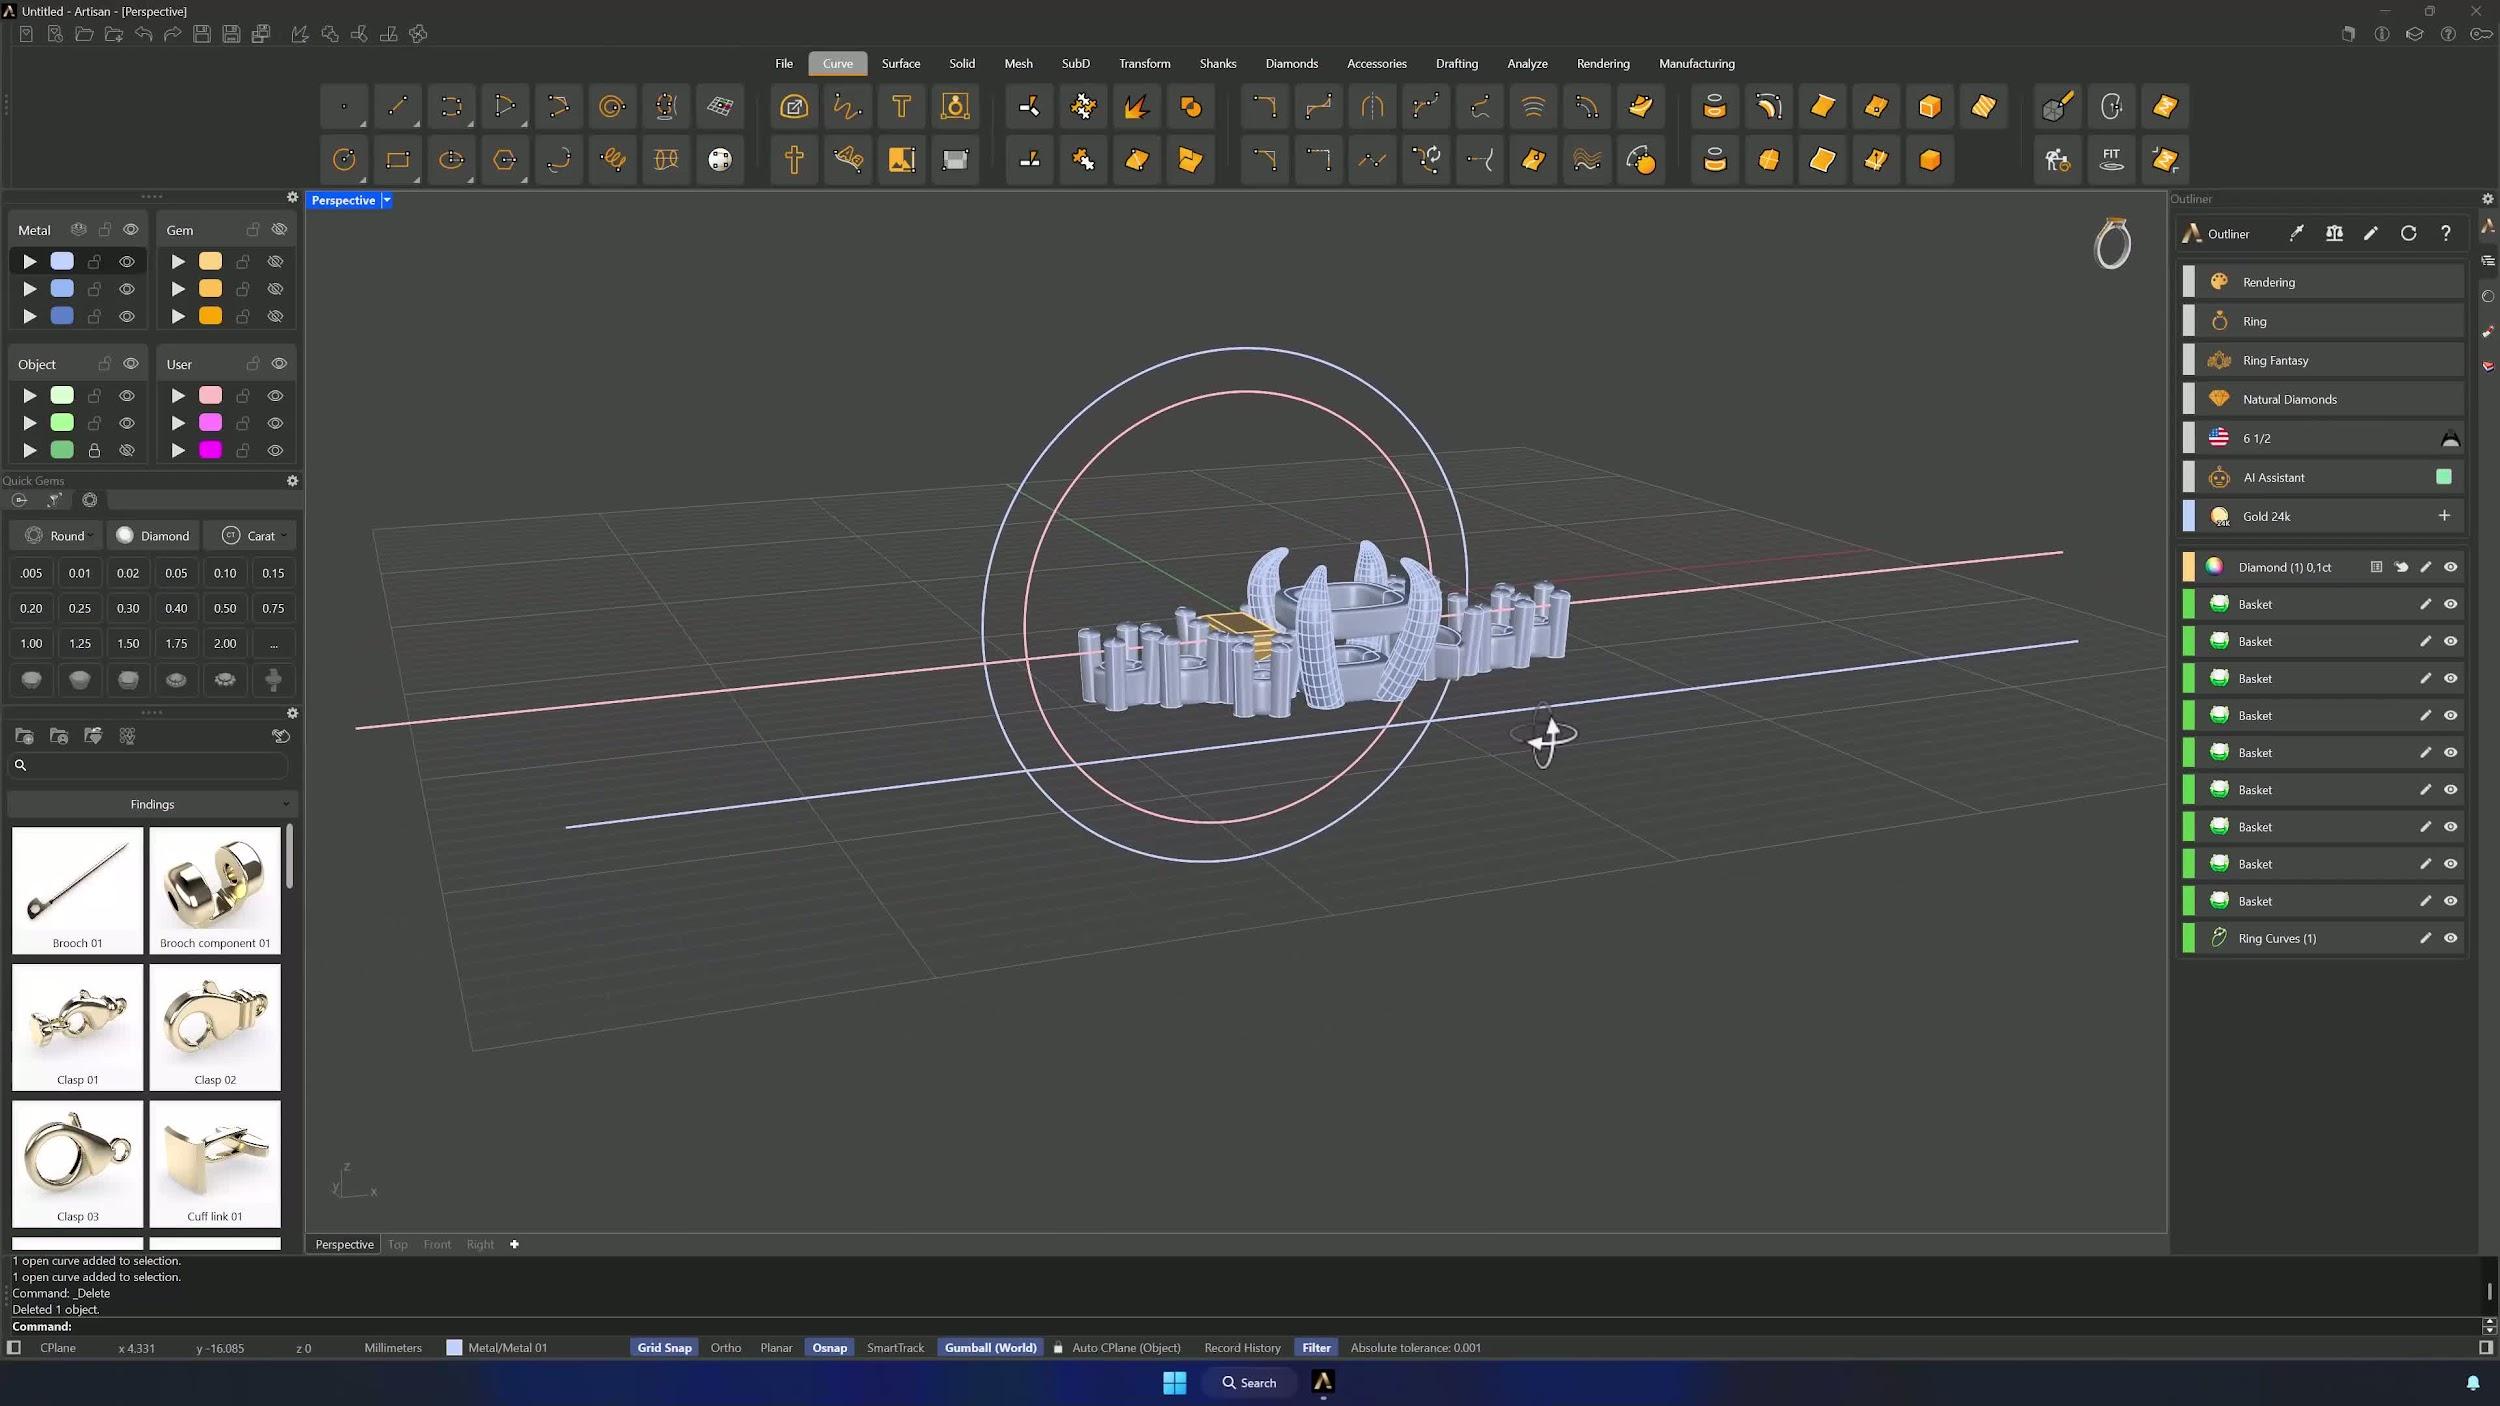
13. Flow the gemstone layout onto the ring curve
Show the stones and run Quick Flow from the Transform tab: the last line as base curve, the larger circle as target, and all gemstones added as Rigid Objects so nothing deforms. Accept, re-apply the baskets with Apply Element (central basket included), and park the leftover reference elements on a hidden layer.
Almost there — you still have some lessons to complete. Jump to the next one →
Impersonating — progress and reviews are disabled.
Course completed
You've completed Modern Elegance: Fashion Jewelry Modeling 🎉
Great work. Get your certificate of completion and, if you have a minute, let other jewelers know what you thought of the course.