Wild Majesty Pavé Ring
Lesson 27 of 29
Eyes & Gem Areas
Sign in to access this lesson
This lesson is part of Living Jewels: SubD Creature Sculpting, which can come bundled with a RhinoArtisan Commercial license subject to current promotions. Log in with your customer account, or get in touch and we'll set you up.
Customers only
Solo para clientes
This lesson is part of Living Jewels: SubD Creature Sculpting, which can be included with a RhinoArtisan Commercial license subject to current promotions. If you've already purchased and don't see it in your account, get in touch.
9. Create and position the eye gems
With only the references visible, create a pear-shaped 0.02 ct gem in Gem Studio, position it, and Mirror from 0 for the second eye. Each eye gets its bezel: Gems Curve extracts the outline, a 0.2 Offset and Planar Surface close it, a ±0.2 mm extrusion gives it body, and Quad Remesh turns it SubD — seated deeper into the head and mirrored across.
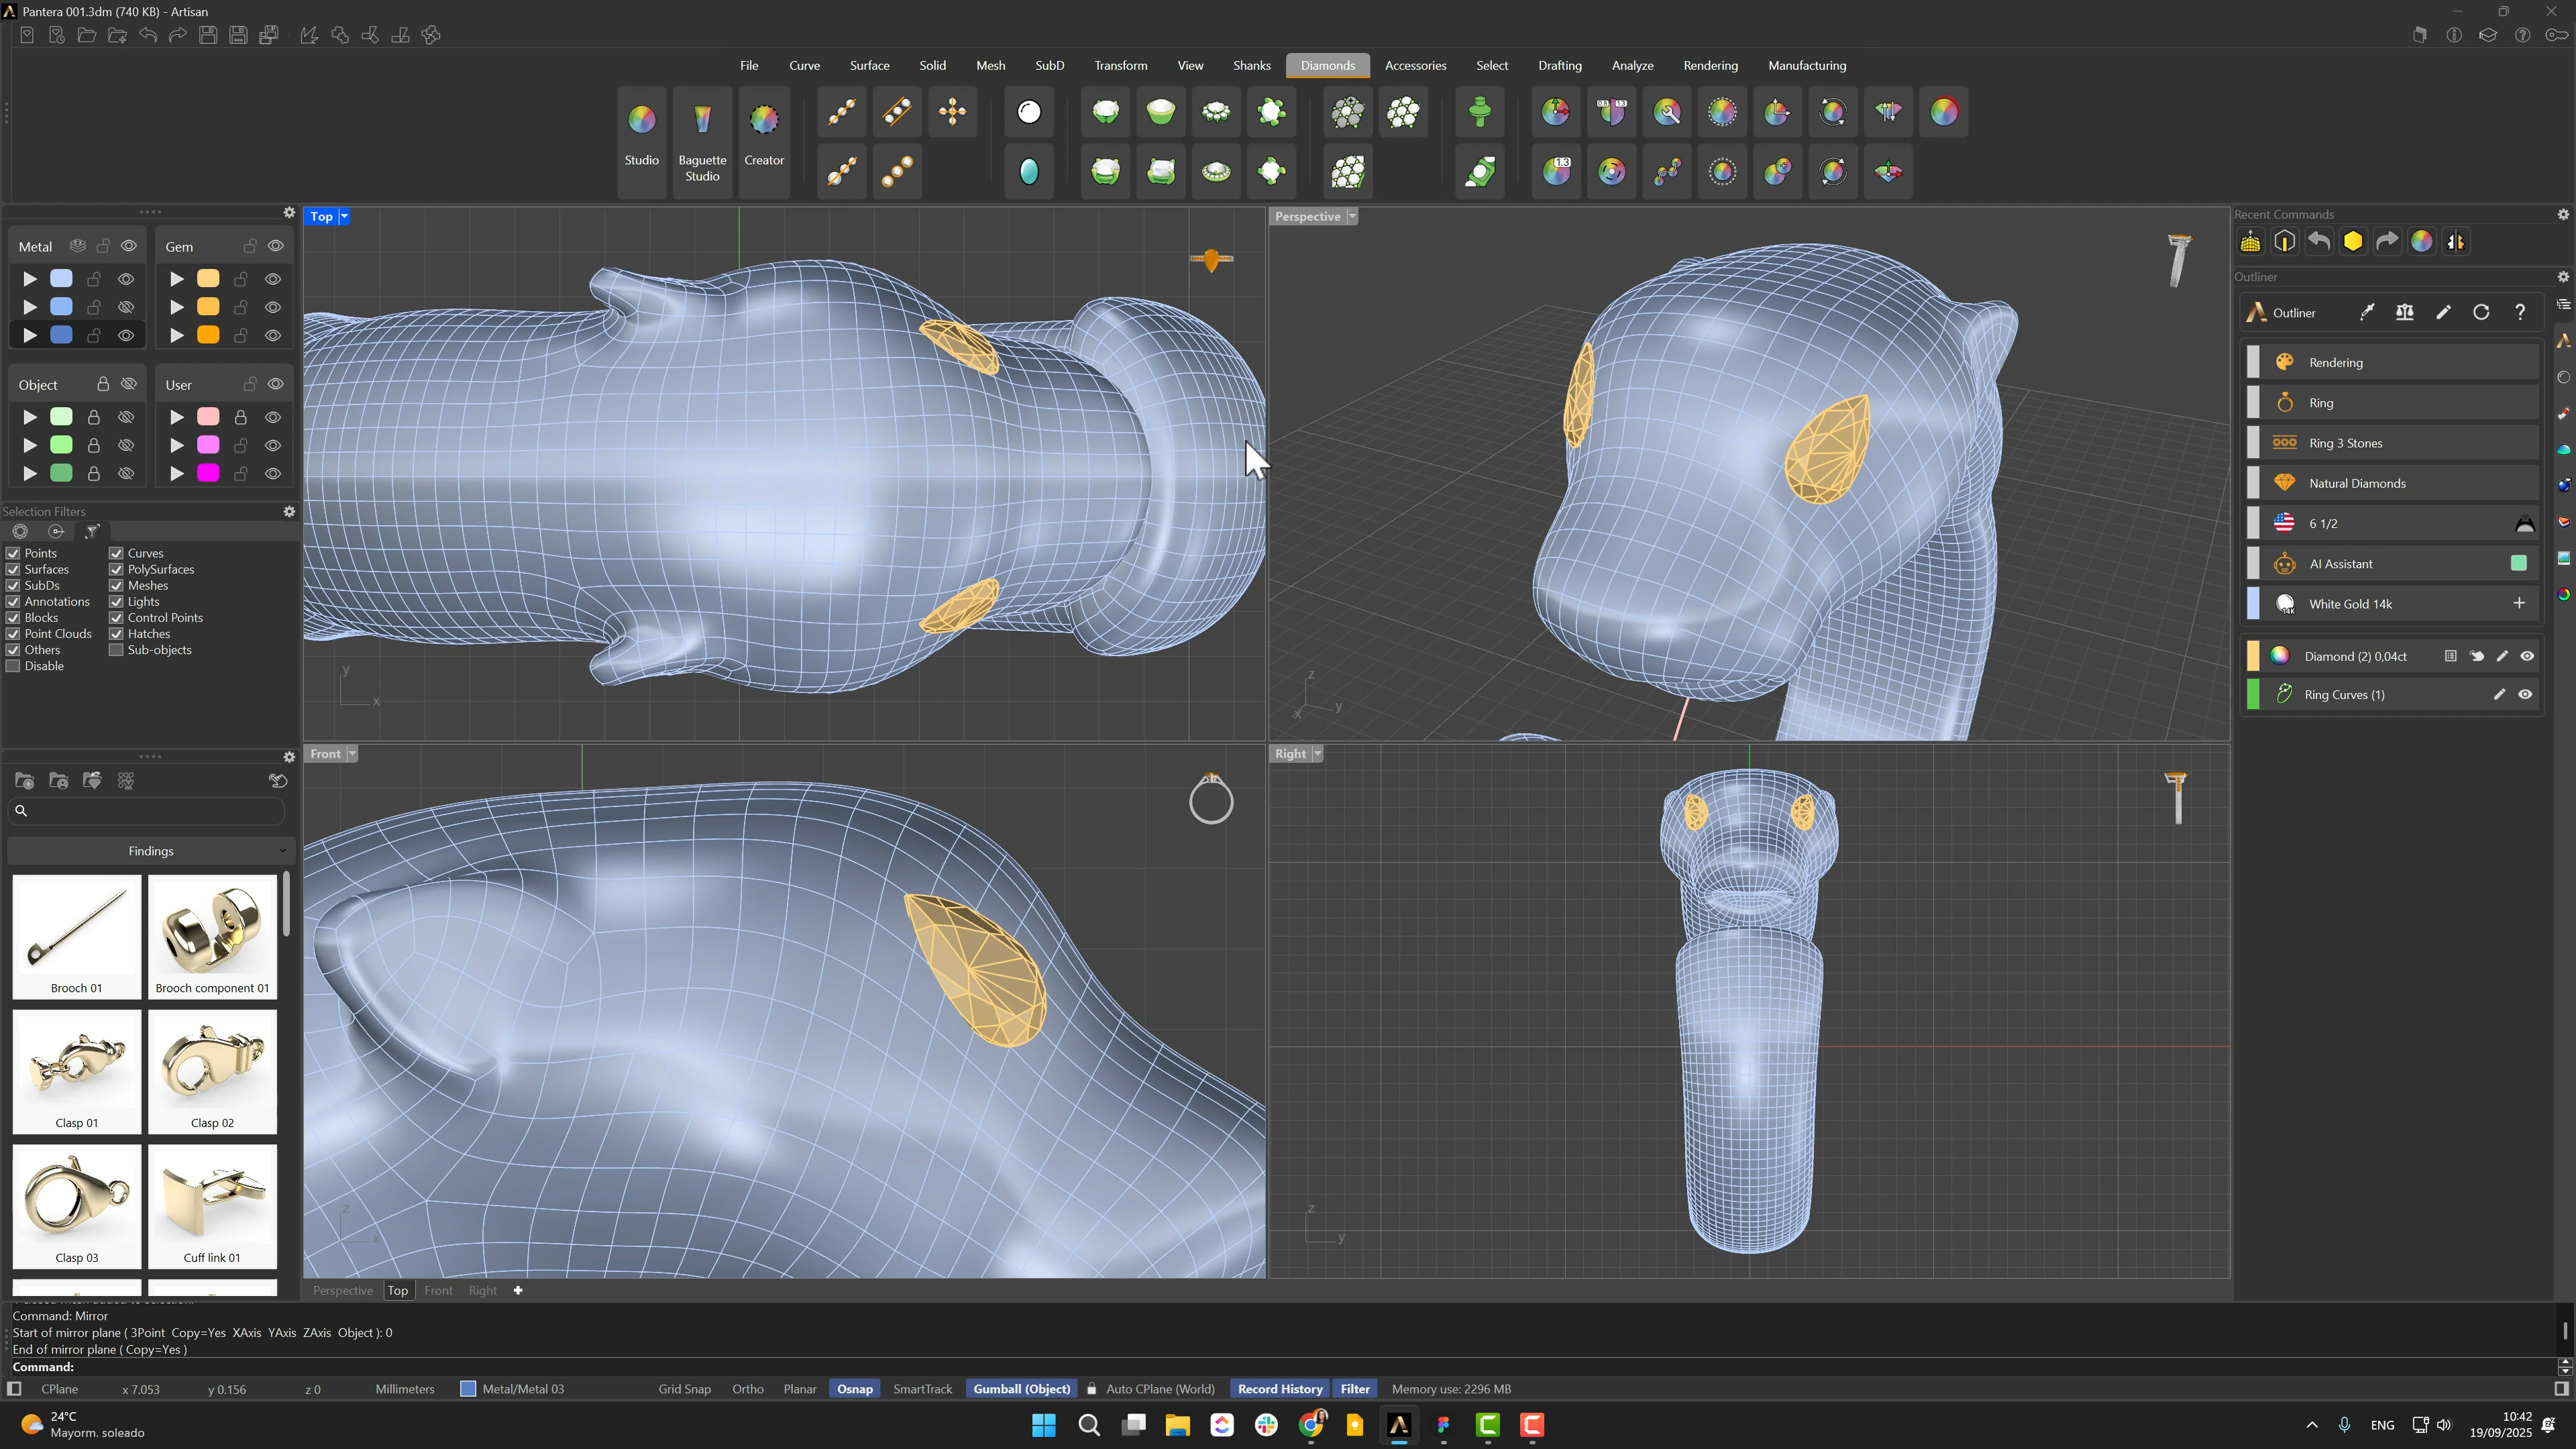
10. Define the first gem area on the ring
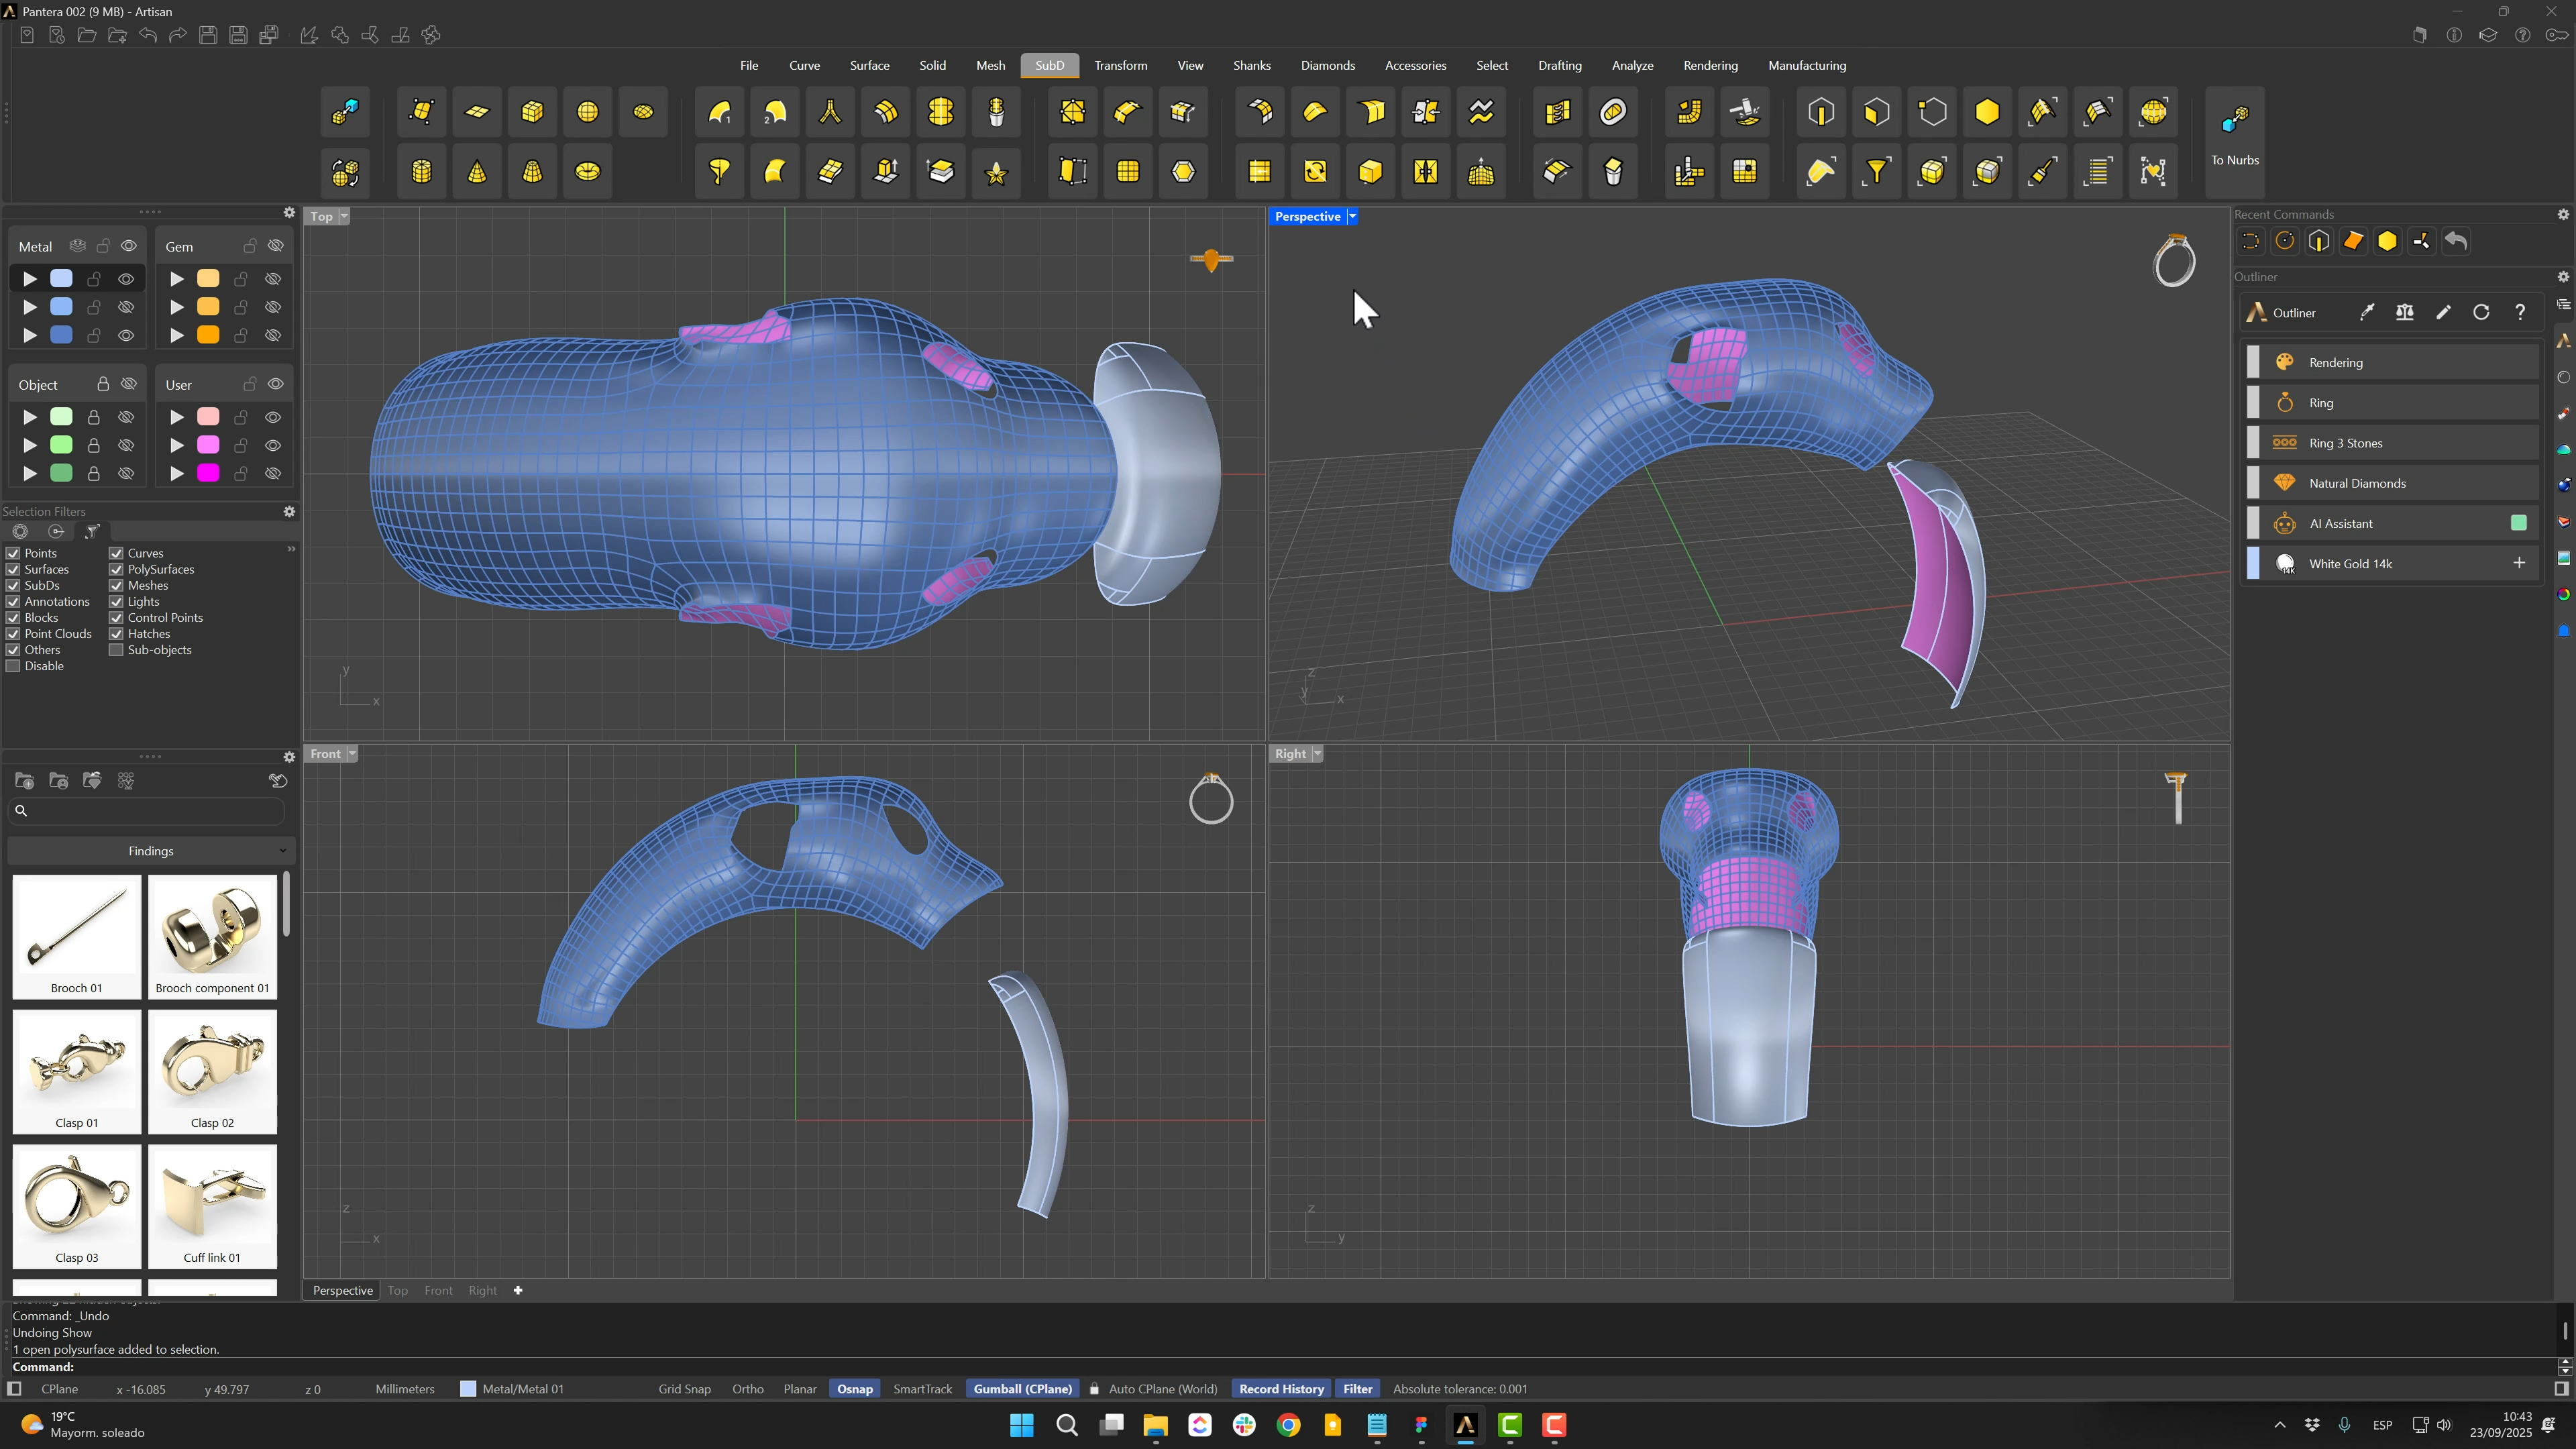
Copy the ring In Place and work on the copy alone. A circle centered at zero, sized to the lower jaw, projects onto the model from the side view; convert the model to NURBS and Trim below the projected curve. A second circle and Split remove the inner section — the first pavé territory is drawn.
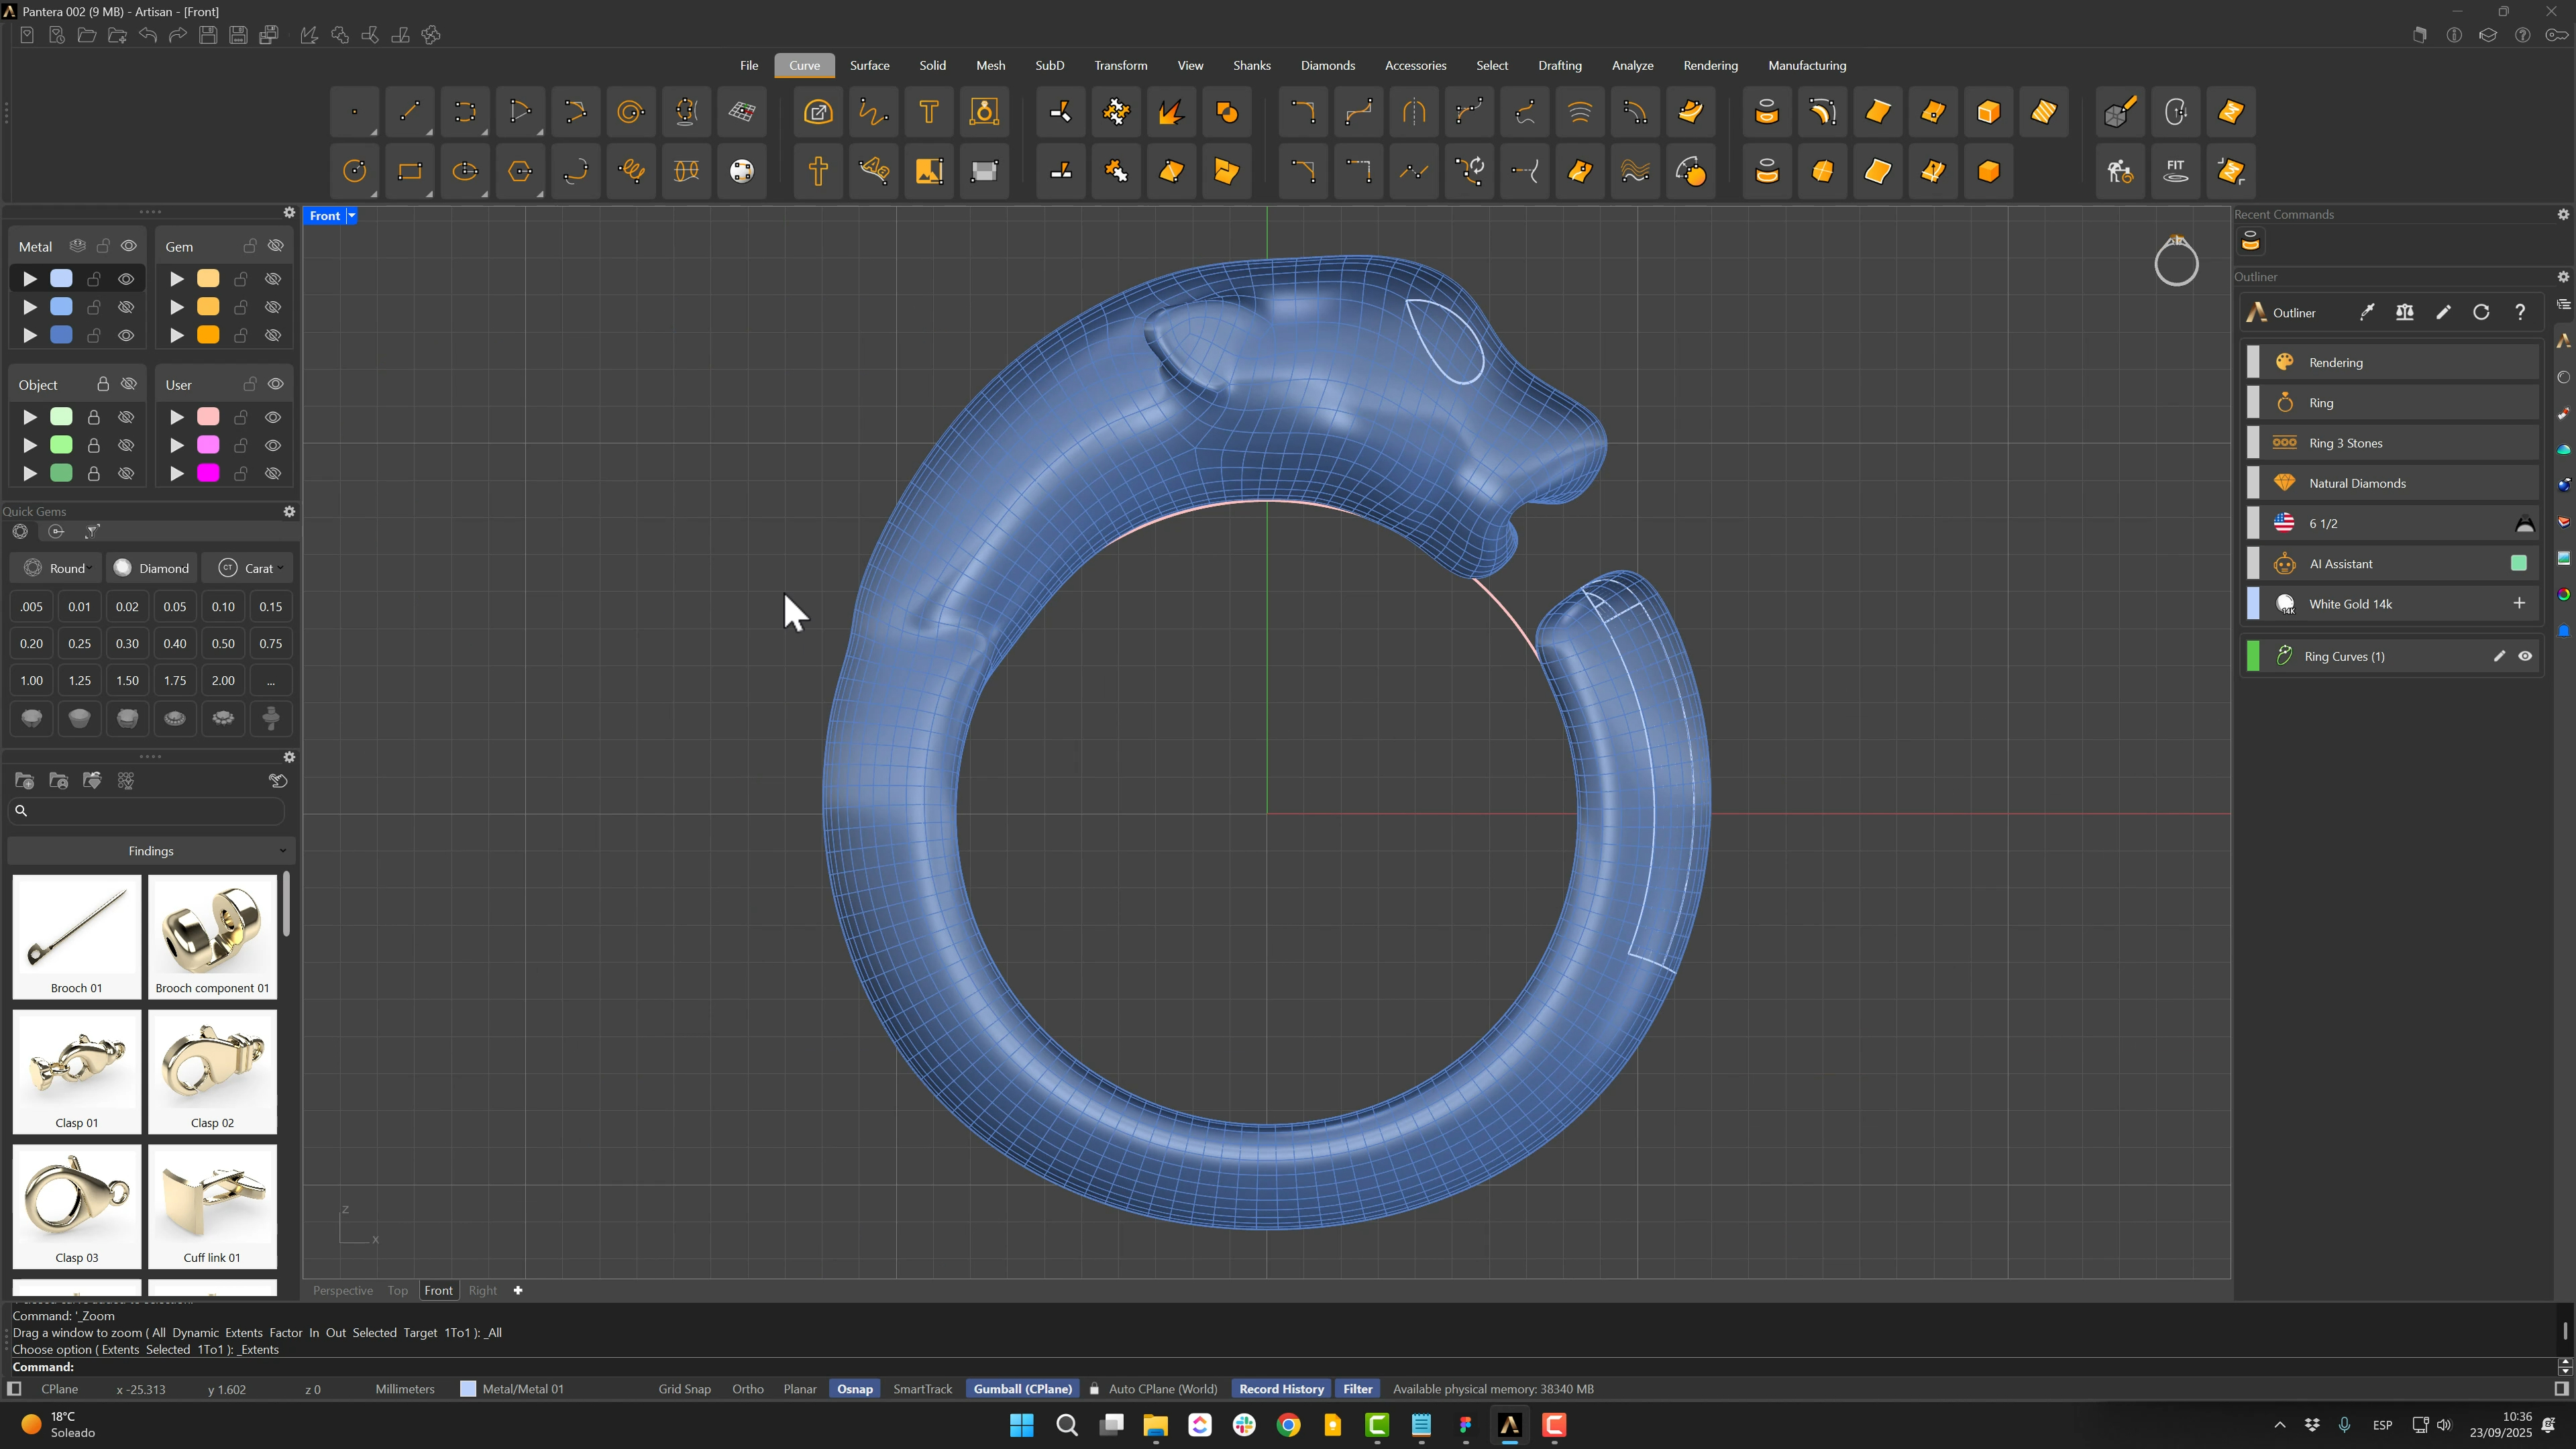
11. Define the second gem area with reference curves
Show the copied SubD and the eye offset curve, and draw the boundary set from the Front view: a curve at the shank union, a circle biting slightly into the model for the inner cut, another for the mouth area, plus the ear edges captured with Duplicate Edge. Trim everything where gems won’t go.
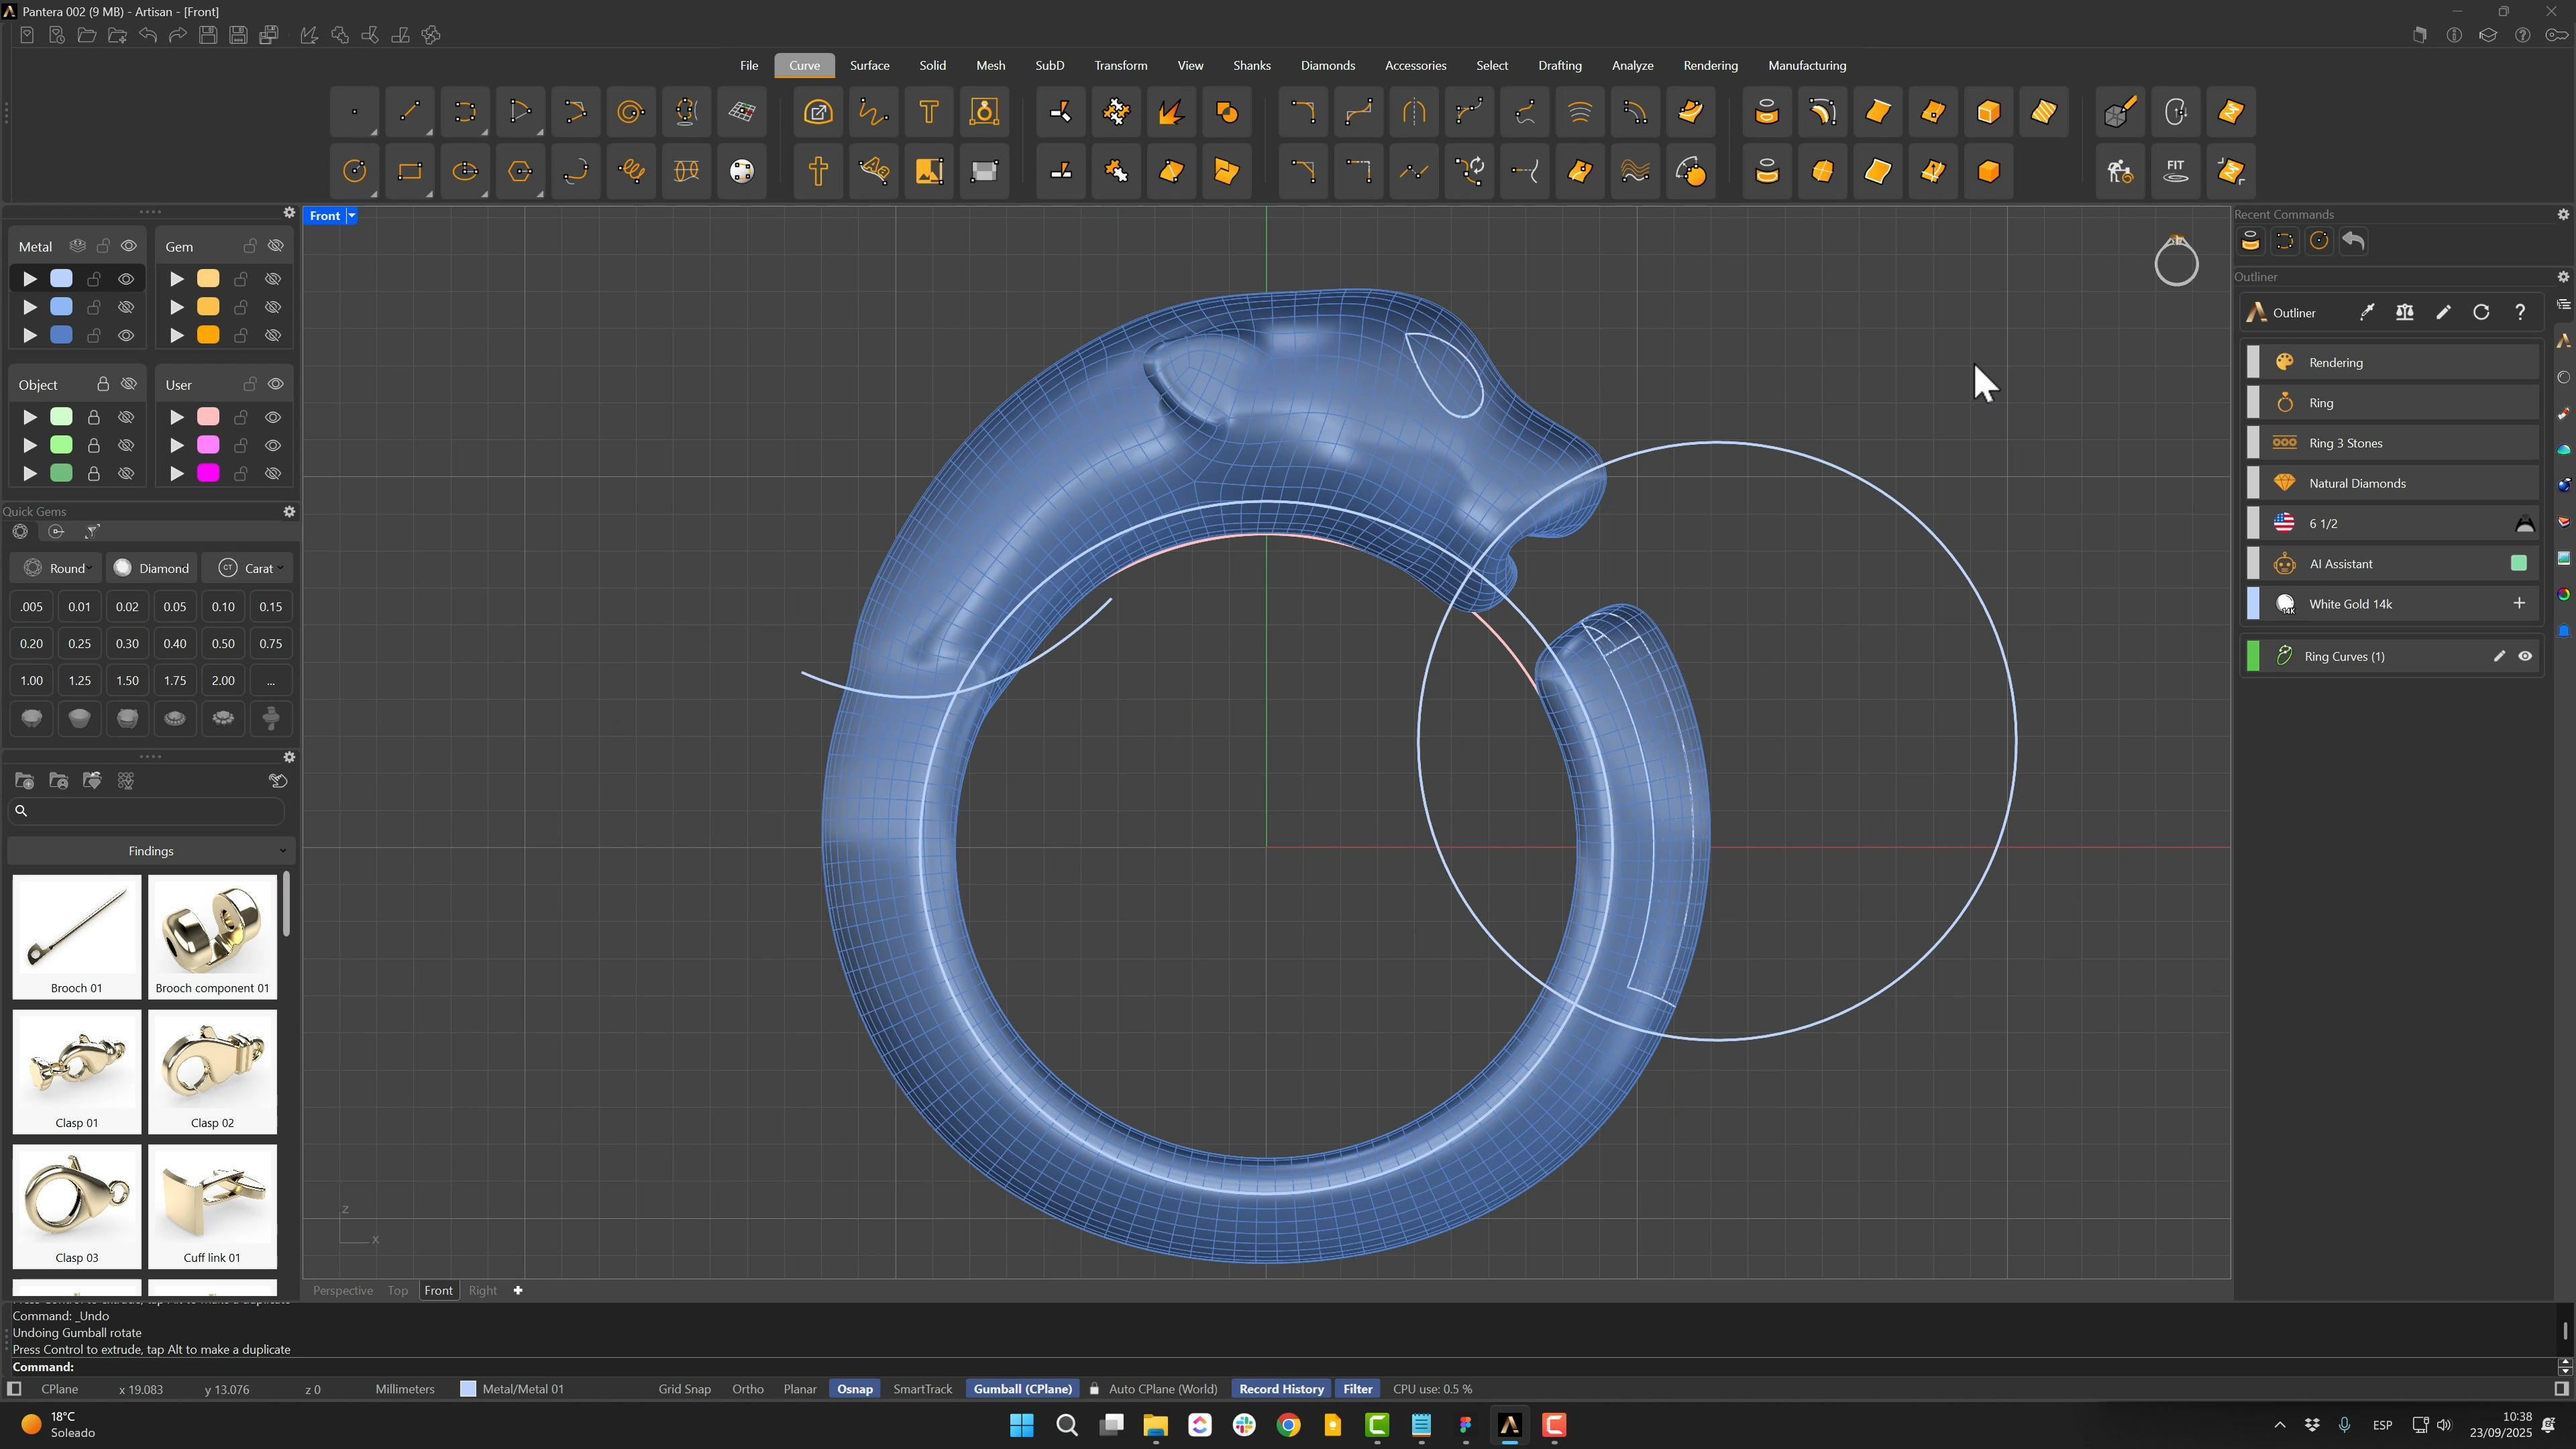
Almost there — you still have some lessons to complete. Jump to the next one →
Impersonating — progress and reviews are disabled.
Course completed
You've completed Living Jewels: SubD Creature Sculpting 🎉
Great work. Get your certificate of completion and, if you have a minute, let other jewelers know what you thought of the course.