Pavé Pendant
Lesson 19 of 34
SubD Base & Reference Surface
Sign in to access this lesson
This lesson is part of Pavé Perfection: Gemstone Detailing & Setting, which can come bundled with a RhinoArtisan Commercial license subject to current promotions. Log in with your customer account, or get in touch and we'll set you up.
Customers only
Solo para clientes
This lesson is part of Pavé Perfection: Gemstone Detailing & Setting, which can be included with a RhinoArtisan Commercial license subject to current promotions. If you've already purchased and don't see it in your account, get in touch.
Downloads
1. Hide references and create the base box
Hide the reference curves for now — they come back later. In the SubD tab create a box, typing 0 to place its starting point at the center.
2. Center the object in all views
Use Pan, Zoom and Rotate, then Zoom Extents All to center the object everywhere. With the object selected, Artisan Center in the command bar snaps it onto the axis.
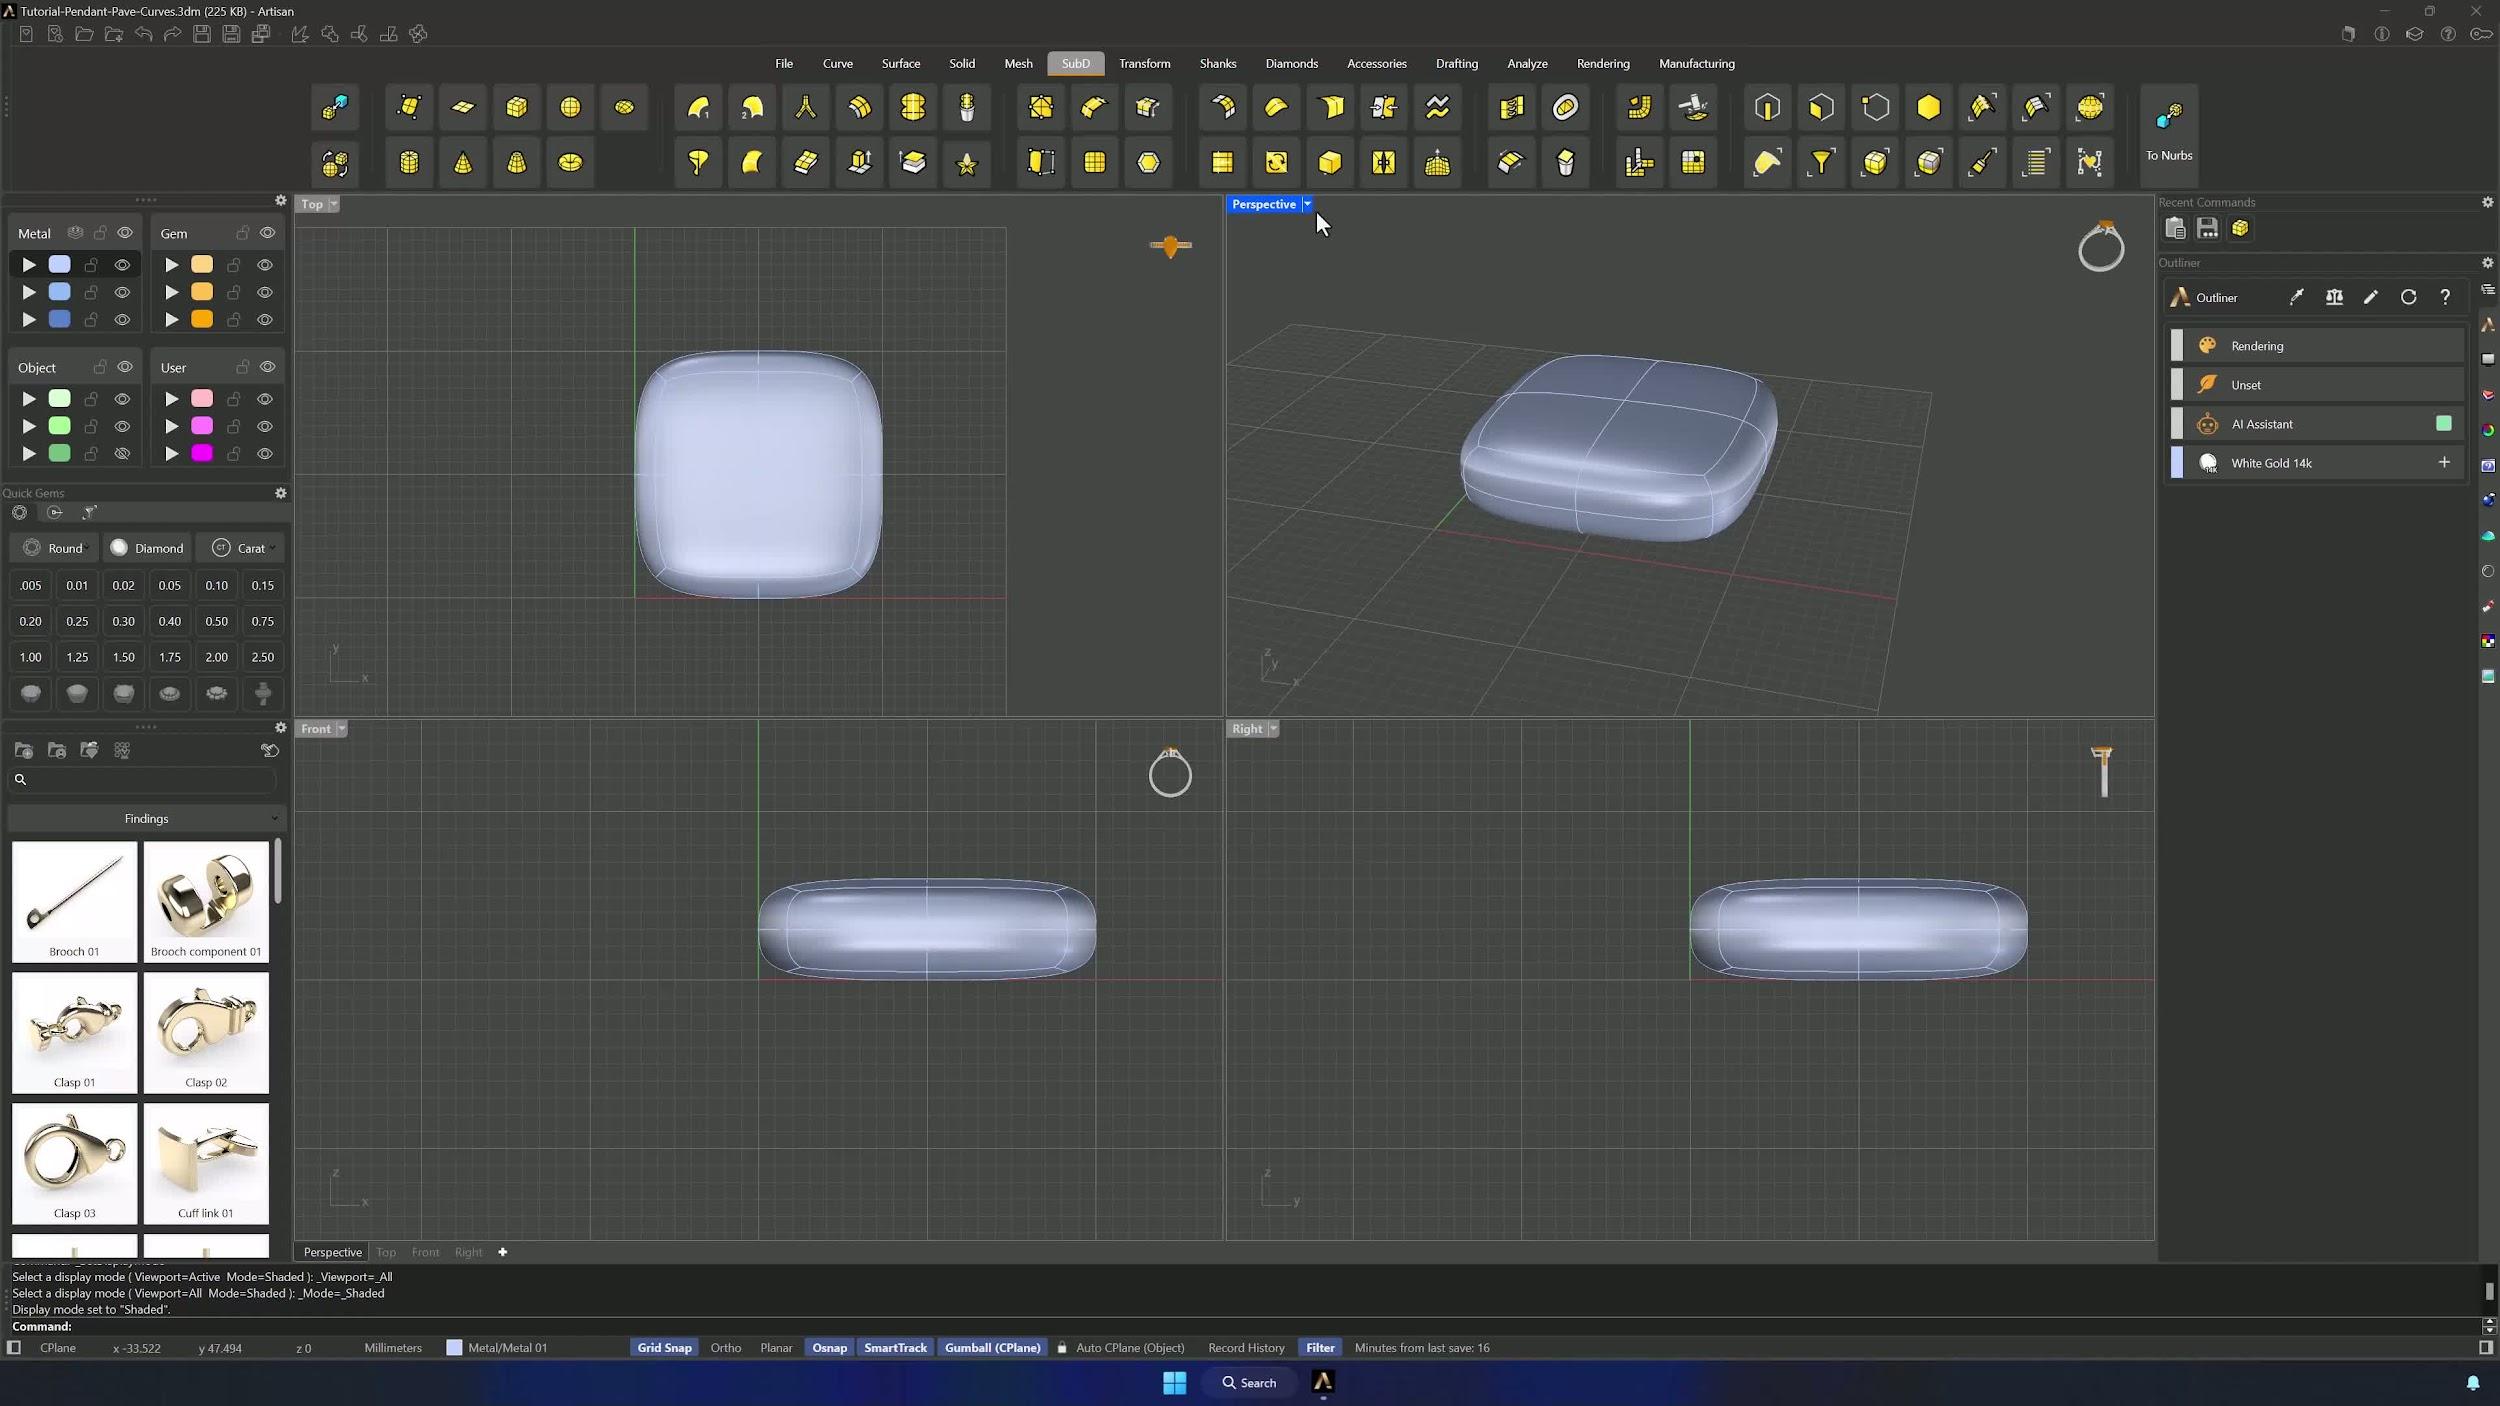
3. Split the object into two halves
In Perspective, run Split with Edge Loop enabled in the command bar: select the object, double-click the center edge and press Enter.
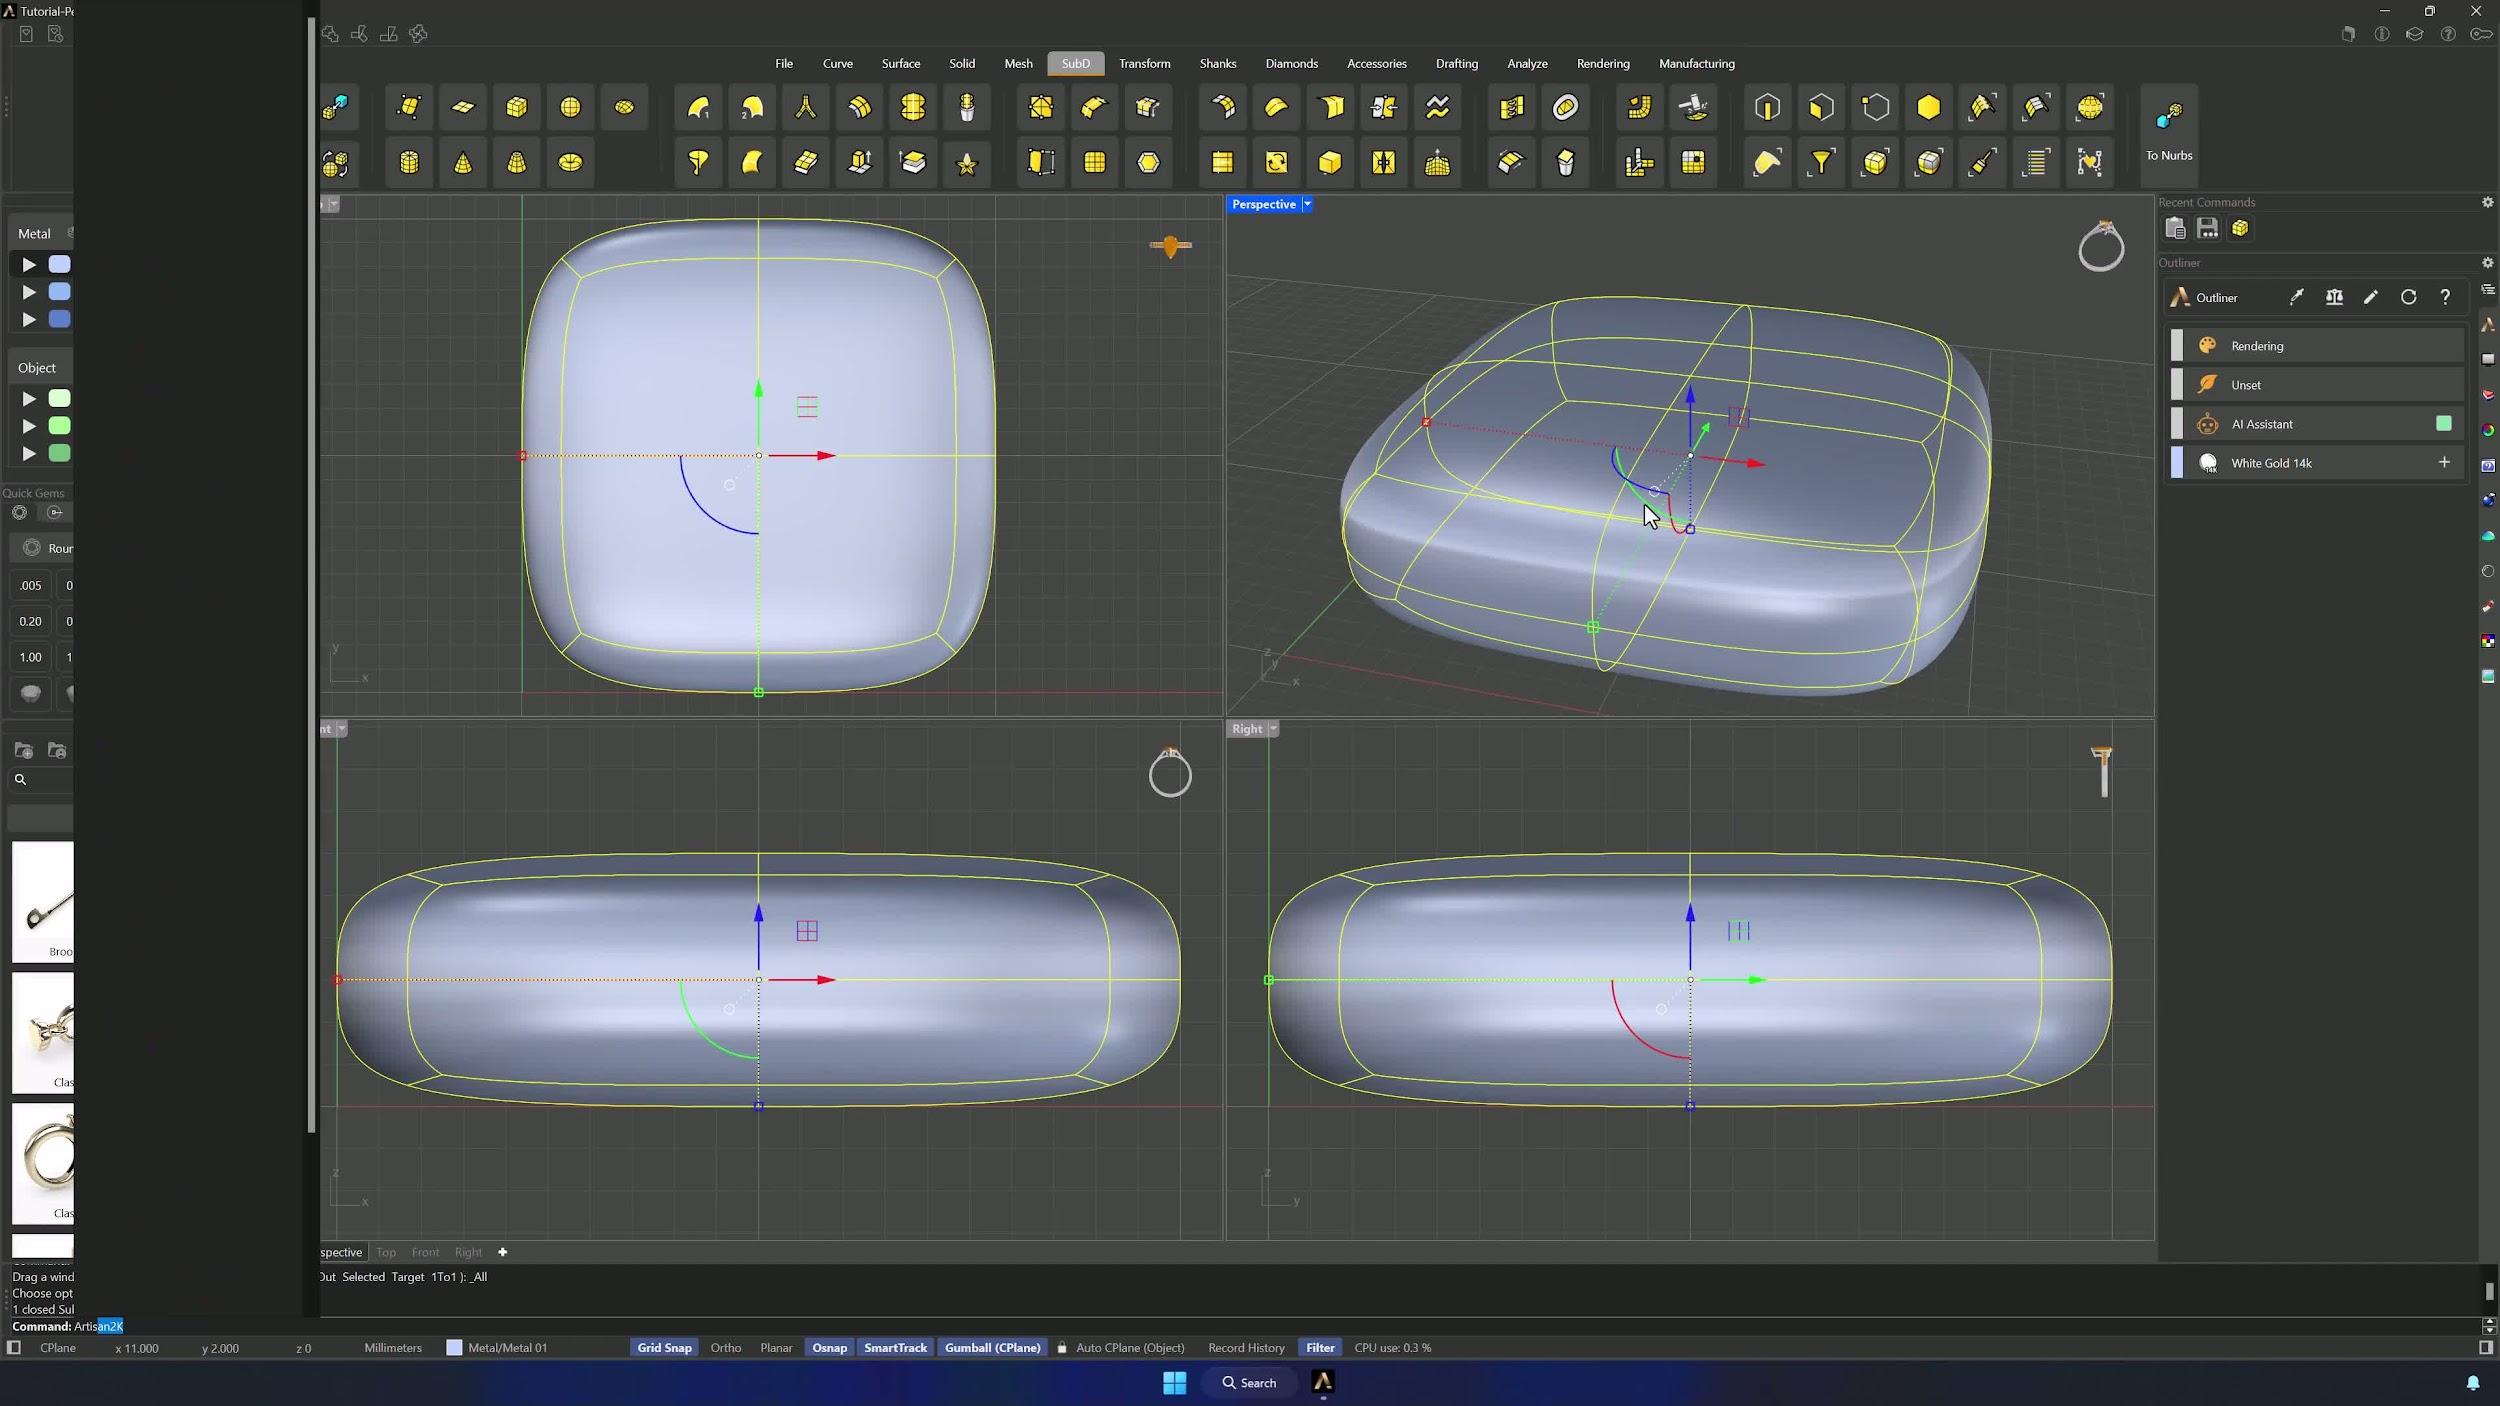
4. Remove the lower half and shape the lower edge
Delete the lower half to hollow the element. With the Edge Filter on, double-click a lower edge to grab the loop, move it down 1 mm with the Gumball, and — without deselecting — use Insert Edge to add another loop.
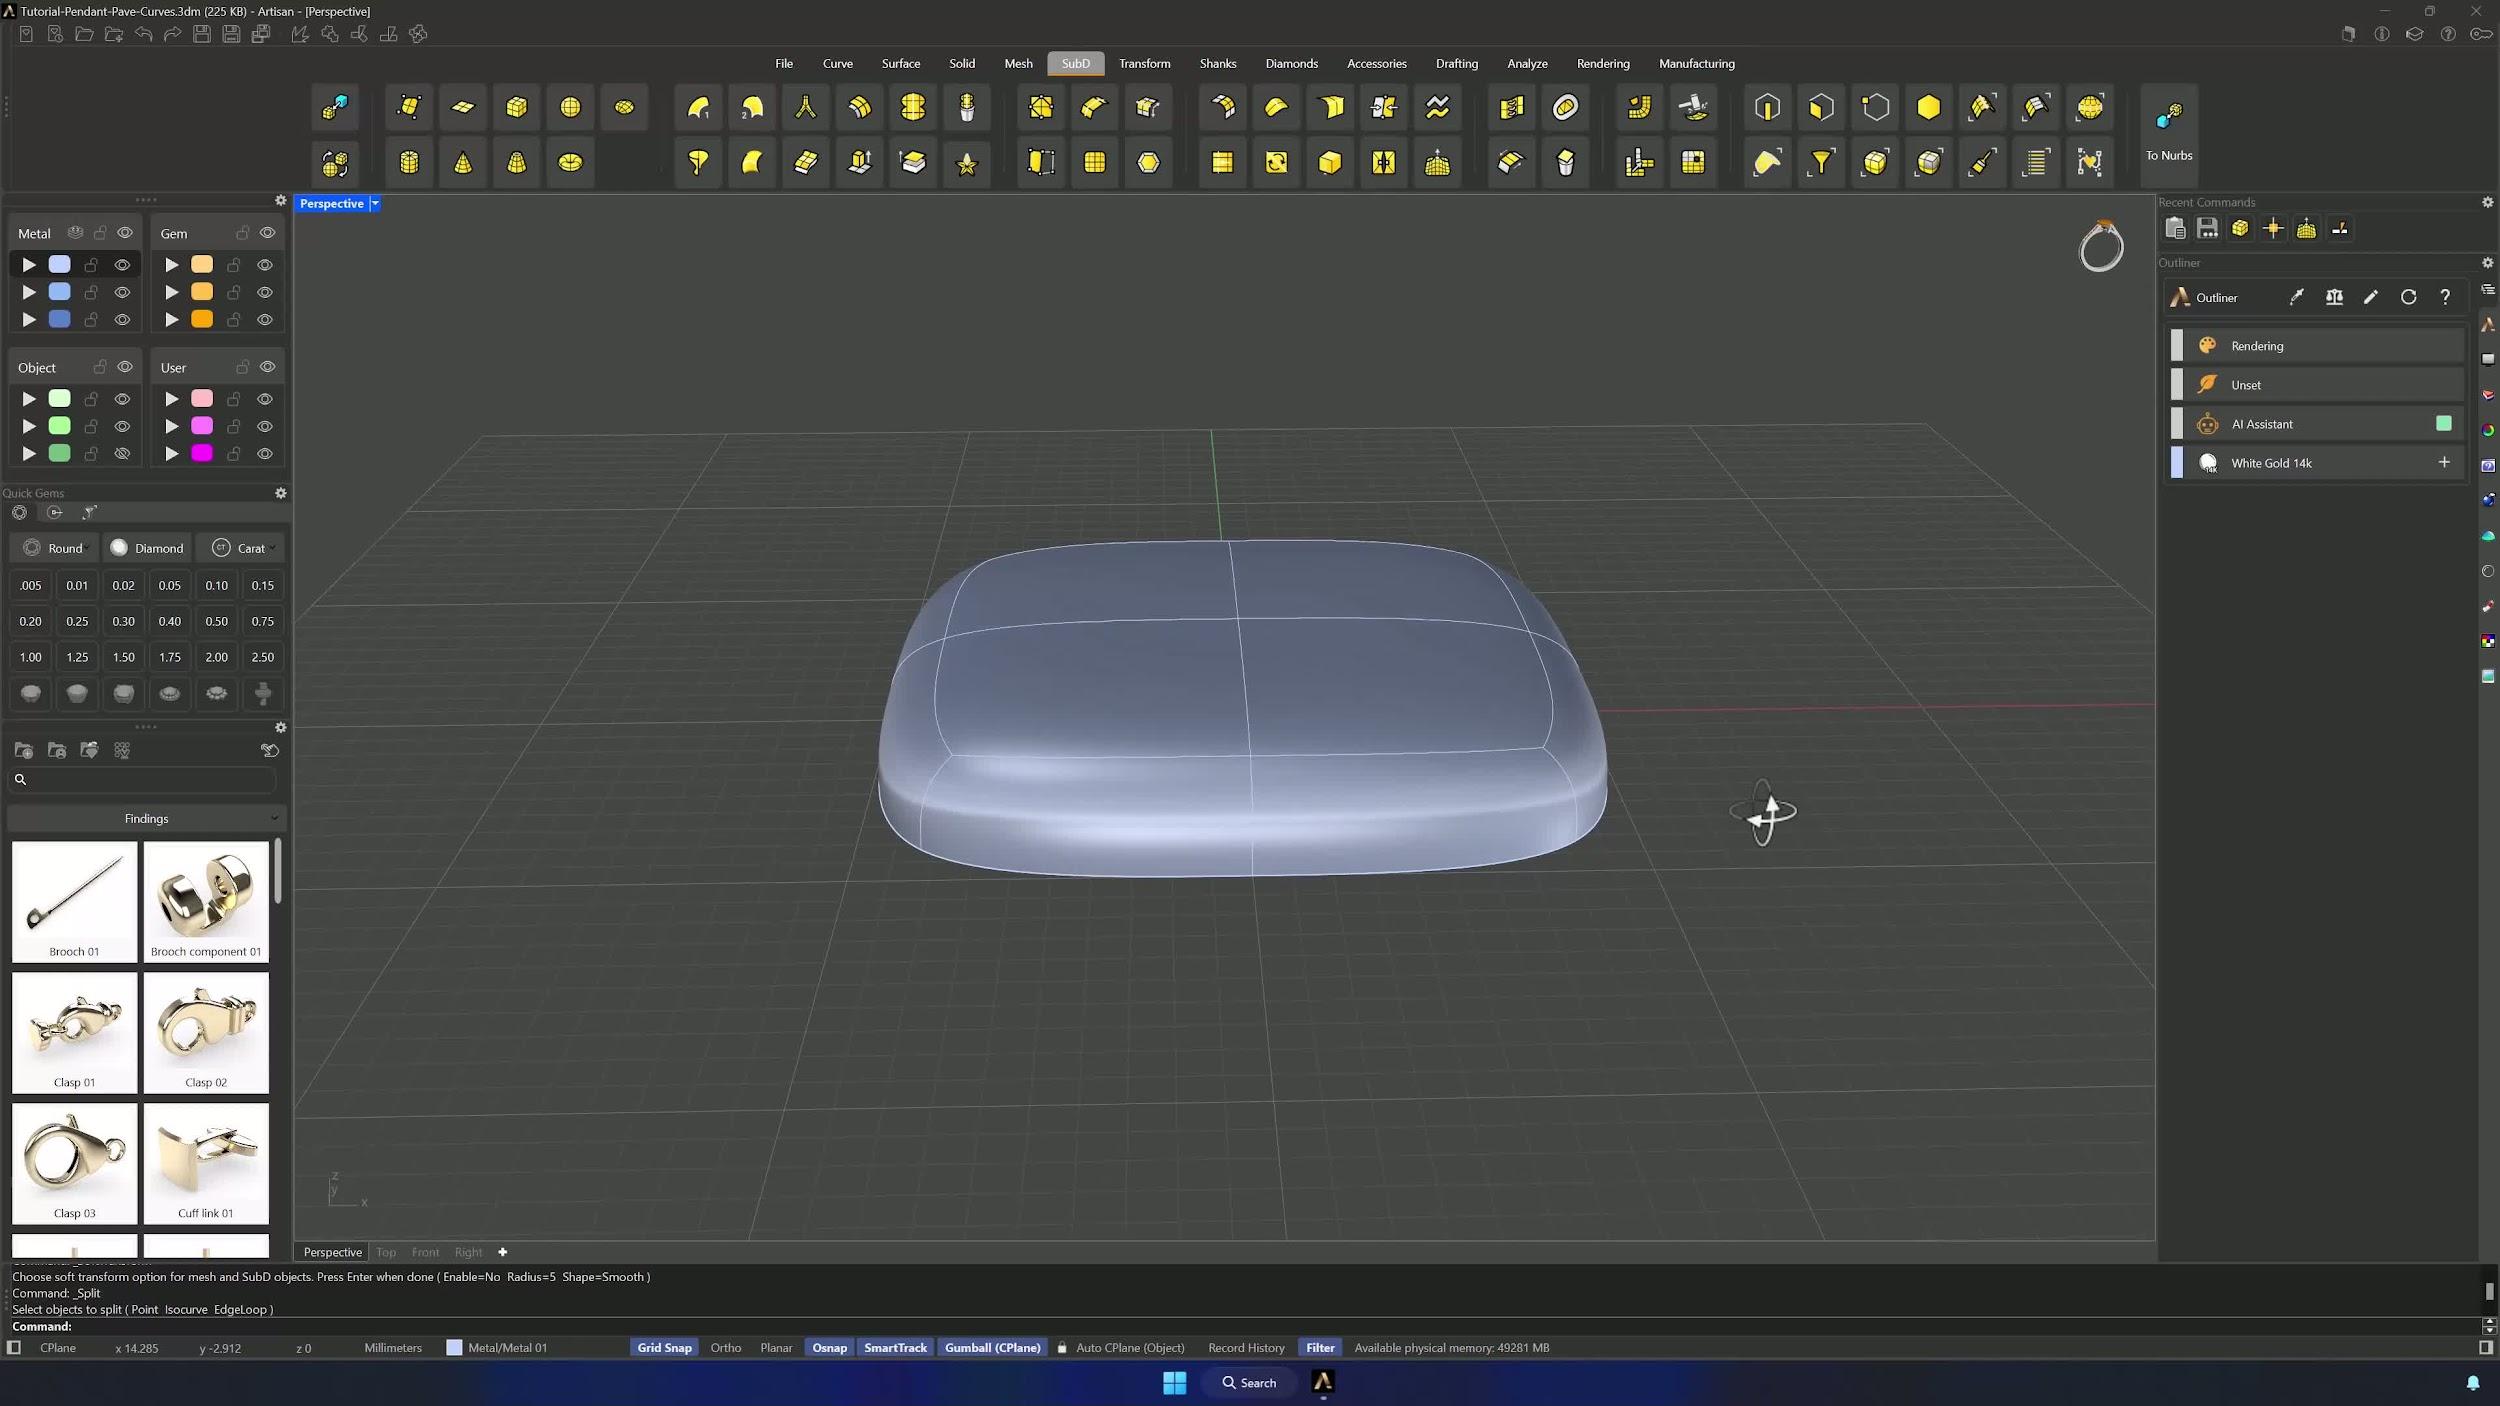
5. Refine curvature with scaling and edge positioning
Scale the lower edges down with the Gumball (hold Shift for proportional scaling) until the curvature matches the reference, then fine-tune the new edges along the X axis to smooth the outer curve.
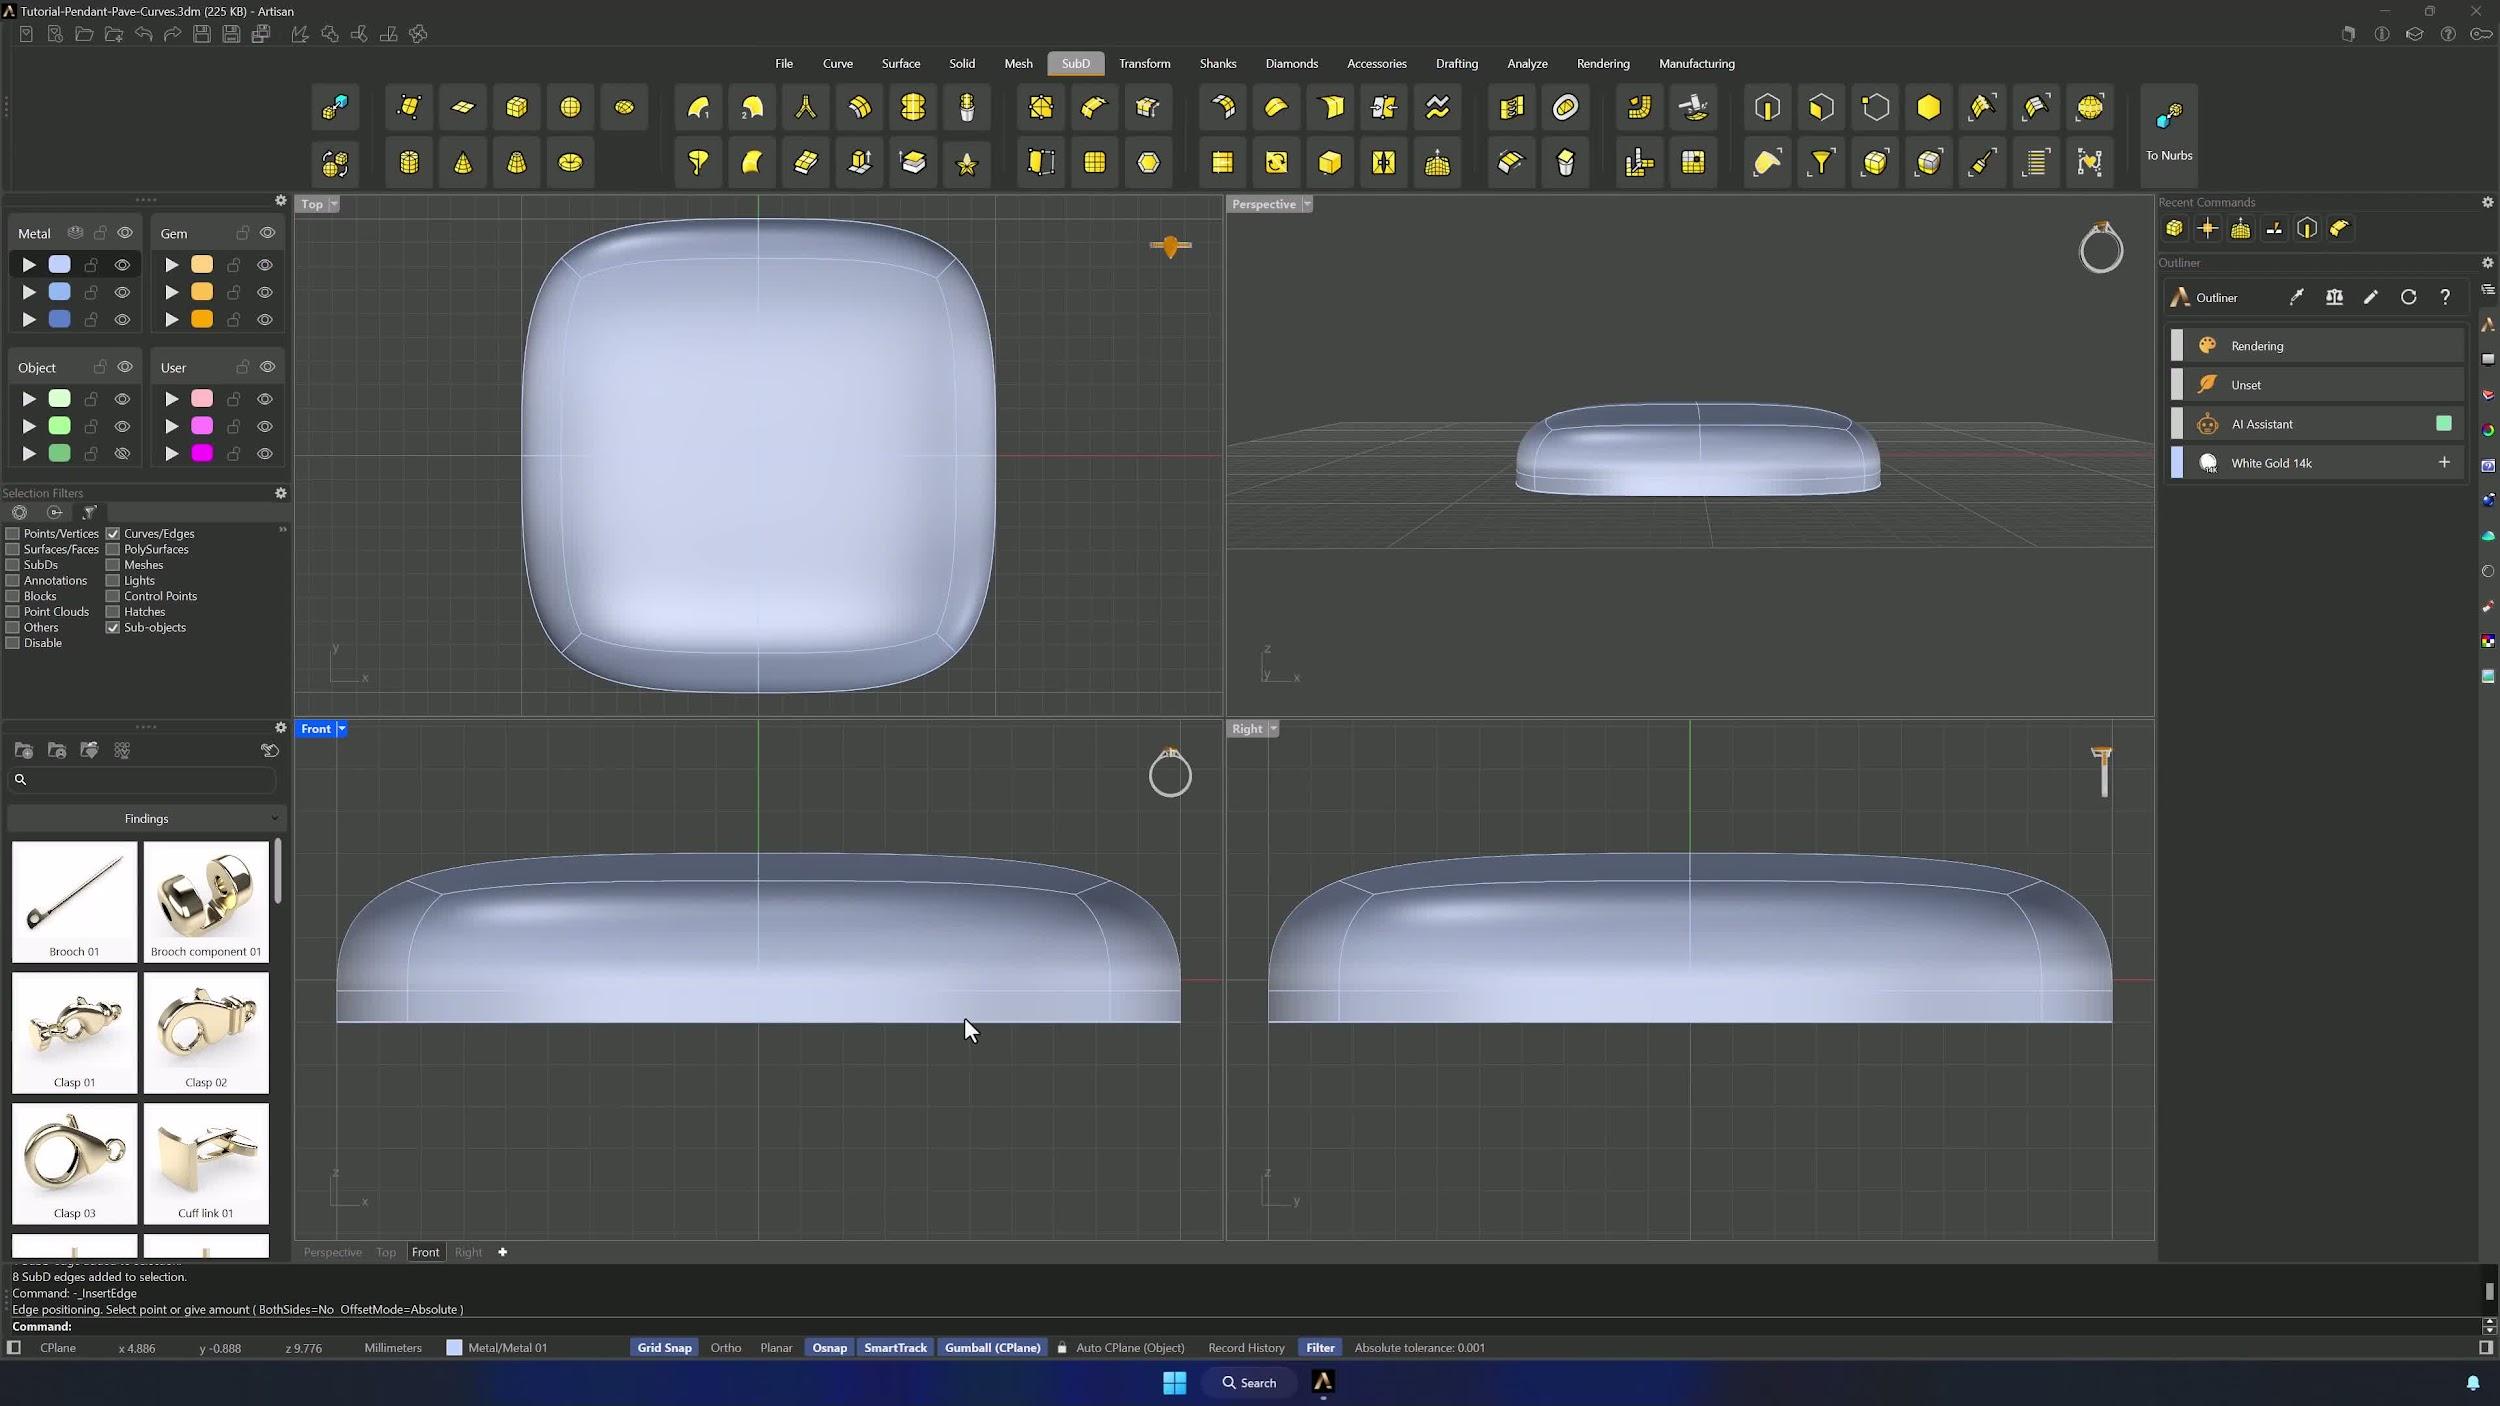
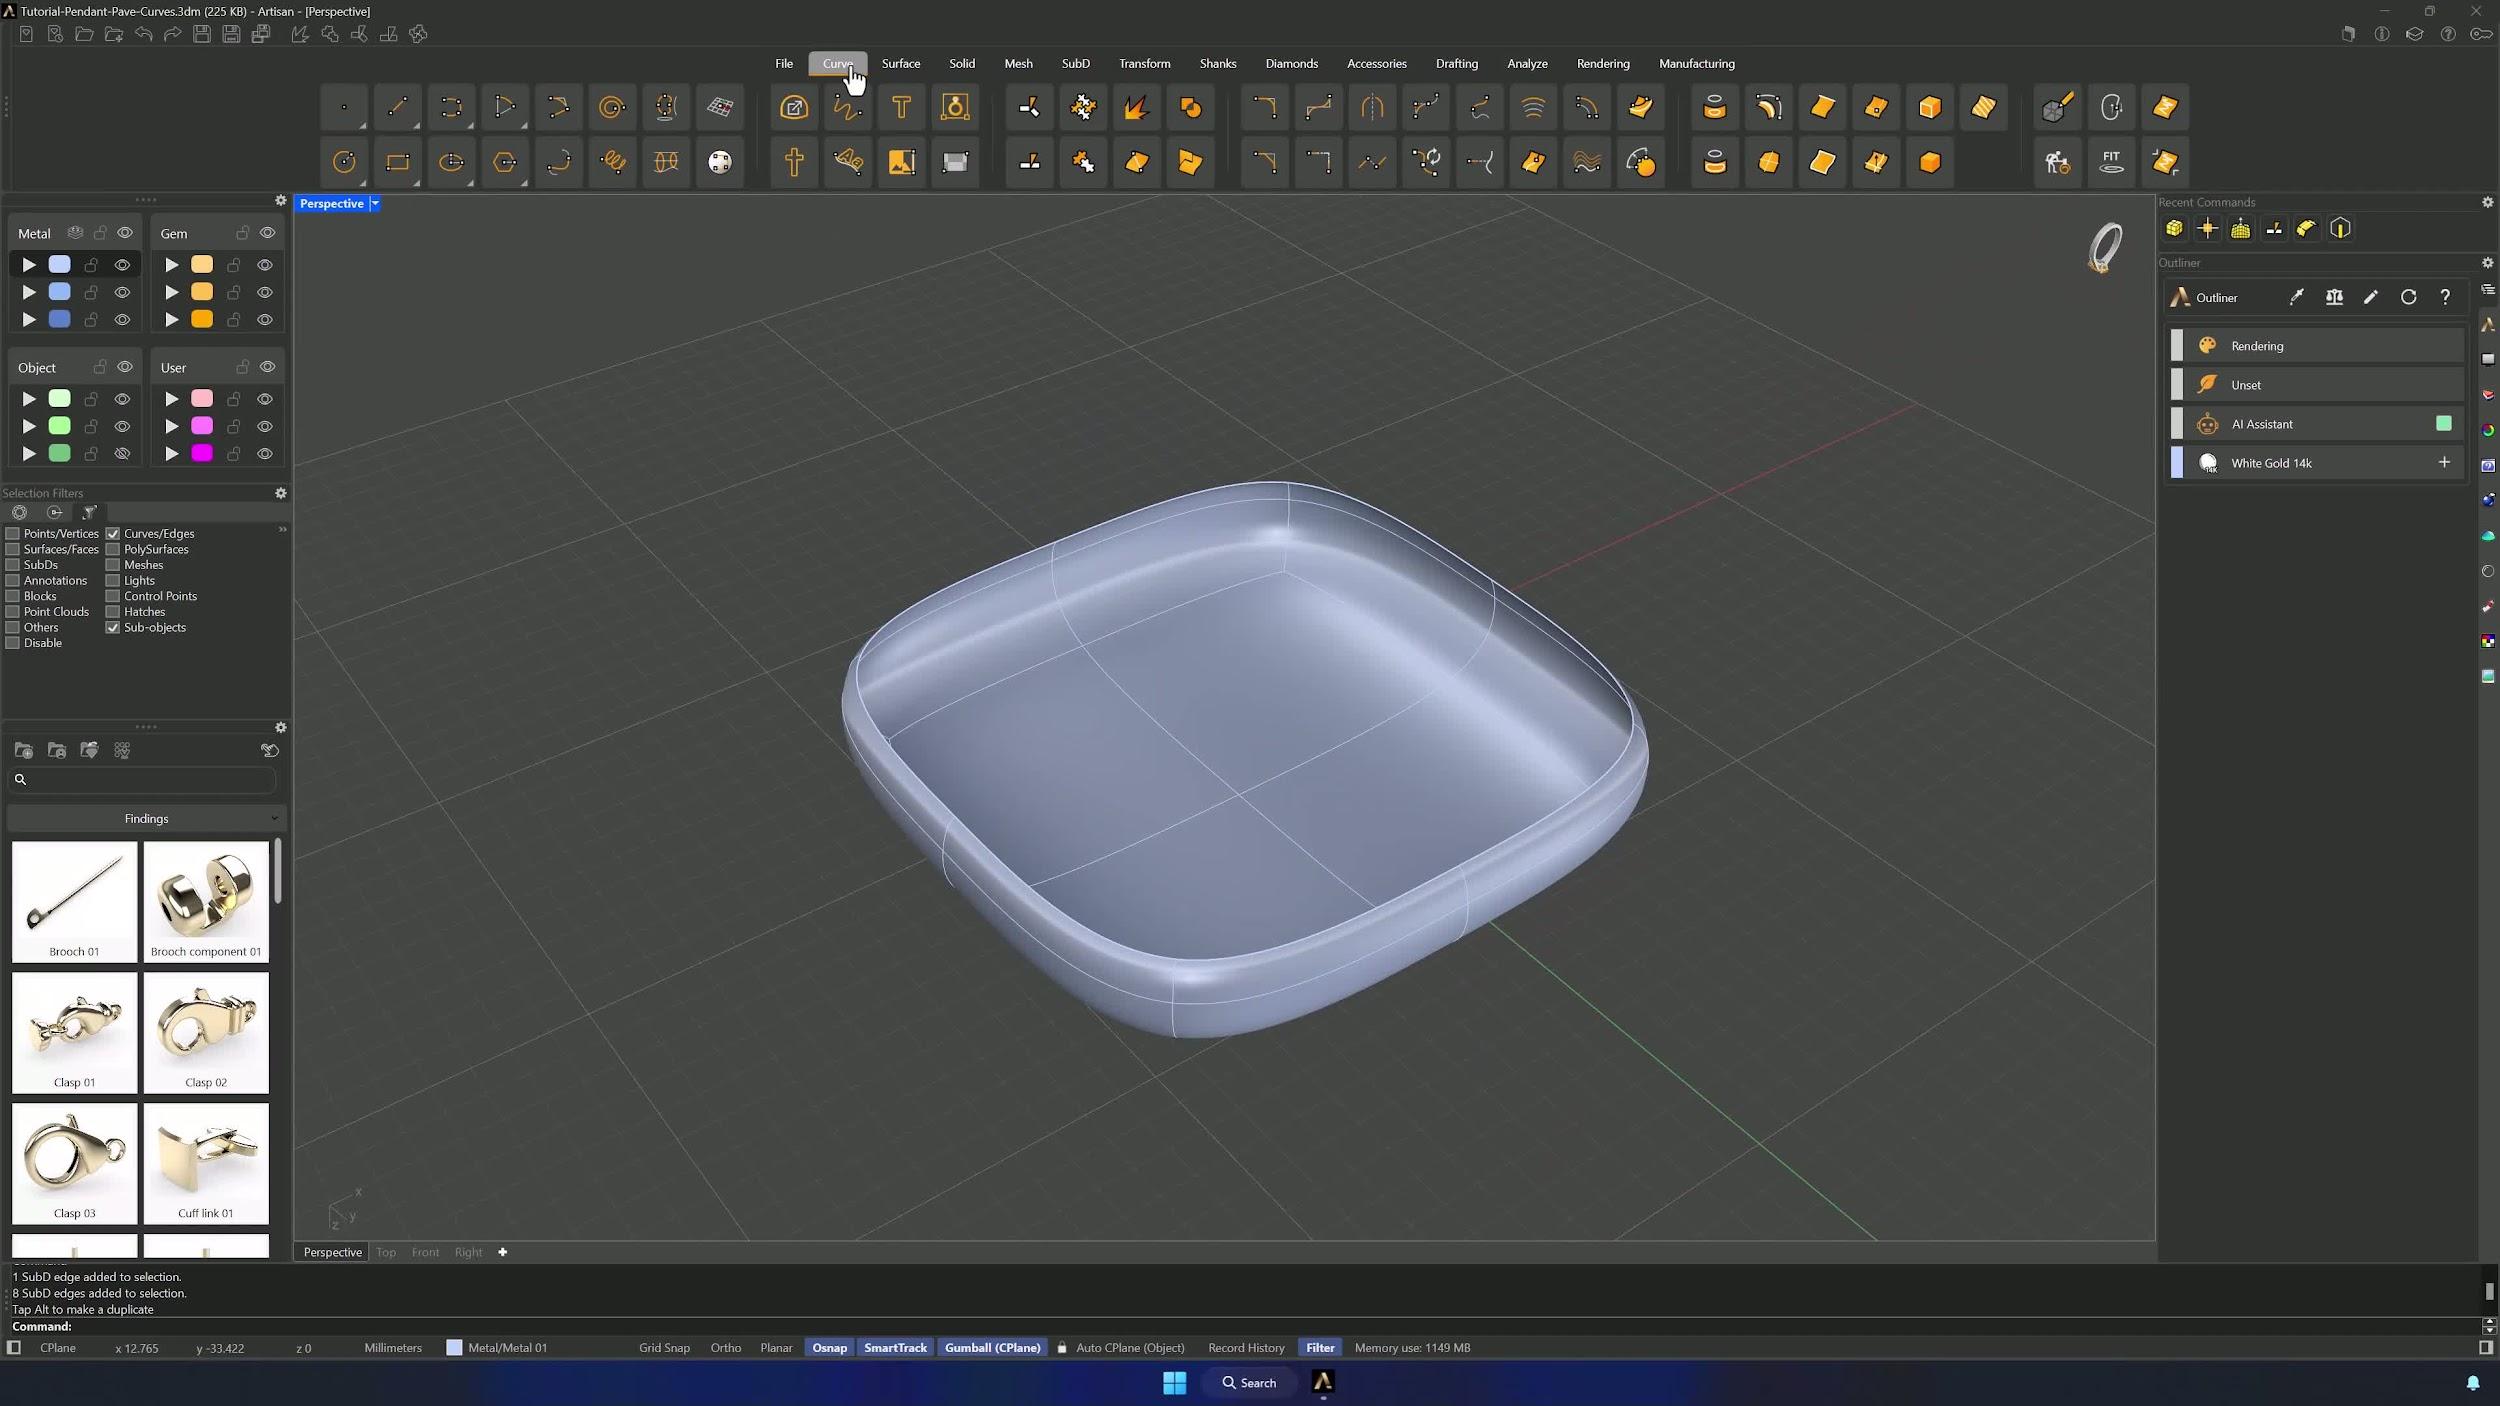
6. Duplicate edges to create a reference surface curve
In the Curve tab, use Duplicate Edge on the two center edges — switching the layer before pressing Enter drops the duplicates where you want them.
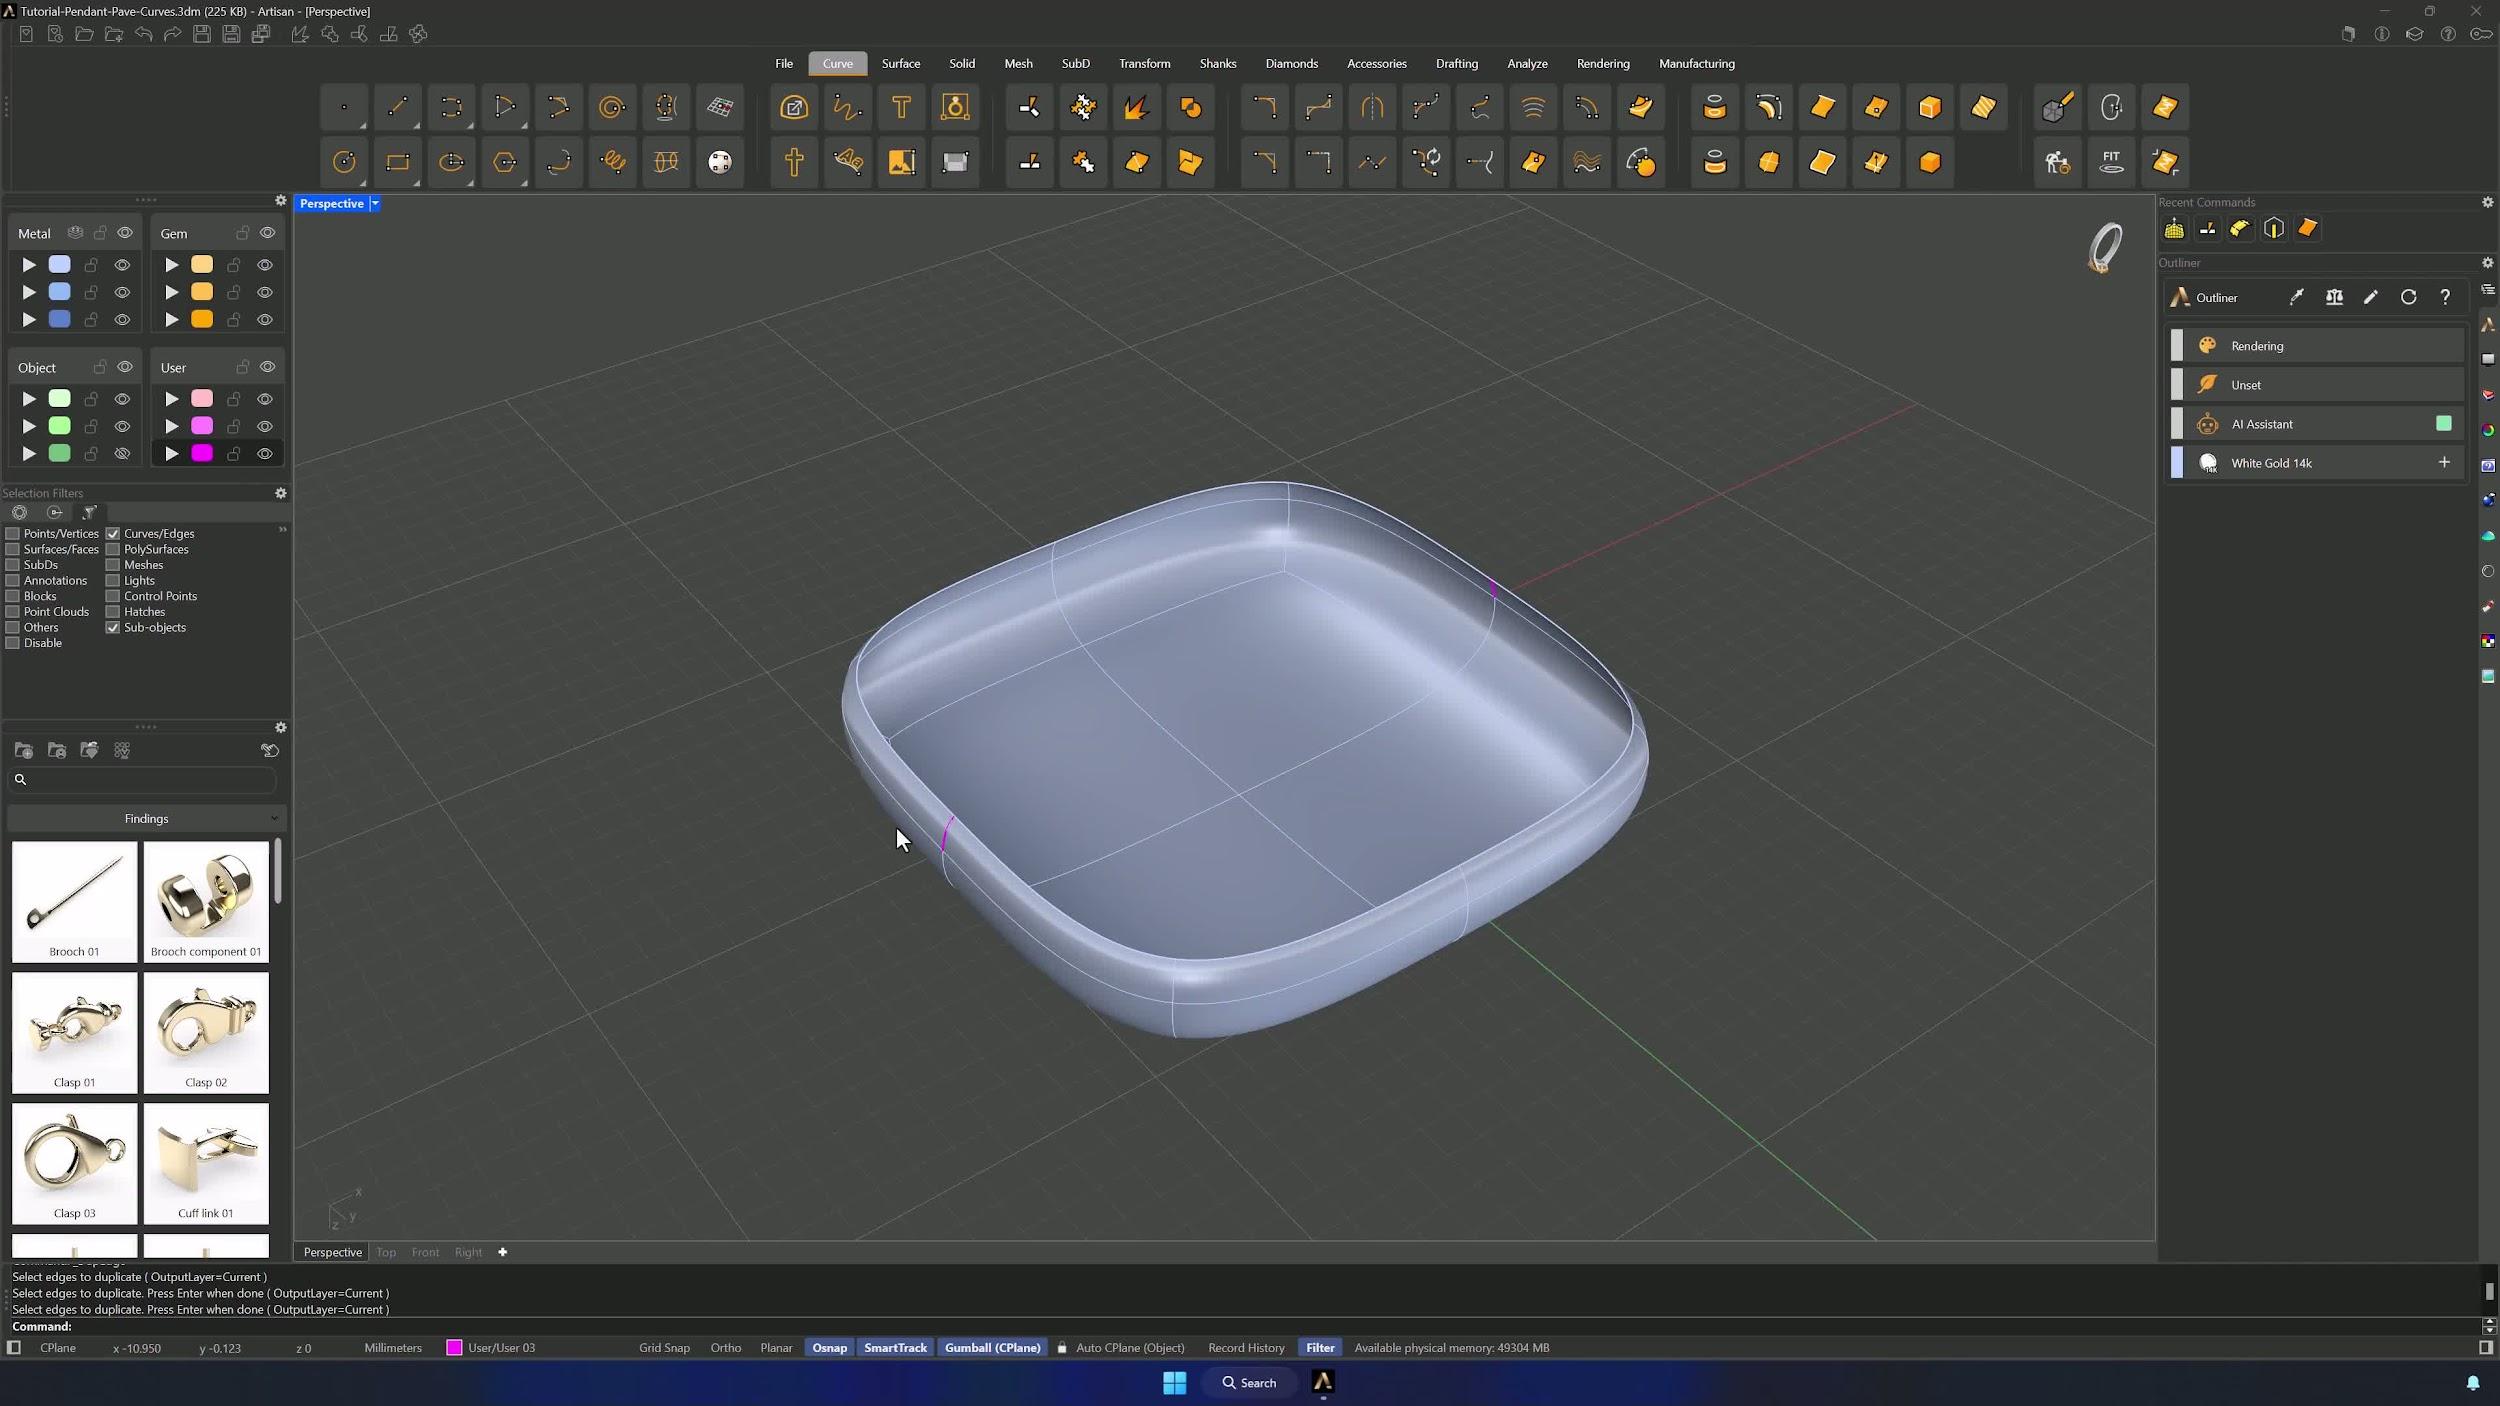
7. Blend and edit the reference curve
Blend the two duplicated edges into a smooth curve with Tangency continuity, then edit it from the Front view: the handles should lift the curve about two grid squares above the lower part of the object.
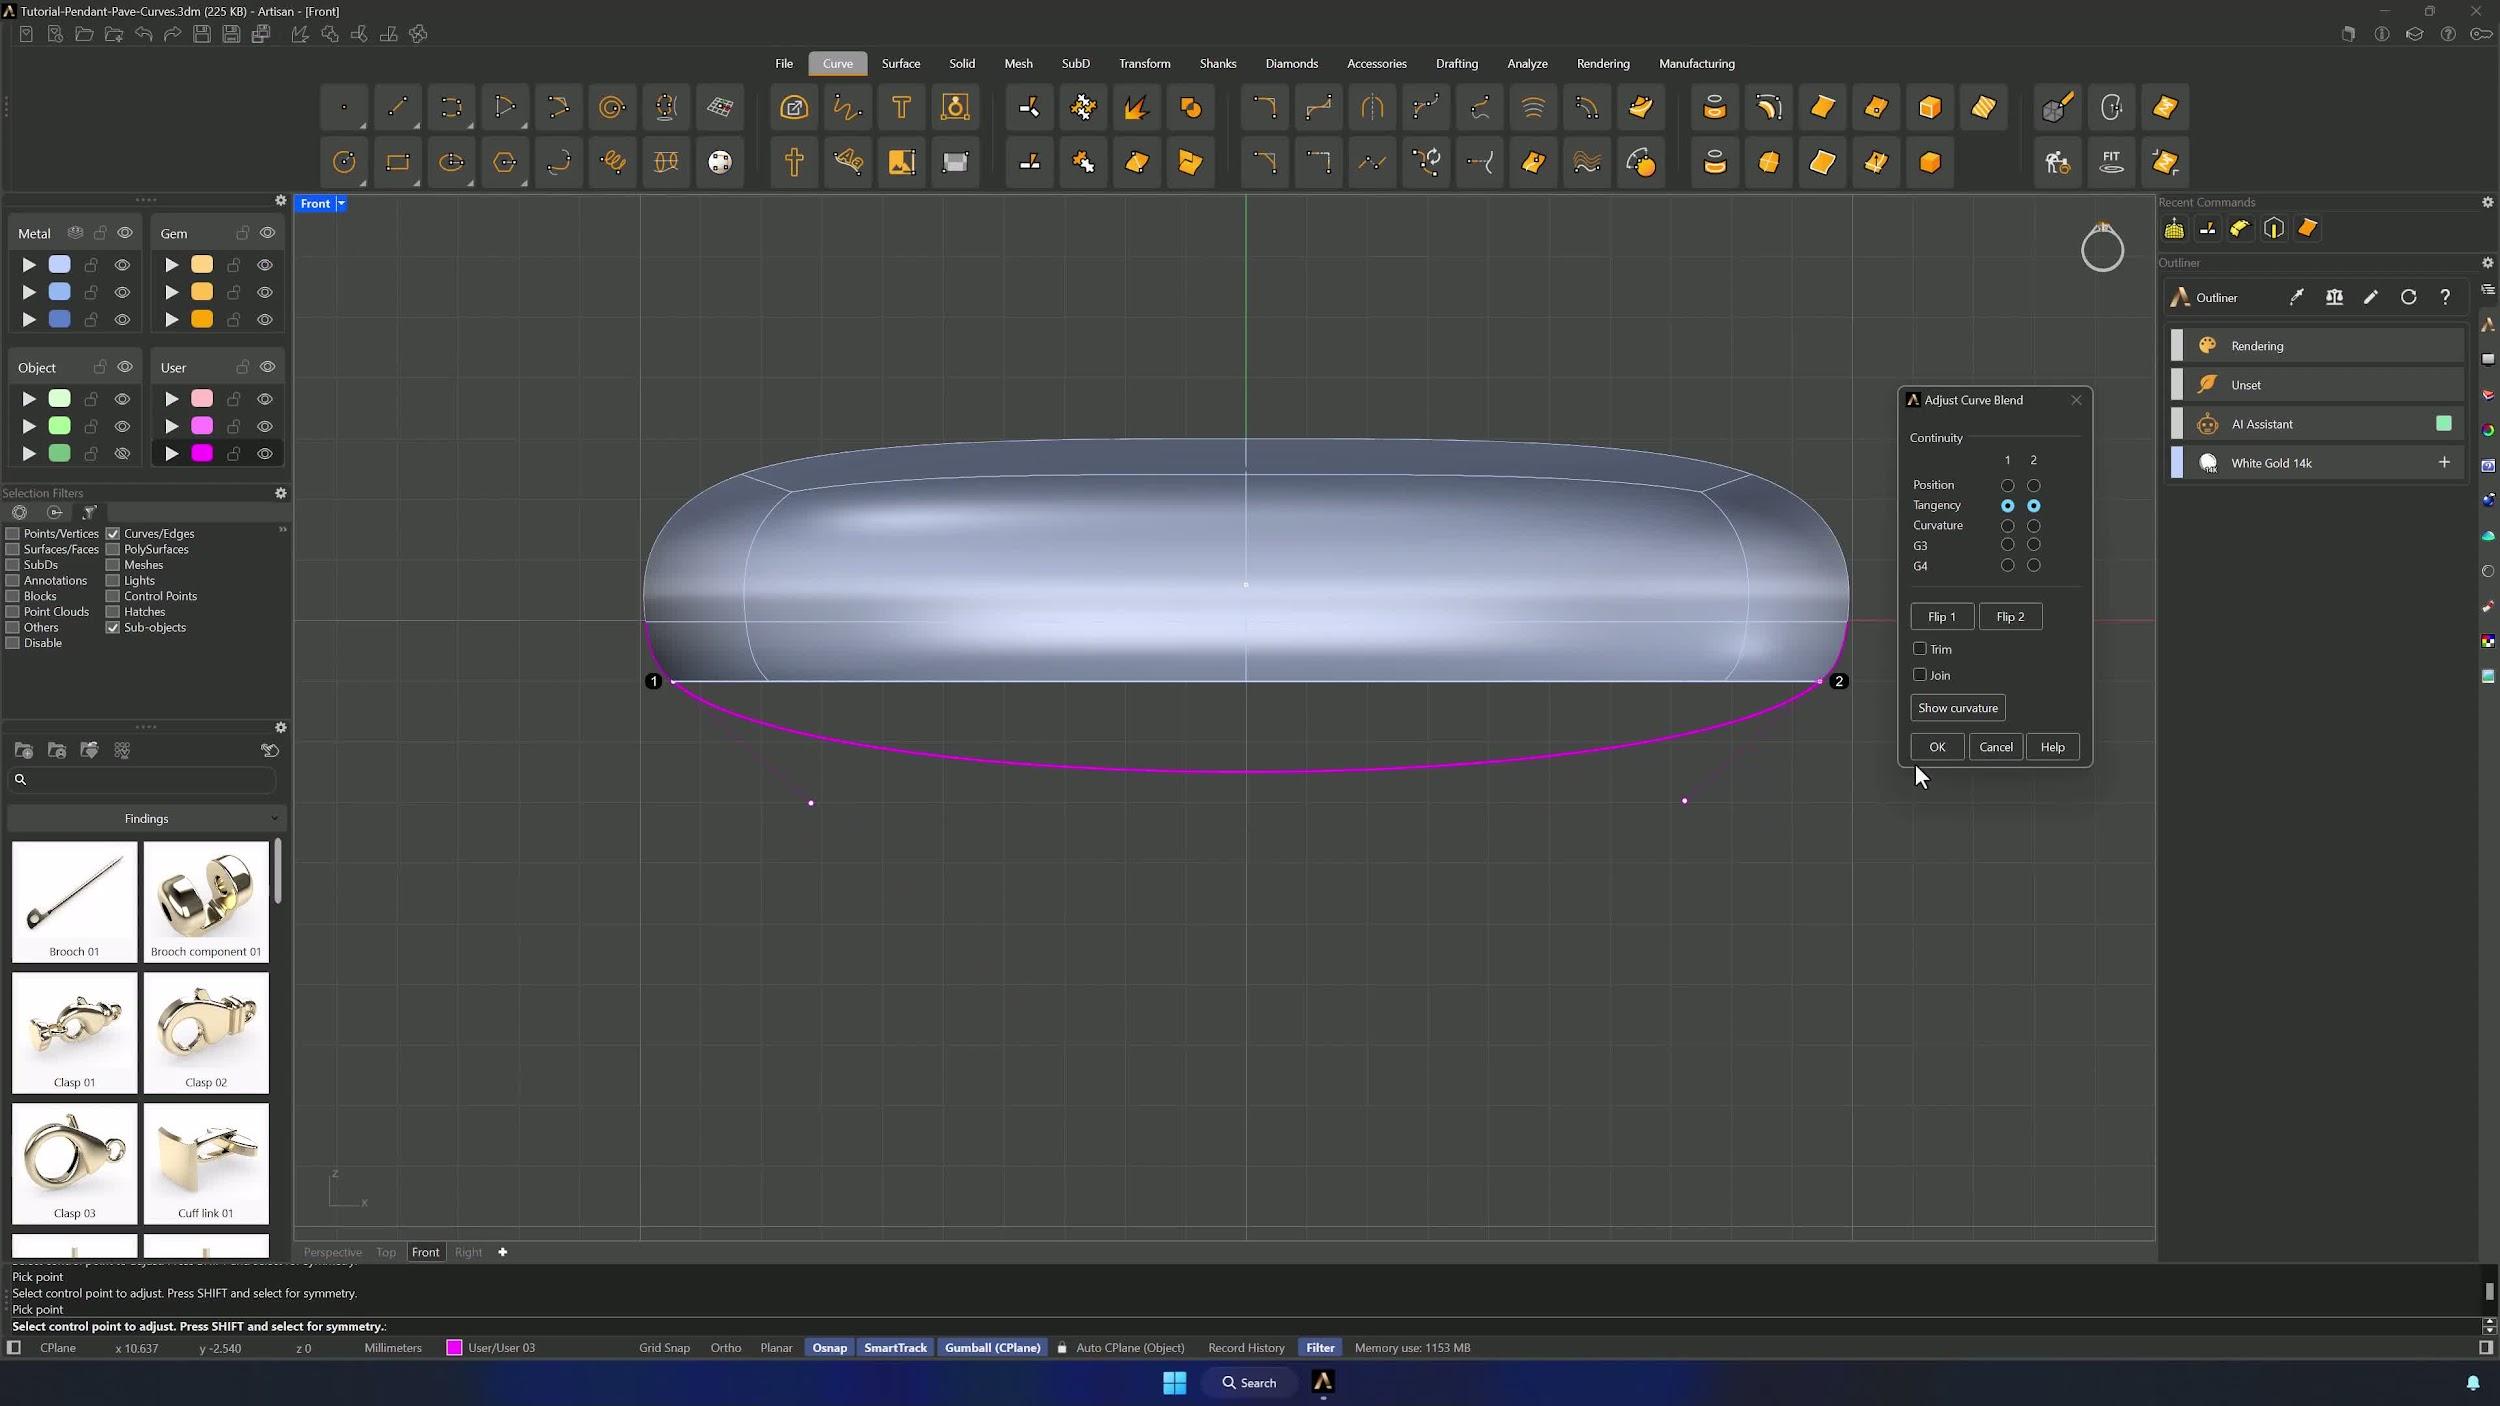
8. Trim the curve and prepare the bottom reference surface
Place a point at the center of the curve and Trim the right side with it (Sub Object Selection off so the full curve selects), then delete the point and duplicate the edge curves of the reference surface too.
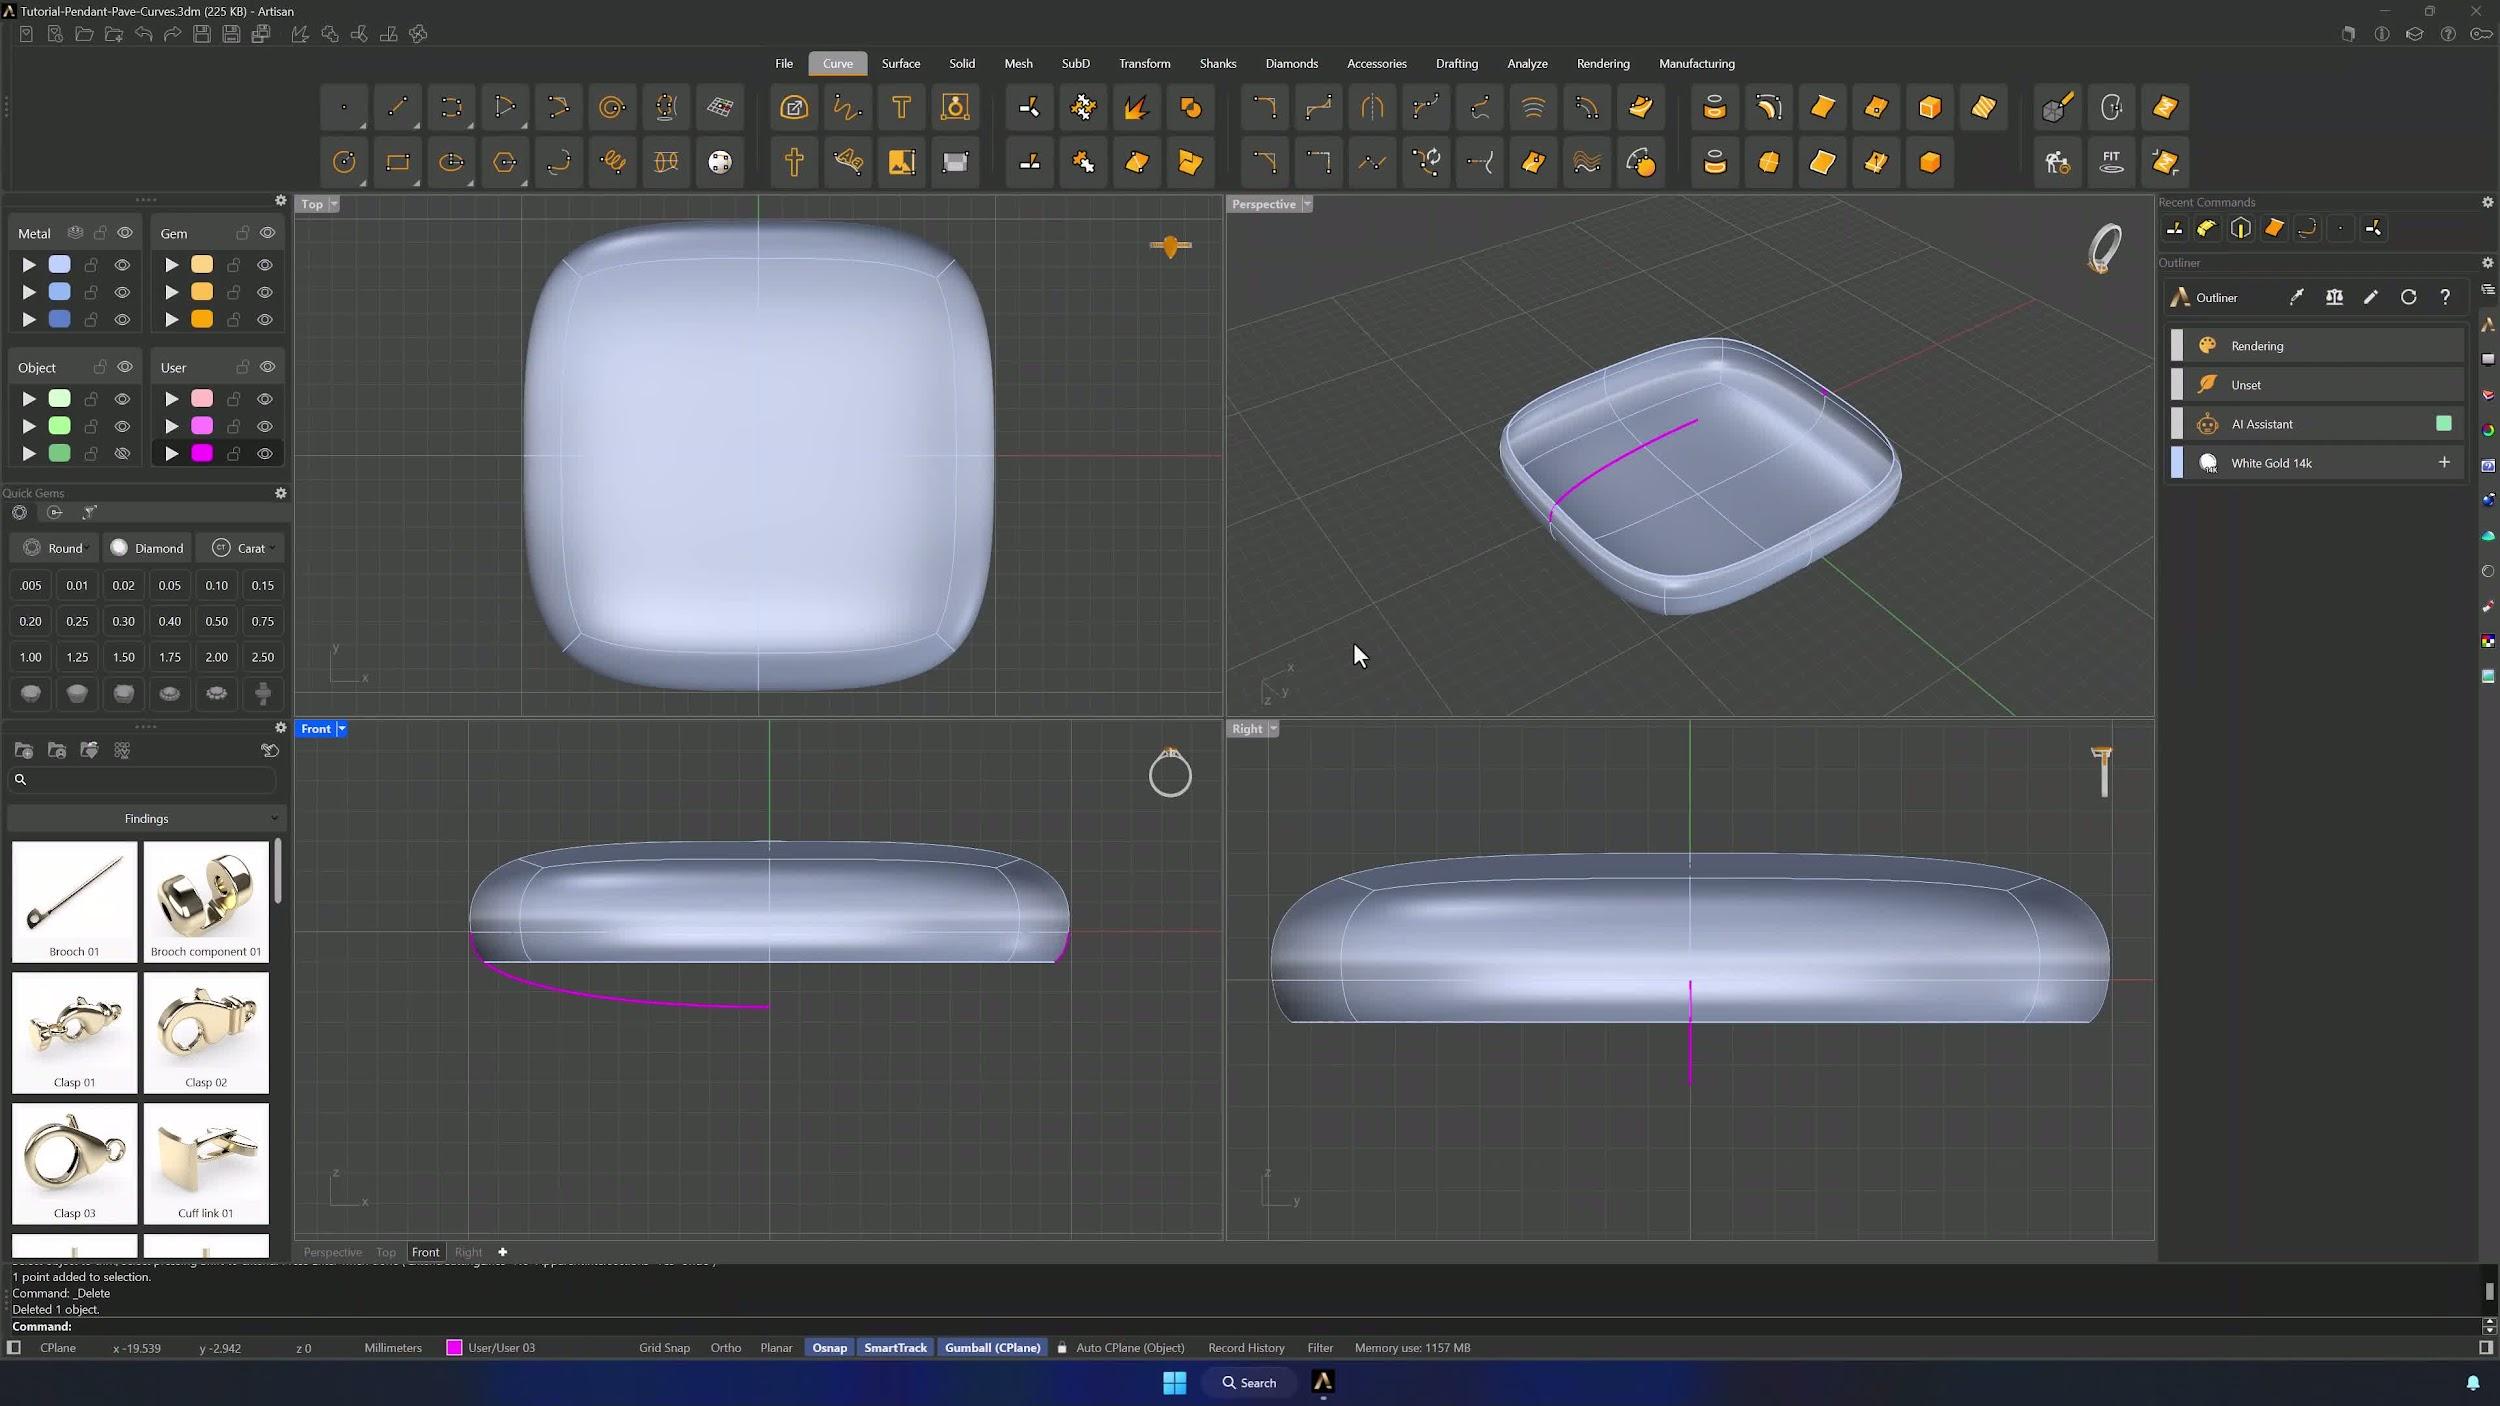
9. Build the bottom reference surface with Rail Revolve
In the Surface tab, Rail Revolve builds the bottom reference: select the trimmed curve, then the edge, then click the center point of the surface and the cut point of the curve. Park the result on its own layer so it reads in another color.
Almost there — you still have some lessons to complete. Jump to the next one →
Impersonating — progress and reviews are disabled.
Course completed
You've completed Pavé Perfection: Gemstone Detailing & Setting 🎉
Great work. Get your certificate of completion and, if you have a minute, let other jewelers know what you thought of the course.