Pavé Diamond Ring
Lesson 5 of 34
Prongs, Cutters & Finish
Sign in to access this lesson
This lesson is part of Pavé Perfection: Gemstone Detailing & Setting, which can come bundled with a RhinoArtisan Commercial license subject to current promotions. Log in with your customer account, or get in touch and we'll set you up.
Customers only
Solo para clientes
This lesson is part of Pavé Perfection: Gemstone Detailing & Setting, which can be included with a RhinoArtisan Commercial license subject to current promotions. If you've already purchased and don't see it in your account, get in touch.
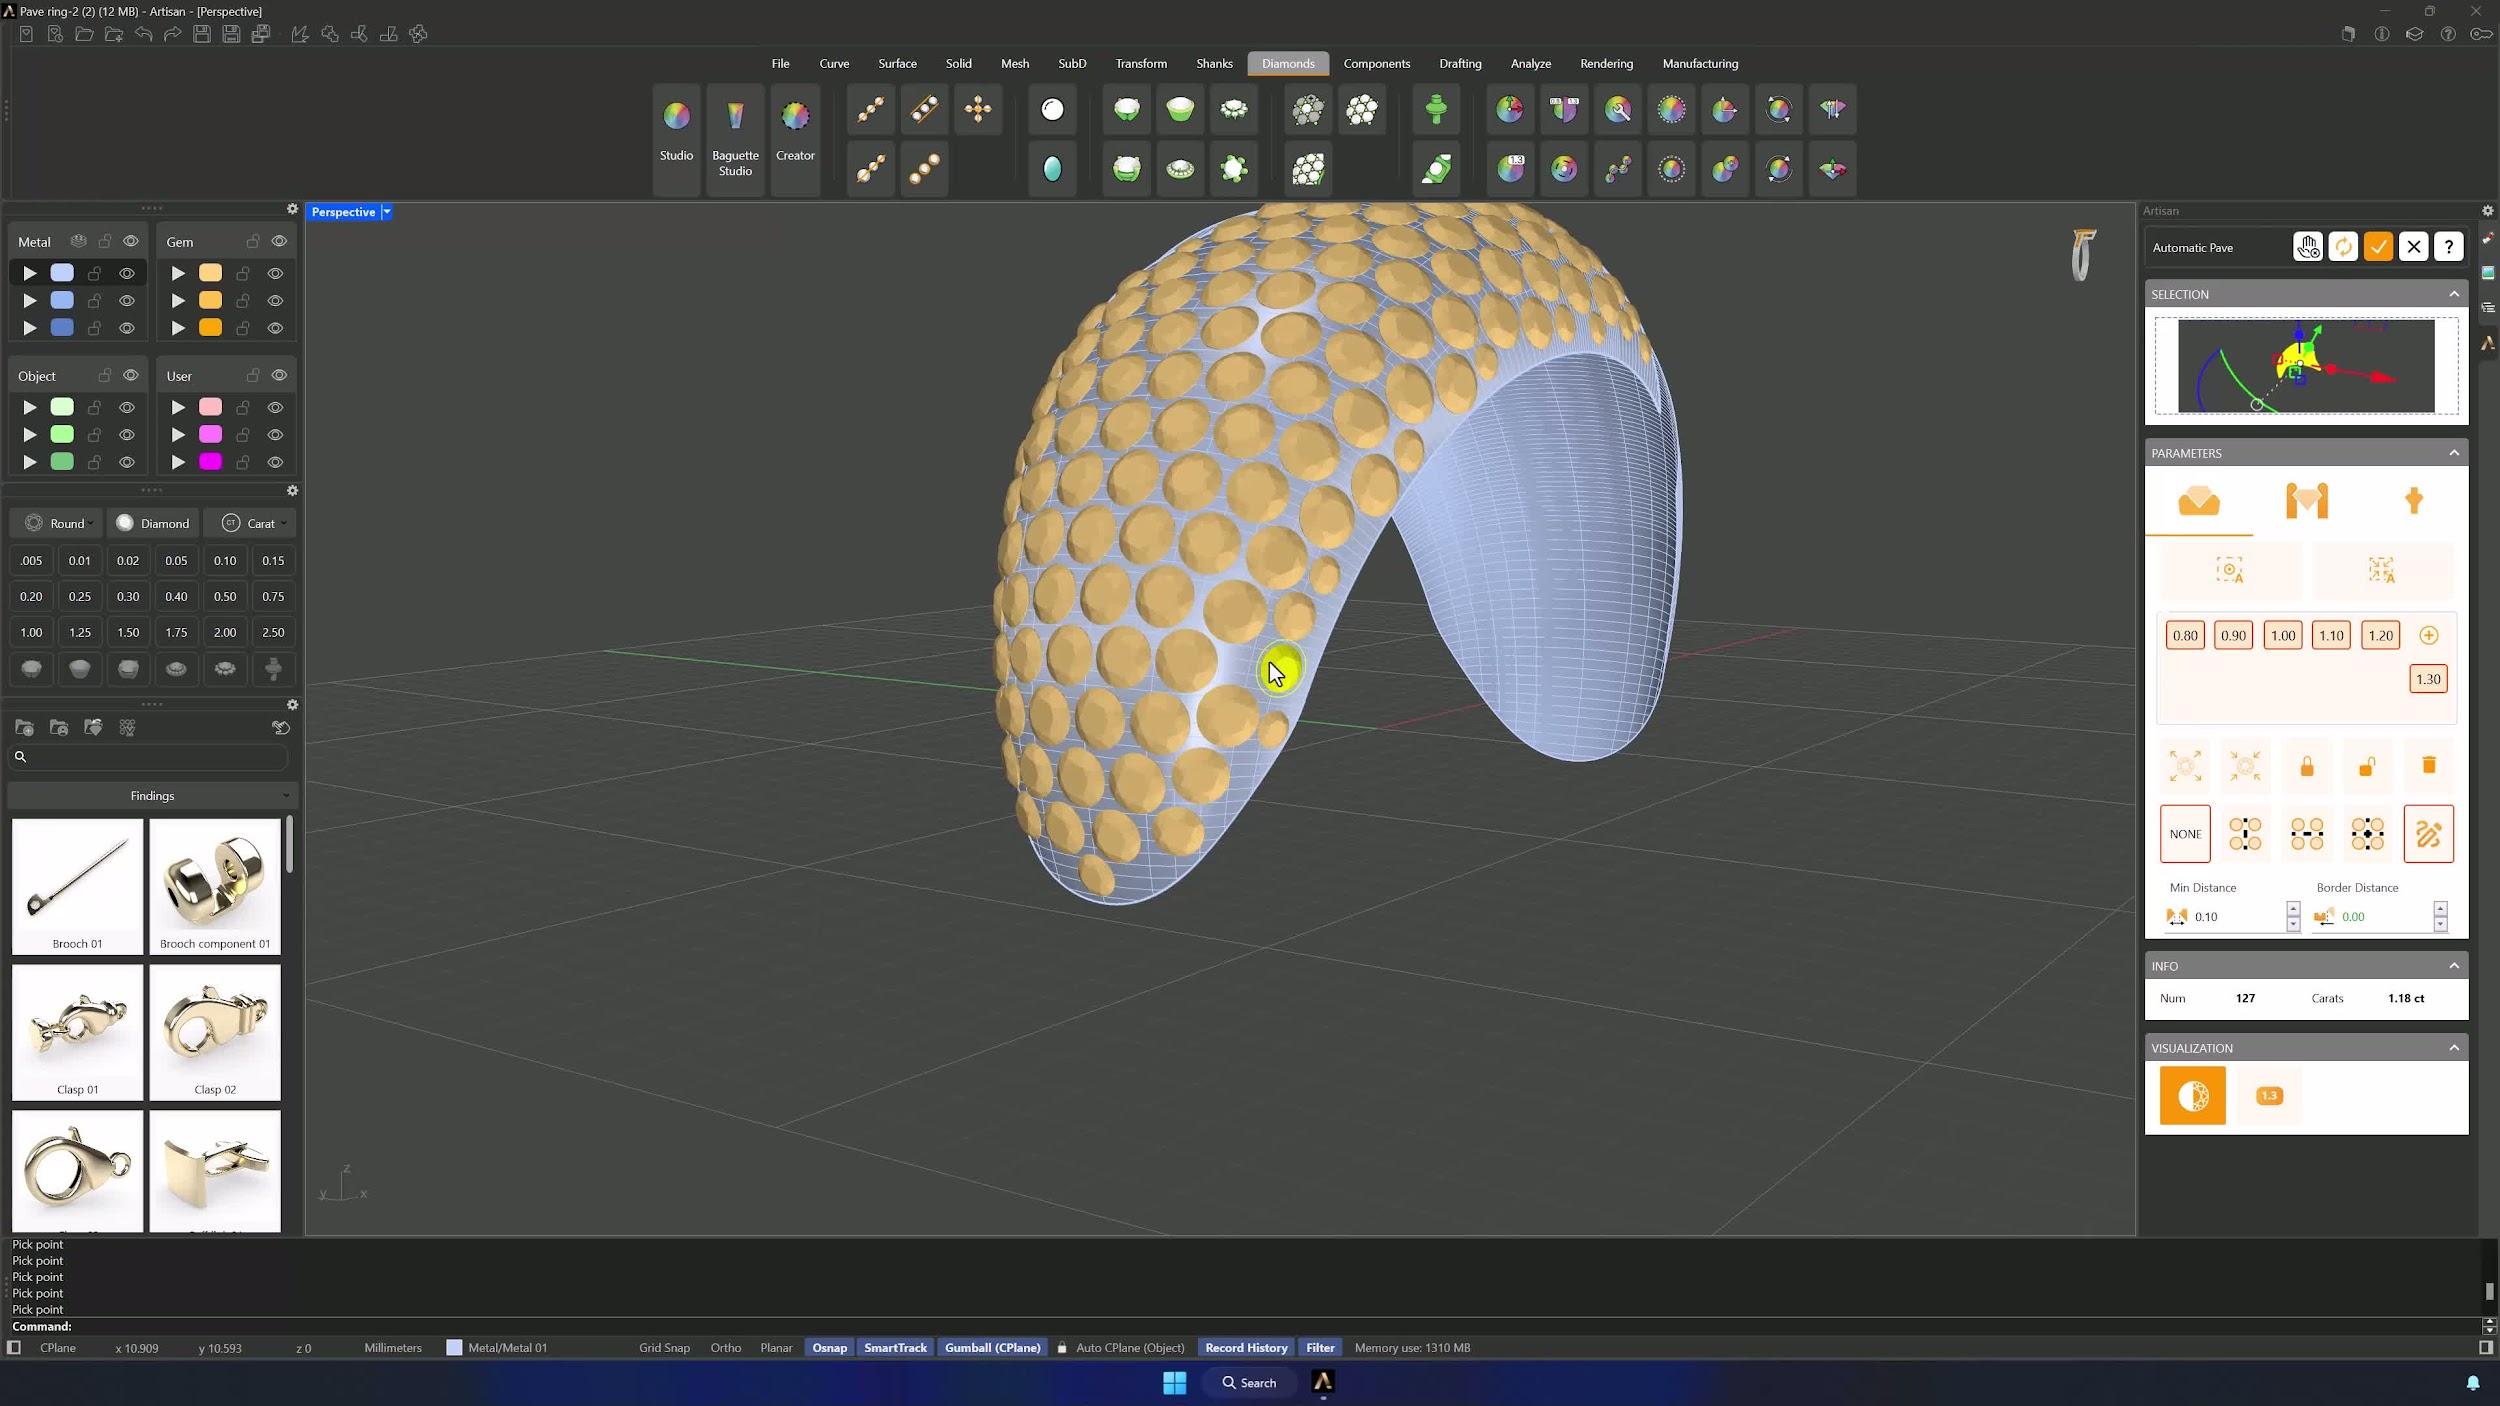
13. Add prongs to the first side
With the layout final, deactivate the gems and switch to the Prongs tab: diameter 0.6 mm, over girdle 0.3 mm, under girdle 0.4 mm, and a 0.3 mm extension for manufacturing. Click Automatic, then refine by hand with different sizes until no empty metal remains — and don’t move gems once the prongs exist.
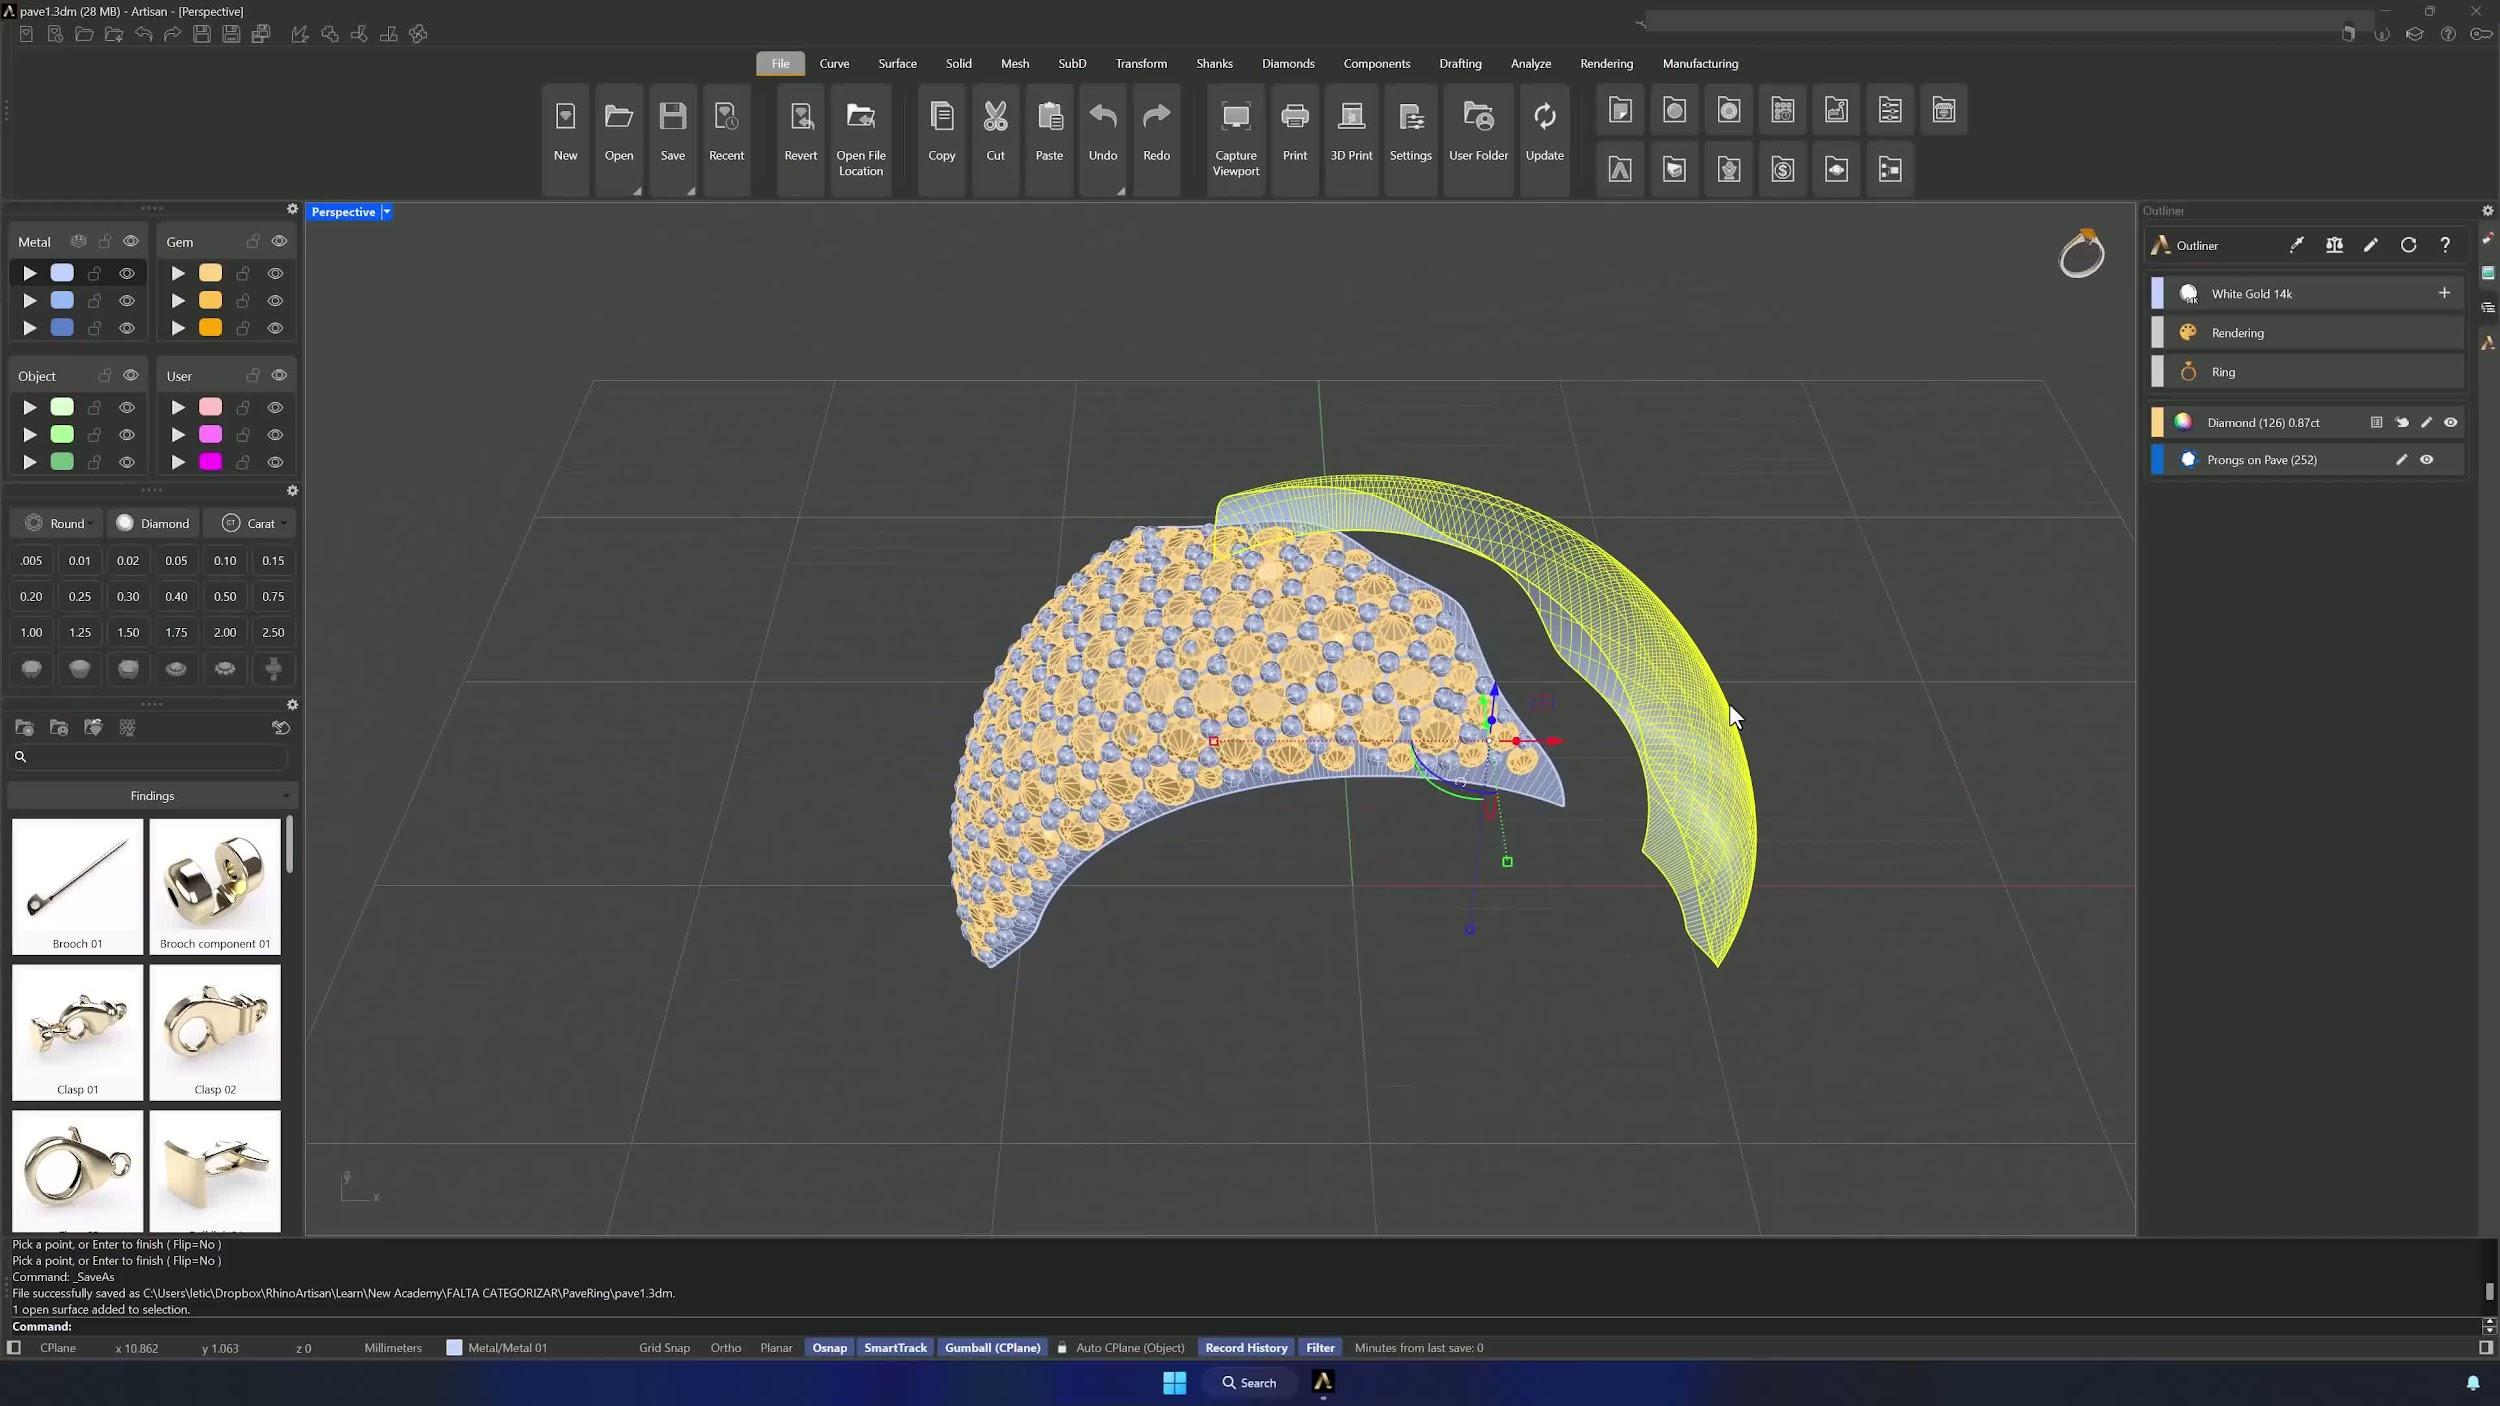
14. Repeat pavé and prong workflow on the opposite side
Hide the finished side (and any gems the pavé tool shouldn’t detect) and repeat the same recipe on the other surface: Pave from Point with the same sizes, compute, adjust and lock, automatic prongs, and fill the remaining gaps with different gem sizes.
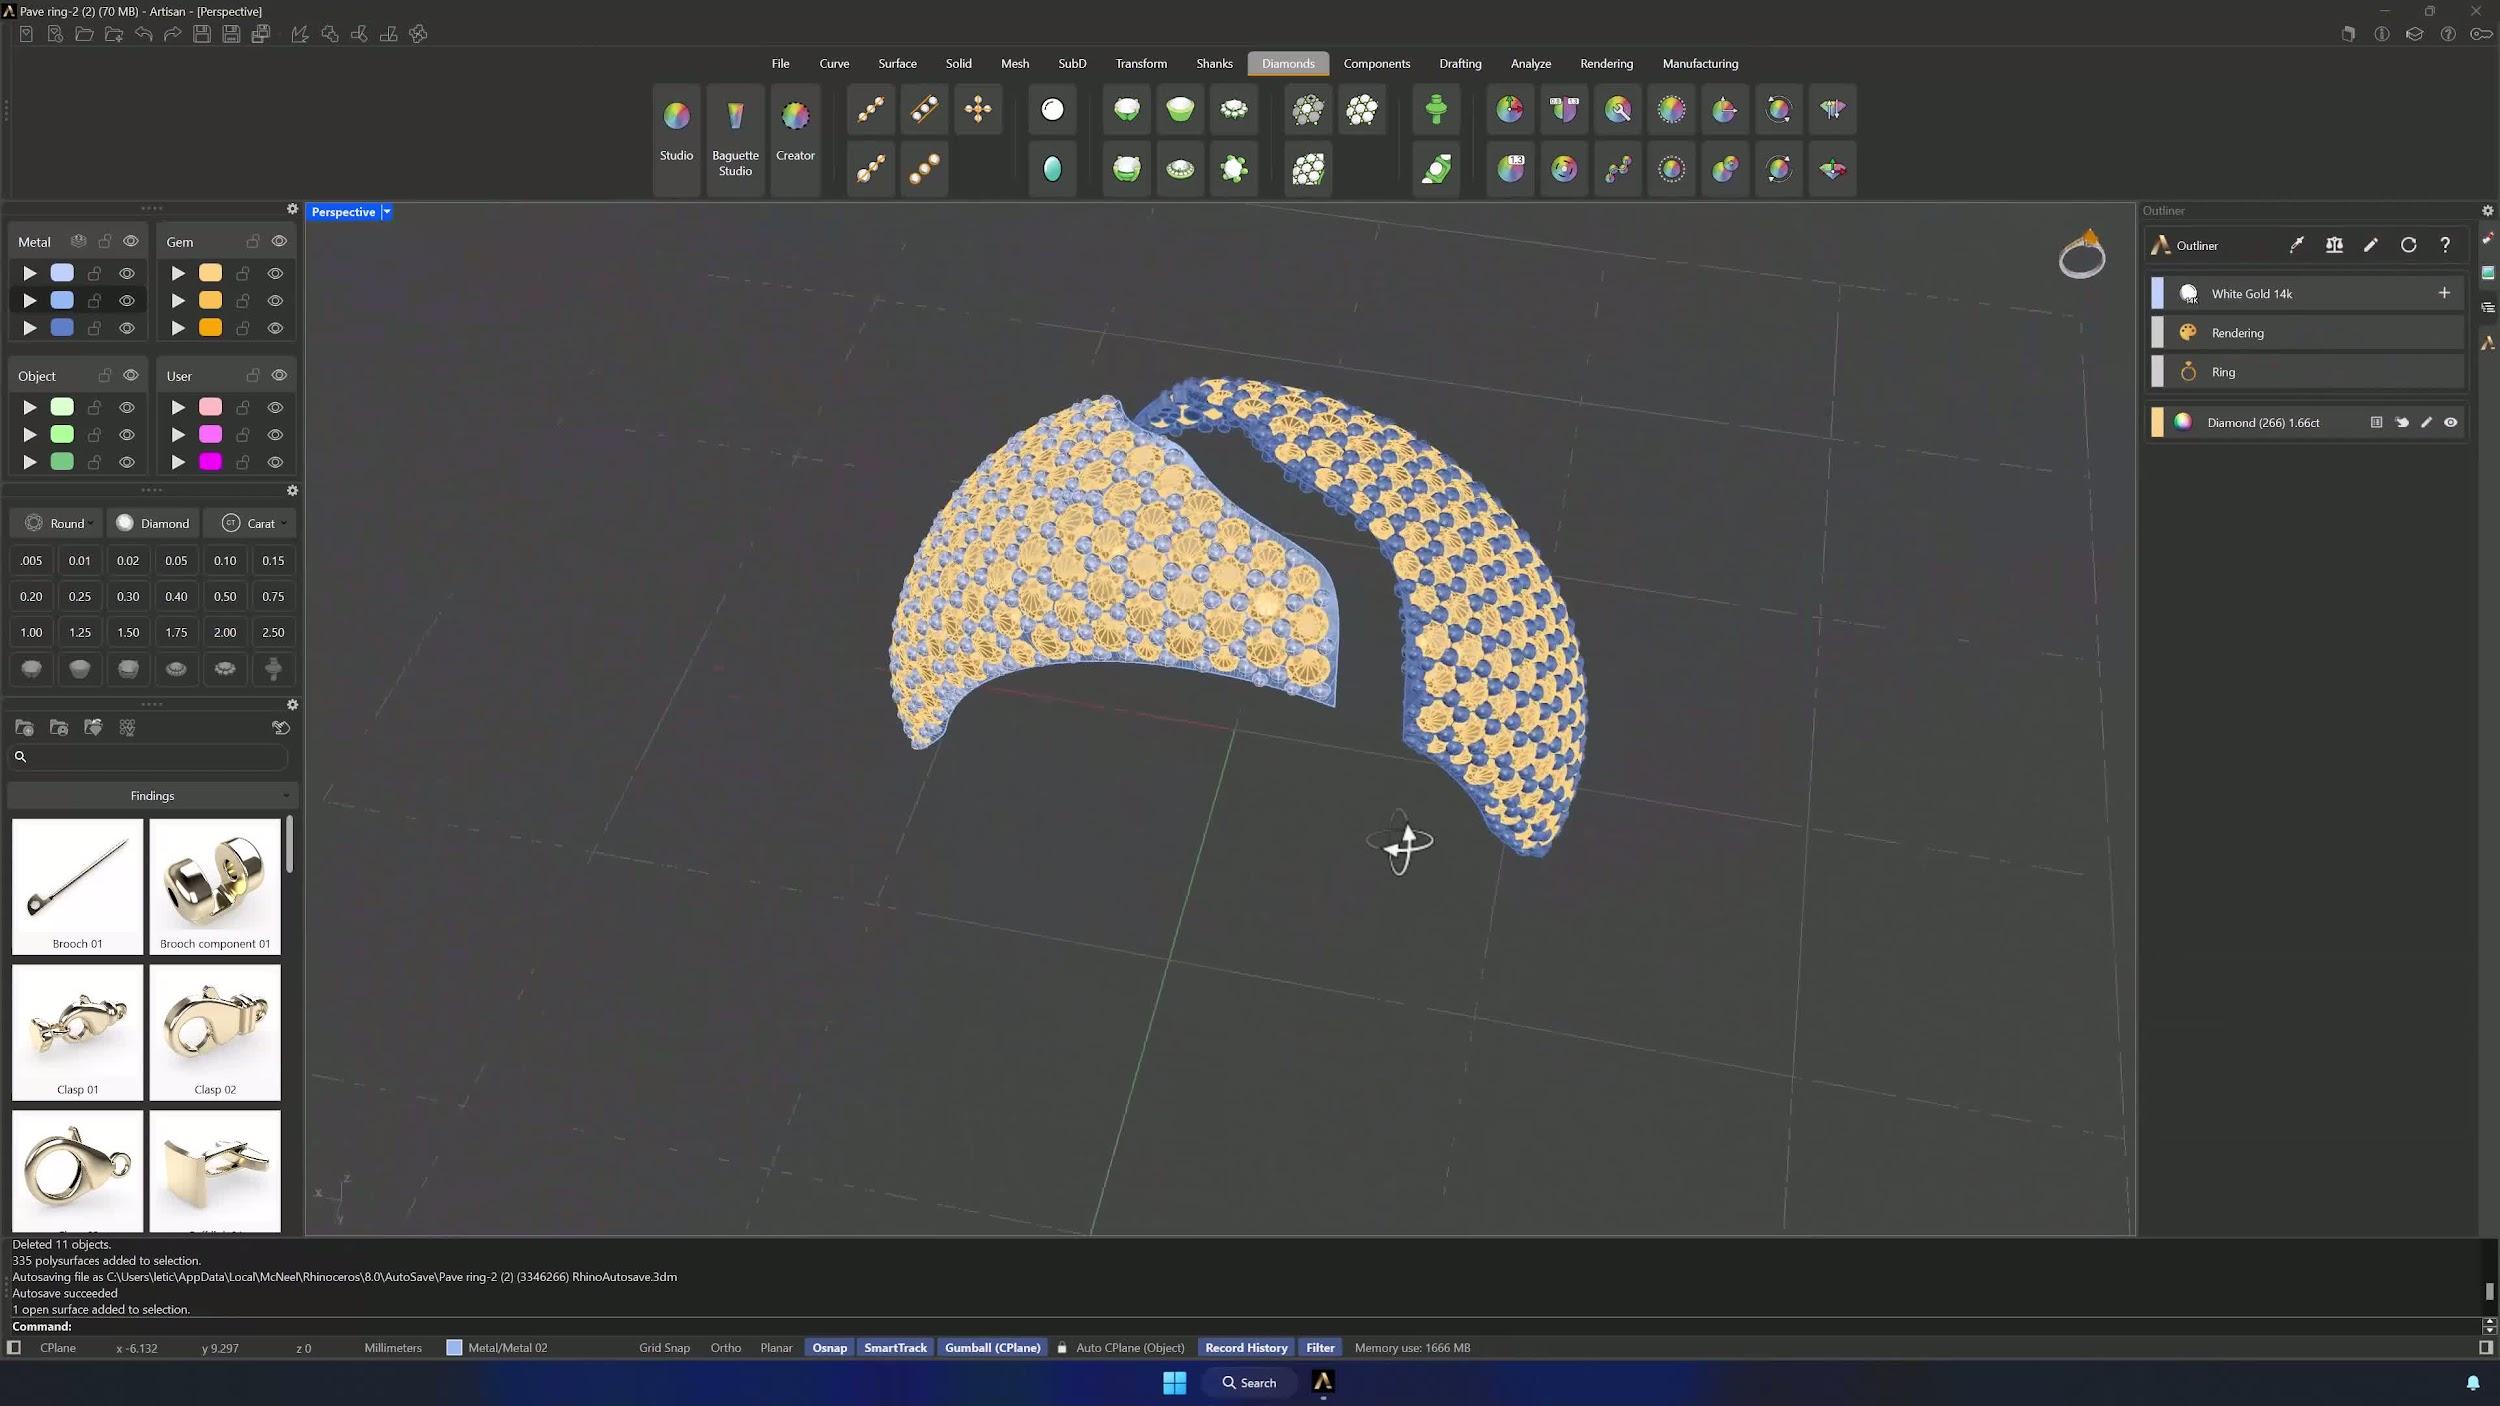
15. Add cutters and cut the metal
Reveal the full ring, select the gems and add the cutters with Height Drill set to 300 so they pass fully through the solid. A final Boolean Difference between ring and cutters opens the seats with proper spacing for every gem.
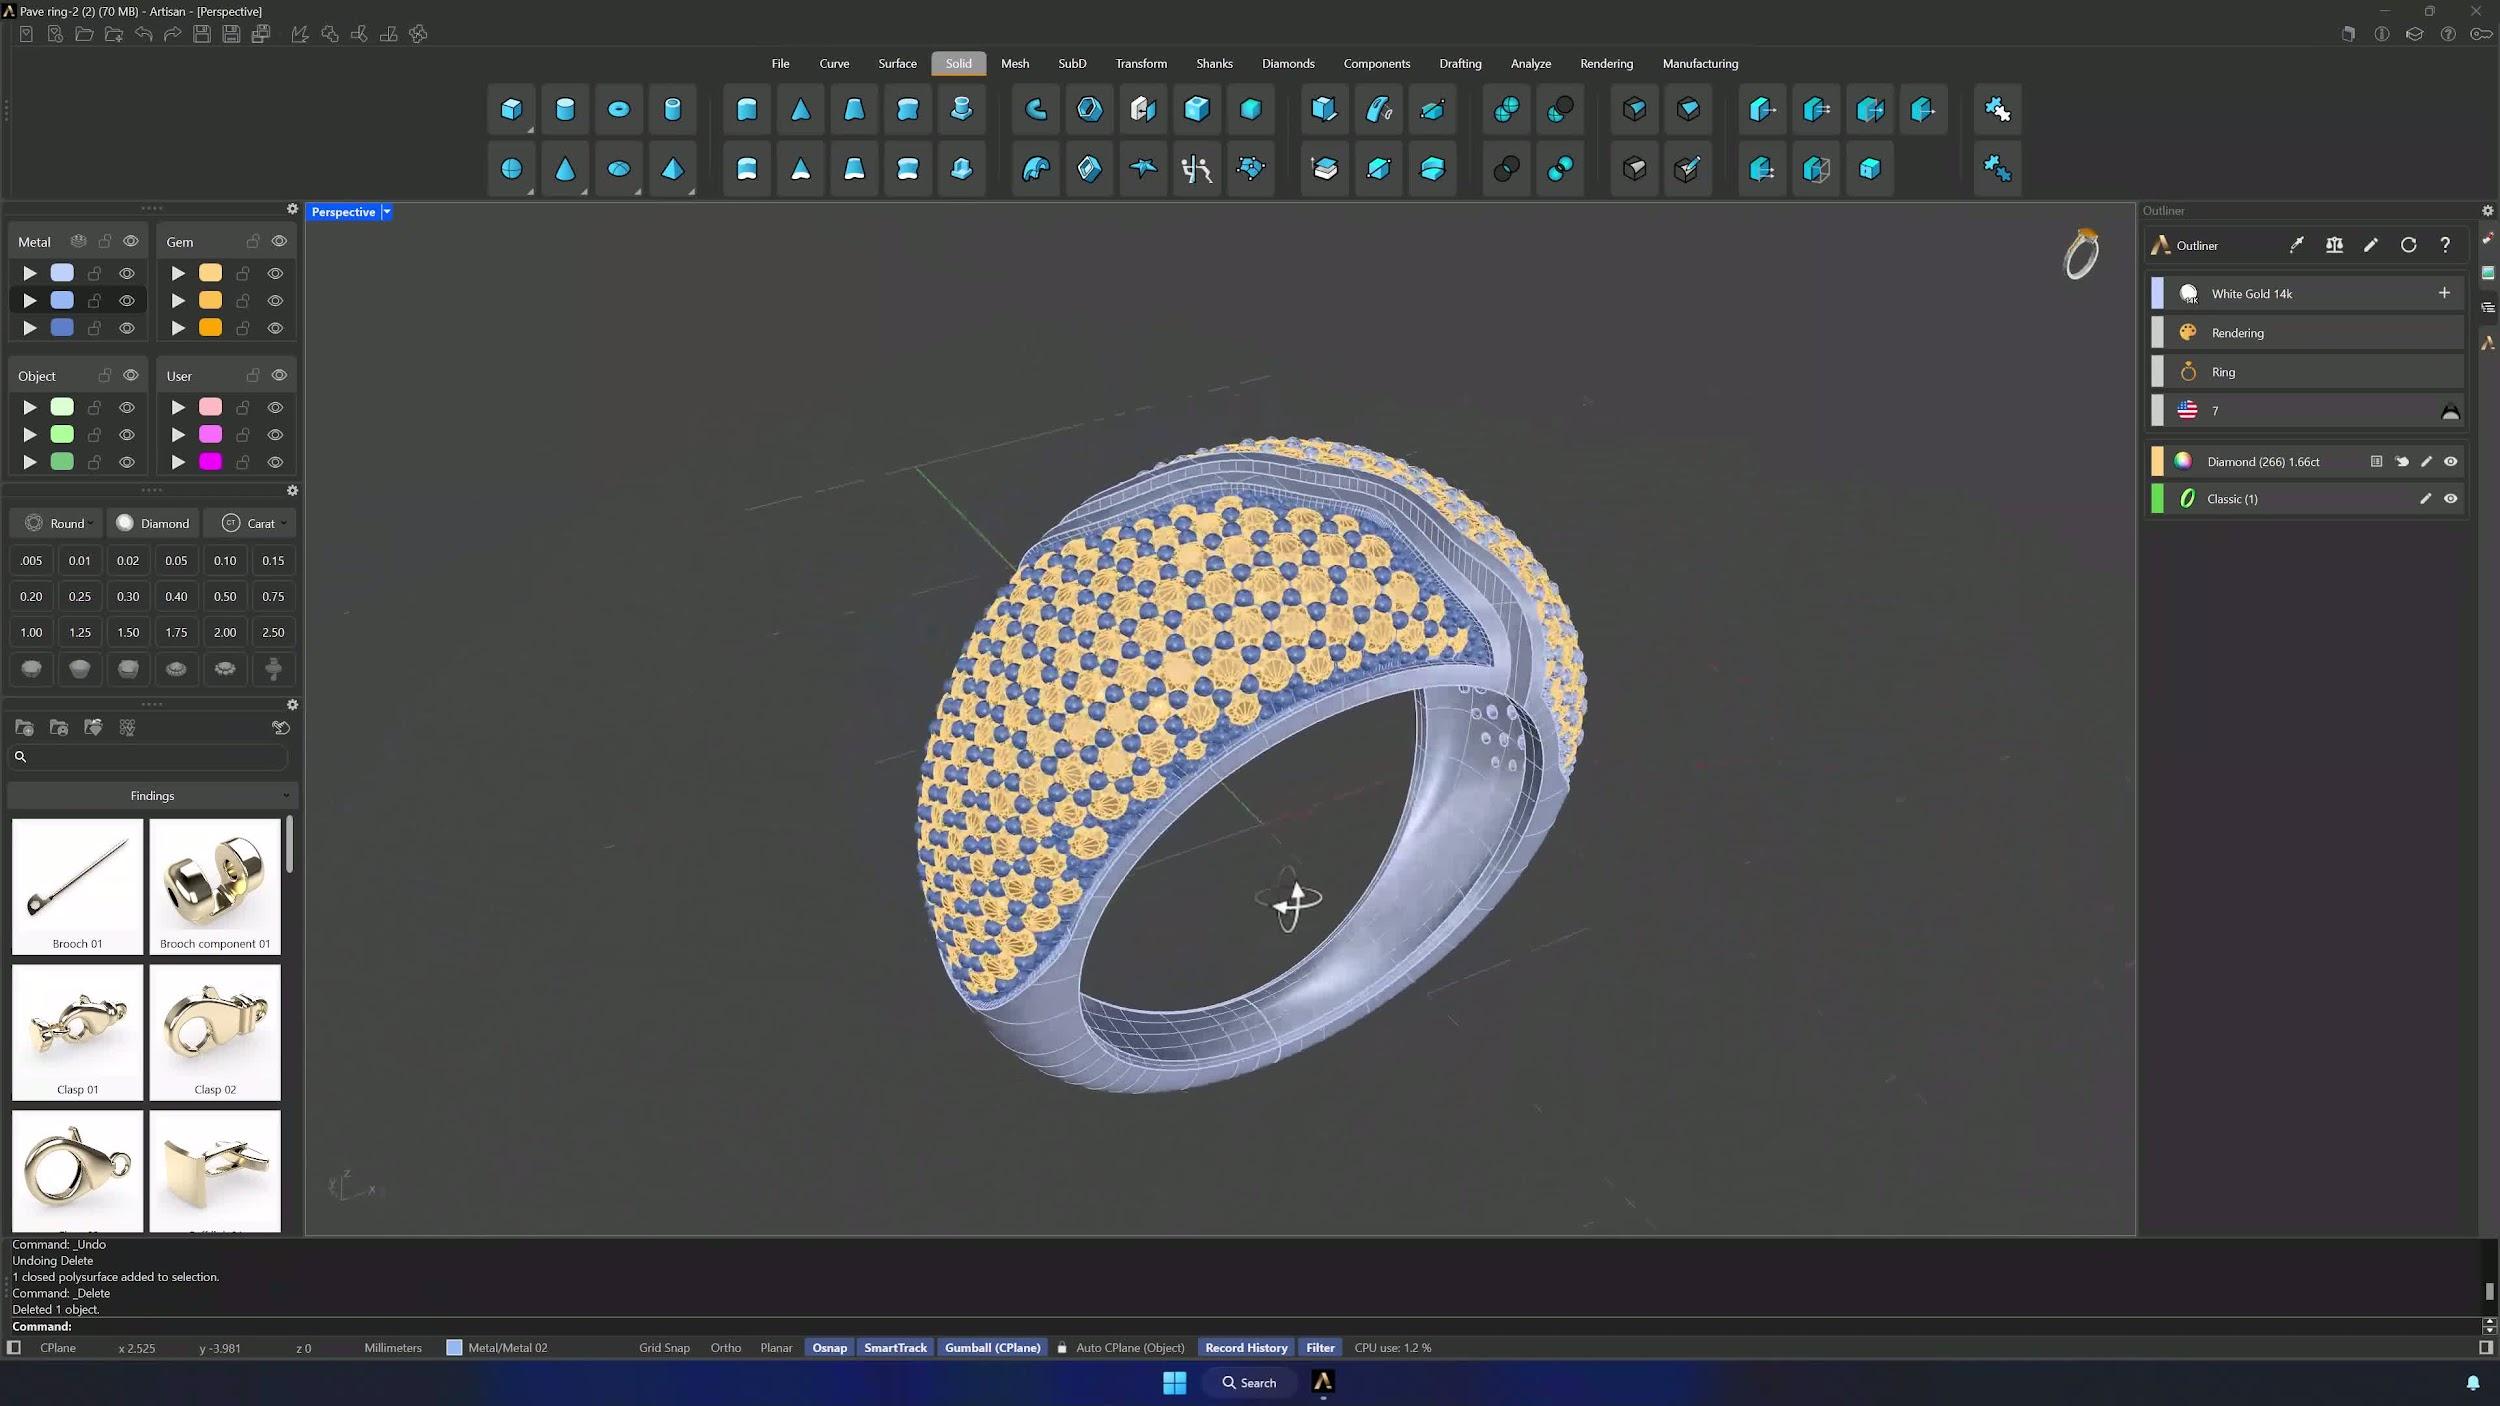
16. Finalize and render the model
Review the completed model, then render it for presentation — in Cycles or KeyShot. Your pavé diamond ring is production-ready.
Tips for a clean result
- Verify every curve intersection before continuing — a missing intersection causes errors downstream.
- In Offset on Surface, always confirm the direction and Flip when it points outward.
- Lock correctly placed gems before recalculating so the rest of the layout adapts around them.
- Add prongs only after the gem layout is final; moving gems afterwards means rebuilding prongs.
- Hide completed geometry while you work on the other side to avoid accidental selections.
- Use the right viewport for each task: Right view for height alignment, Perspective for control points, Wireframe when precision placement is hard to see.
Almost there — you still have some lessons to complete. Jump to the next one →
Impersonating — progress and reviews are disabled.
Course completed
You've completed Pavé Perfection: Gemstone Detailing & Setting 🎉
Great work. Get your certificate of completion and, if you have a minute, let other jewelers know what you thought of the course.