Domed Pavé Signet Ring
Lesson 27 of 34
Pavé, Prongs & Cutters
Sign in to access this lesson
This lesson is part of Pavé Perfection: Gemstone Detailing & Setting, which can come bundled with a RhinoArtisan Commercial license subject to current promotions. Log in with your customer account, or get in touch and we'll set you up.
Customers only
Solo para clientes
This lesson is part of Pavé Perfection: Gemstone Detailing & Setting, which can be included with a RhinoArtisan Commercial license subject to current promotions. If you've already purchased and don't see it in your account, get in touch.
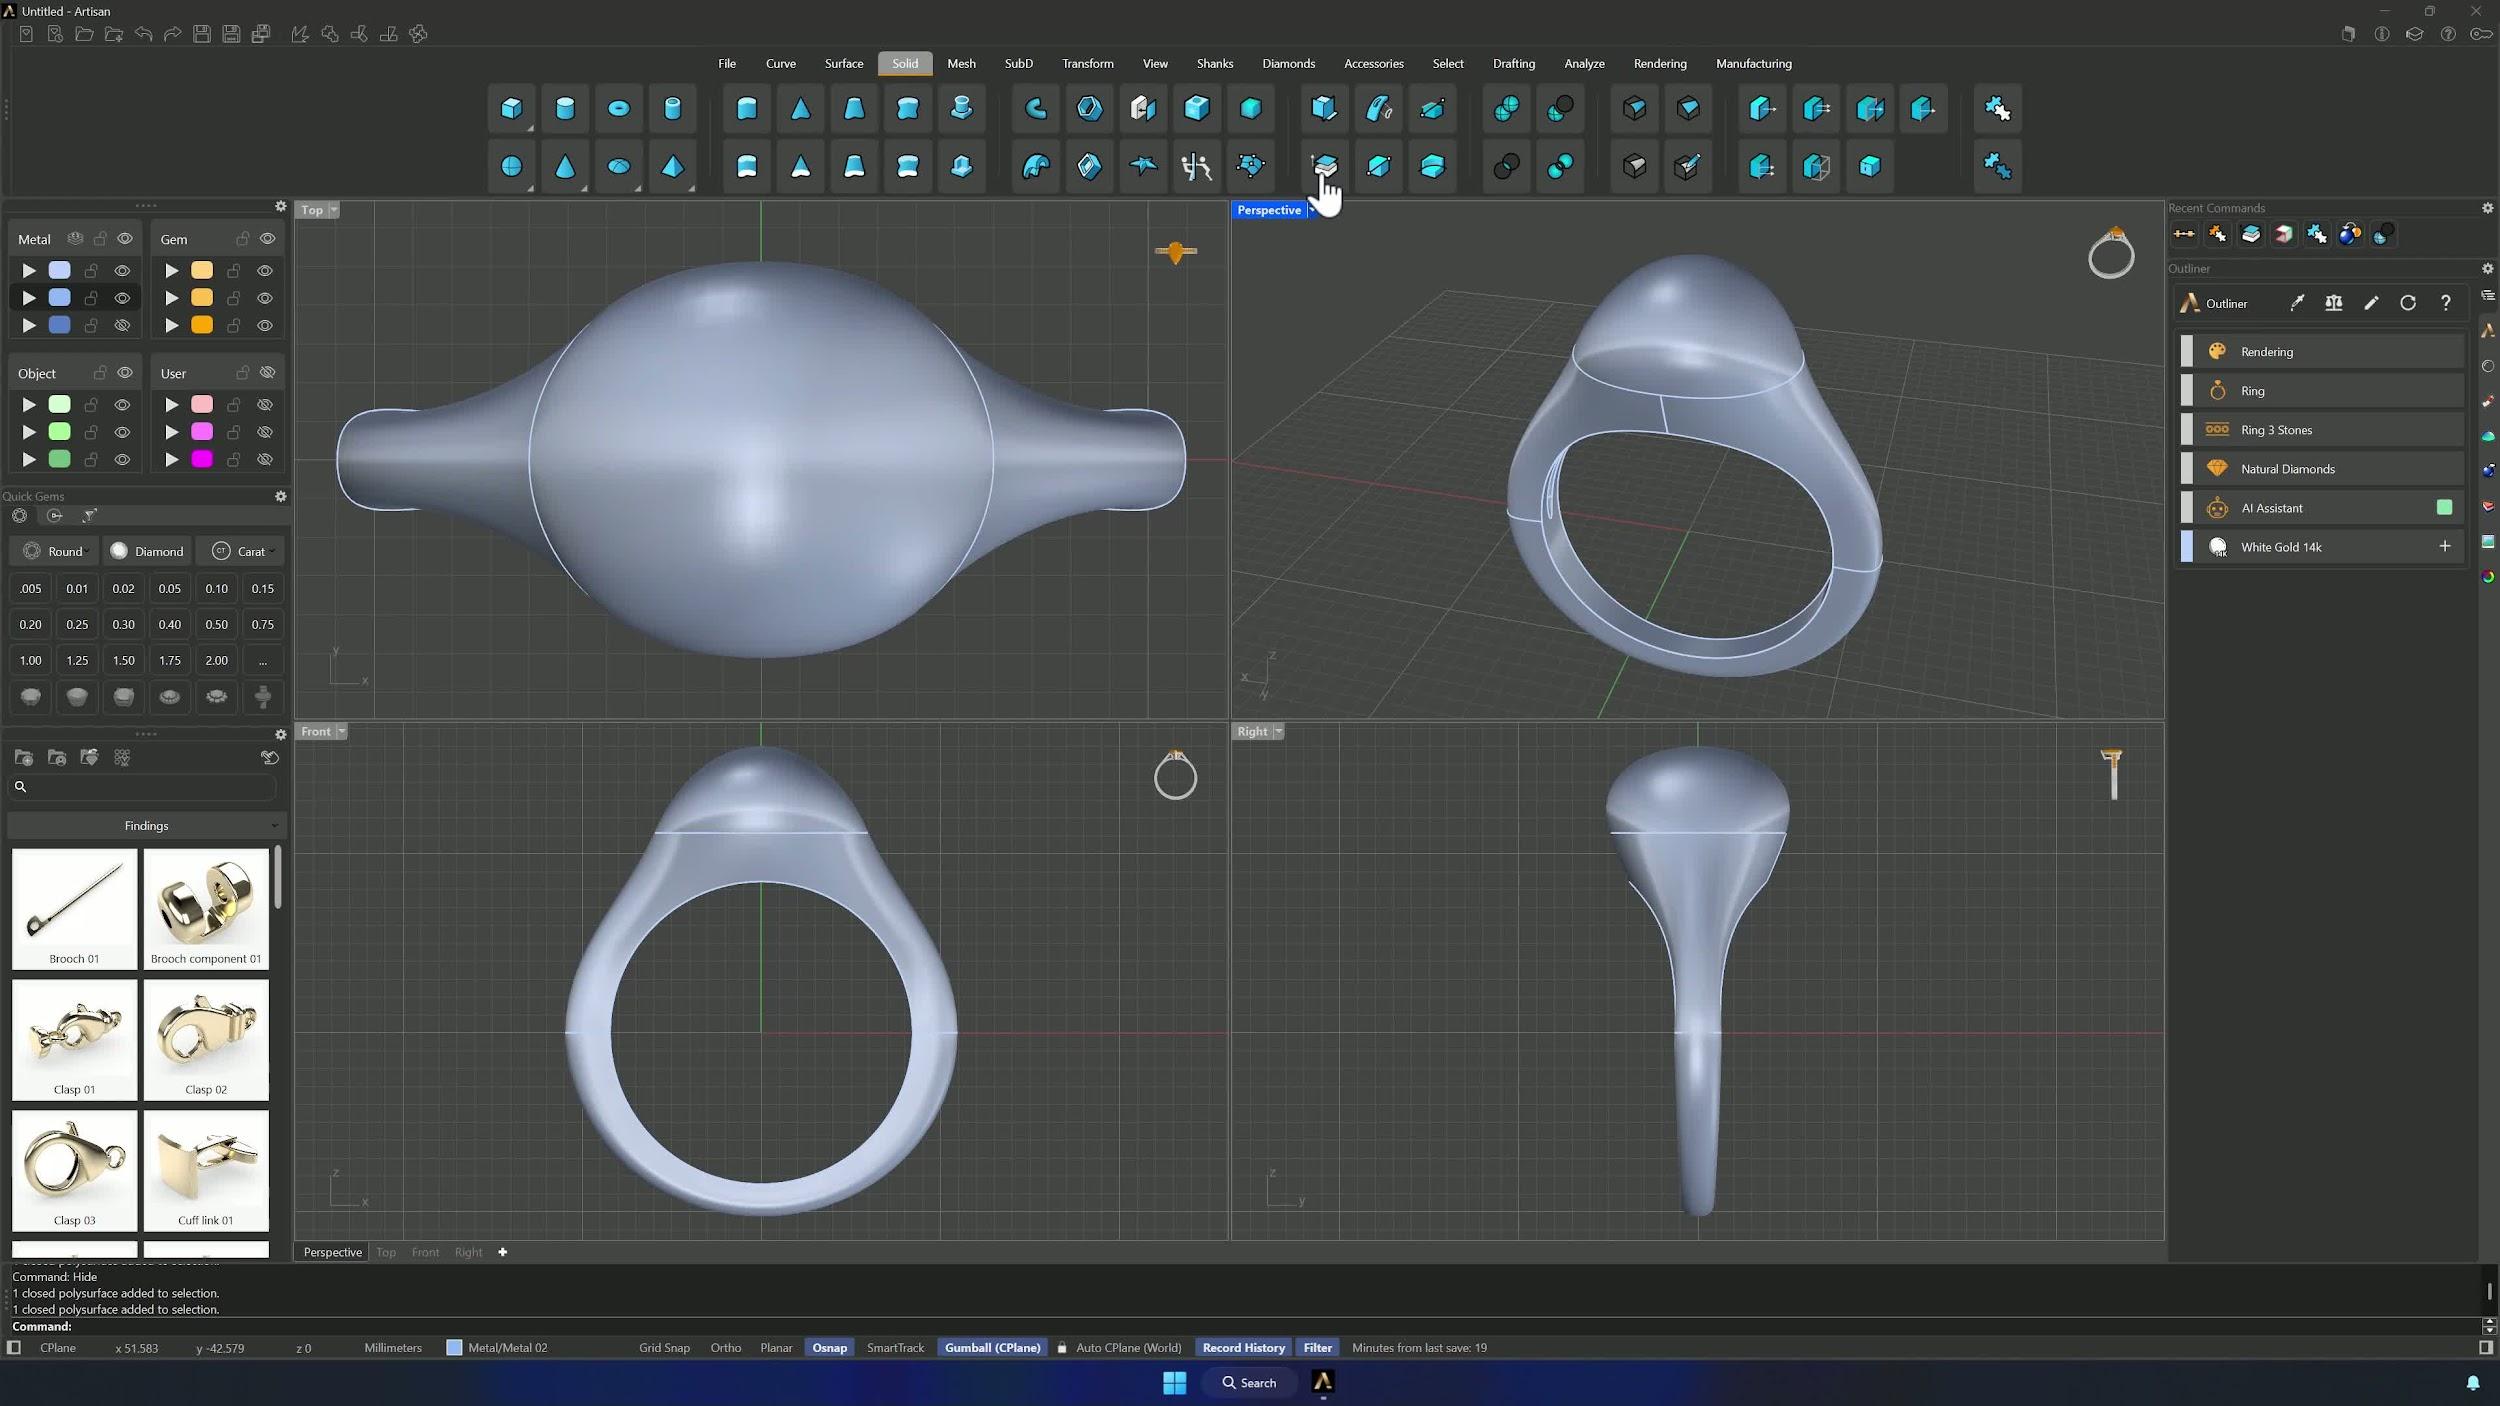
10. Create the pavé layout on the top surface
Extract the top surface with Copy = Yes and keep only the curve crossing it visible. Run Pavé Along Surface from the Diamonds tab: add the surface to the selector, click Add with default measurements, switch the direction to V, and use the curve’s midpoint at the top as reference. Accept — these first gems become the guides for the automatic pass.
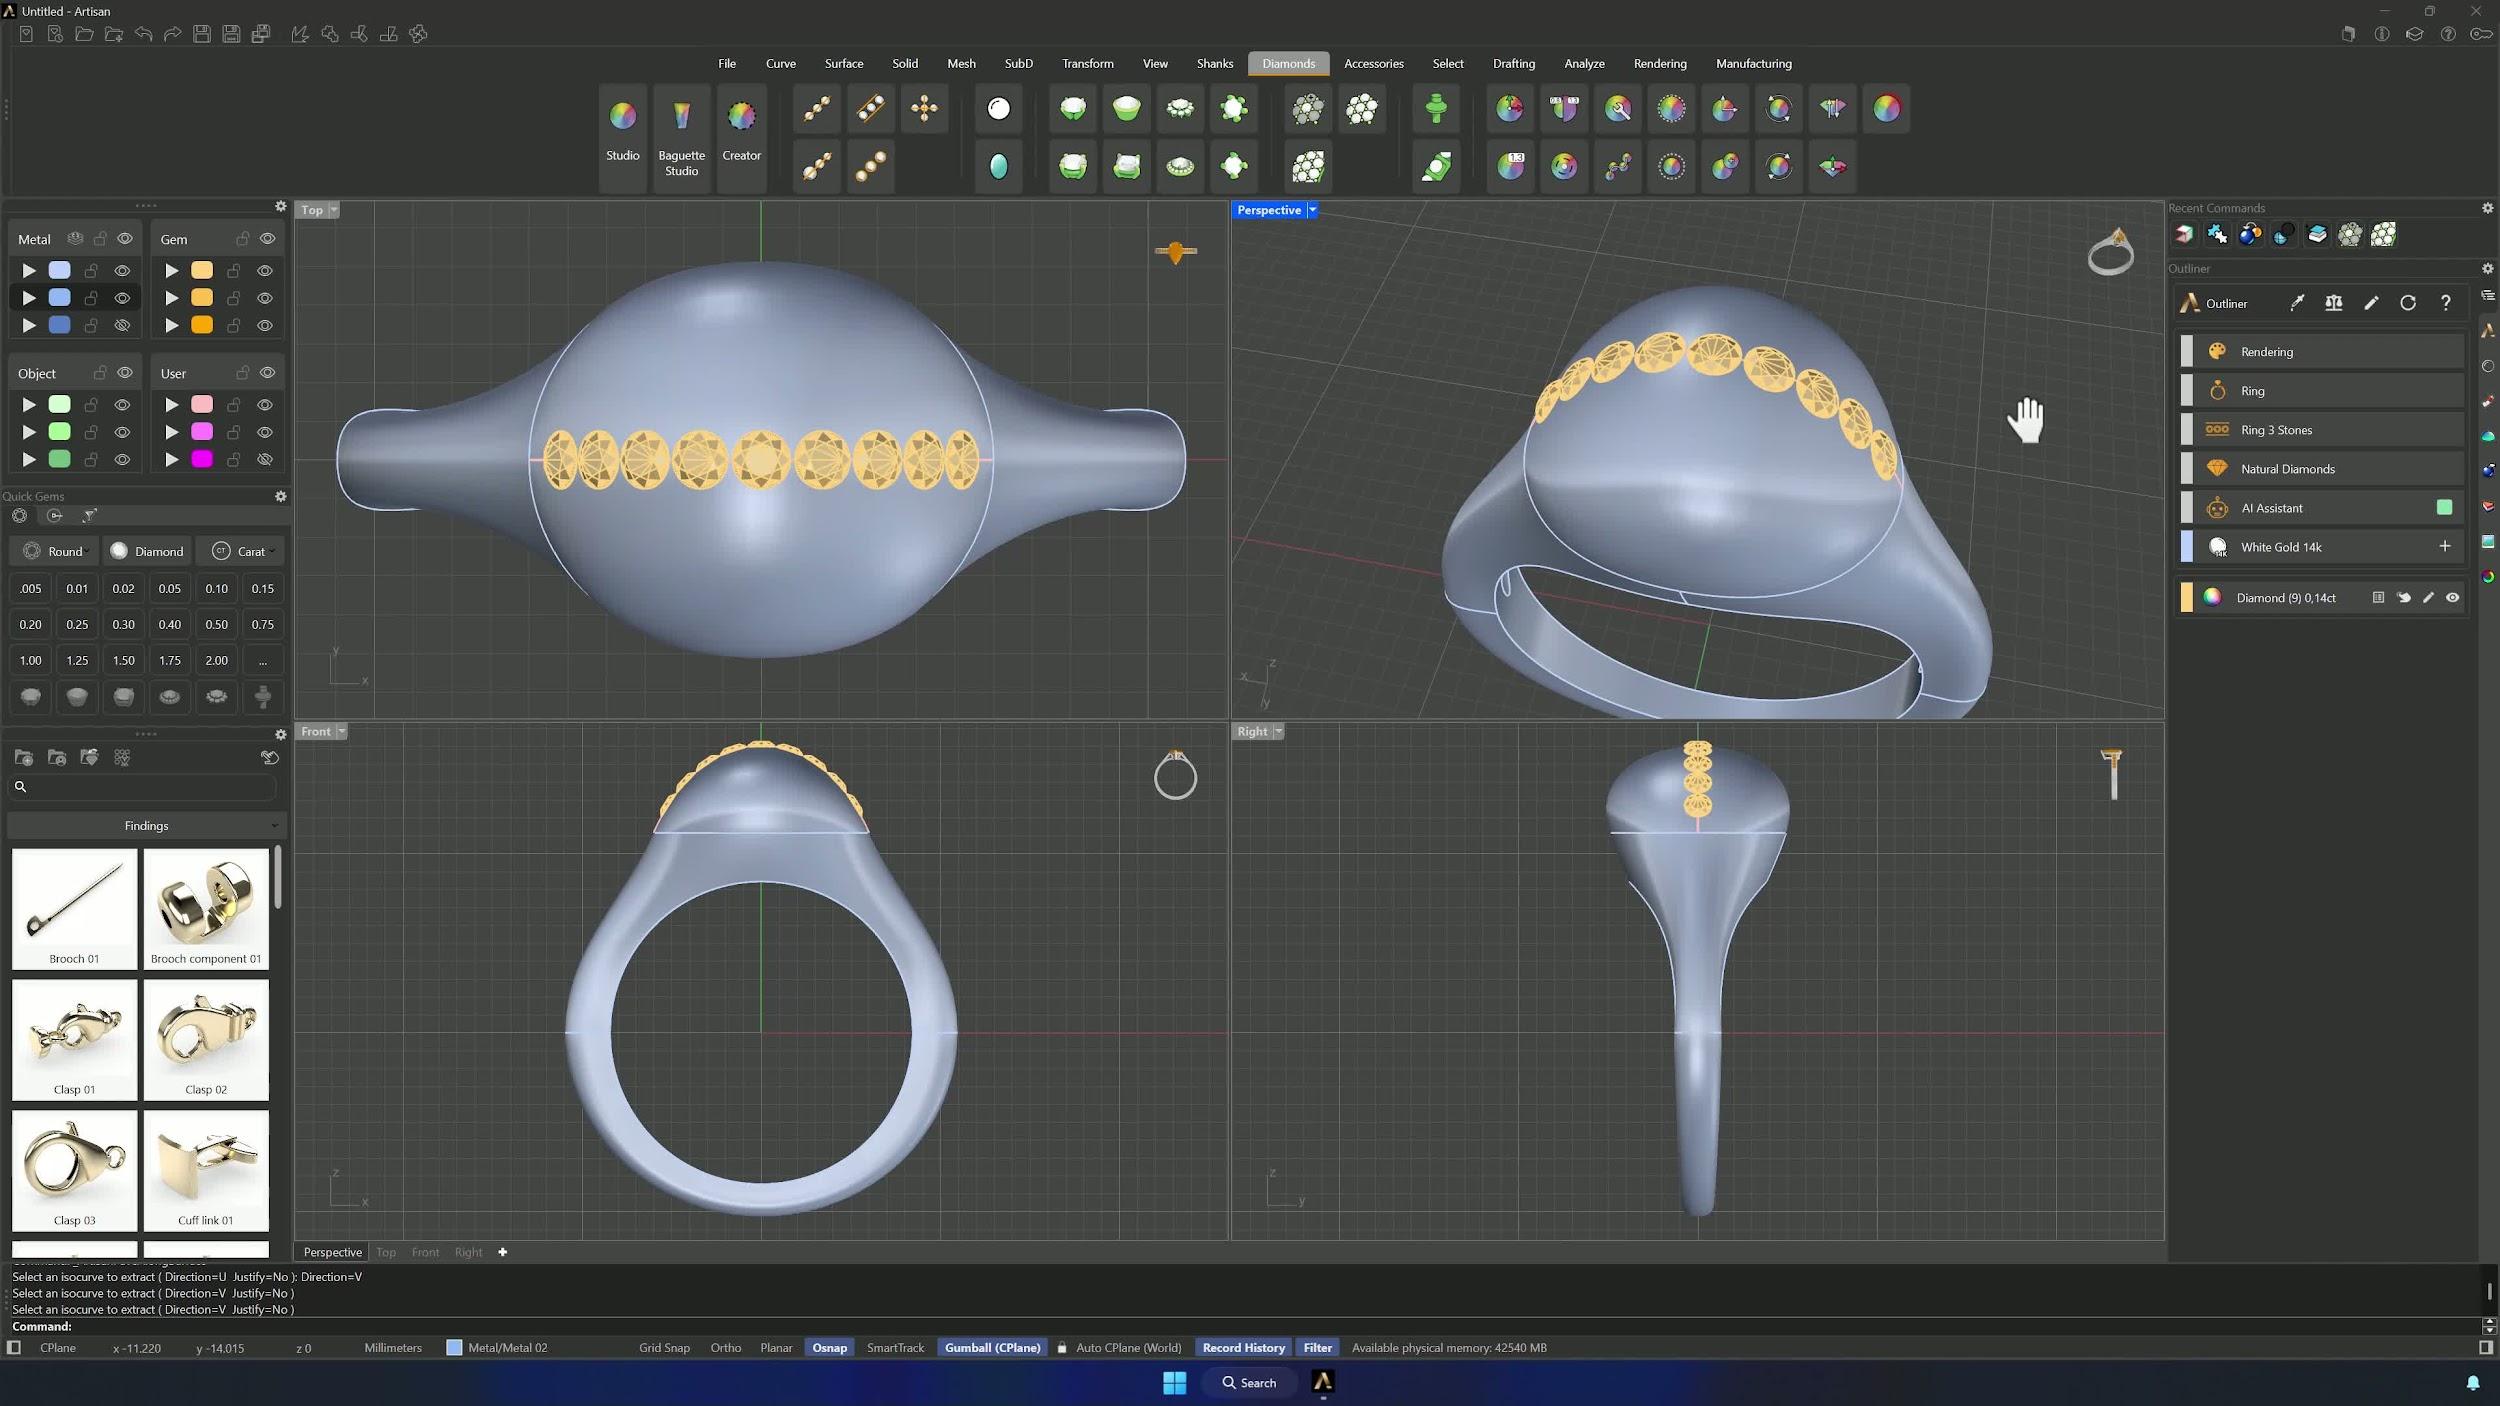
11. Generate and refine the automatic pavé
Open Automatic Pave, add the surface and the generated gems, and lock those gems so they anchor the layout. Add more sizes — 1.5, 1.2, 1.1, 1.0 and 0.9 mm — enable Horizontal Symmetry and click Generate. Then resize, move, add or delete stones and recompute until the dome reads full and even.
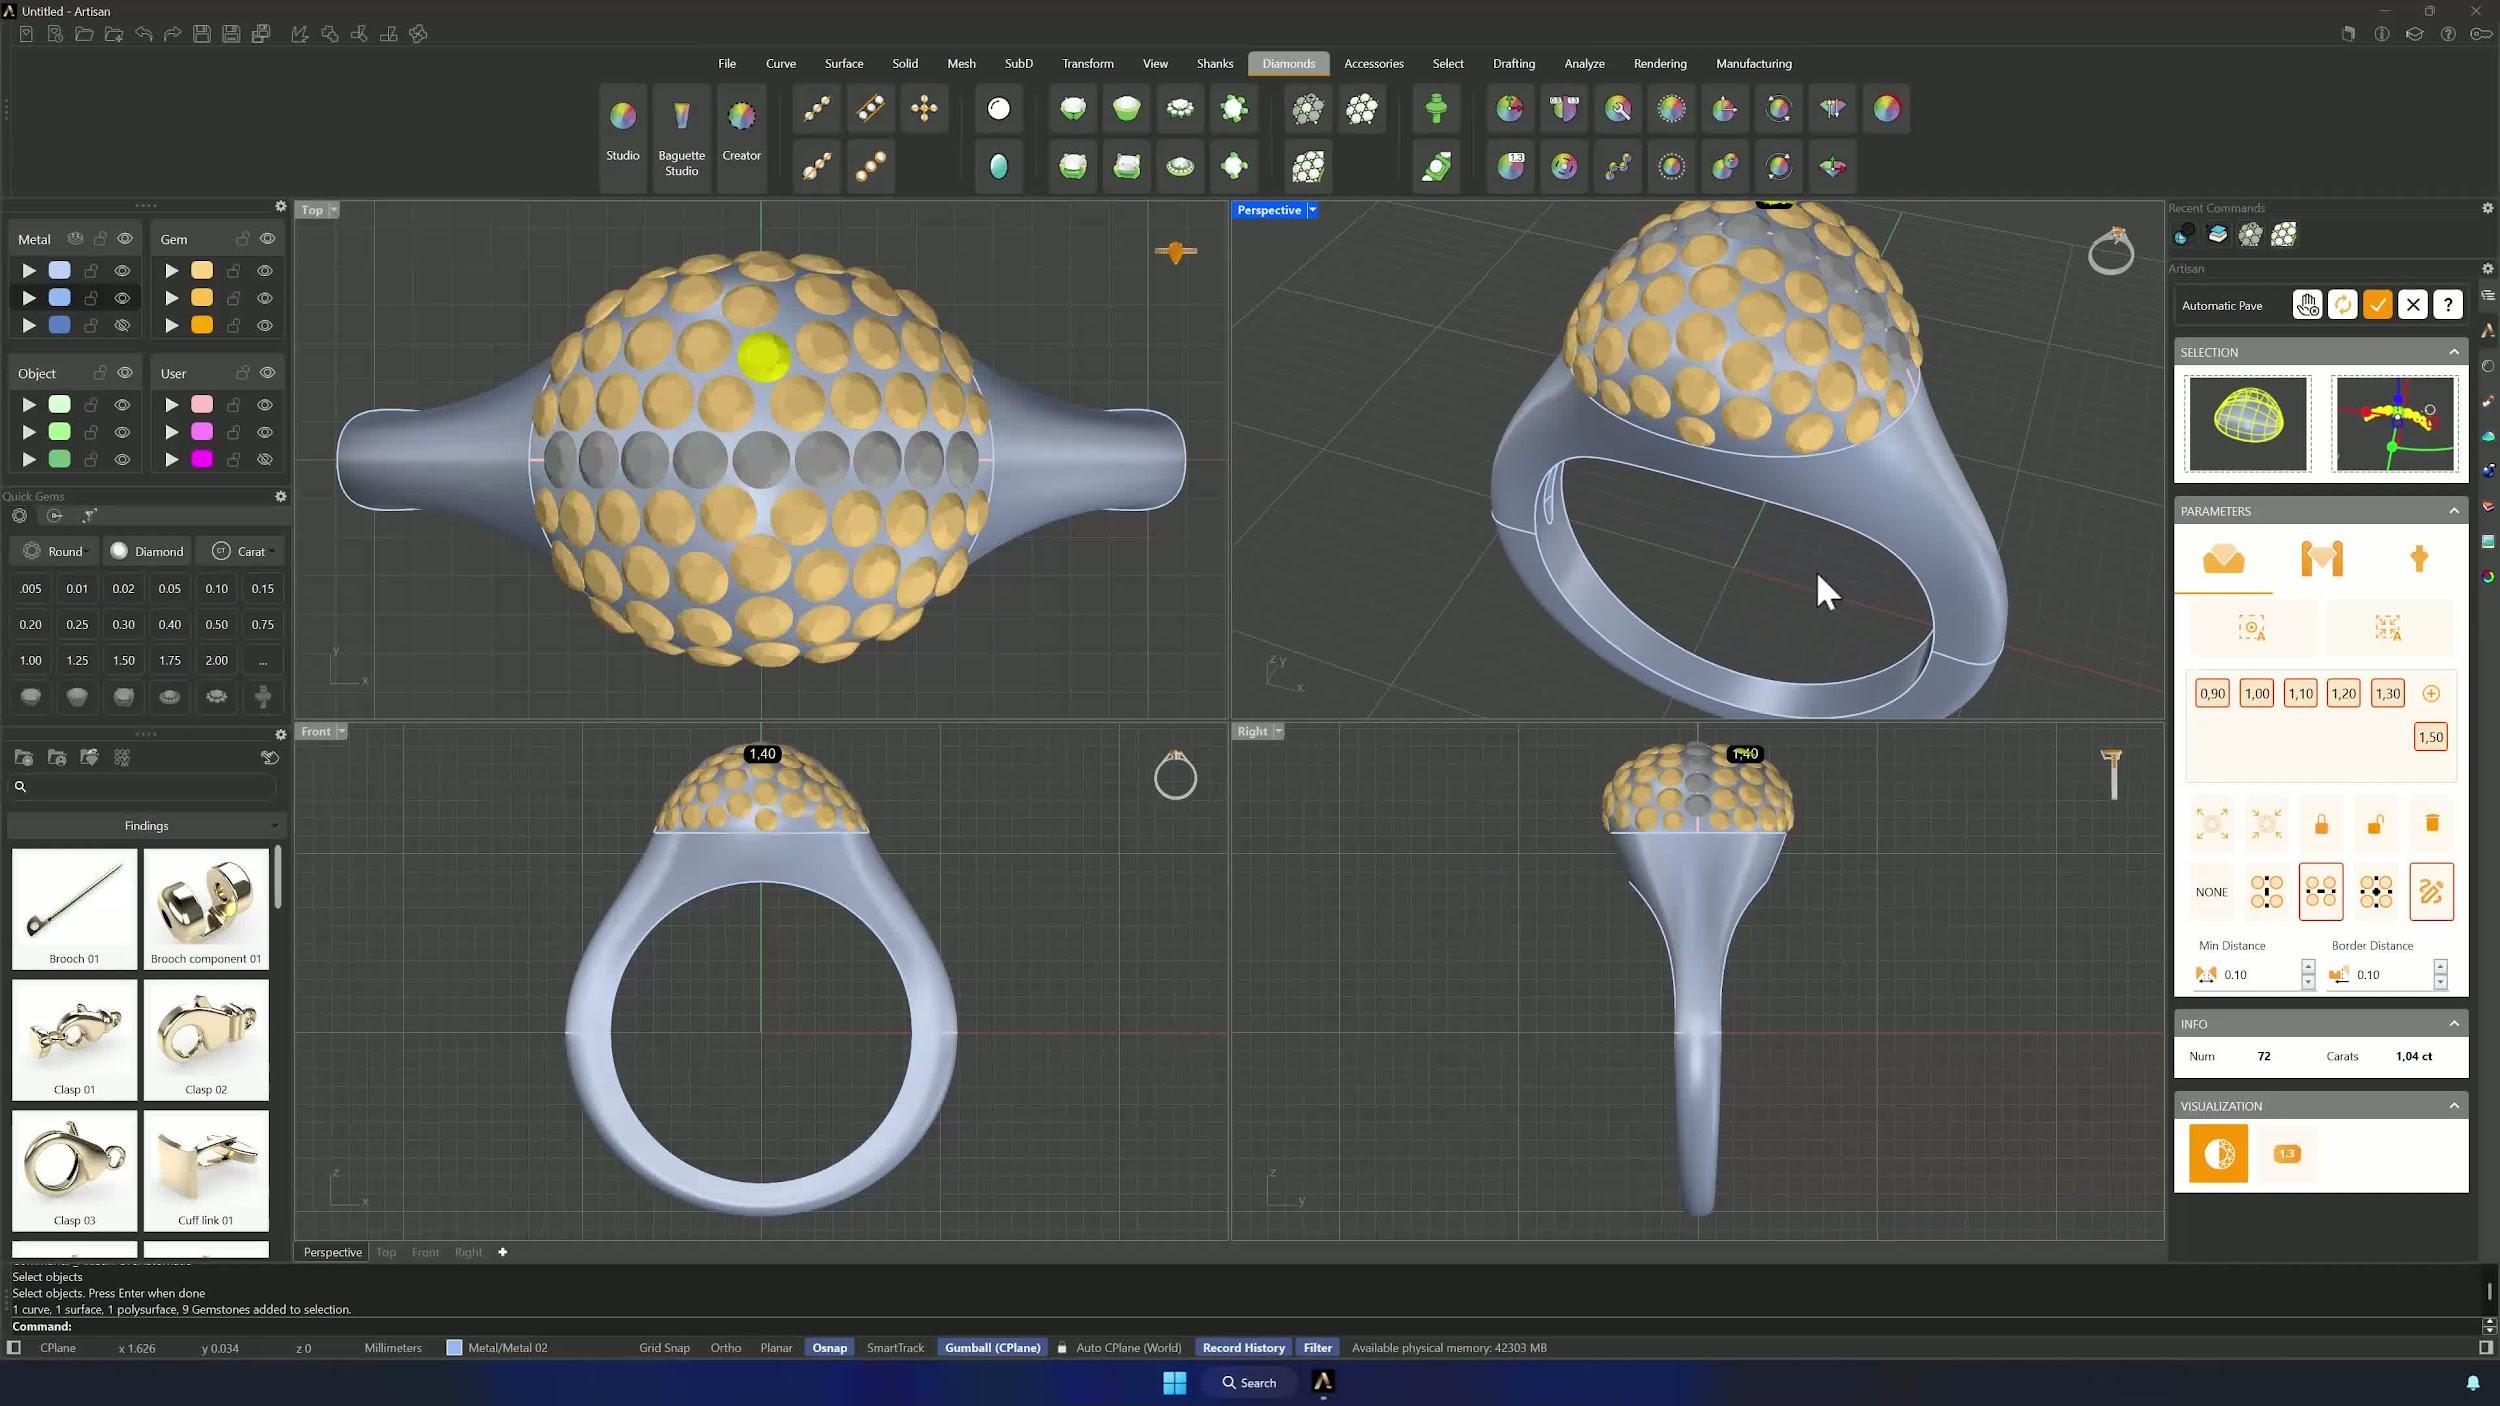
12. Add prongs and cutters, then finish the model
Set the prongs to diameter 0.6 mm, overgirdle 0.2, undergirdle 0.5 and a 0.3 mm manufacturing extension, generate, and add manual prongs in crowded areas where the automatic pass is limited. Run Cutters with the fourth preset, then a final Boolean Difference — shank, Enter, cutters, Enter — and the hollowed signet is complete and ready to render.
Tips for a clean result
- Keep O-Snap on when centering curves and aligning points — the network surfaces are only as clean as their curves.
- Use Flip whenever a surface comes out oriented the wrong way.
- If Join fails, inspect with Show Edges before retrying instead of forcing it.
- In the hollowing boolean, the order matters: outer body first, then inner.
- Lock the reference gems before generating the final pavé to preserve layout control, and recompute after resizing so spacing stays consistent.
- Repeat commands like Offset with a right-click to save time across multiple curves.
Almost there — you still have some lessons to complete. Jump to the next one →
Impersonating — progress and reviews are disabled.
Course completed
You've completed Pavé Perfection: Gemstone Detailing & Setting 🎉
Great work. Get your certificate of completion and, if you have a minute, let other jewelers know what you thought of the course.