Classic Pavé Ring
Lesson 14 of 34
Building the Shank
Sign in to access this lesson
This lesson is part of Pavé Perfection: Gemstone Detailing & Setting, which can come bundled with a RhinoArtisan Commercial license subject to current promotions. Log in with your customer account, or get in touch and we'll set you up.
Customers only
Solo para clientes
This lesson is part of Pavé Perfection: Gemstone Detailing & Setting, which can be included with a RhinoArtisan Commercial license subject to current promotions. If you've already purchased and don't see it in your account, get in touch.
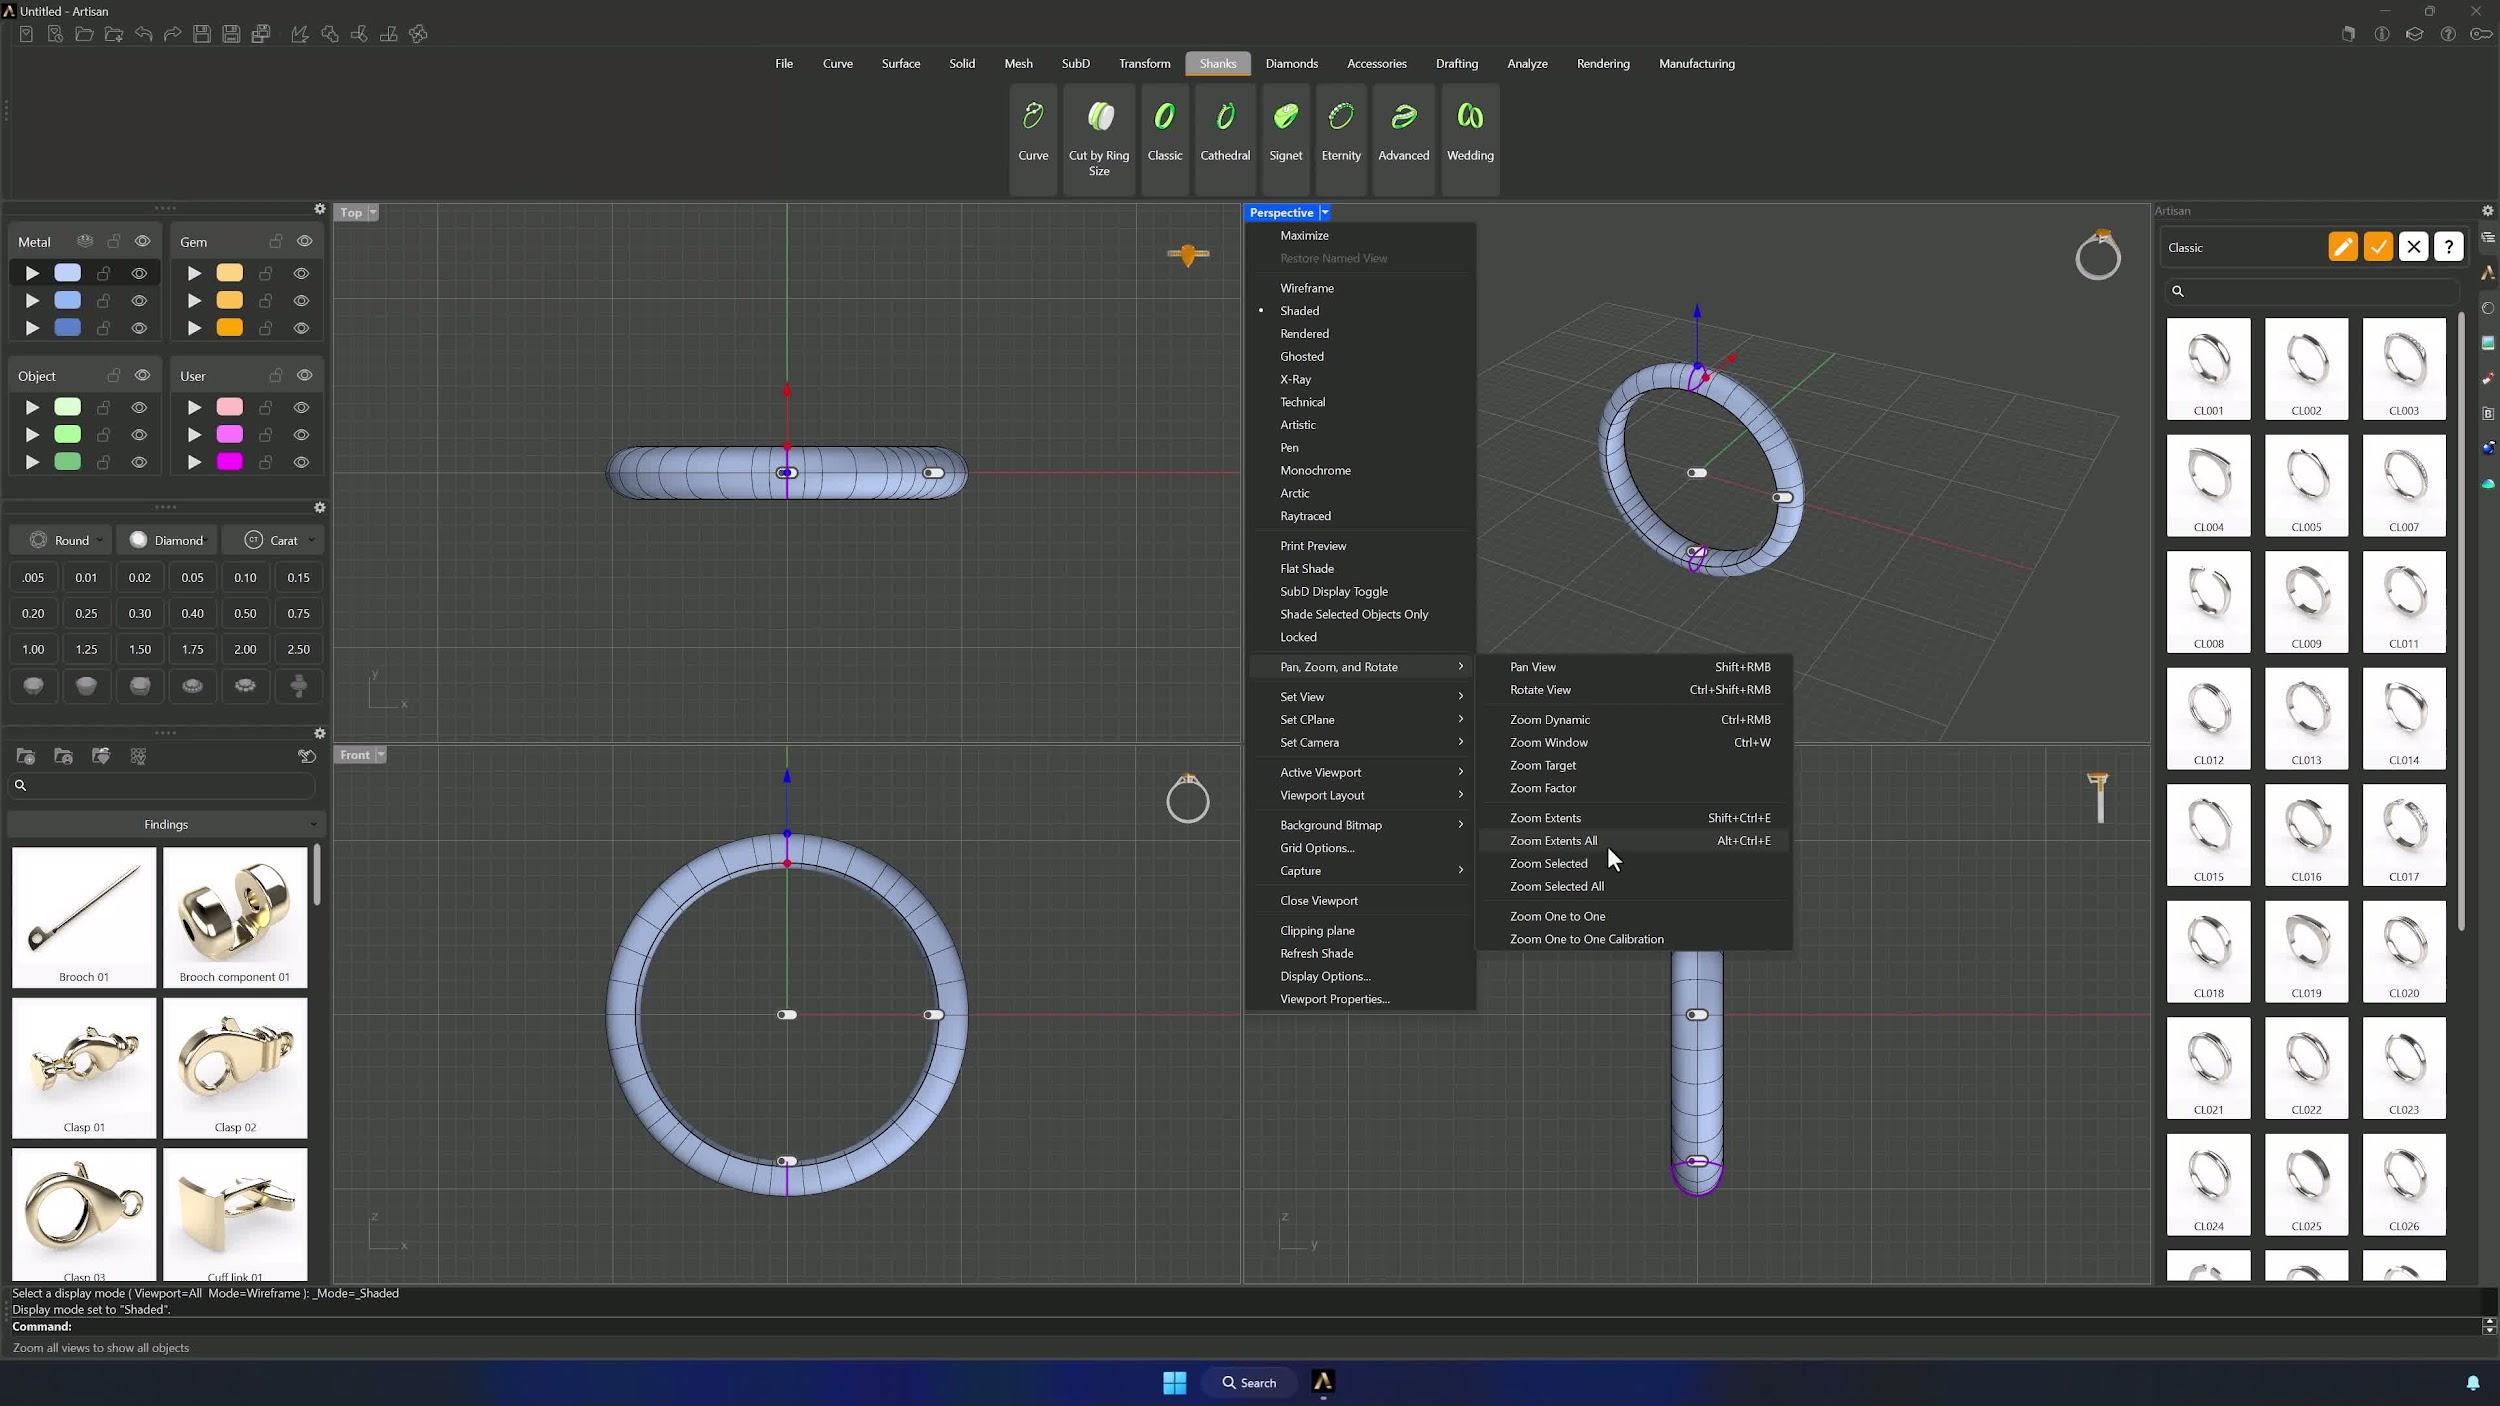
1. Set up the workspace and display mode
Open the Shanks tab and launch the Classic command. Switch the viewport display to Shaded — hold Shift while selecting it to apply it to all views — and use Zoom Extents All to center the model.
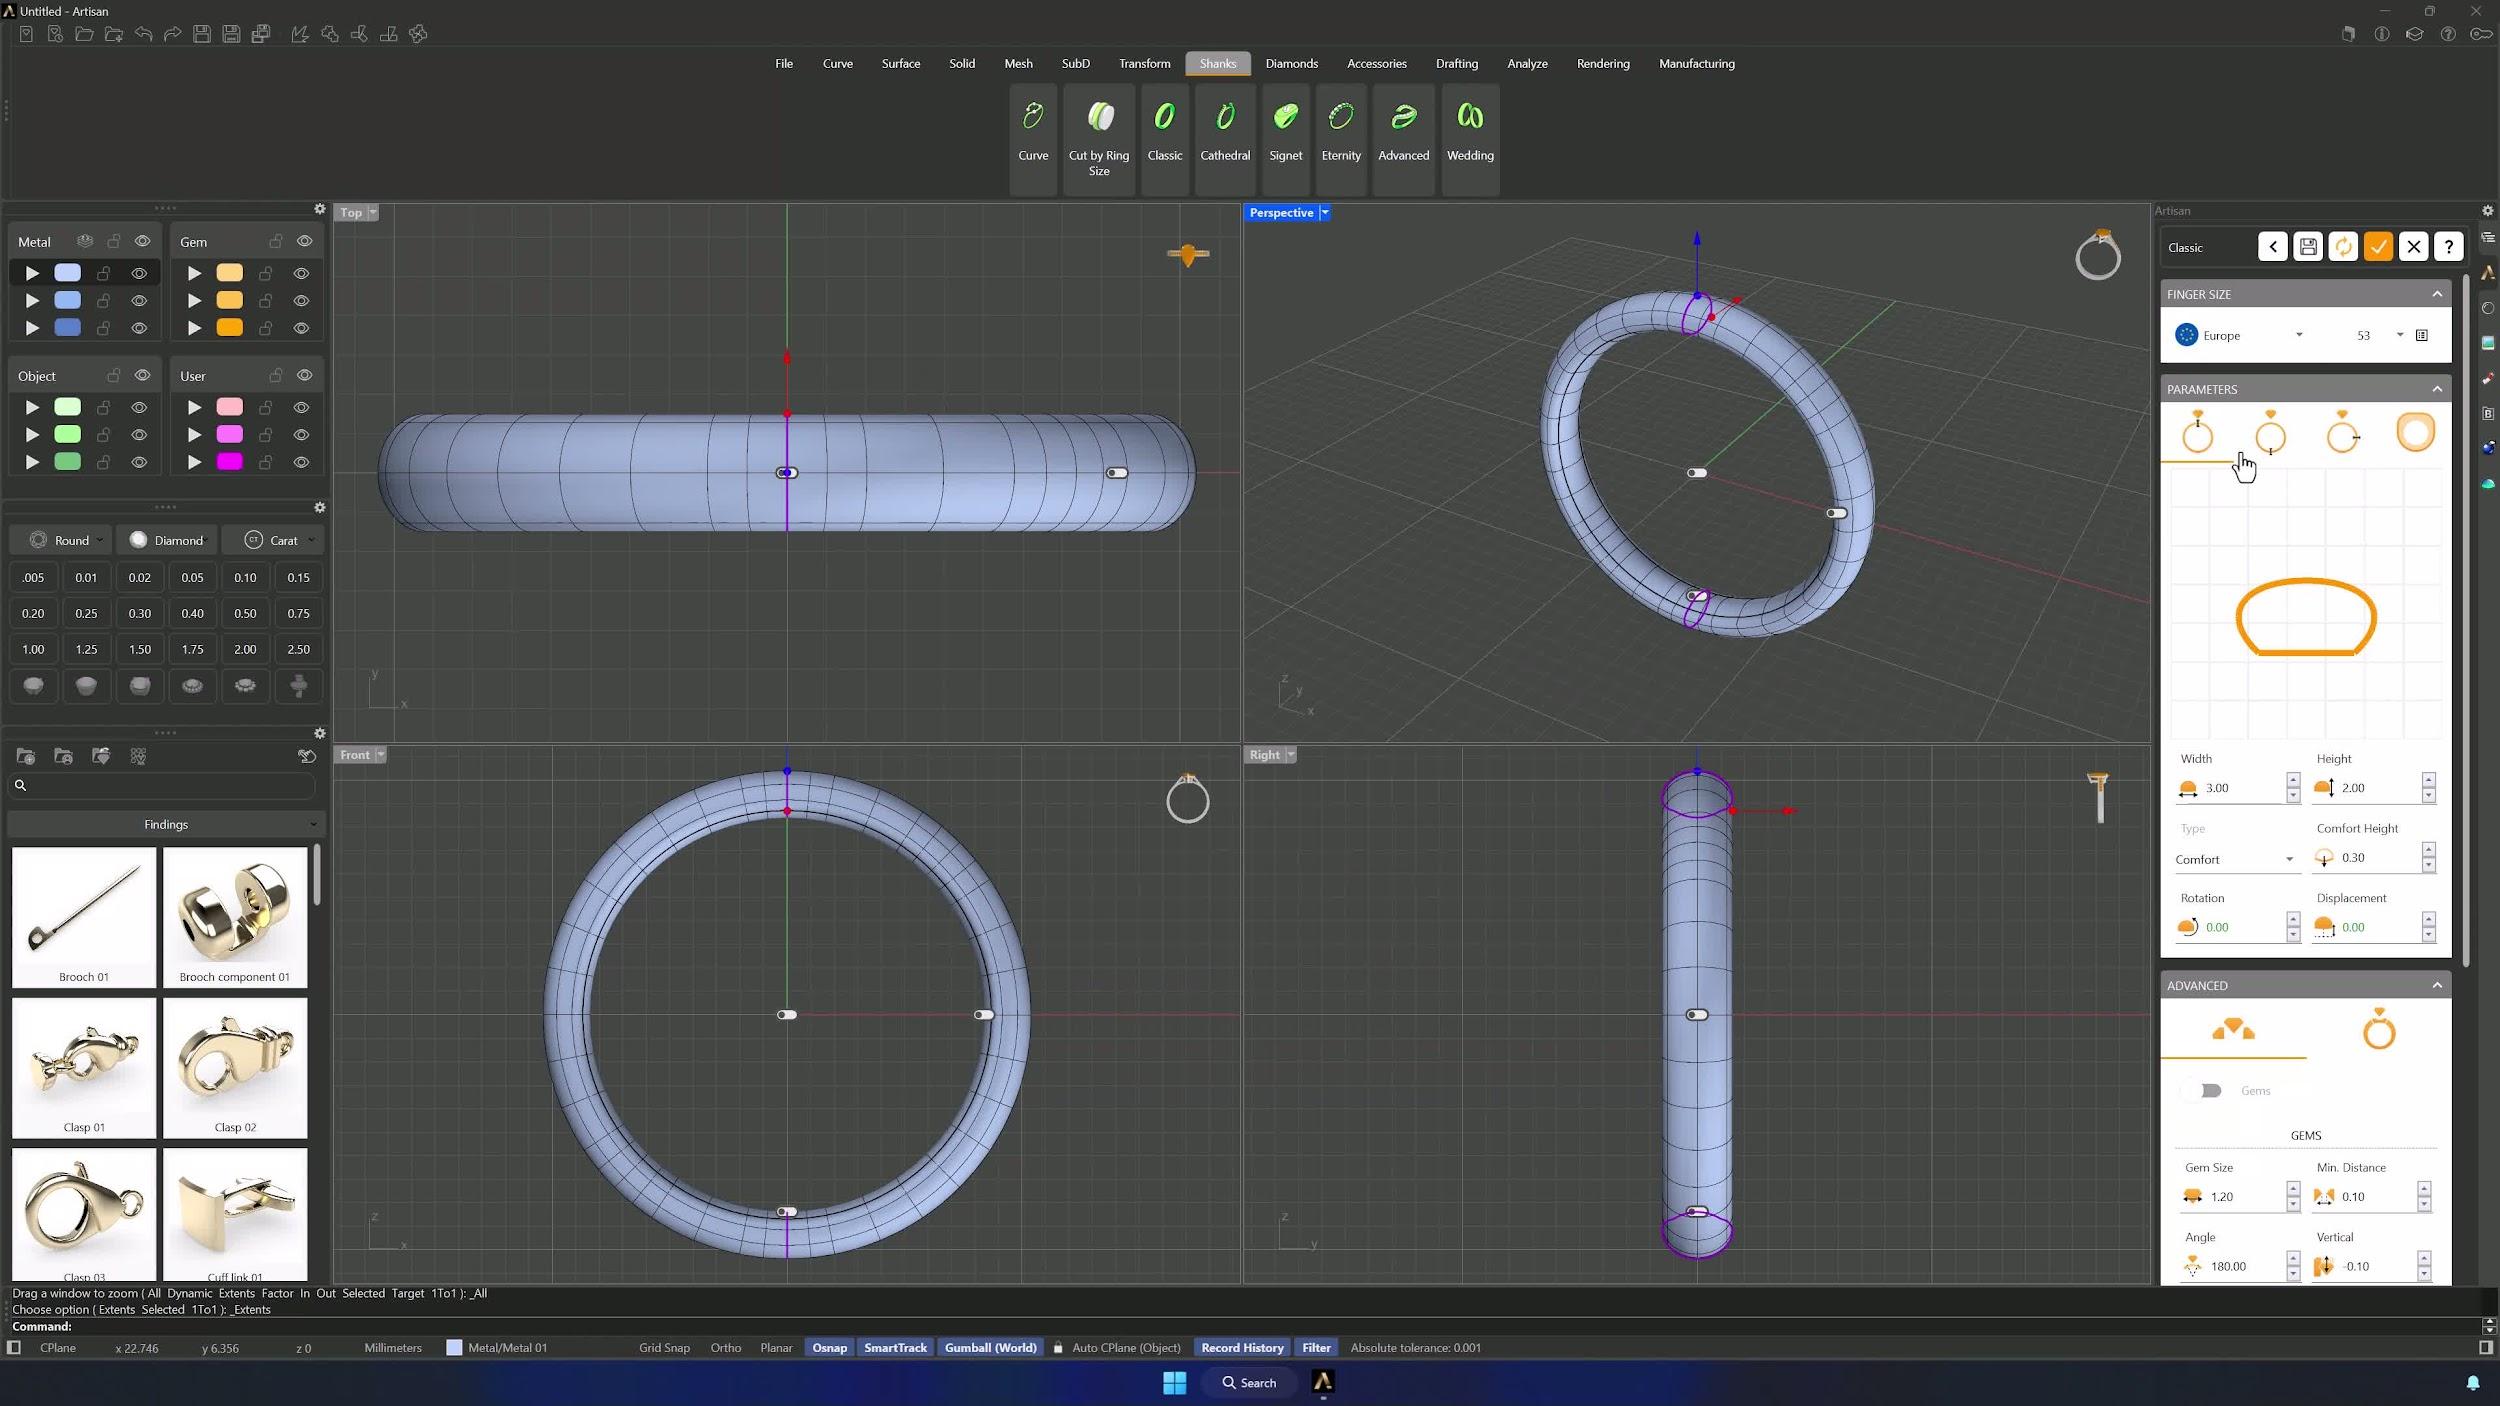
2. Edit the shank profile and set the top profile dimensions
Click Edit without selecting a preset and open the asset selector on the left of the profile. Set the top profile to Asset 012, then give it a width of 8.85 mm and a height of 5.16 mm, switching the mode from Comfort to Thickness to reduce weight.
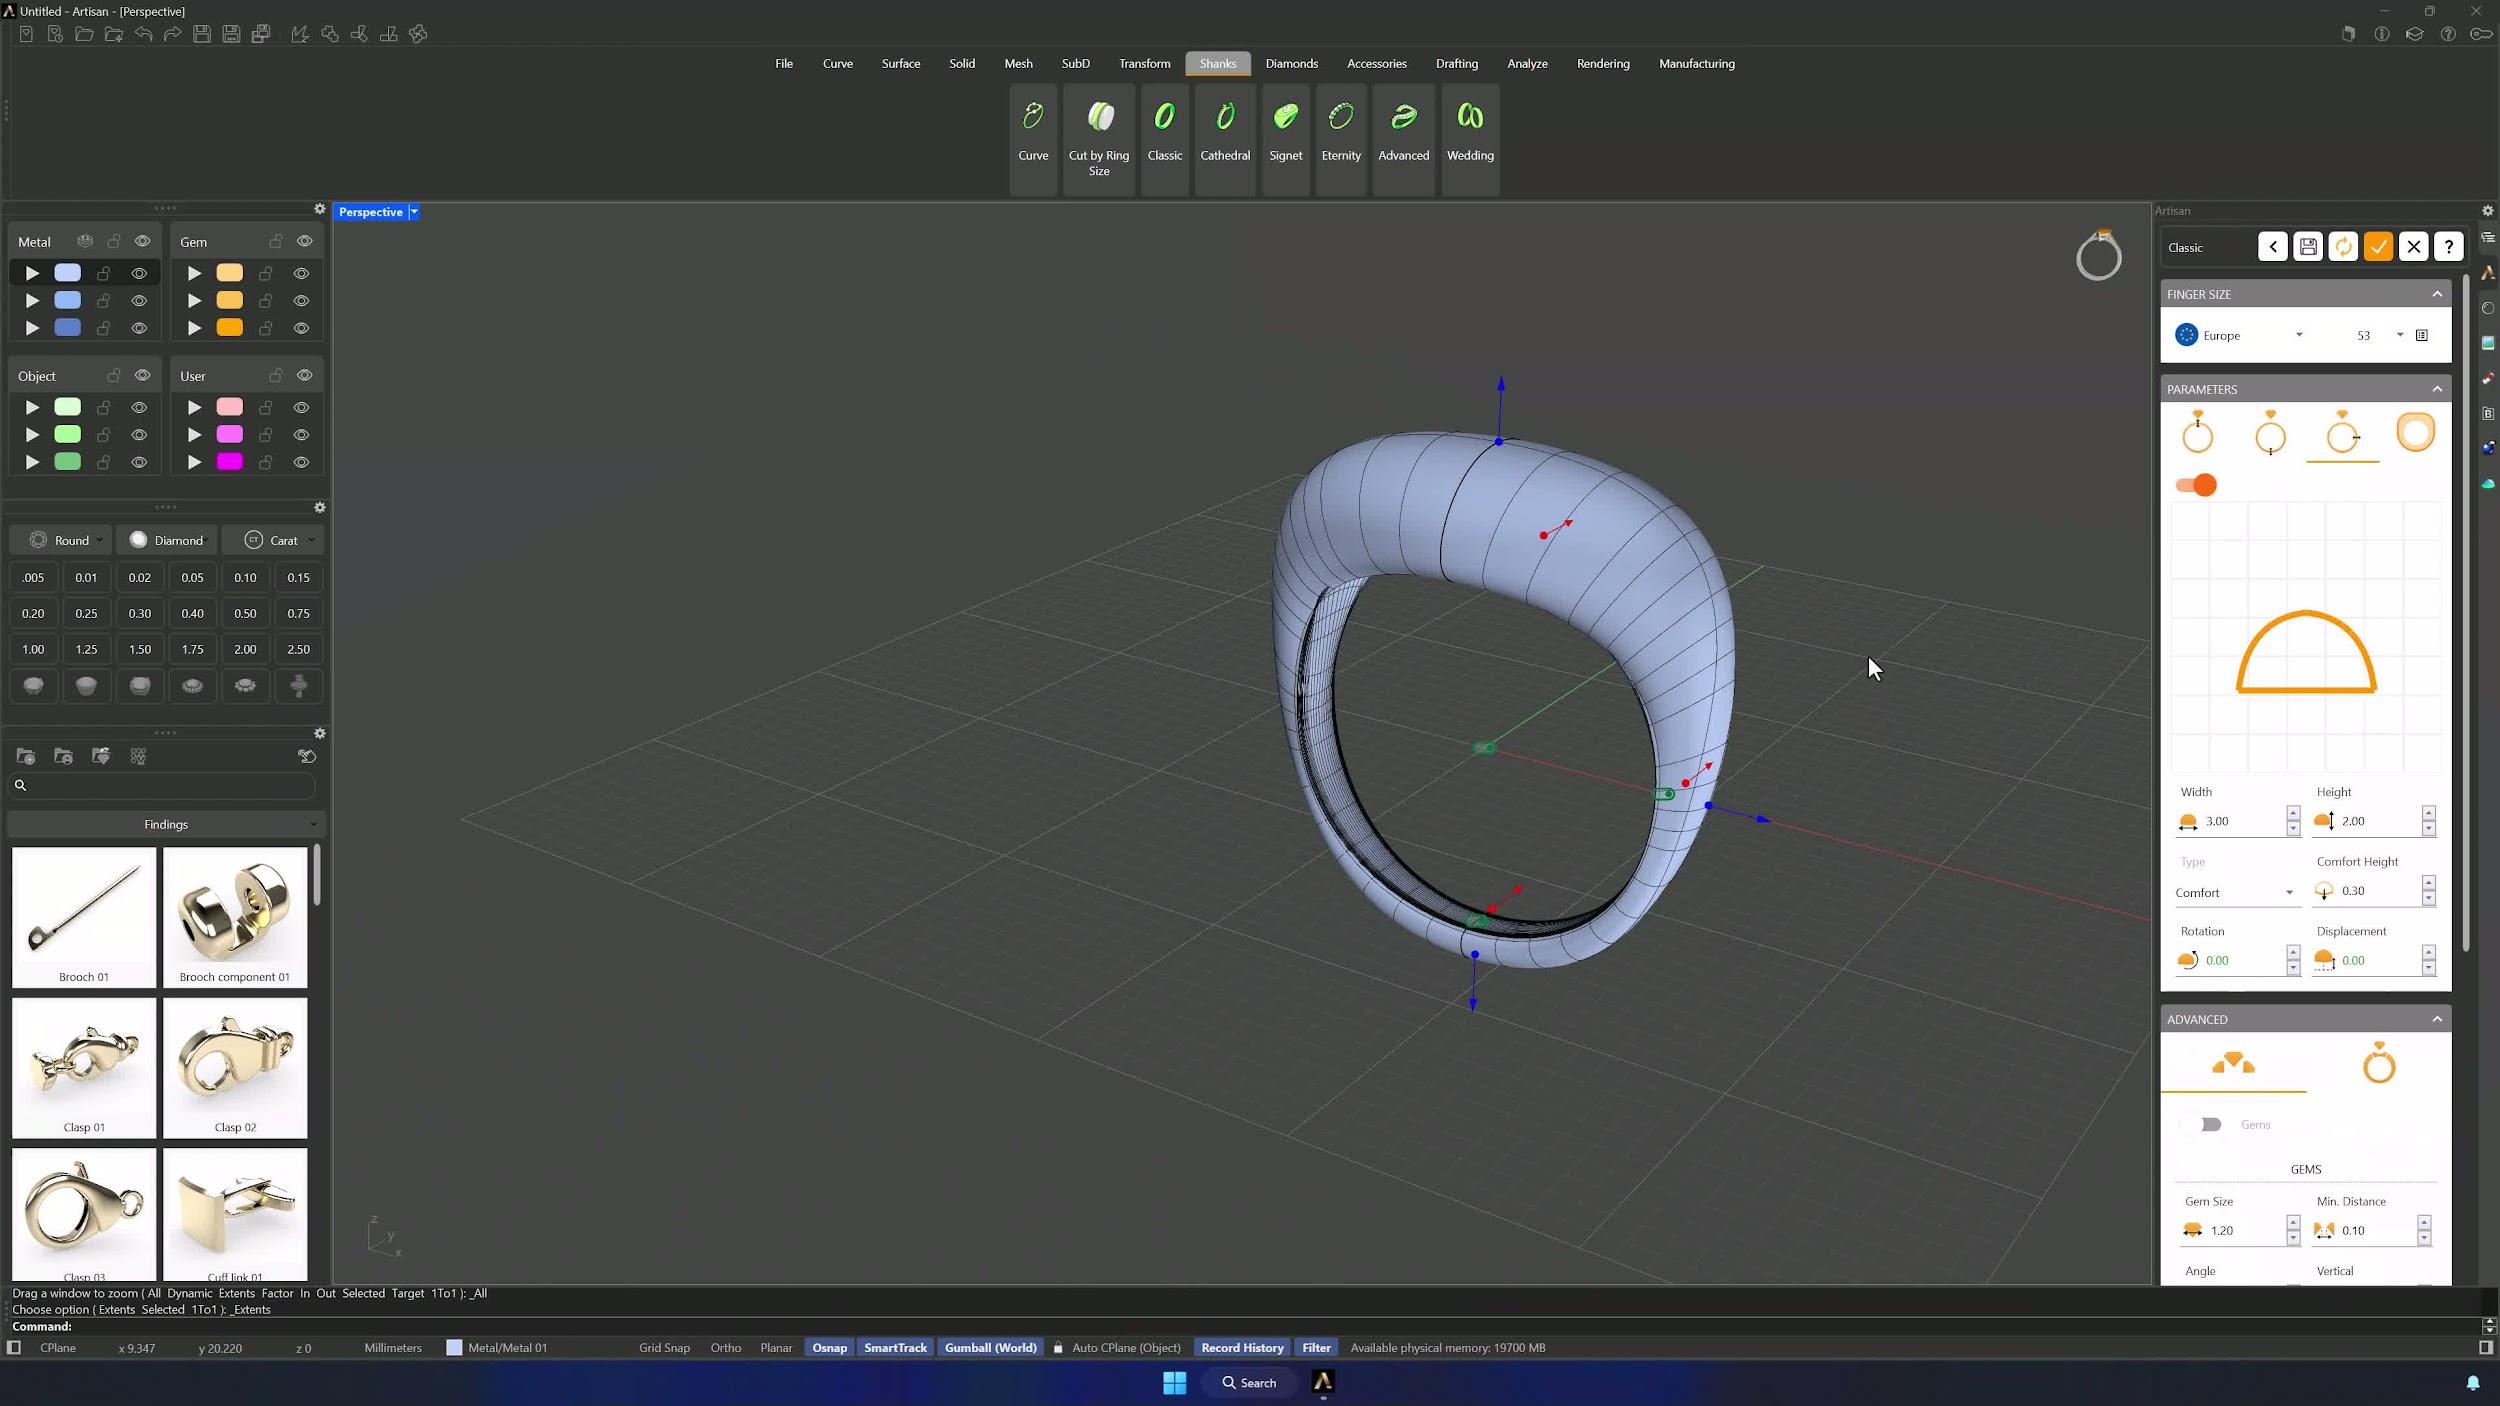
3. Configure the bottom profile and complete the shank shape
Activate the bottom profile and set it to Asset 012 too, with width 2.75 mm, height 1.70 mm and mode Solid. Check in Perspective that the inner groove appears, then set the thickness to 0.80 mm to apply the edge.
4. Finalize the shank and set ring size
Activate the external ring profile and the side profile, changing the side profile’s curve to 012. Back in the 4-view layout, confirm the shank is complete, set the ring size to USA 8 and confirm the command.
Almost there — you still have some lessons to complete. Jump to the next one →
Impersonating — progress and reviews are disabled.
Course completed
You've completed Pavé Perfection: Gemstone Detailing & Setting 🎉
Great work. Get your certificate of completion and, if you have a minute, let other jewelers know what you thought of the course.