Introduction to RhinoArtisan
Lesson 8 of 43
Layers
Sign in to access this lesson
This lesson is part of Kickstart: From idea to Creation, which can come bundled with a RhinoArtisan Commercial license subject to current promotions. Log in with your customer account, or get in touch and we'll set you up.
Customers only
Solo para clientes
This lesson is part of Kickstart: From idea to Creation, which can be included with a RhinoArtisan Commercial license subject to current promotions. If you've already purchased and don't see it in your account, get in touch.
RhinoArtisan streamlines your design process by keeping your work organized. Gems, elements, and curves are automatically assigned to their respective layers, but you can customize these assignments as needed. This allows you to designate different metals, gems, and other elements to specific layers organized in four different groups, ensuring a well-structured and efficient workflow.
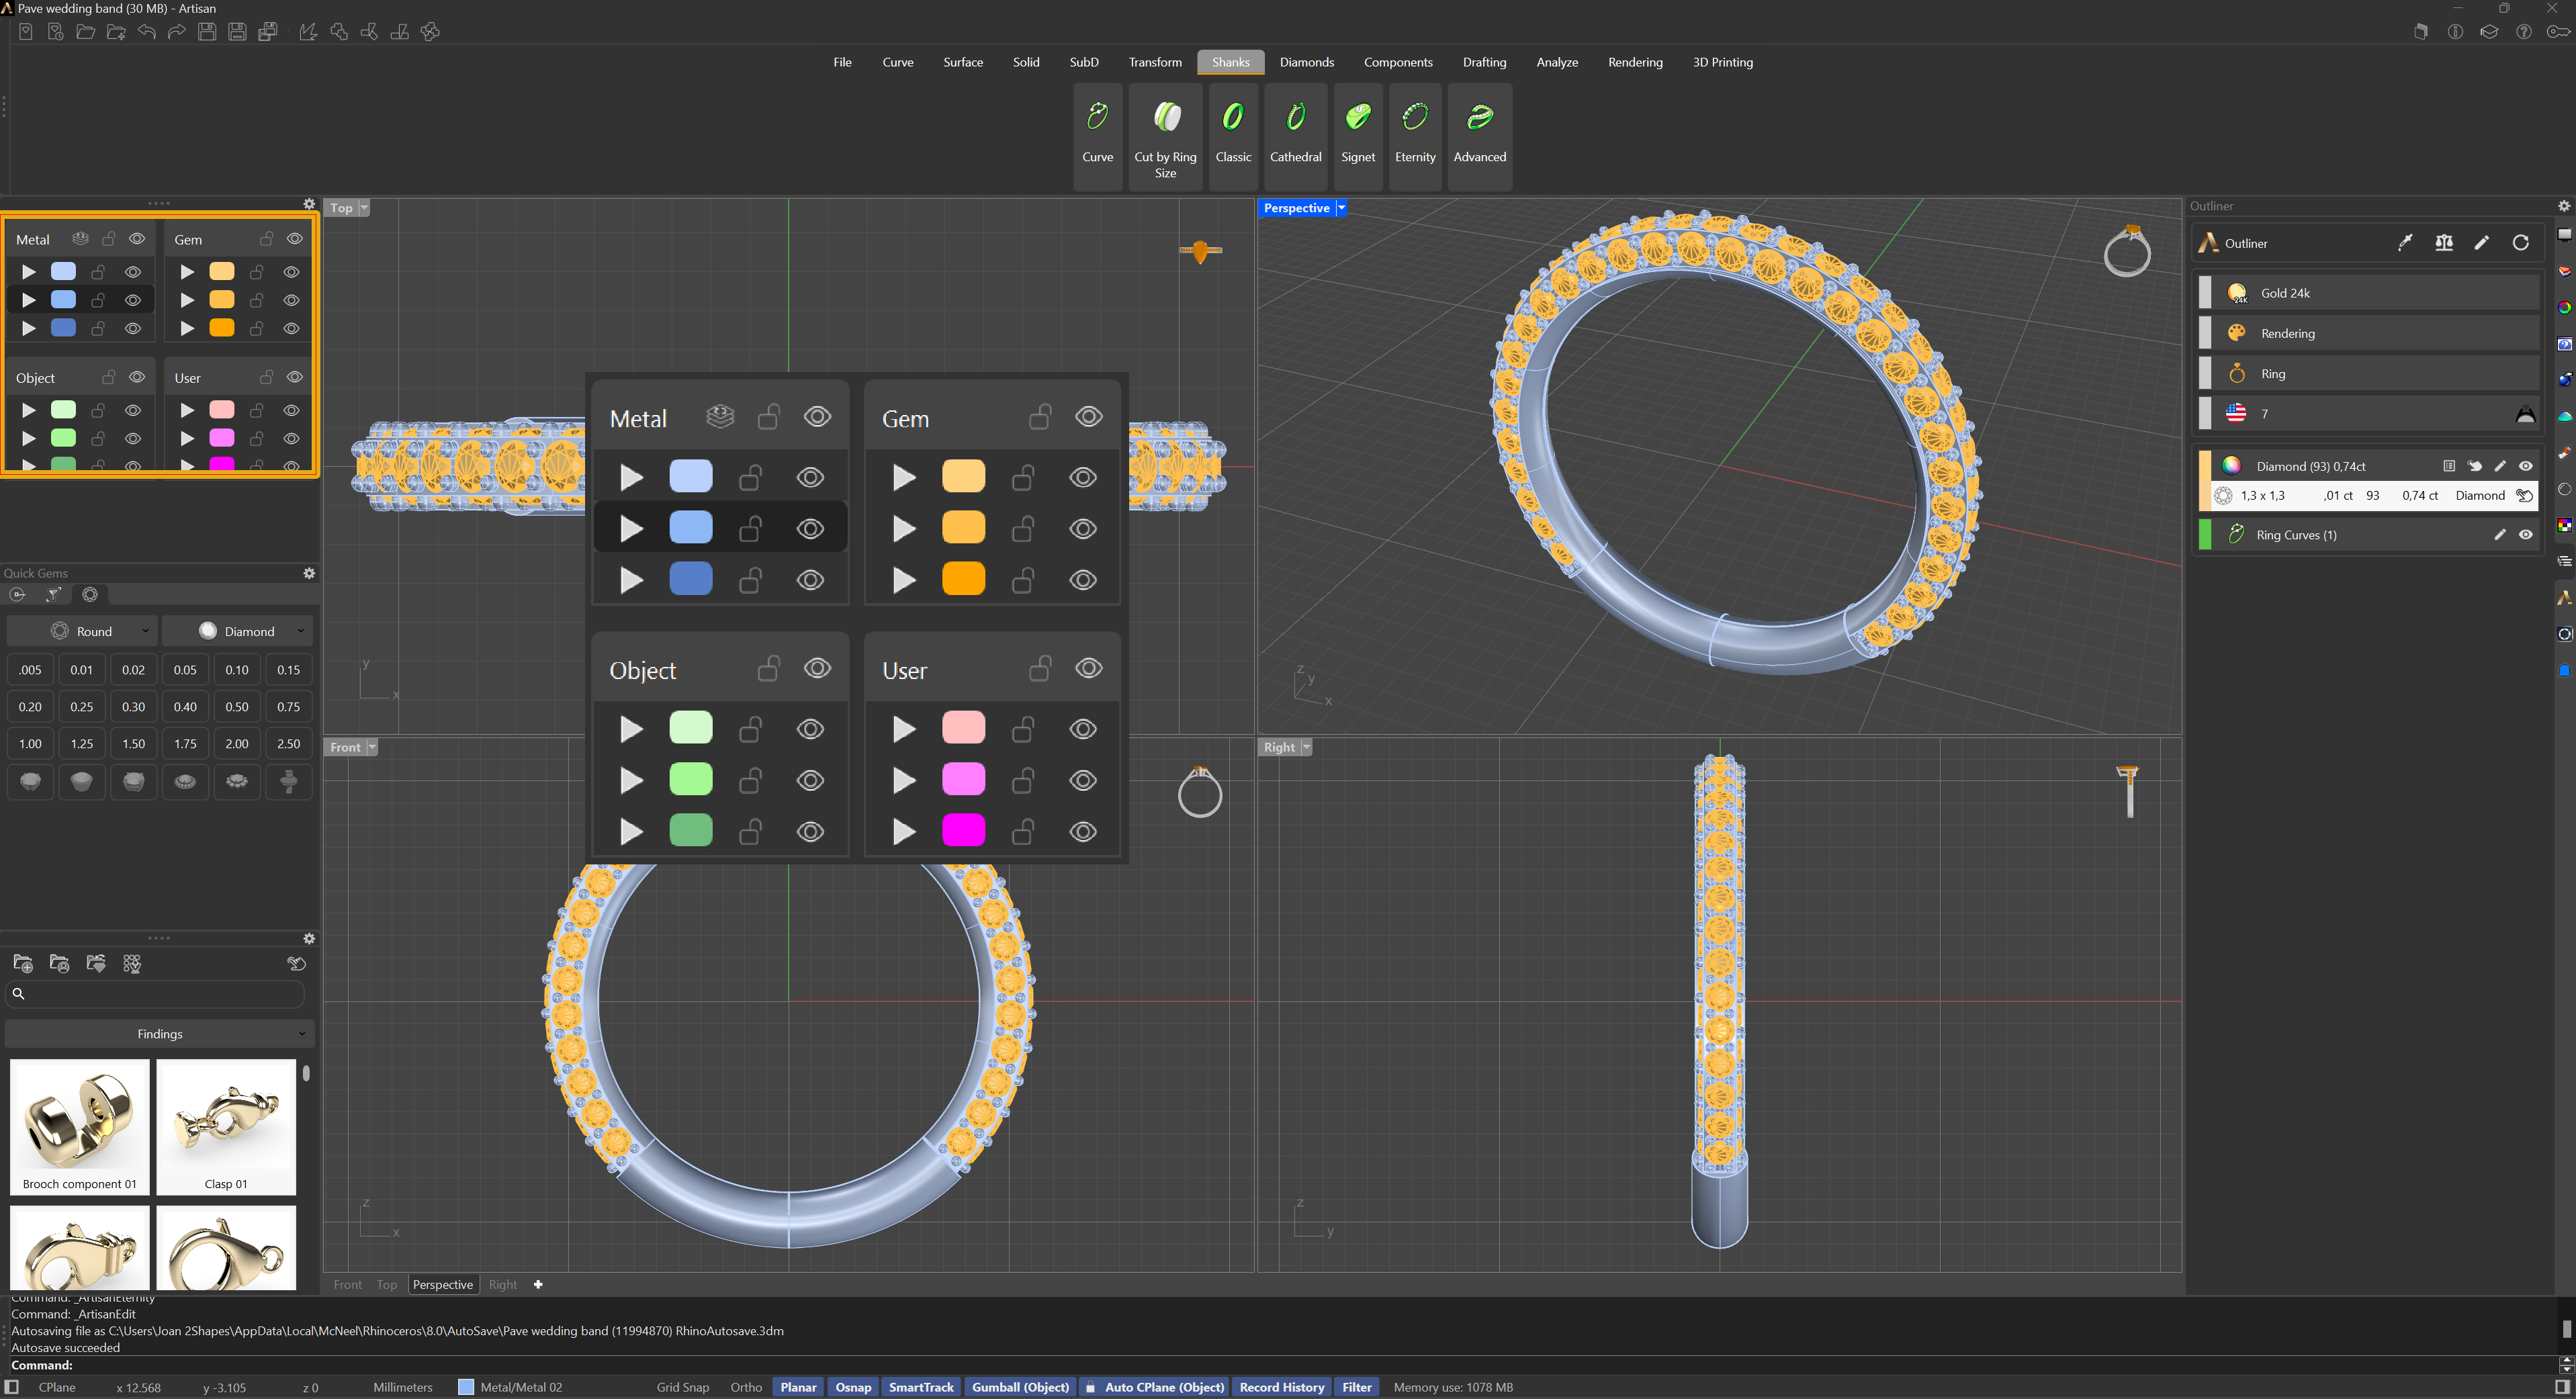
Four icons represent each layer. From left to right, the first icon is a play symbol, which assigns the layer to the selected items in the viewport. The second icon displays the layer’s colour; left-clicking here sets that particular layer as that active layer, and right-clicking this icon selects all items associated with that layer.
The third icon is a padlock, used to lock or unlock the items within the layer.
The fourth icon, resembling an eye, toggles the visibility of the layer’s elements.
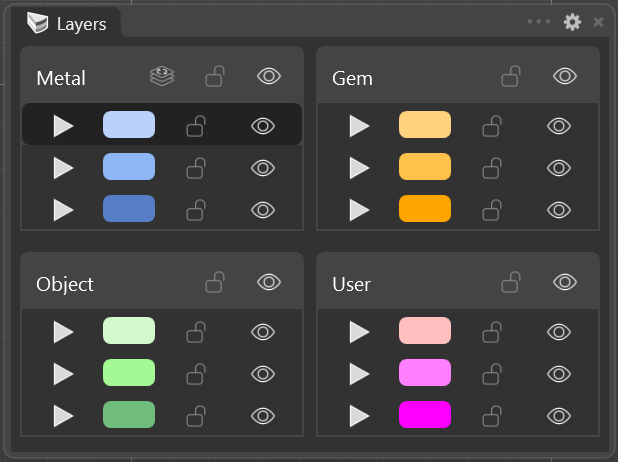
In the titles of the Metal layers group, you’ll find a Refresh Layer Structure icon. Clicking this icon resets the properties of the RhinoArtisan Layer System to their default settings, if needed.
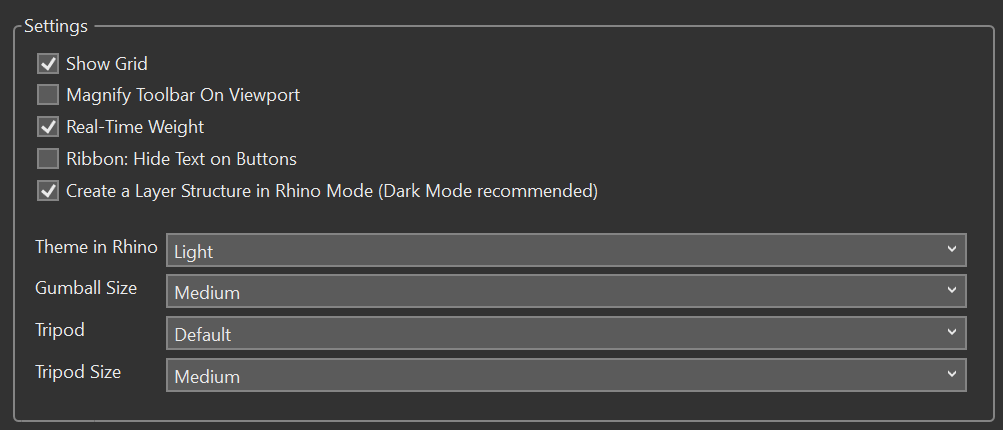
For users who prefer working with the Rhino interface, you can enable this layer structure by checking the ‘Create a Layer Structure in Rhino Mode’ option in the Artisan Options.