Stud Earrings
Lesson 15 of 43
Adding the Post and Push
Sign in to access this lesson
This lesson is part of Kickstart: From idea to Creation, which can come bundled with a RhinoArtisan Commercial license subject to current promotions. Log in with your customer account, or get in touch and we'll set you up.
Customers only
Solo para clientes
This lesson is part of Kickstart: From idea to Creation, which can be included with a RhinoArtisan Commercial license subject to current promotions. If you've already purchased and don't see it in your account, get in touch.
Objective: Attach the post and push to complete the earring model.
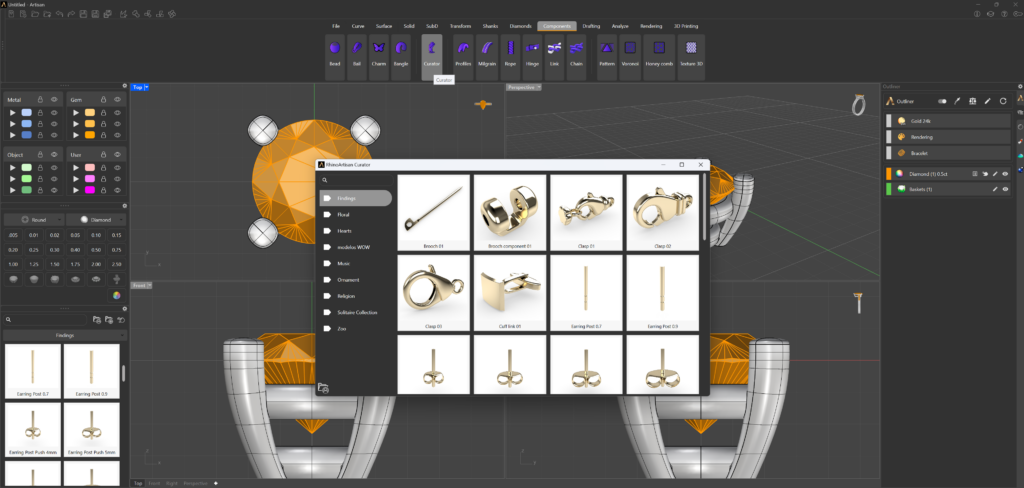
To begin, you’ll need to access the “Curator” panel to add the earring post. There are two ways to access this panel:
- Option 1: Go to the Components tab and press the Curator command.

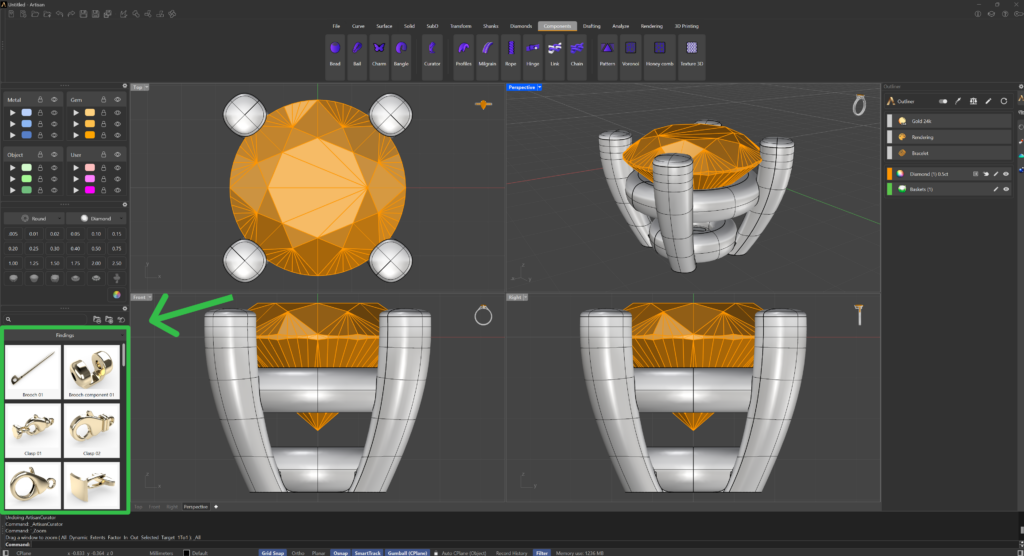
- Option 2: Use the Curator panel located on the left side of the interface.
For this lesson:
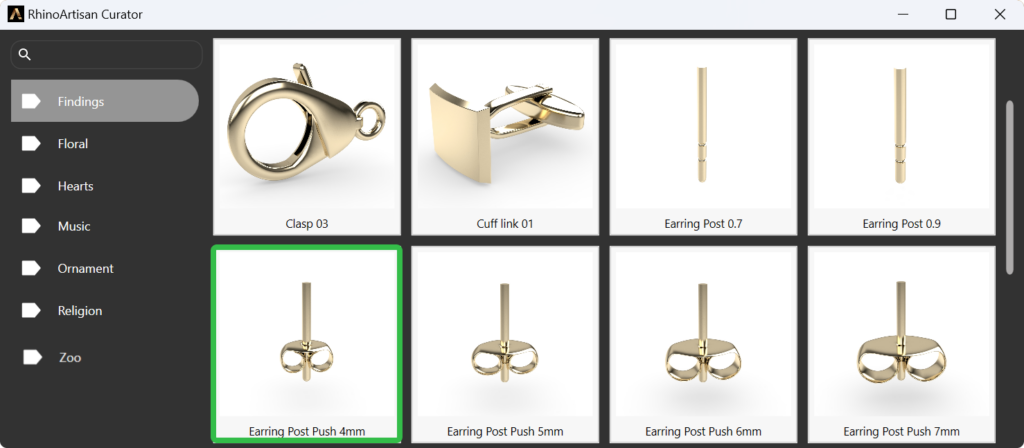
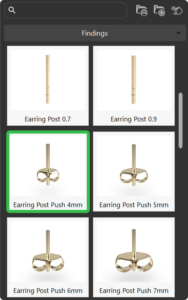
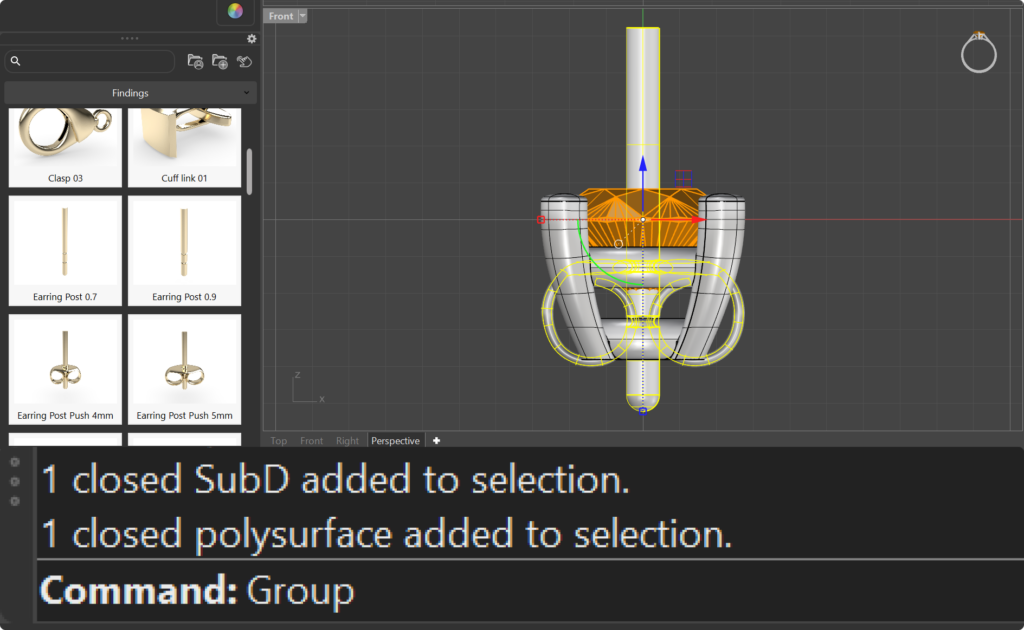
In the Curator panel, navigate to the Findings category.
Select a 4mm Earring Post Push, which is a standard option for stud earrings.
Before positioning the post, group the basket and the post together to make positioning easier.
Group Elements
Select both elements (the basket and the post), and in the command prompt, type “Group” to combine them.
Elements Position
The Gumball tool allows you to move, rotate, or drag elements precisely.
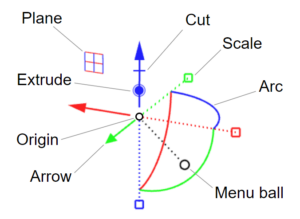
Use the Gumball tool to adjust the position of the post.
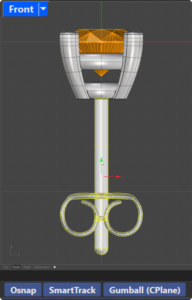
Use the front view. Ensure that the post is correctly aligned with the basket and securely attached.
Use “Pan,Zoom and Rotate” and then “Zoon Extents All” to center all views.

Next Steps
Now that the post is positioned, the next step is to create the matching pair and adjust the positioning of both earrings.