Introduction to RhinoArtisan
Lesson 7 of 43
Commands
Sign in to access this lesson
This lesson is part of Kickstart: From idea to Creation, which can come bundled with a RhinoArtisan Commercial license subject to current promotions. Log in with your customer account, or get in touch and we'll set you up.
Customers only
Solo para clientes
This lesson is part of Kickstart: From idea to Creation, which can be included with a RhinoArtisan Commercial license subject to current promotions. If you've already purchased and don't see it in your account, get in touch.
When you activate a RhinoArtisan command, the Artisan Panel will automatically open, displaying the command panel for the selected tool. Here, you’ll find all the options you need for making selections (such as curves, surfaces, or objects) and for setting the parameters of the element you’re working on. For commands that require a curve, such as construction sections for building an element, you can either select a different curve from the assets collection or edit the currently selected one.
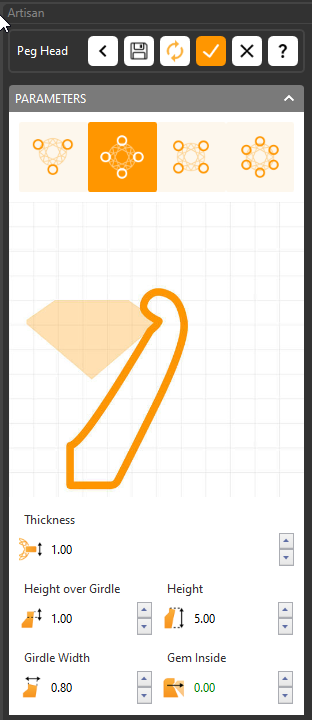
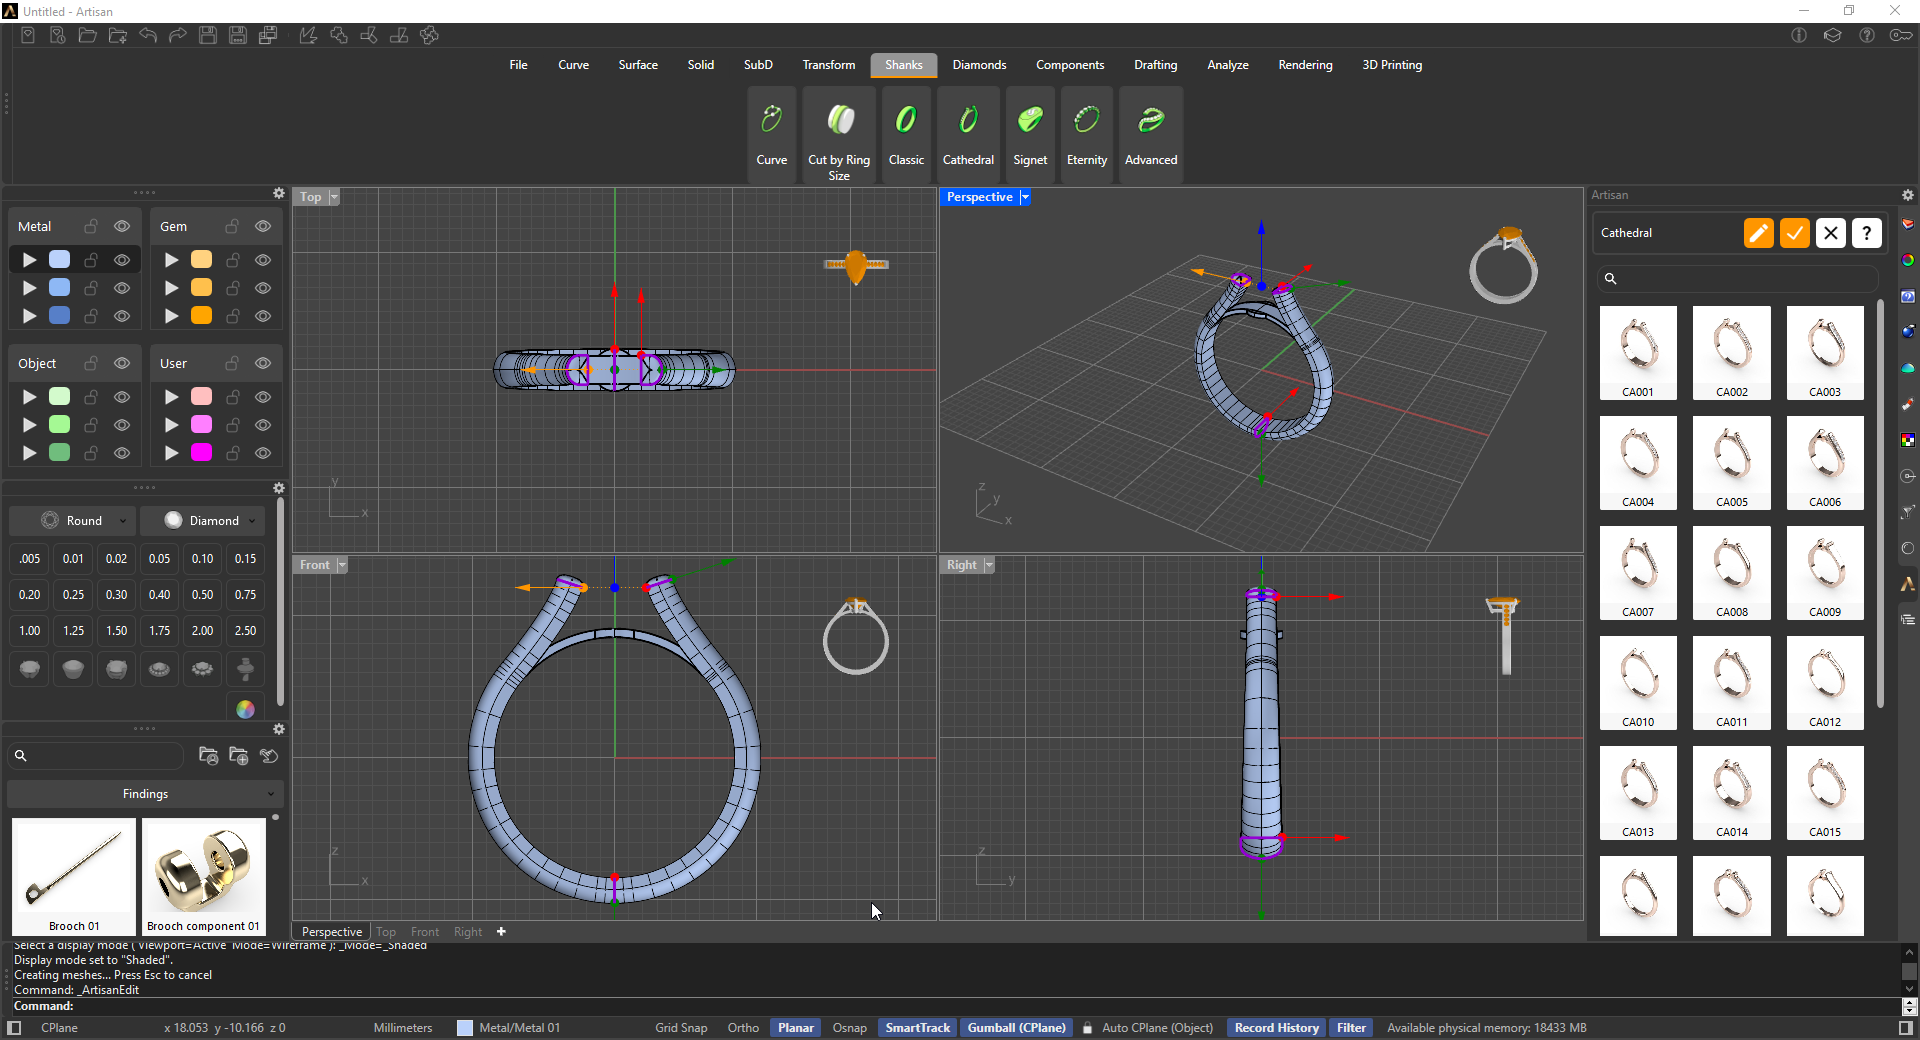
Upon activating a command—whether you’re creating a Shank, a Gemset, or a Component—the Artisan panel will present a comprehensive gallery of that specific type of element. Simultaneously, the default version of the element will appear in the viewport.
At this stage, you have three options:
-
Accept the Default Element: If the default element meets your needs, simply click the checkmark icon above the gallery to confirm your choice.
-
Edit the Default Element: If you wish to customize the default element, click the
 pen-shaped icon to modify it and create a new design.
 -
Select from the Collection: To choose a different element from the collection, double-click on the image of your preferred option to proceed with it.
After you complete the editing and click the checkmark icon , the newly created element will be added to the Outliner panel, where it will be listed alongside the other elements you’ve created.
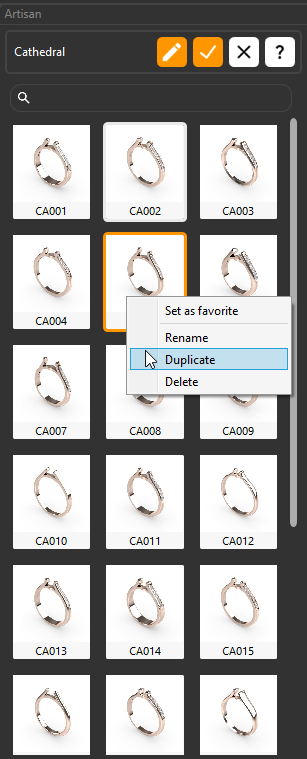
You can easily save your new element to the gallery by editing the element and clicking the save icon. Simply give it a name, and it will be added to the gallery, ready for future use.
Additionally, if you right-click on any image in the galleries, a management menu will appear, allowing you to set your preferred elements as favorites, rename, duplicate, or delete any elements you no longer need.