Introduction to RhinoArtisan
Lesson 11 of 44
Realtime Render
Sign in to access this lesson
This lesson is part of Kickstart: From idea to Creation, which can come bundled with a RhinoArtisan Commercial license subject to current promotions. Log in with your customer account, or get in touch and we'll set you up.
Customers only
Solo para clientes
This lesson is part of Kickstart: From idea to Creation, which can be included with a RhinoArtisan Commercial license subject to current promotions. If you've already purchased and don't see it in your account, get in touch.
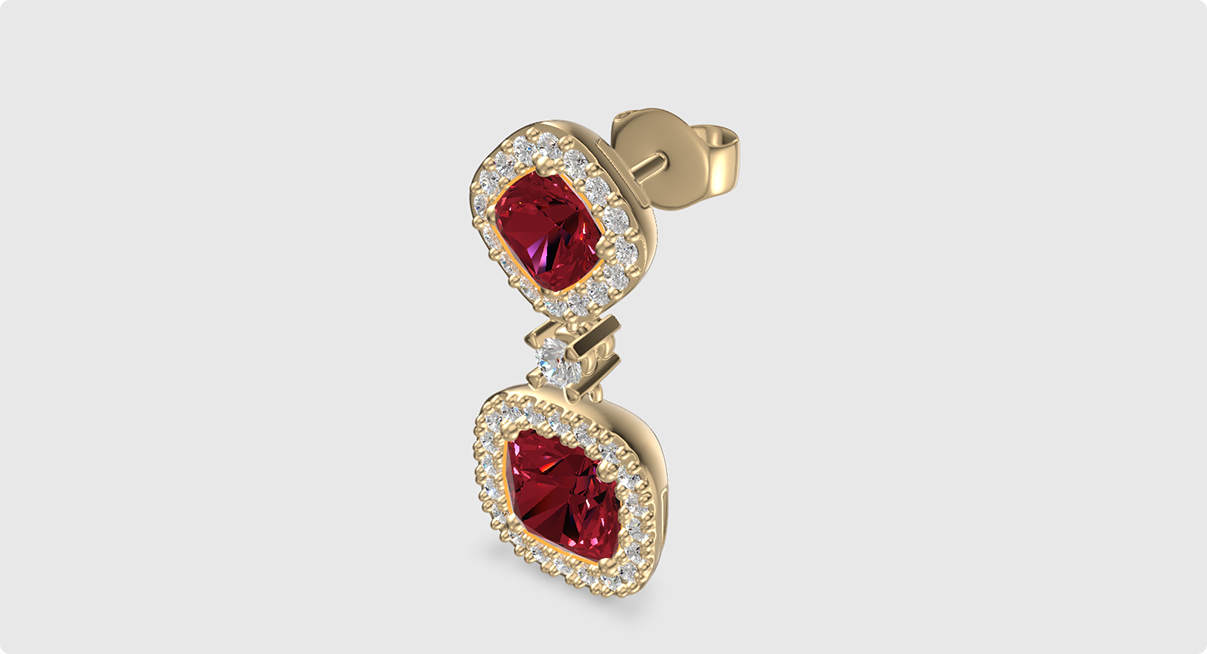
Realtime Render is a tool that generates a live render of your jewelry piece while you work on it, instead of making you wait for a final, high resolution render just to see how a design choice looks.
Assigning Materials
To assign a material to a part of your jewelry piece, click on the mesh of the element you want to change, either the metal setting or a gemstone, and then select the material you want to apply.
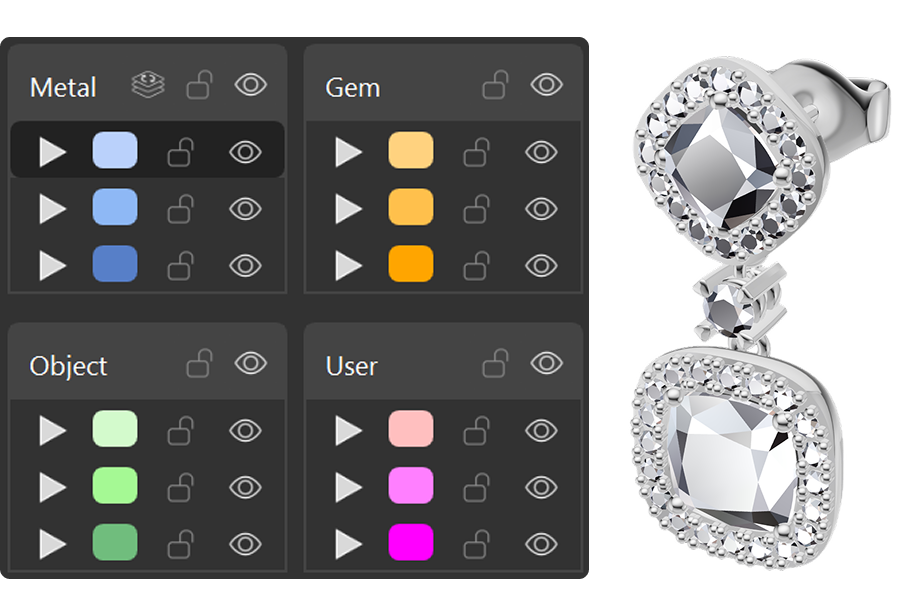
This is done so that you can choose different materials for different parts of the jewelry piece, for example applying one material to the metal and a different one to the gemstones, instead of the whole piece being limited to a single material.
First Steps
To open Realtime Render, go to the Render and Animation panel located on the right side of the interface. Alternatively, you can access this option by clicking the viewport panel at the bottom of the view.
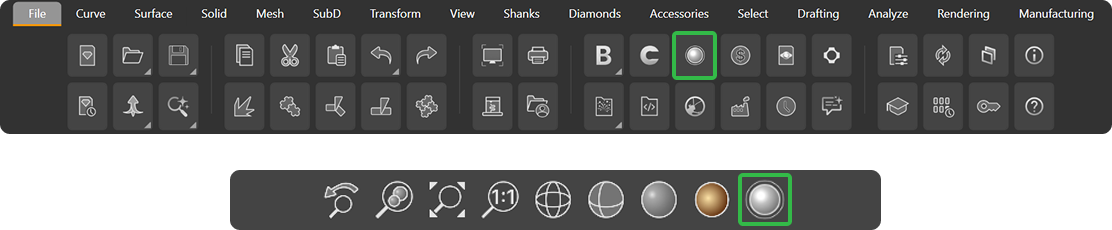
Once the panel is open, Realtime Render begins generating a live preview of your model directly in the viewport, so you can start working with metals, gemstones, and rendering parameters right away.
Live Preview of Your Piece
As soon as you open Realtime Render, the tool displays your model with realistic lighting, reflections, and shading applied directly in the viewport.
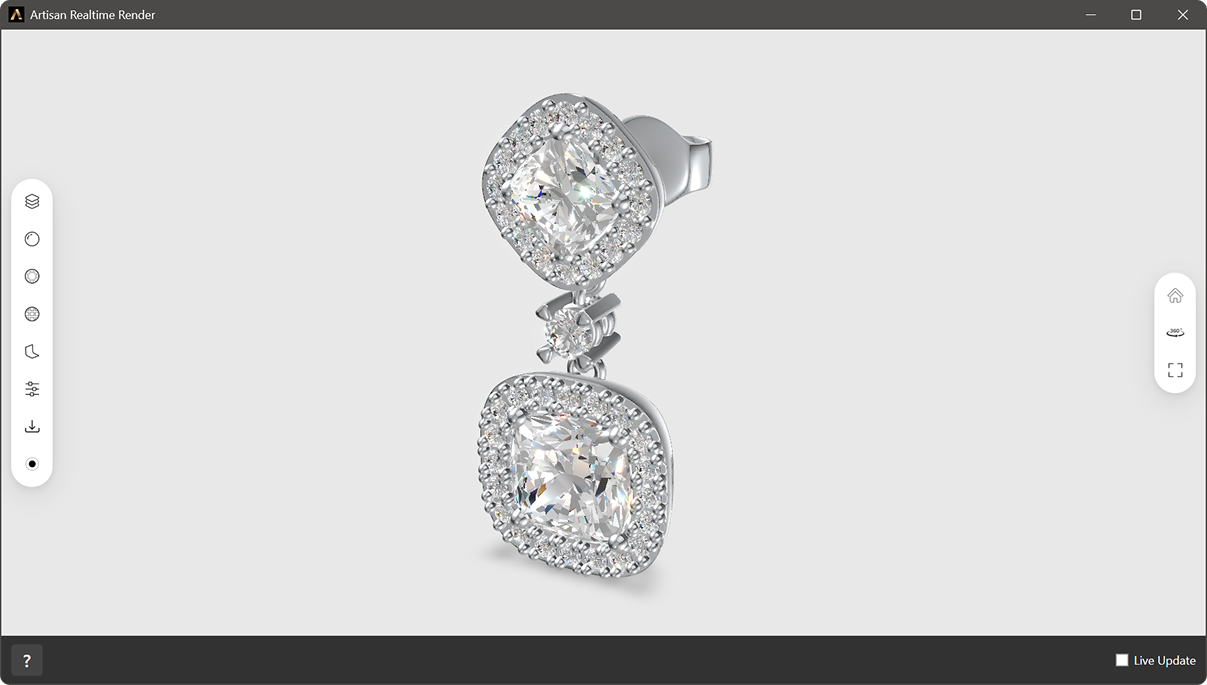
If activated, this preview updates continuously, so every change you make to your design is reflected almost immediately, without needing to run a separate render each time.
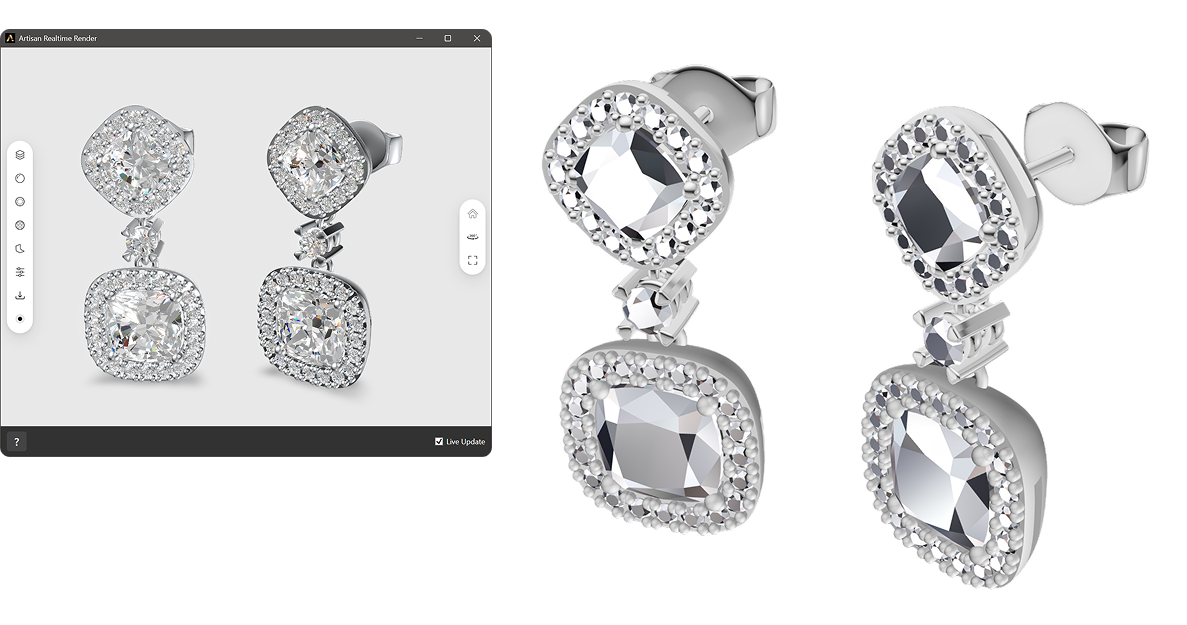
Change the Metal
Realtime Render lets you switch between different metal materials, such as white gold, yellow gold, rose gold, platinum, or silver, and see the result applied to your piece right away.
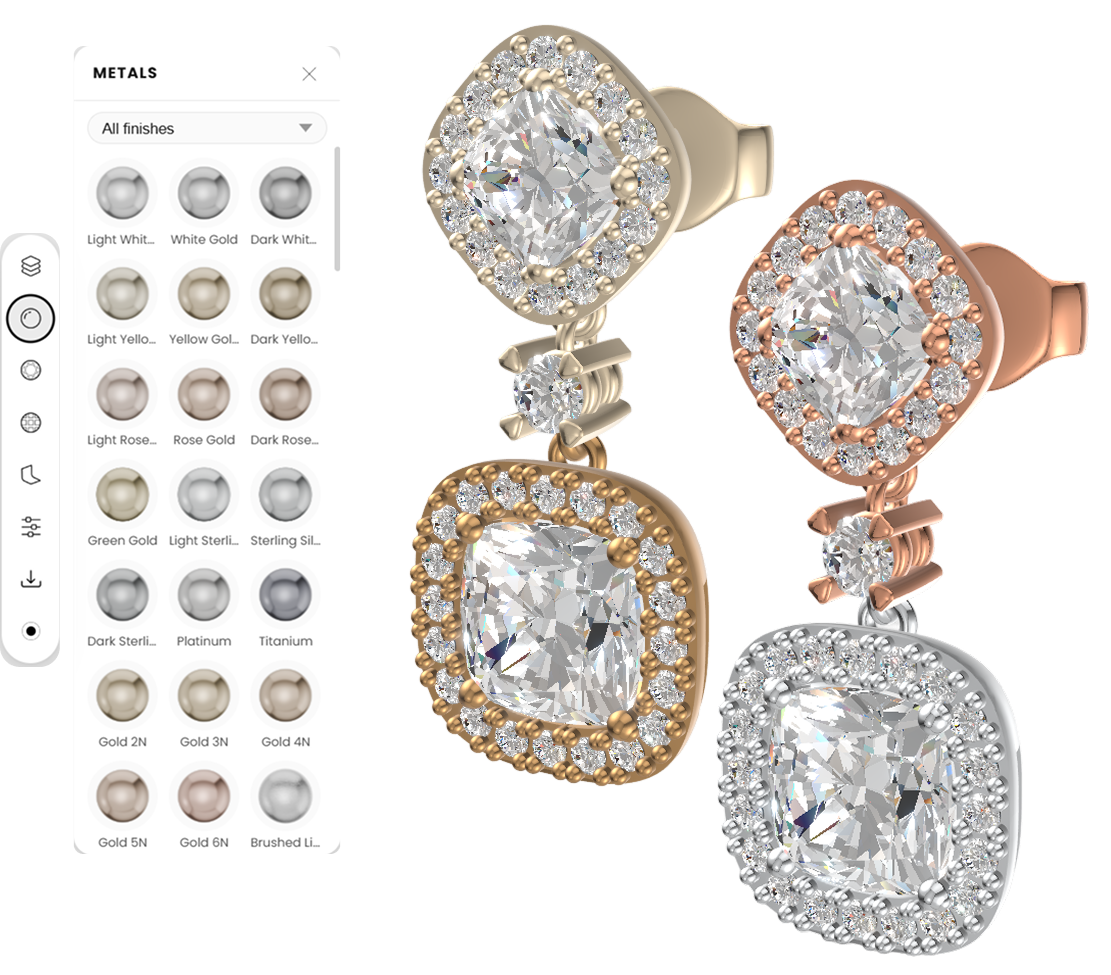
This makes it easy to test how the same design looks in different metals before deciding which one to use for the final piece.
Change the Gemstones
In the same way, you can swap the gemstone materials on your model, for example comparing a diamond, a sapphire, or a ruby on the same setting.
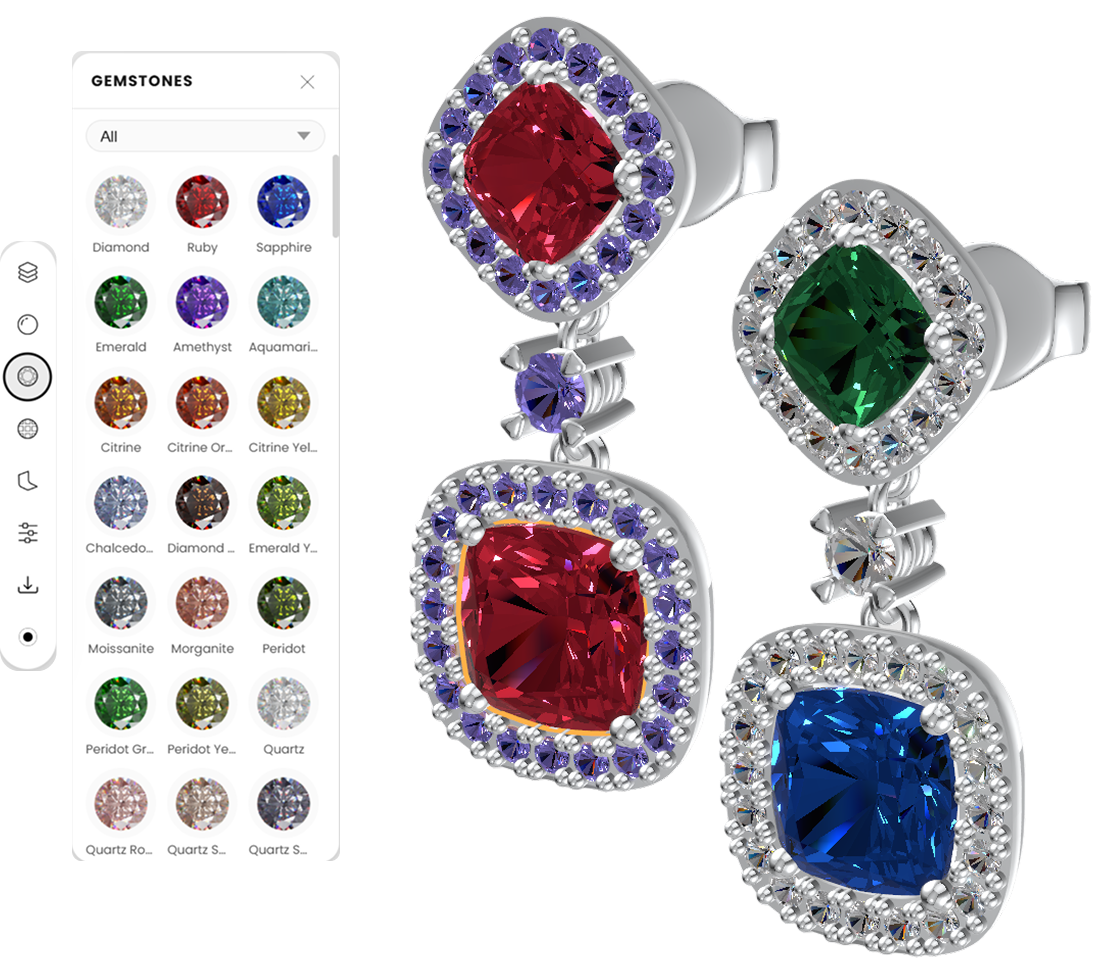
The tool updates the color, brightness, and reflections of the stone instantly, so you can evaluate how each option affects the overall look of the piece.
Additional options
In addition to changing the metal and the gemstones, Realtime Render also lets you choose the background of your design, giving your piece a different setting or surface to be displayed on.
You can also apply other material types to your piece, such as pearl, enamel, and leather, in the same way you assign metal and gemstone materials, by clicking on the mesh and selecting the material you want to use.
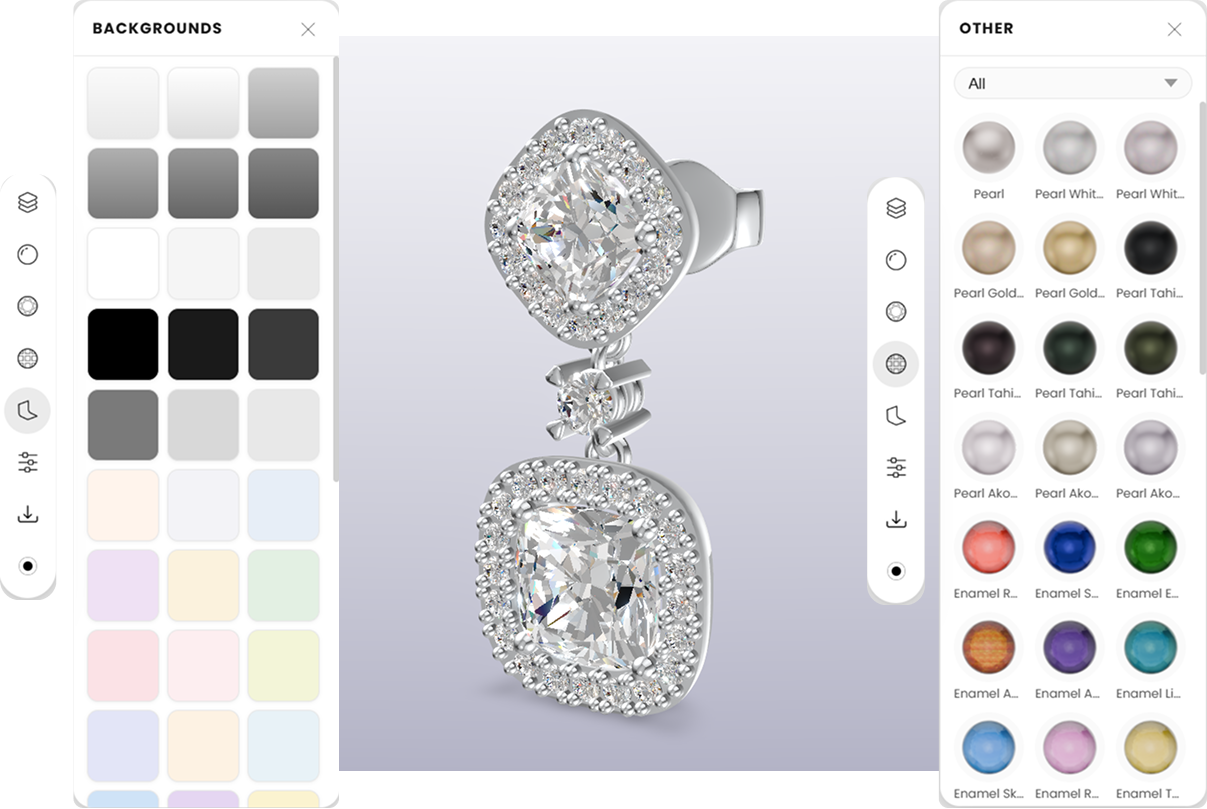
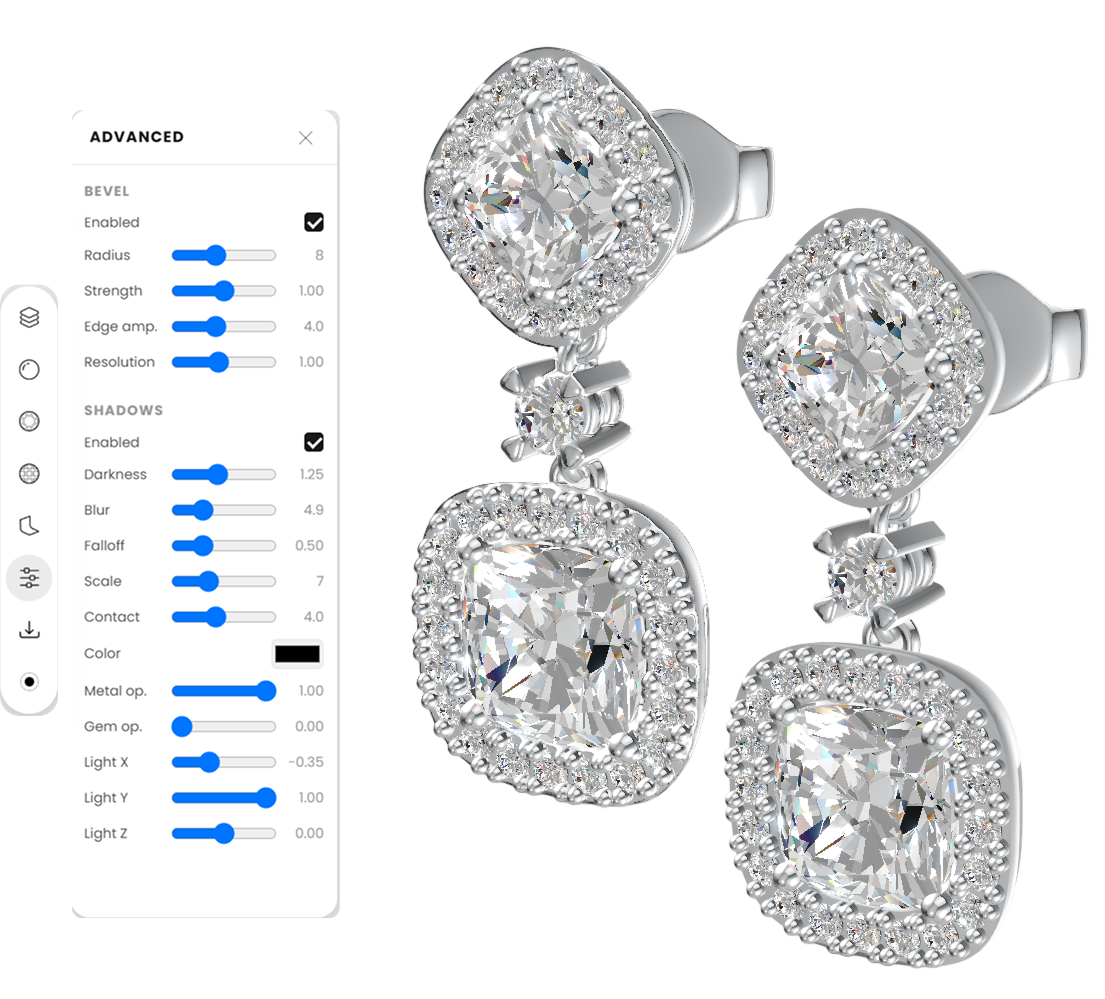
Rendering Parameters
Once you are happy with the metal and gemstone combination you have chosen, you can adjust the rendering parameters to control the quality and format of your final output.
Compare Options Before Committing
Because the changes appear live, you can go back and forth between different combinations of metals and gemstones as many times as needed.
This helps you make design decisions with confidence, since you can see a realistic representation of the finished piece before moving on to render a final, high quality image or video.
Almost there — you still have some lessons to complete. Jump to the next one →
Impersonating — progress and reviews are disabled.
Course completed
You've completed Kickstart: From idea to Creation 🎉
Great work. Get your certificate of completion and, if you have a minute, let other jewelers know what you thought of the course.