★ The RhinoArtisan Blog
A real solitaire, from blank viewport to final render
How to Design a Ring in Rhino, Step by Step
Book a demo with our teamJuly 24, 2026 · RhinoArtisan · Learn
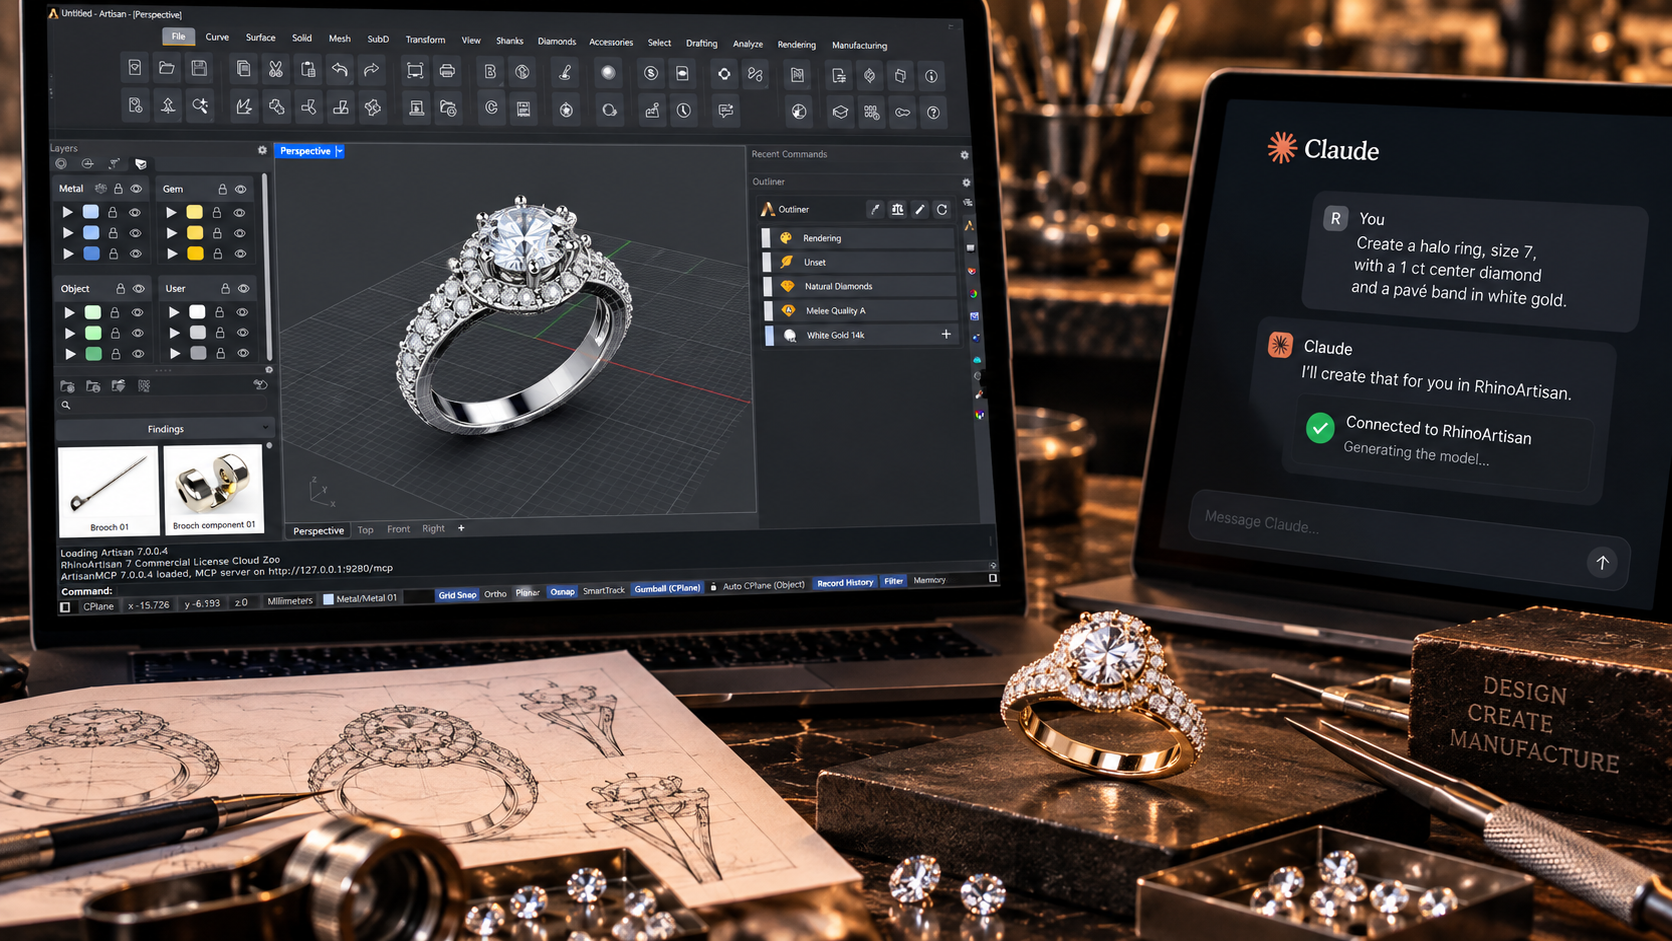
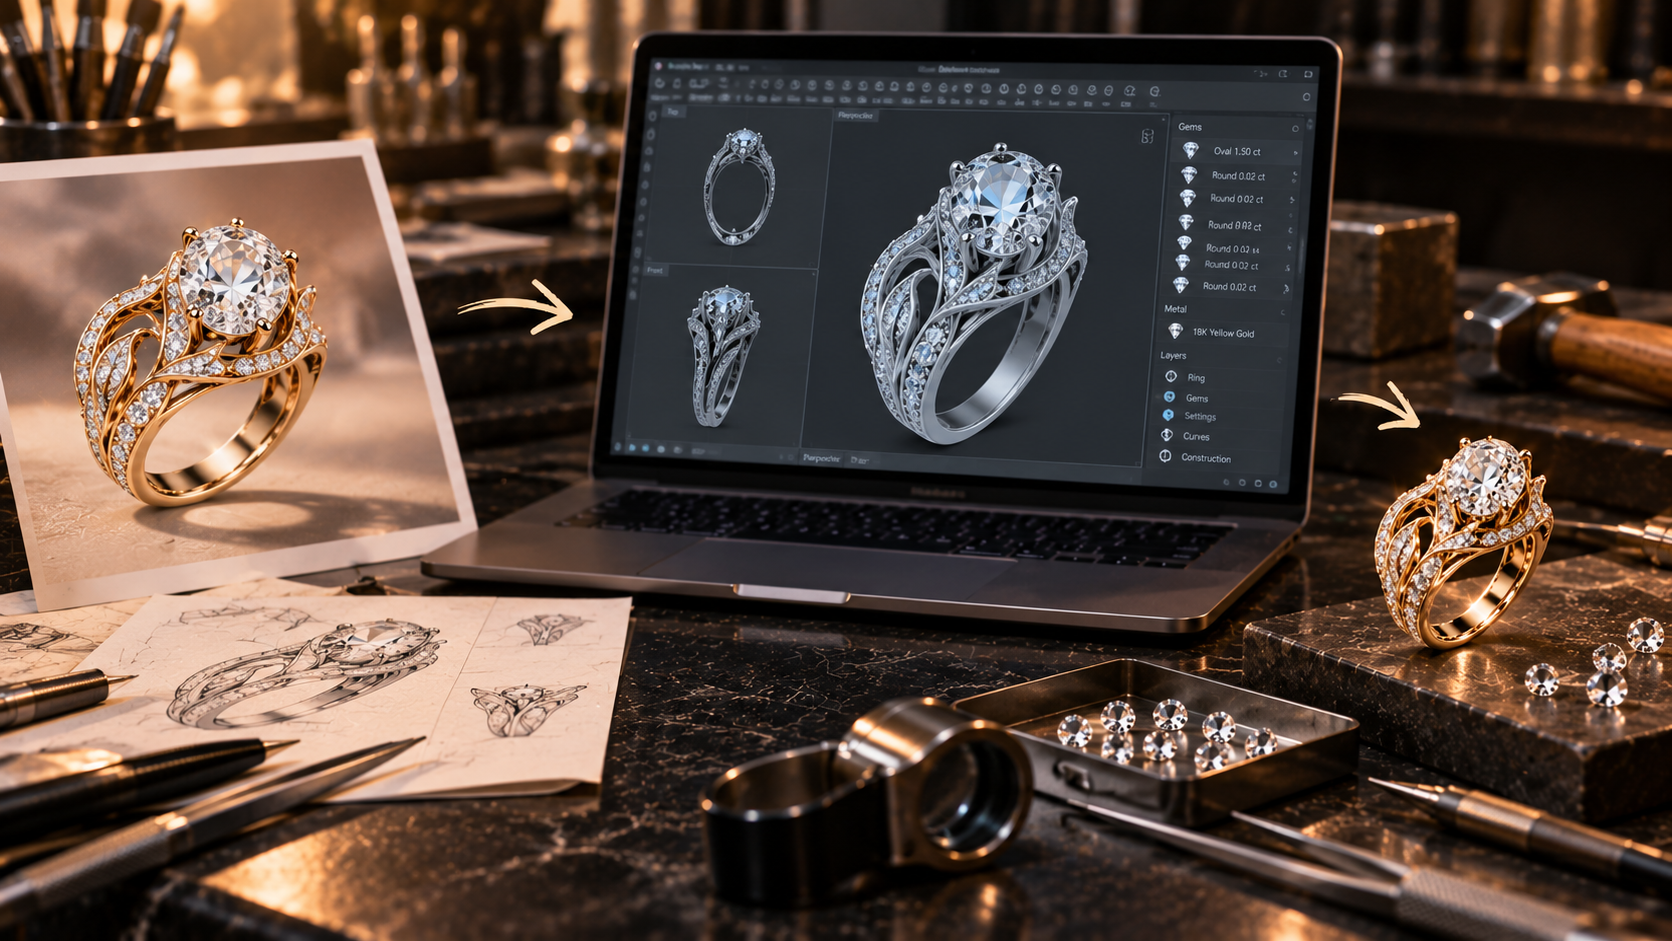
Designing a ring in Rhino with RhinoArtisan comes down to four phases: build the shank, create the diamond, set it in a basket, and render the result. No freeform modeling heroics, no rebuilding geometry from scratch — each phase is a parametric command where you pick an element from a library and dial in real millimeter values. To show what that looks like in practice, this post walks through the exact 1-carat classic solitaire from our Timeless Jewels tutorial, with the same commands, the same parameters, and the same result. If you’re evaluating ring design software and want to know what a full piece actually takes, this is it.
Phase 1: The Shank
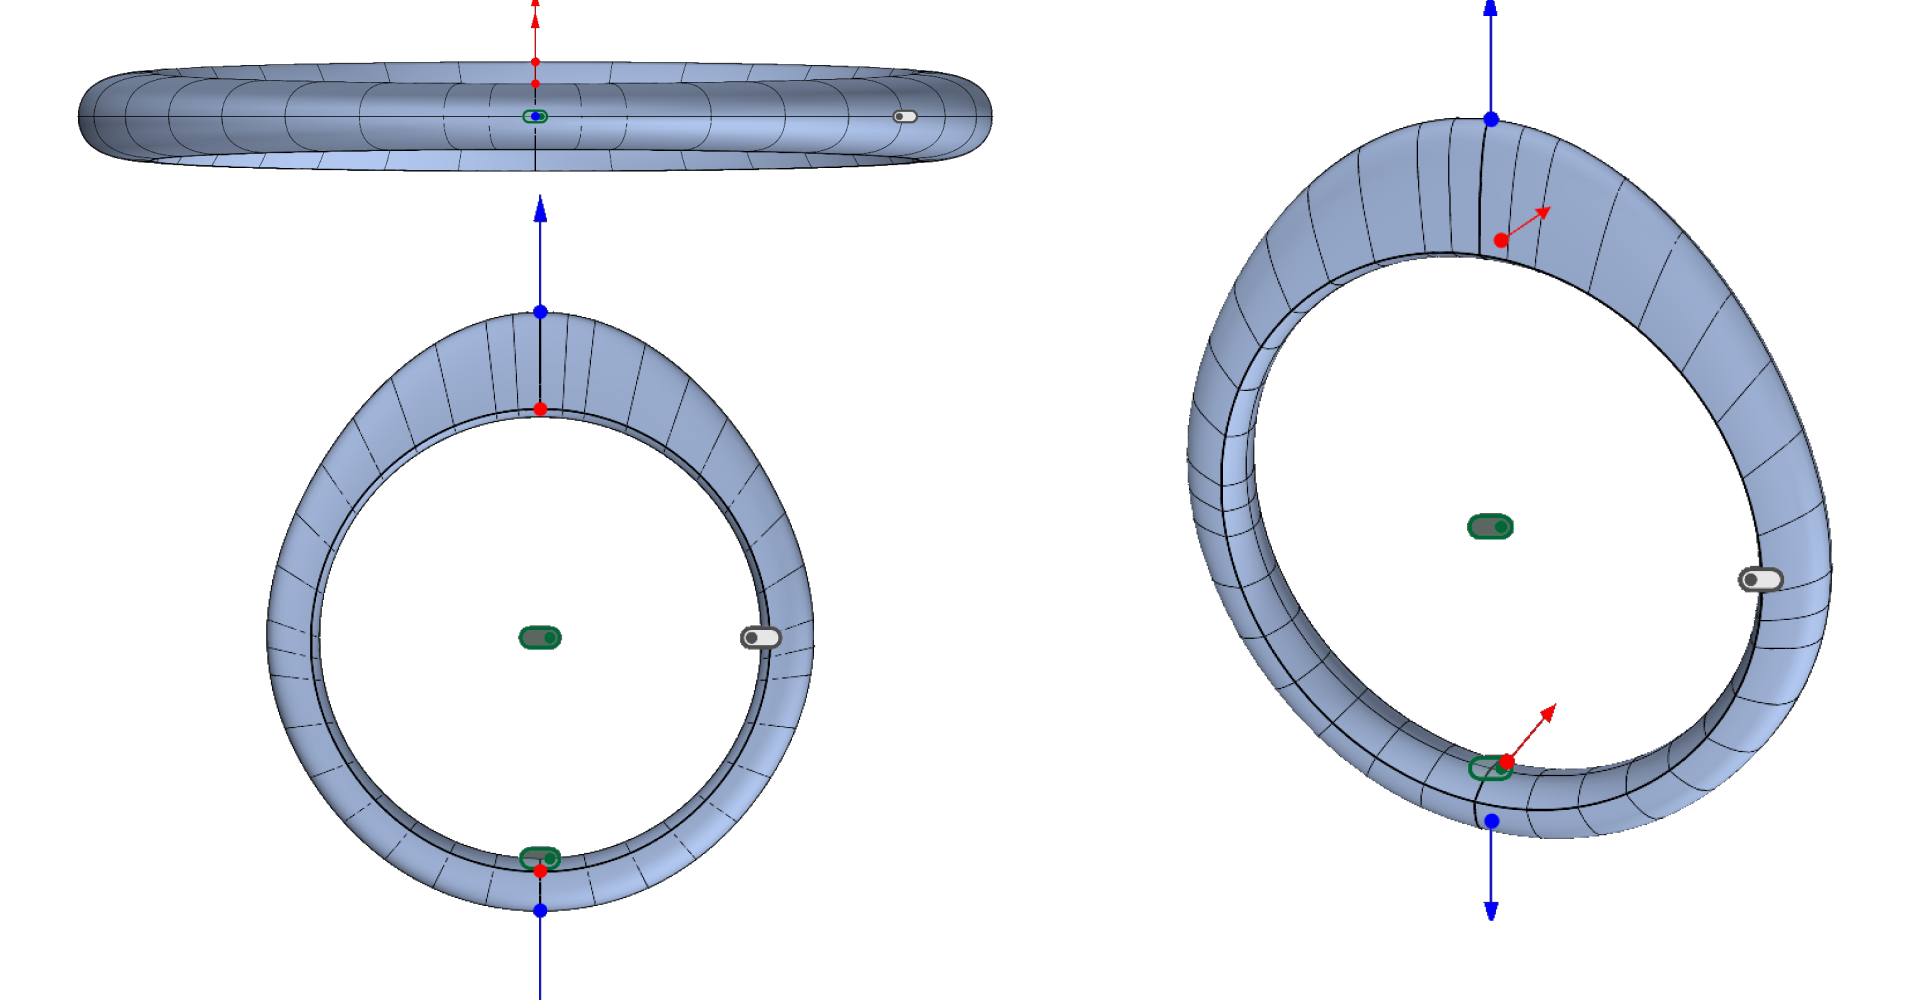
Everything starts in the Shanks tab with the Classic Shank command. Instead of drawing rail curves and sweeping surfaces by hand, you pick a starting element from the library — here it’s CL01 — and click the pencil icon to edit it. From that moment the ring is a live parametric model: every value you change rebuilds the shank instantly. Switching the viewport to Shaded display mode makes it much easier to judge as you go.
The shape comes from three profile decisions. The main cross-section is Profile 084 at 1.5 mm wide by 2.0 mm high — a slim, classic band. The bottom profile uses the same Profile 084 but widened to 2.5 mm, giving the underside of the ring a bit more presence. Then the External Profile — Profile 006 — controls how the band tapers around the finger: 4.0 mm at the top, 2.0 mm at the middle and bottom, so the shank swells toward the stone the way a classic solitaire should.
The last touch is the finishing. In the Advanced area, the Pinch option opens the top of the shank to receive the setting: a 4.7 mm opening with base values of 1.8, 1.3 and 1.1 mm on X, Y and Z. Click Accept, and the shank is done.
Phase 2: The Diamond
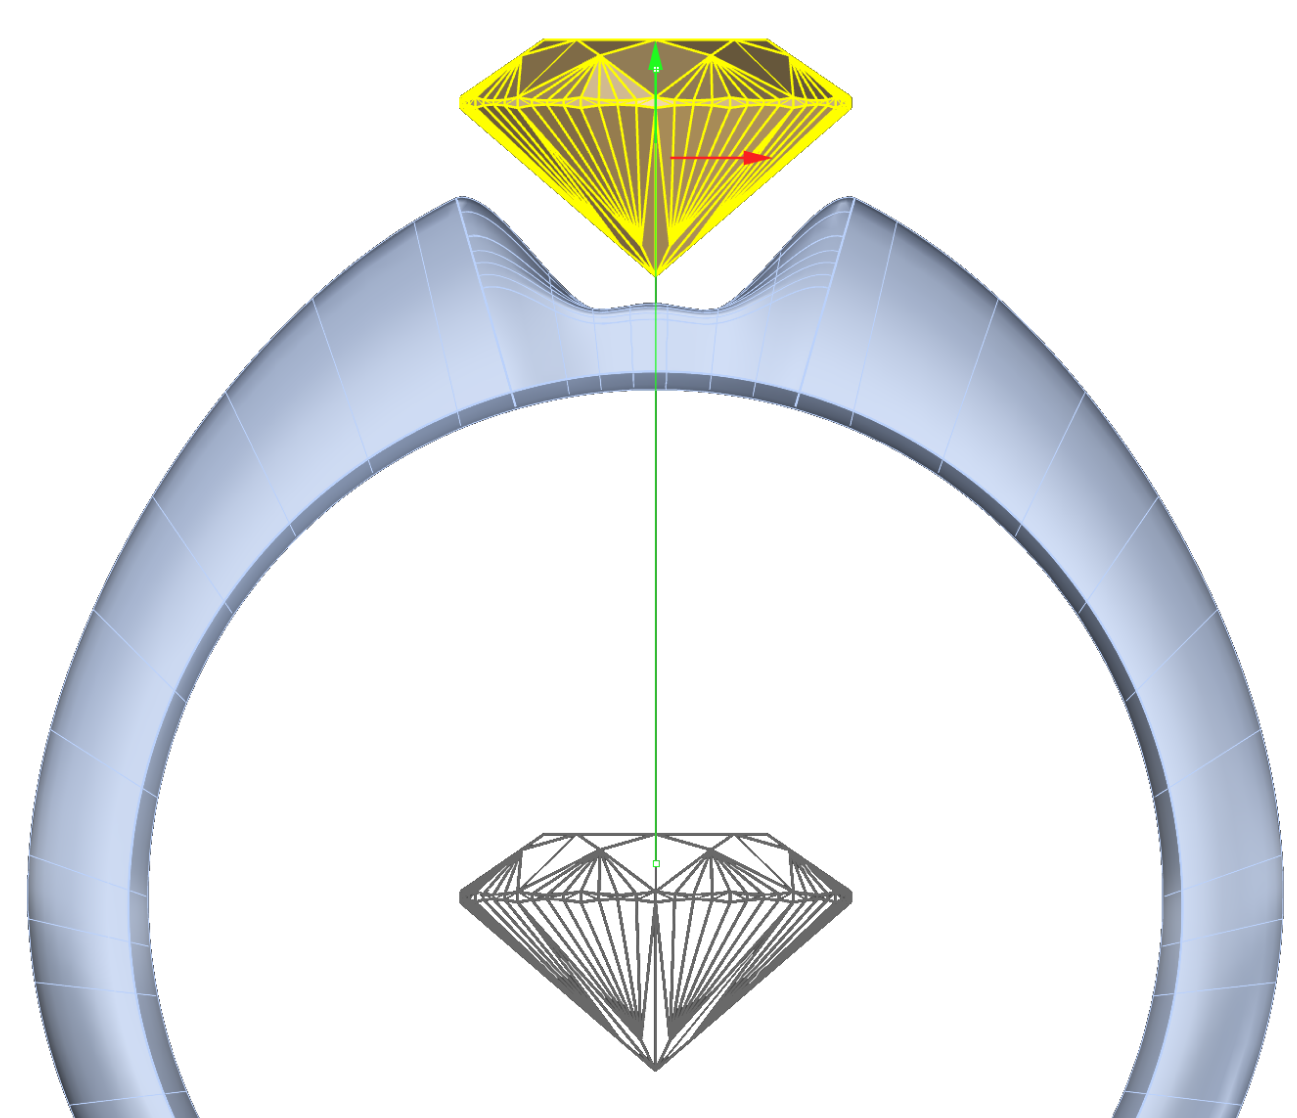
The center stone comes from Gem Studio, in the Diamond tab. Rather than modeling a gem — something you should never do by hand — you specify what you actually buy: a 1-carat diamond. Gem Studio generates the stone with correct proportions, and one click on Add drops it into the scene.
Positioning is plain Rhino: in the front view, grab the Gumball and drag the green arrow to lift the diamond slightly above the shank, leaving room for the setting that comes next.
Phase 3: The Setting
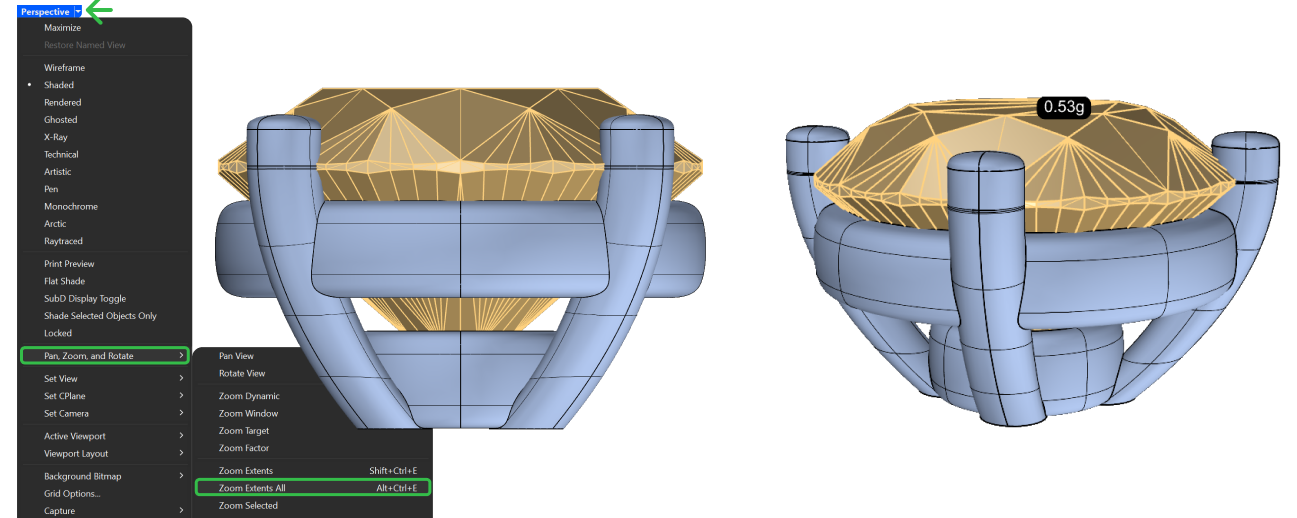
With the diamond selected, the Basket command builds the head around it. Start from element BA001, hit the pencil to edit, and the basket adapts itself to the stone — the parameters describe the relationship between metal and gem, which is exactly how a setter thinks.
The tutorial’s values: Circle mode, 4.0 mm height, the gem sitting 0.4 mm inside the basket with 0.5 mm over the girdle, a 1.0 mm bottom diameter and 0.5 mm bottom rail inside. The two rails get their own profiles: the upper rail uses Profile 002 at 1.0 mm width and height, the lower rail the same profile at 0.6 mm, both sitting 1.3 mm under the girdle. Click Confirm Changes, then Zoom Extents All to center every viewport and check the piece from all sides.
Phase 4: Materials and Render
The model sells nothing until the client can see it. In the Render tab, open Render and Animation. Materials are drag-and-drop by selection: pick the metal elements through the Layers panel and apply White Gold 18k, then select the stone and apply the Diamond material from the Gems Materials section. For this scene the tutorial uses the Basic Reflection Blue ground, which gives the white metal something to reflect.
Set the perspective angle and distance so the ring fills the frame, choose your resolution and quality, and click Render.
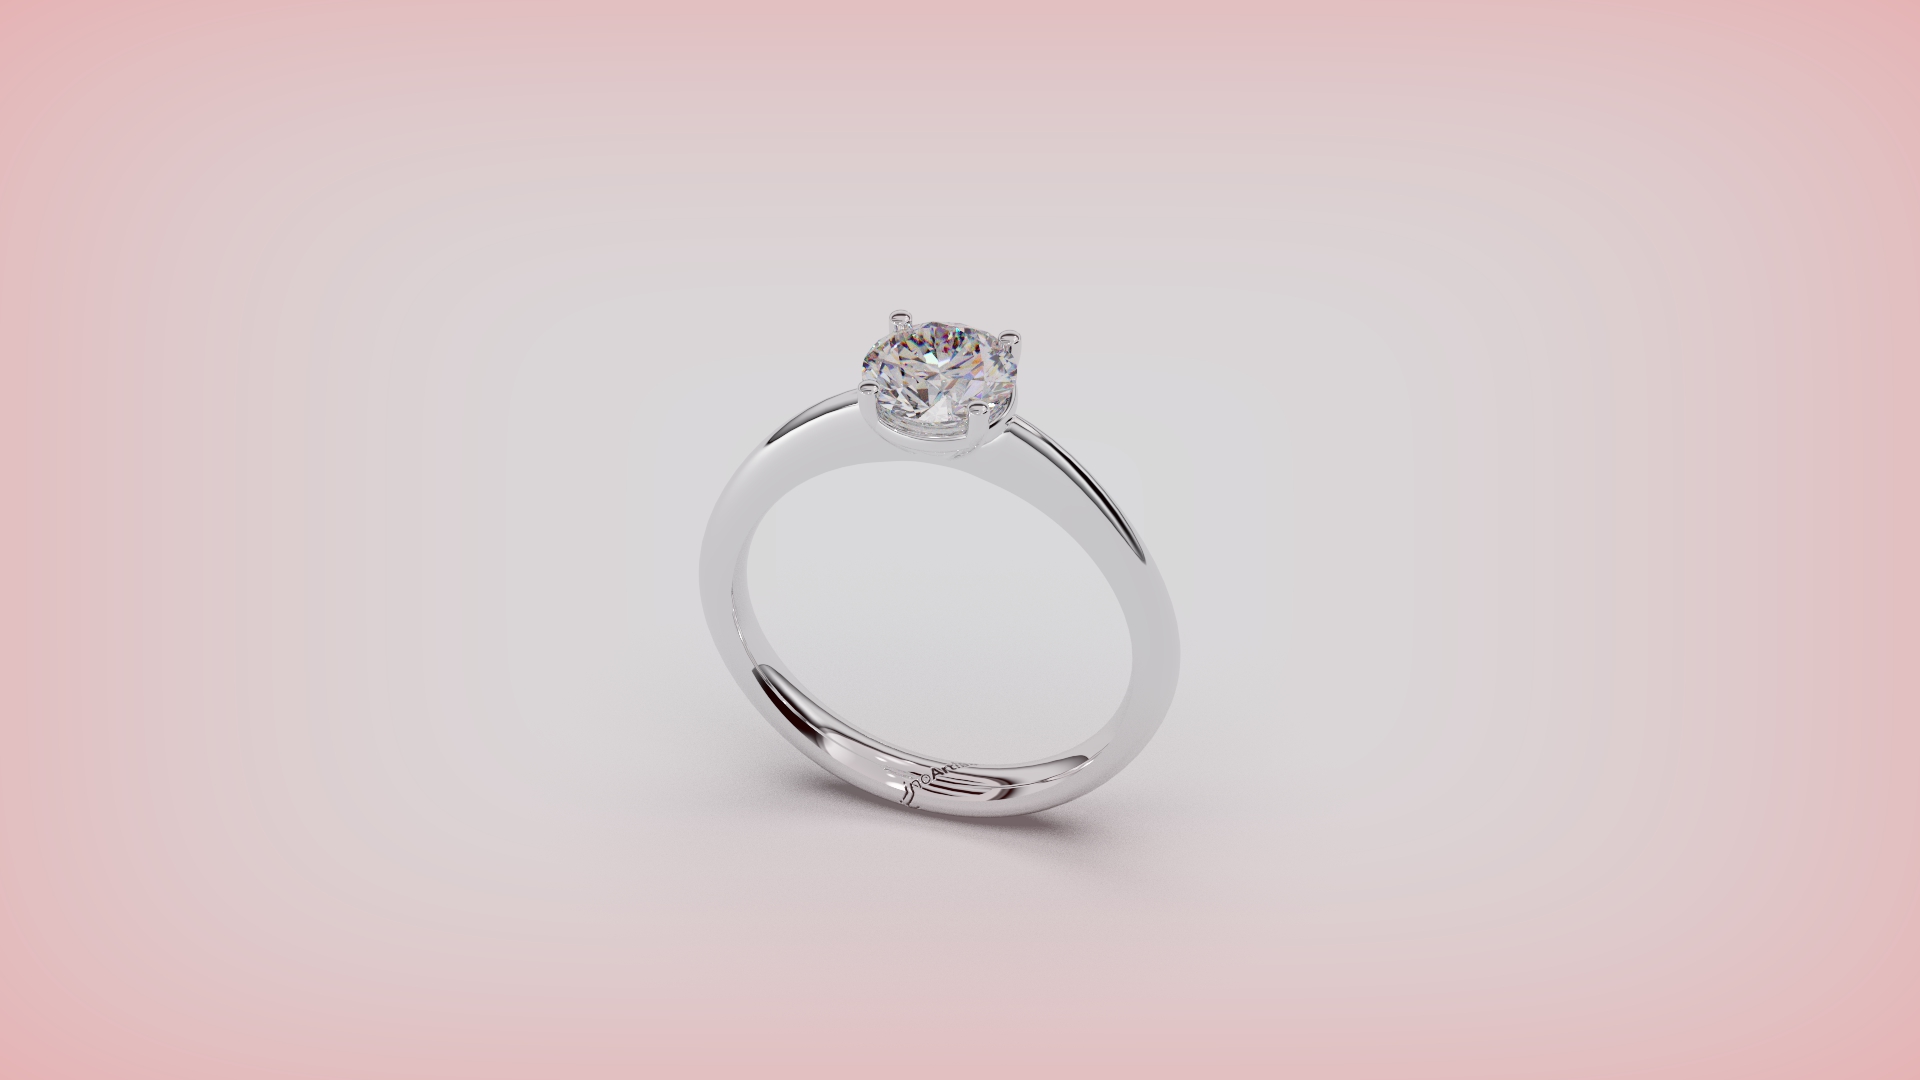
That image — not the wireframe — is what gets a design approved.
Phase 5: Make It Real
A solitaire that only exists as a render is half a job. Because the ring was built with jewelry commands rather than raw surfaces, the model already knows what it is: you can calculate its metal weight per material and turn weight and stone data into a price with the pricing tools, instead of estimating and hoping. And when the design is approved, the manufacturing tools check and repair the STL automatically so the file that reaches your printer actually prints. The full path from model to cast metal is covered in our jewelry prototyping workflow.
Go Deeper
This post shows you the shape of the workflow; the full solitaire ring tutorial shows you every click, with a step-by-step video for each of the three lessons — worth the visit if you want to follow along with the software open.
From there, each tutorial adds a different skill:
- Tension ring — a beginner-friendly first project, from shank to render
- Cushion engagement ring — fancy-cut center stones and engagement styling
- Organic SubD ring — freeform SubD modeling for organic designs
All of it, plus courses and video lessons, lives in our learning resources.
Frequently Asked Questions
How long does it take to design a ring like this?
The tutorial covers it in three short lessons: shank, diamond and basket, materials and render. Because every phase is a parametric command, most of your time goes into design decisions — profiles, proportions, millimeters — not into modeling mechanics.
Do I need CAD experience to follow this workflow?
A basic understanding of CAD commands helps, but the tutorial explains each step so you can follow along regardless of experience level. The jewelry commands are designed for jewelers: you set an opening in millimeters, not a control-point cage.
Can I design an engagement ring this way?
Yes — a classic solitaire is the definitive engagement ring, and this same workflow extends to halos, cathedrals, and cluster settings. If you’re comparing engagement ring design software, the practical test is exactly this: how many steps from blank viewport to client-ready render.
Can I 3D print the result?
Yes. Export the model as an STL, let the automatic repair tools make sure the mesh is watertight, and send it to your resin printer — directly from the software if your printer is supported. The print then goes to investment casting like any other wax.
The best way to judge a workflow is to run it. Open the solitaire ring tutorial, follow the three lessons, and you’ll have this exact ring — modeled, set, and rendered — in your own viewport.
Design it. Manufacture it. Sell it.
Try RhinoArtisan free for 15 days
Full access to every tool. No credit card required. Works with your existing Rhino installation.
Setup takes less than 2 minutes
Talk to us
Let's talk about what you want to achieve.
Book a free 30-minute one-to-one session with a RhinoArtisan specialist. Tell us about your work, your challenges and what you would like to achieve, and we'll help you find the best way forward.