★ The RhinoArtisan Blog
How to Design a Floating Diamond Ring in RhinoArtisan
Book a demo with our teamJune 17, 2026 · RhinoArtisan · Learn
Floating diamond rings have become increasingly popular because they create the illusion that the gemstone is suspended within the metal. While the design appears simple, achieving a precise stone fit requires careful control of the seat geometry.
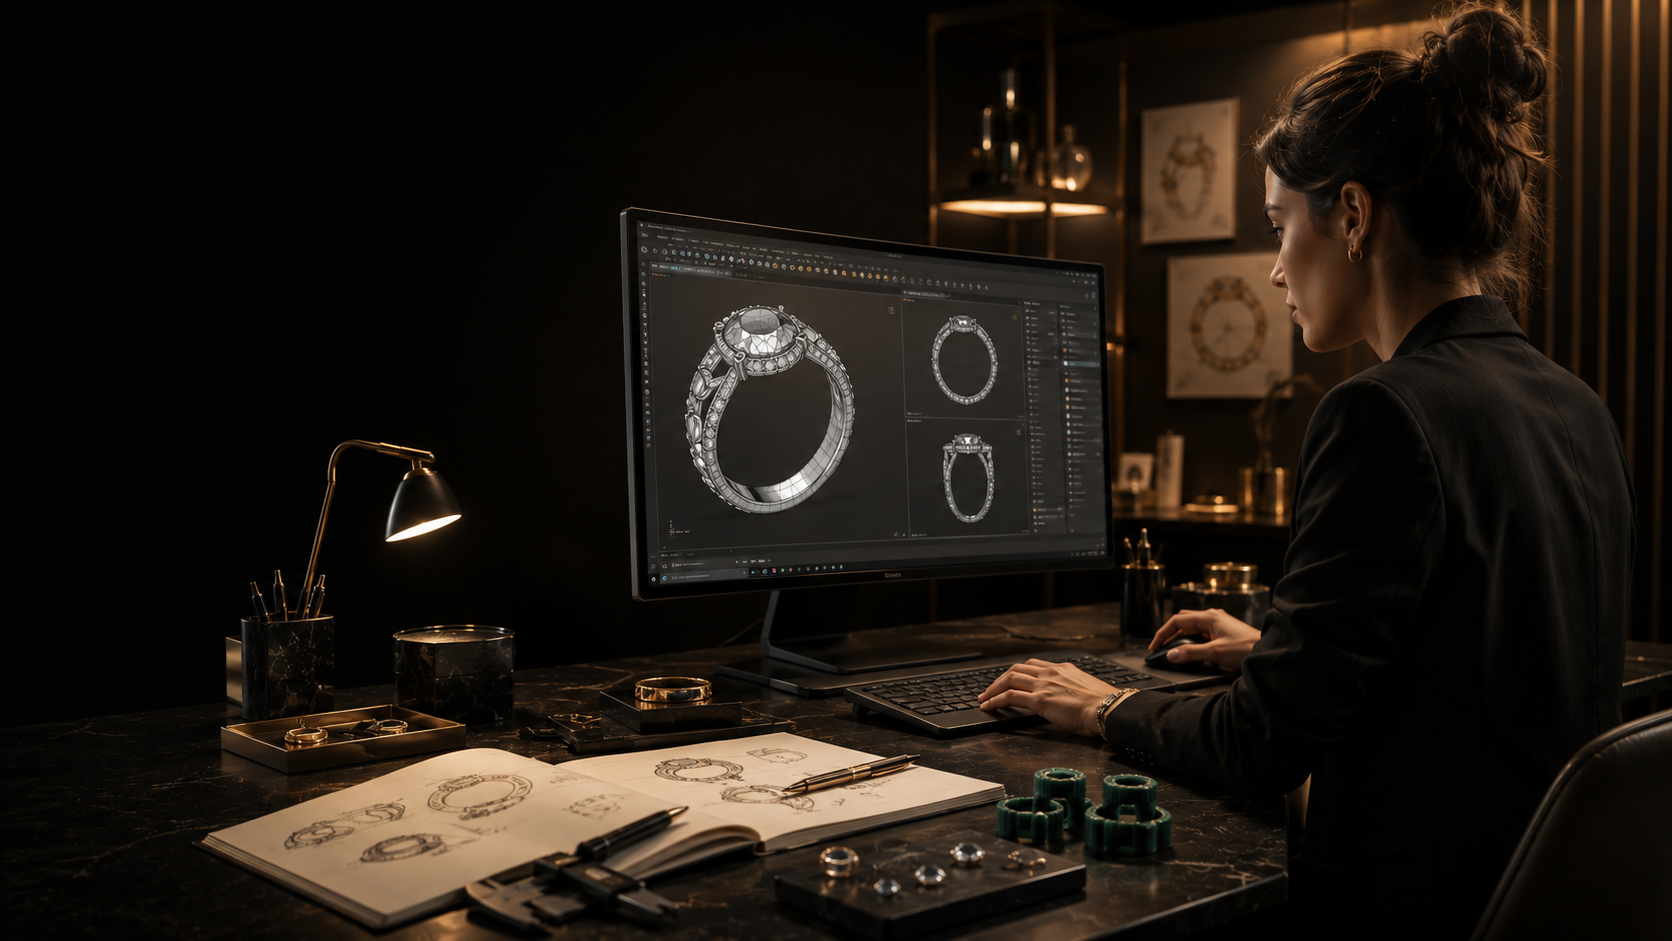
In our latest RhinoArtisan tutorial, we walk through the complete process of creating a floating ring, from configuring the cutter dimensions to producing a professional render of the finished piece.
Why Floating Rings Require Precision
Unlike traditional prong or bezel settings, floating rings rely on a carefully carved seat that supports the stone while keeping as much of it visible as possible.
Even small inaccuracies in the seat dimensions can create problems during manufacturing or stone setting.
This is why many jewelers prefer to define the cutter directly from the gemstone’s proportions rather than manually sculpting the cavity.
By using accurate crown, girdle, and pavilion measurements, designers can create a seat that closely matches the physical stone.
Configuring the Stone Cutter
The workflow begins by defining the cutter parameters used to generate the stone seat.
In the tutorial, the cutter is configured using:
- Crown dimensions
- Girdle dimensions
- Pavilion dimensions
- Stone proportions
These values determine the exact volume required to accommodate the diamond.
Rather than approximating the shape, RhinoArtisan allows the cutter to be generated using controlled parameters that reflect the actual gemstone geometry.
This creates a more reliable foundation for manufacturing and setting.
Creating the Stone Seat
Once the cutter is configured, the next step is applying a Boolean Difference operation.
The cutter is subtracted from the ring shank, automatically generating the seat where the diamond will be positioned.
This approach offers several advantages:
- Consistent stone fit
- Accurate seat geometry
- Reduced manual modeling
- Better manufacturing predictability
After the Boolean operation is completed, the model is inspected using the Hide and Show commands to verify that the resulting geometry is clean and ready for production.
Taking a few moments to inspect the seat at this stage can prevent issues later in the workflow.
Assigning Materials and Preparing the Render
After confirming the geometry, the tutorial moves on to visualization.
The ring is assigned an 18K yellow gold material, while the gemstone receives a diamond material.
These material assignments help designers evaluate the final appearance before moving into production or customer presentations.
To prepare the scene, the model is positioned using the Lying on the Ground command, ensuring the ring sits naturally within the rendering environment.
This simple step helps create more realistic and professional presentation images.
A Practical Workflow Example
Imagine a designer creating a modern solitaire engagement ring featuring a floating round diamond.
Instead of manually shaping the stone seat and adjusting it later at the bench, they:
- Define the cutter using the stone dimensions.
- Generate the seat with a Boolean Difference.
- Verify the geometry.
- Assign gold and diamond materials.
- Produce renderings for customer approval.
The result is a design that is both visually appealing and manufacturing-ready from the beginning.
From Design to Production with Fewer Adjustments
One of the biggest advantages of this workflow is reducing manual corrections later in the process.
By creating an accurate seat directly from gemstone parameters, designers can improve consistency between the CAD model and the finished piece.
For custom jewelry projects, this means:
- Faster design workflows
- More predictable manufacturing
- Better stone fit
- Improved presentation renderings
- Fewer adjustments during setting
The floating ring tutorial demonstrates how RhinoArtisan combines precision modeling tools with practical jewelry workflows, helping designers move efficiently from concept to finished design.
Design it. Manufacture it. Sell it.
Try RhinoArtisan free for 15 days
Full access to every tool. No credit card required. Works with your existing Rhino installation.
Setup takes less than 2 minutes