Overview
We are pleased to present a carefully curated selection of tutorials to guide you step-by-step, from foundational concepts to advanced techniques. Each topic is available in both text with images and video formats, allowing you to choose the option that best suits your learning preferences. Should you have any questions at any time, please do not hesitate to contact our support team; we would be delighted to assist you.
Kickstart: From idea to creation Start Learning
In this course, you will learn how to model jewelry completely guided step by step. We have attempted in this course to teach you how to interact with various commands rather than learning a specific command.
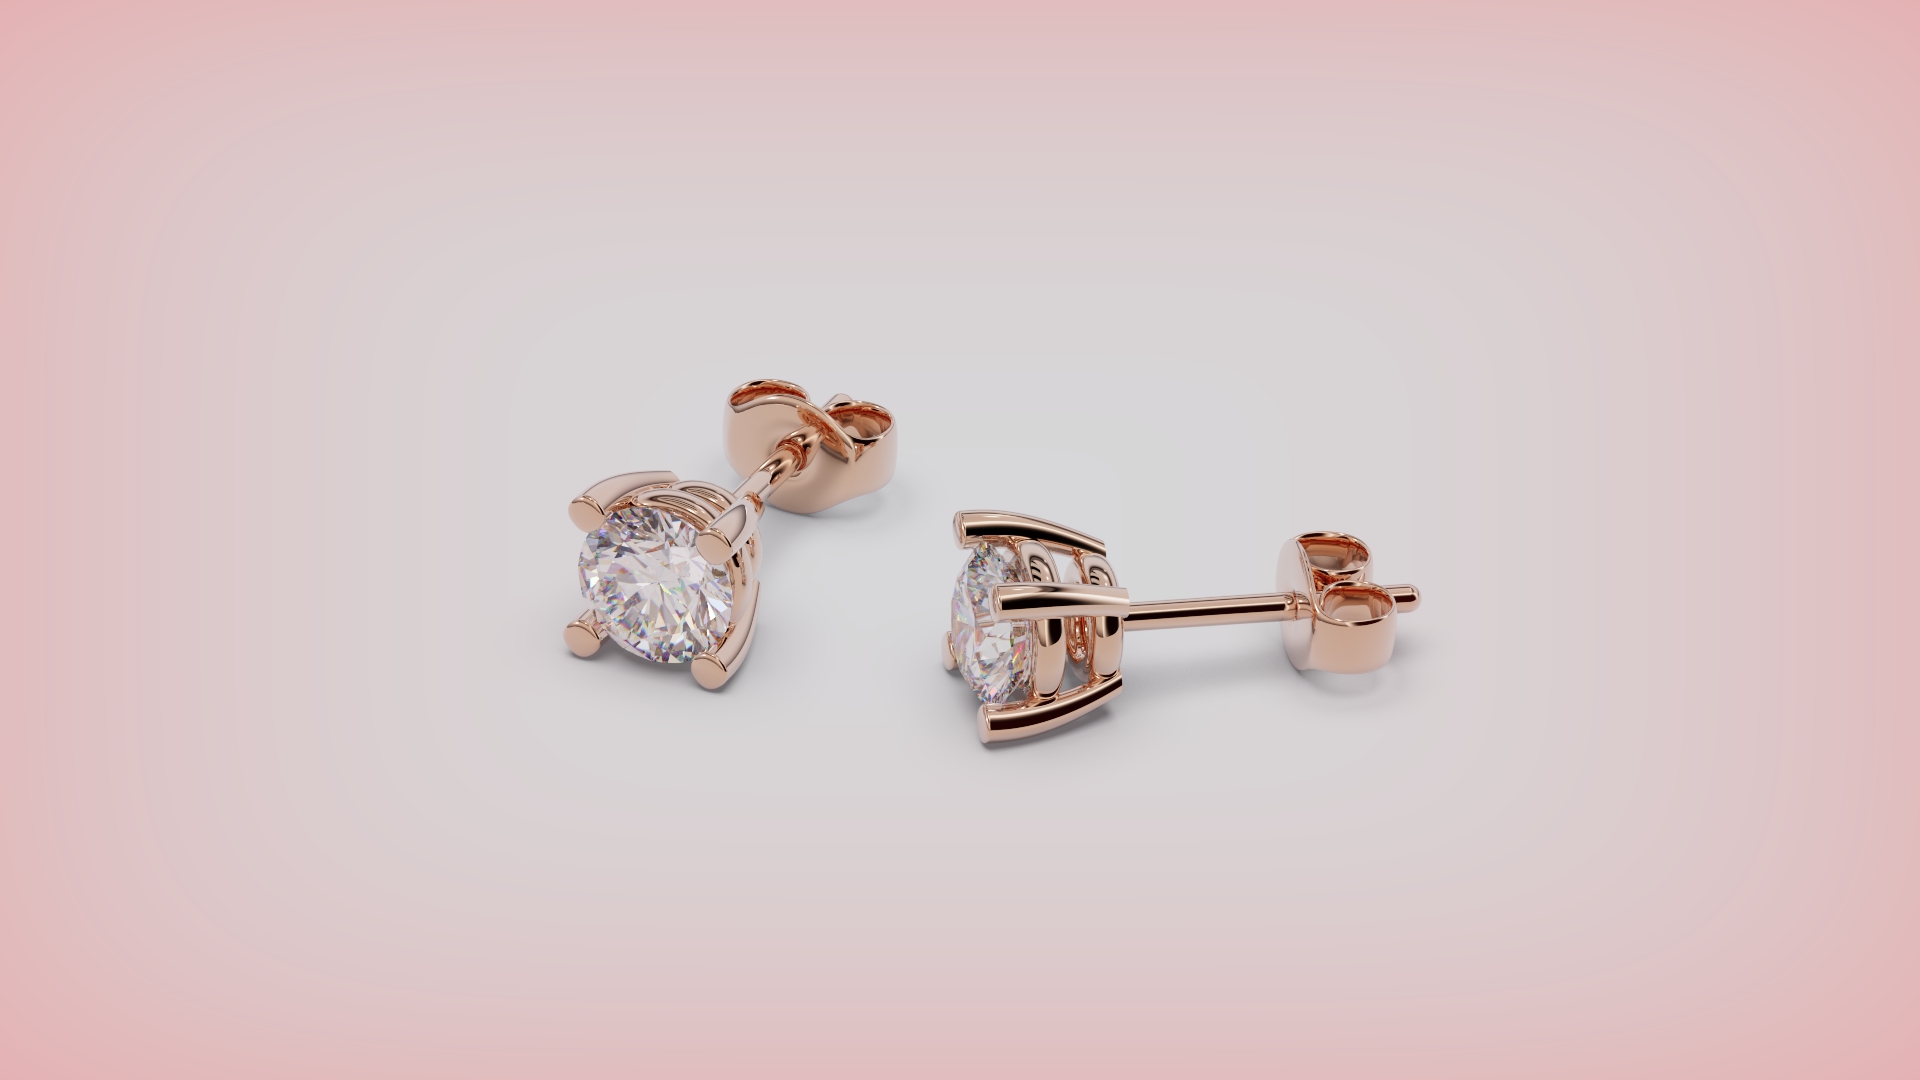
| Stud Earrings | Stud earrings are small, often subtle, earrings that can feature a gemstone or be made entirely of metal. | Stud Earrings.0.jpg | stud-earrings | null | |
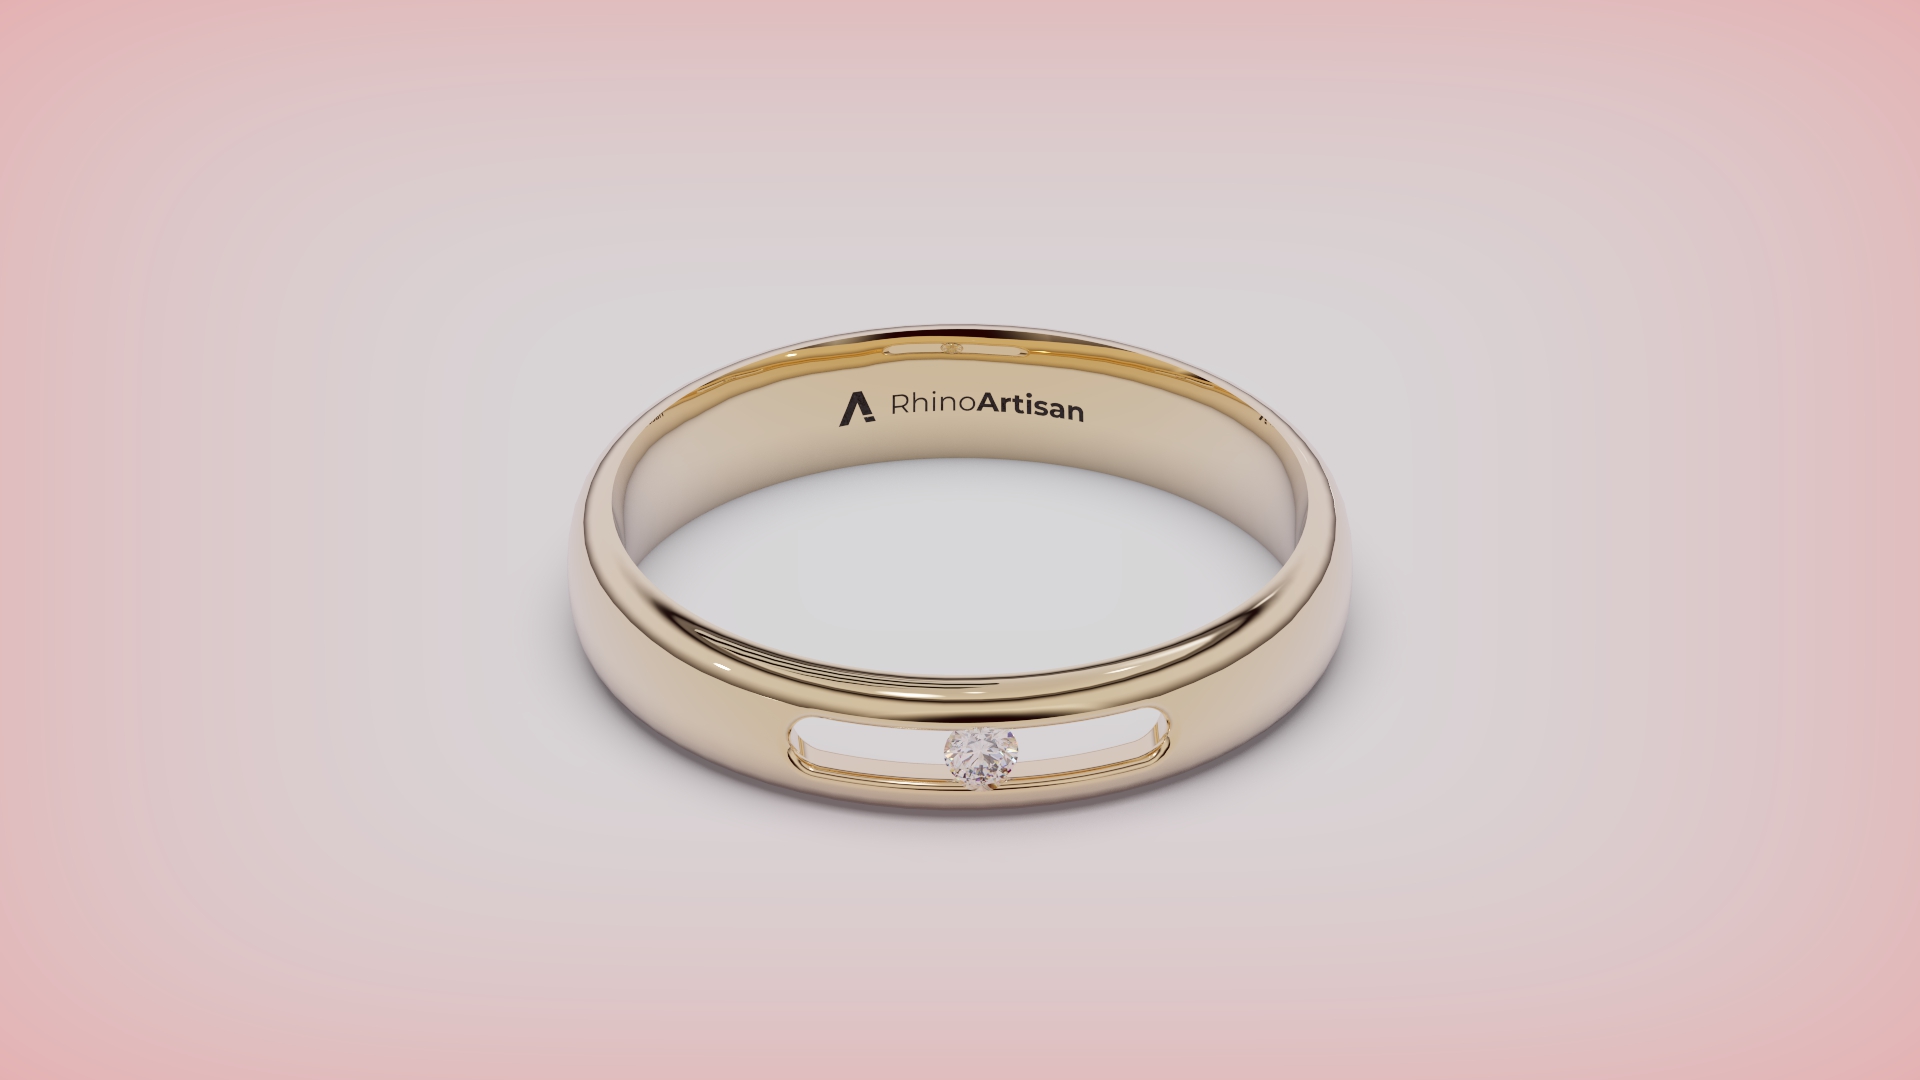
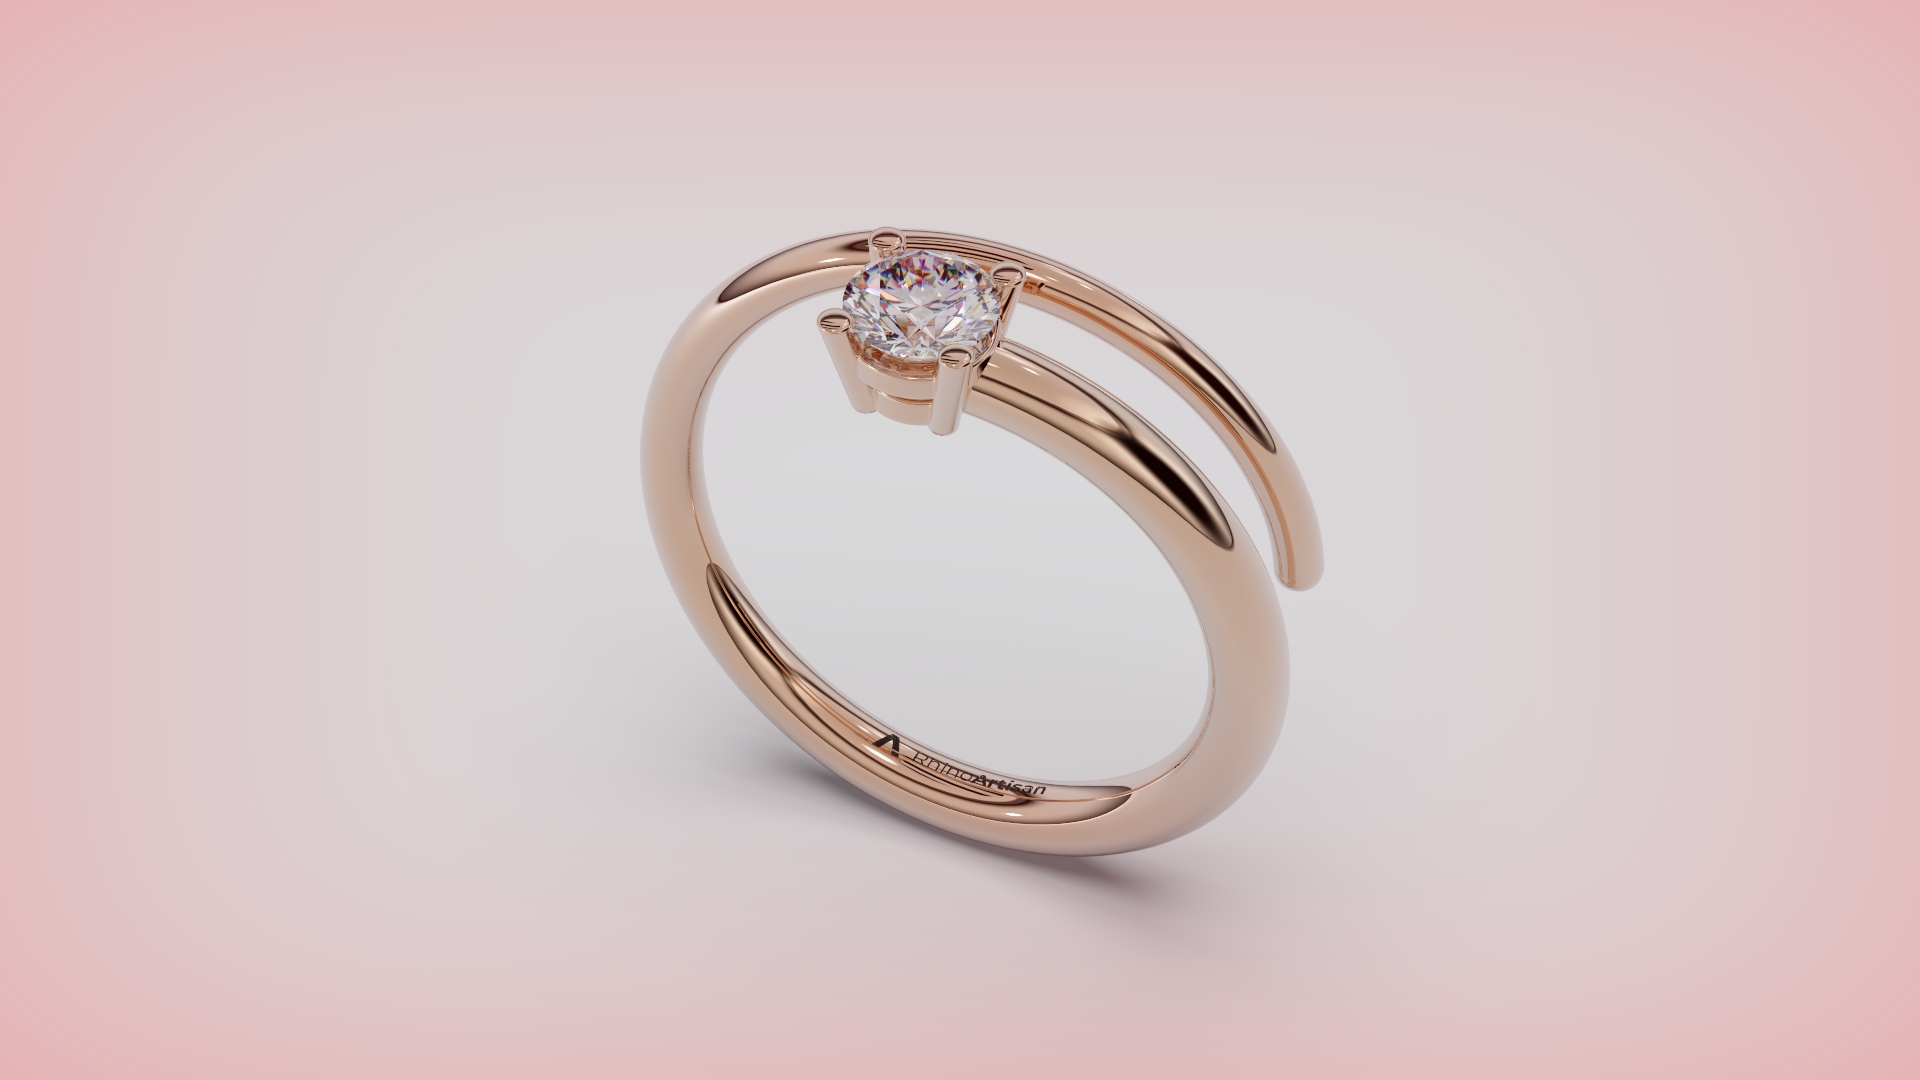
| Floating Diamond Ring | In this immersive tutorial, we’ll take you on a creative journey to design a stunning floating ring from start to finish. | Floating Diamond Ring - 1920 x 1080.7.jpg | null | ||
| Tension Ring | Master the creation of exquisite tension rings with RhinoArtisan, configuring the shank, adjusting dimensions, setting gemstones, and crafting a professional render. | Tension Ring - 1920 x 1080.11.jpg | null | ||
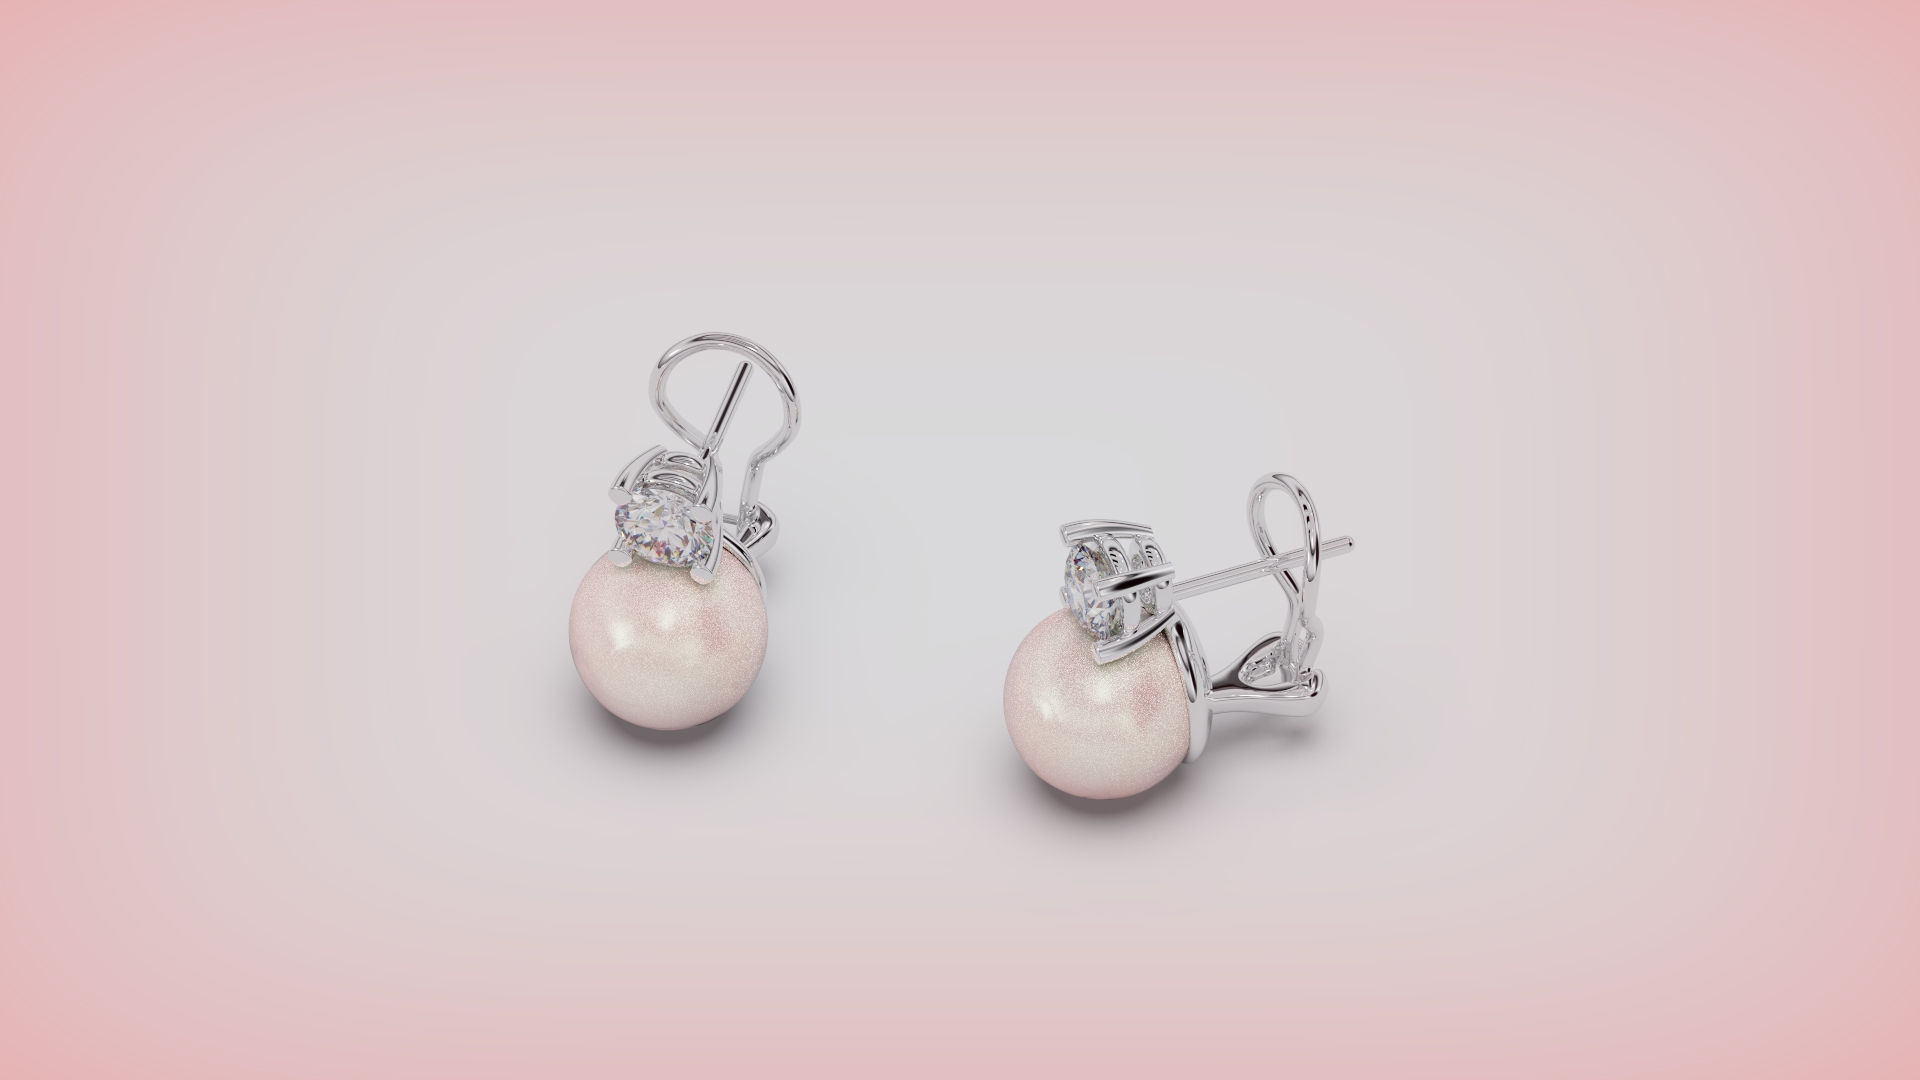
| Pearl and Diamond Earring | In this tutorial, use RhinoArtisan’s Curator panel to create stunning pearl and diamond earrings, learning to save settings, repurpose components, and assemble a cohesive design. | Pearl and diamond earrings 1920 x 1080.14.jpg | null |
Engagement Pieces Start Learning
Learn to set jewelry design trends, from Fantasy to Advanced Rings—everything about fashion jewelry in one course.
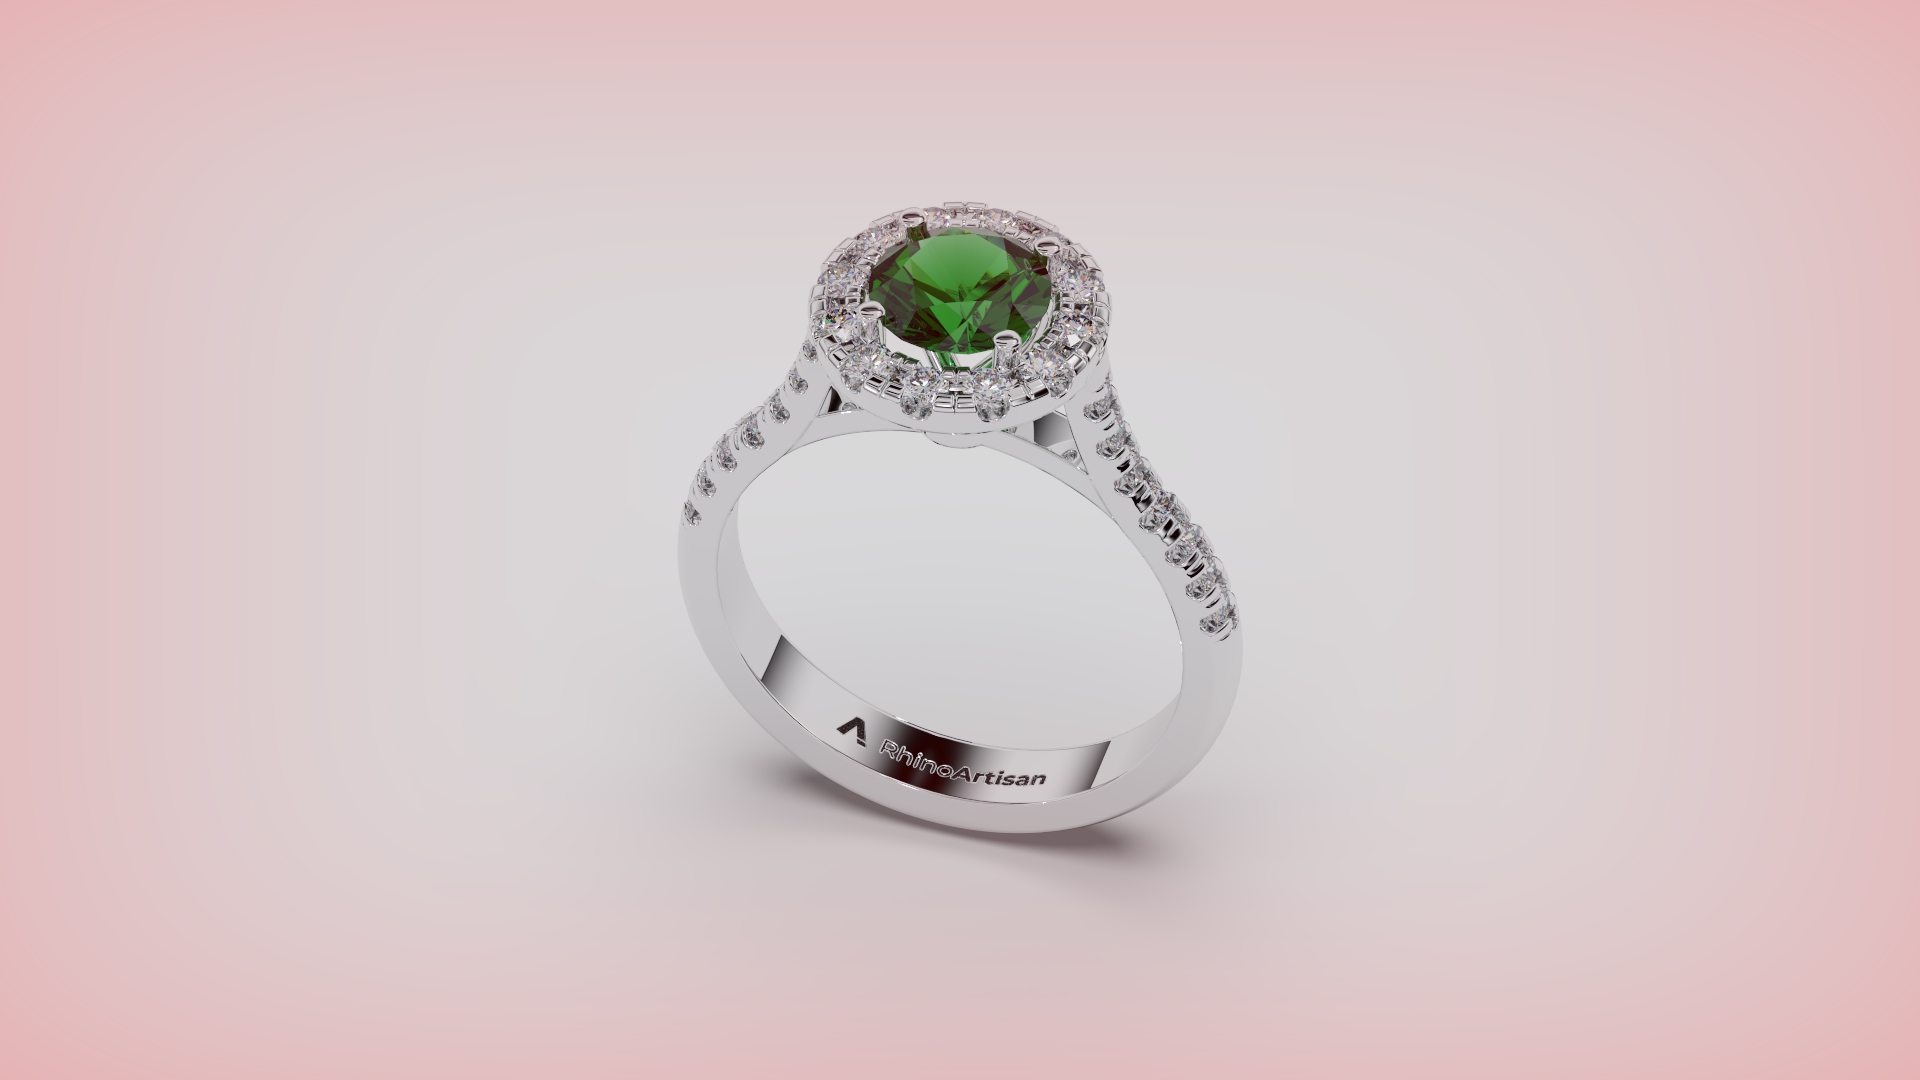
| Halo Cathedral Ring | In this course, you’ll learn how to create a breathtaking halo ring with a classic cathedral shank and shimmering halo setting, using the powerful tools of RhinoArtisan. | Halo + cathedral shank 1920 x 1080.18.jpg | halo-cathedral-ring | |||
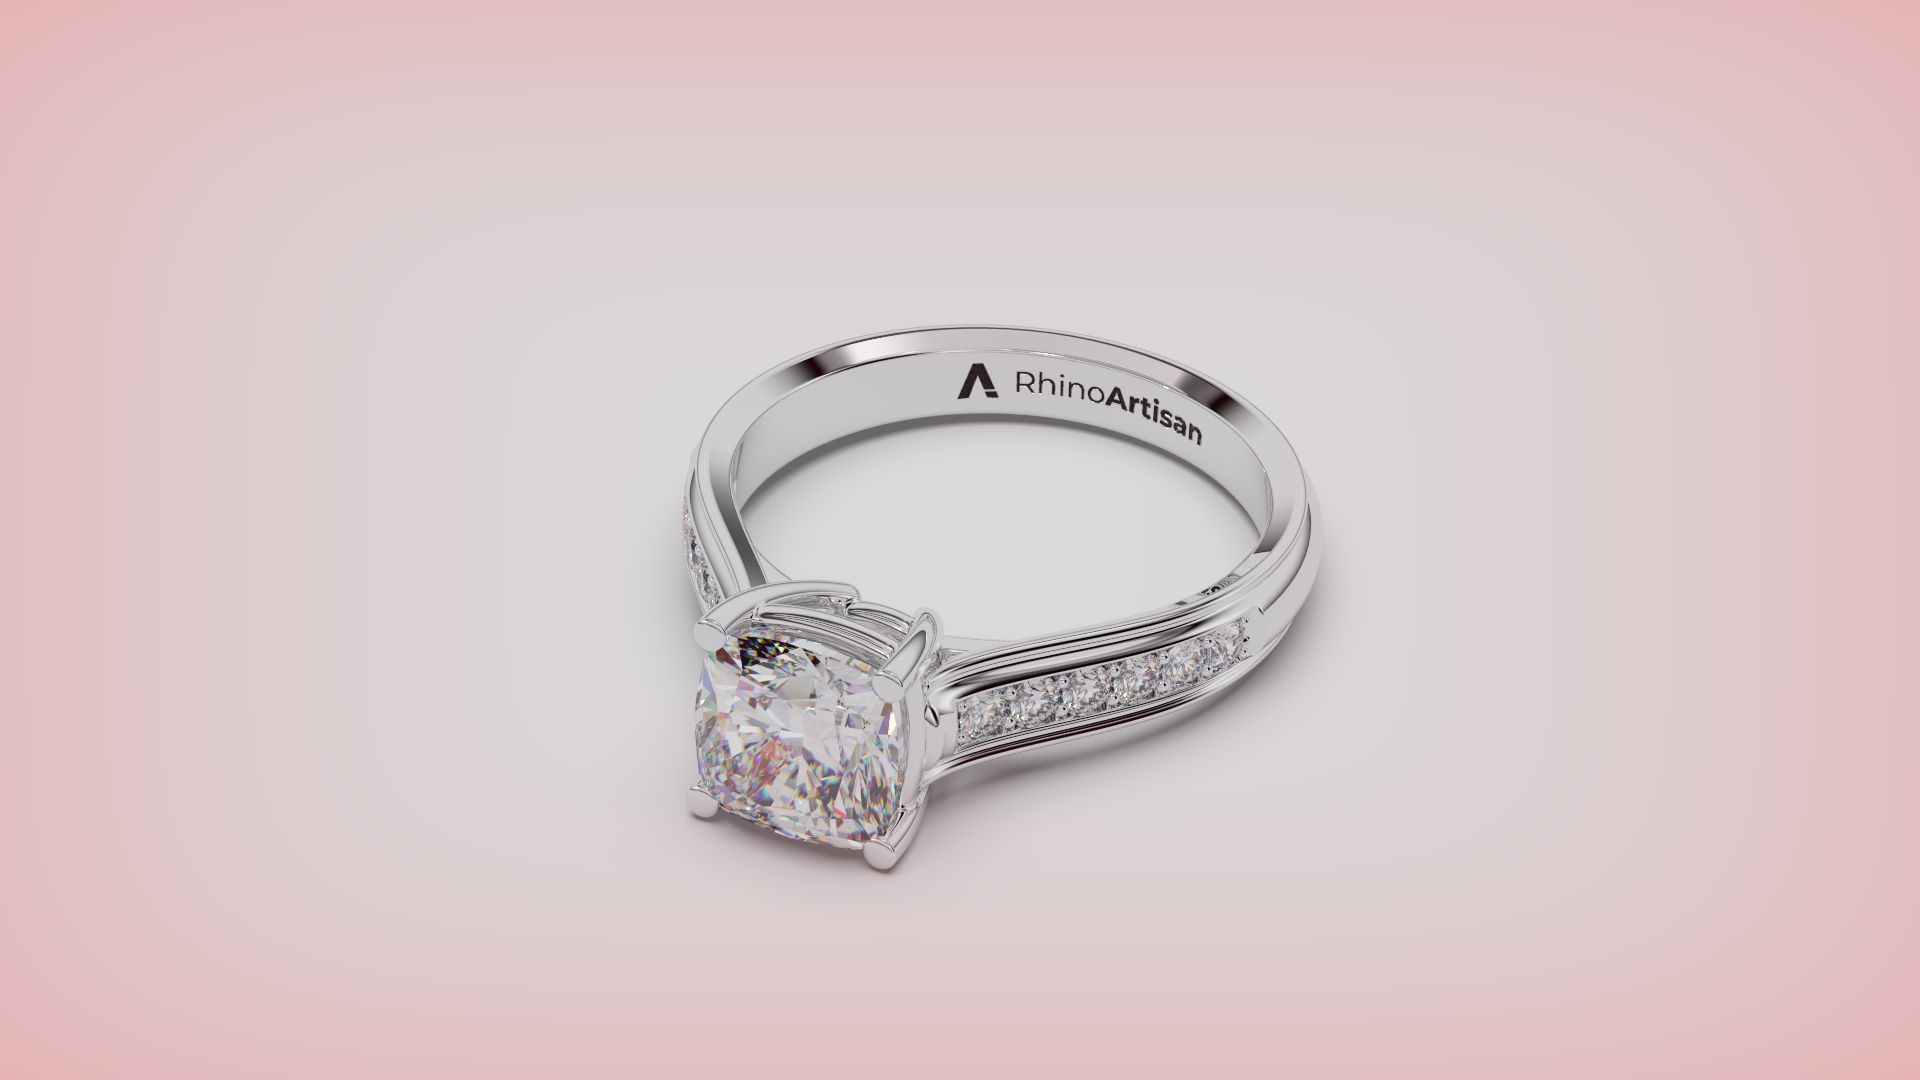
| Cushion Engagement Ring | Guided step-by-step, you’ll model a 2-carat Cushion cut center stone set in a classic yet robust basket with circular prongs, secure rails, and a cathedral shank with diamonds. By the end, you’ll create a lifelike render that captures the ring's luxurious details and professional polish. | Cushion on cathedral shank 1920 x 1080.23.jpg | cushion-engagement-ring | |||
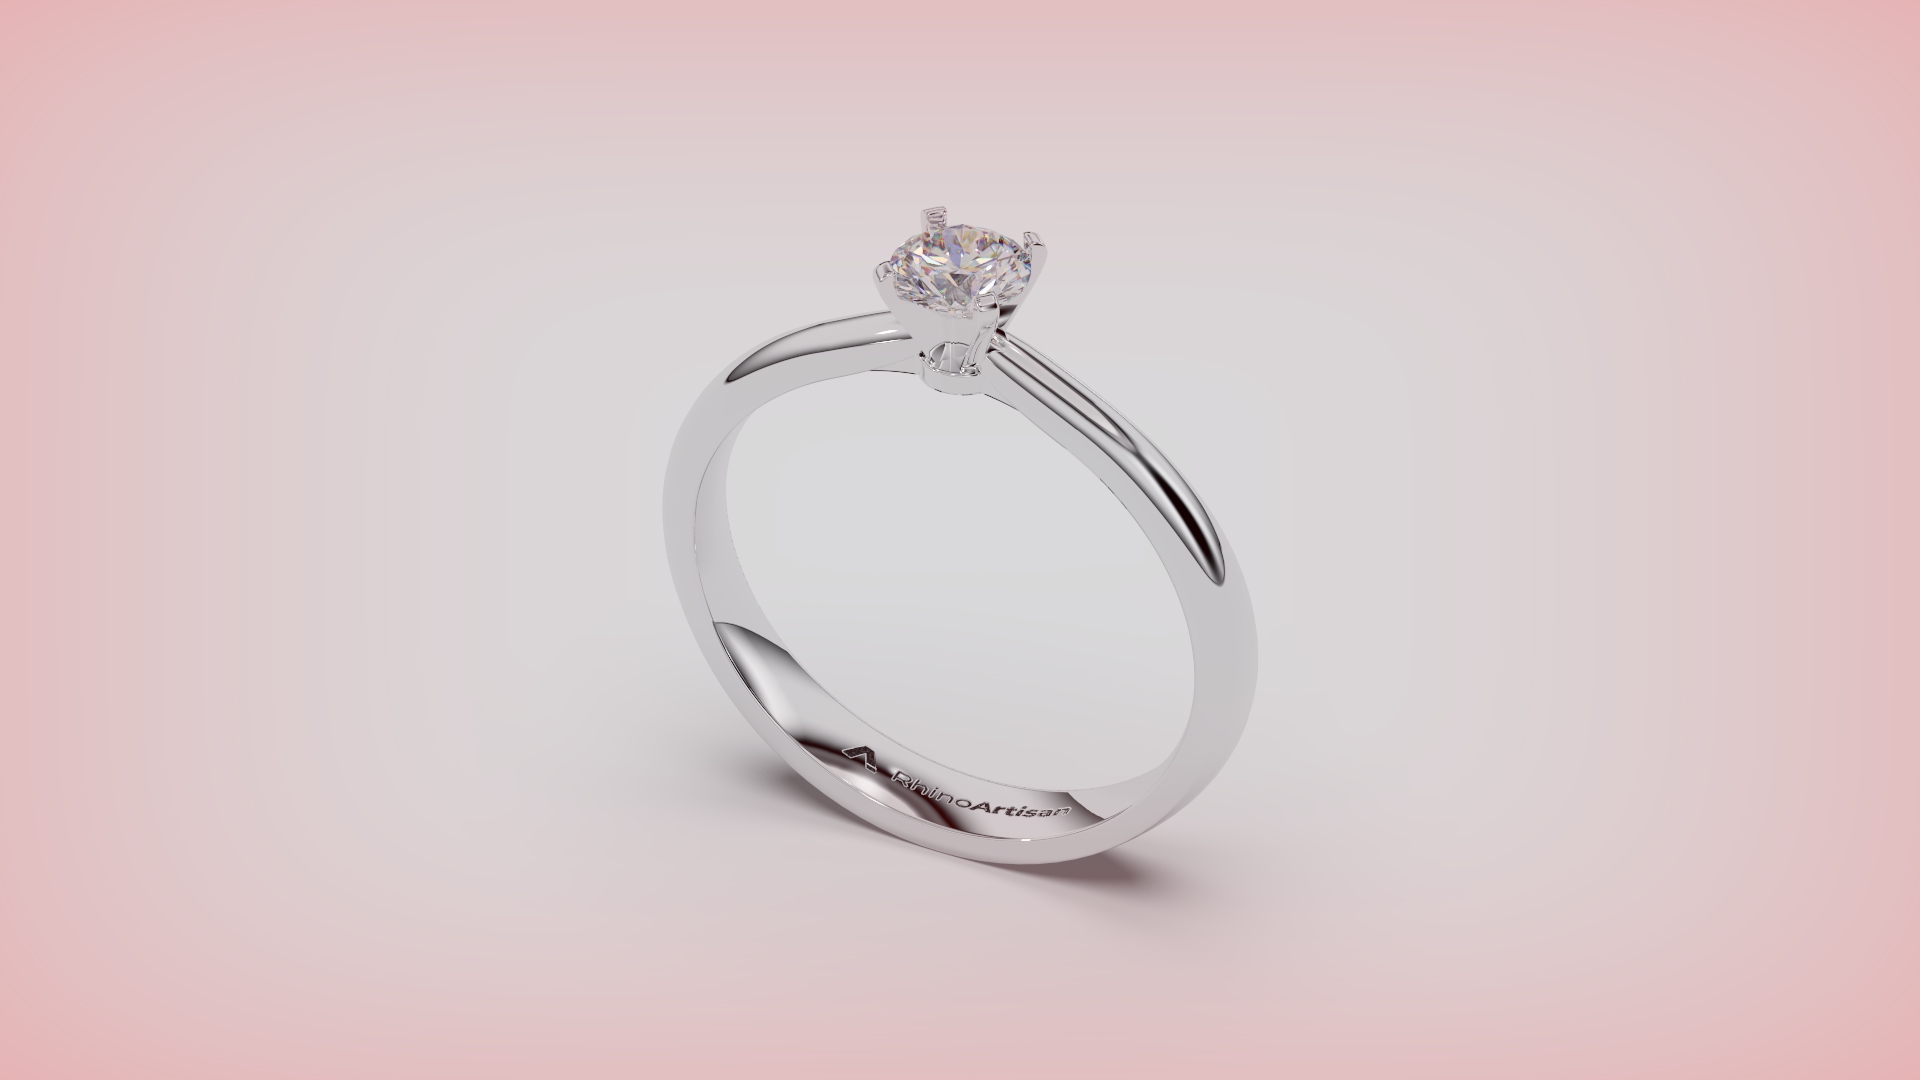
| Solitaire Collection: First Ring | A solitaire ring, a timeless symbol of love, with a dazzling diamond that captures the heart and reflects a lifetime of commitment. | Solitare 1 1920 x 1080.29.jpg | solitaire-collection-first-ring | |||
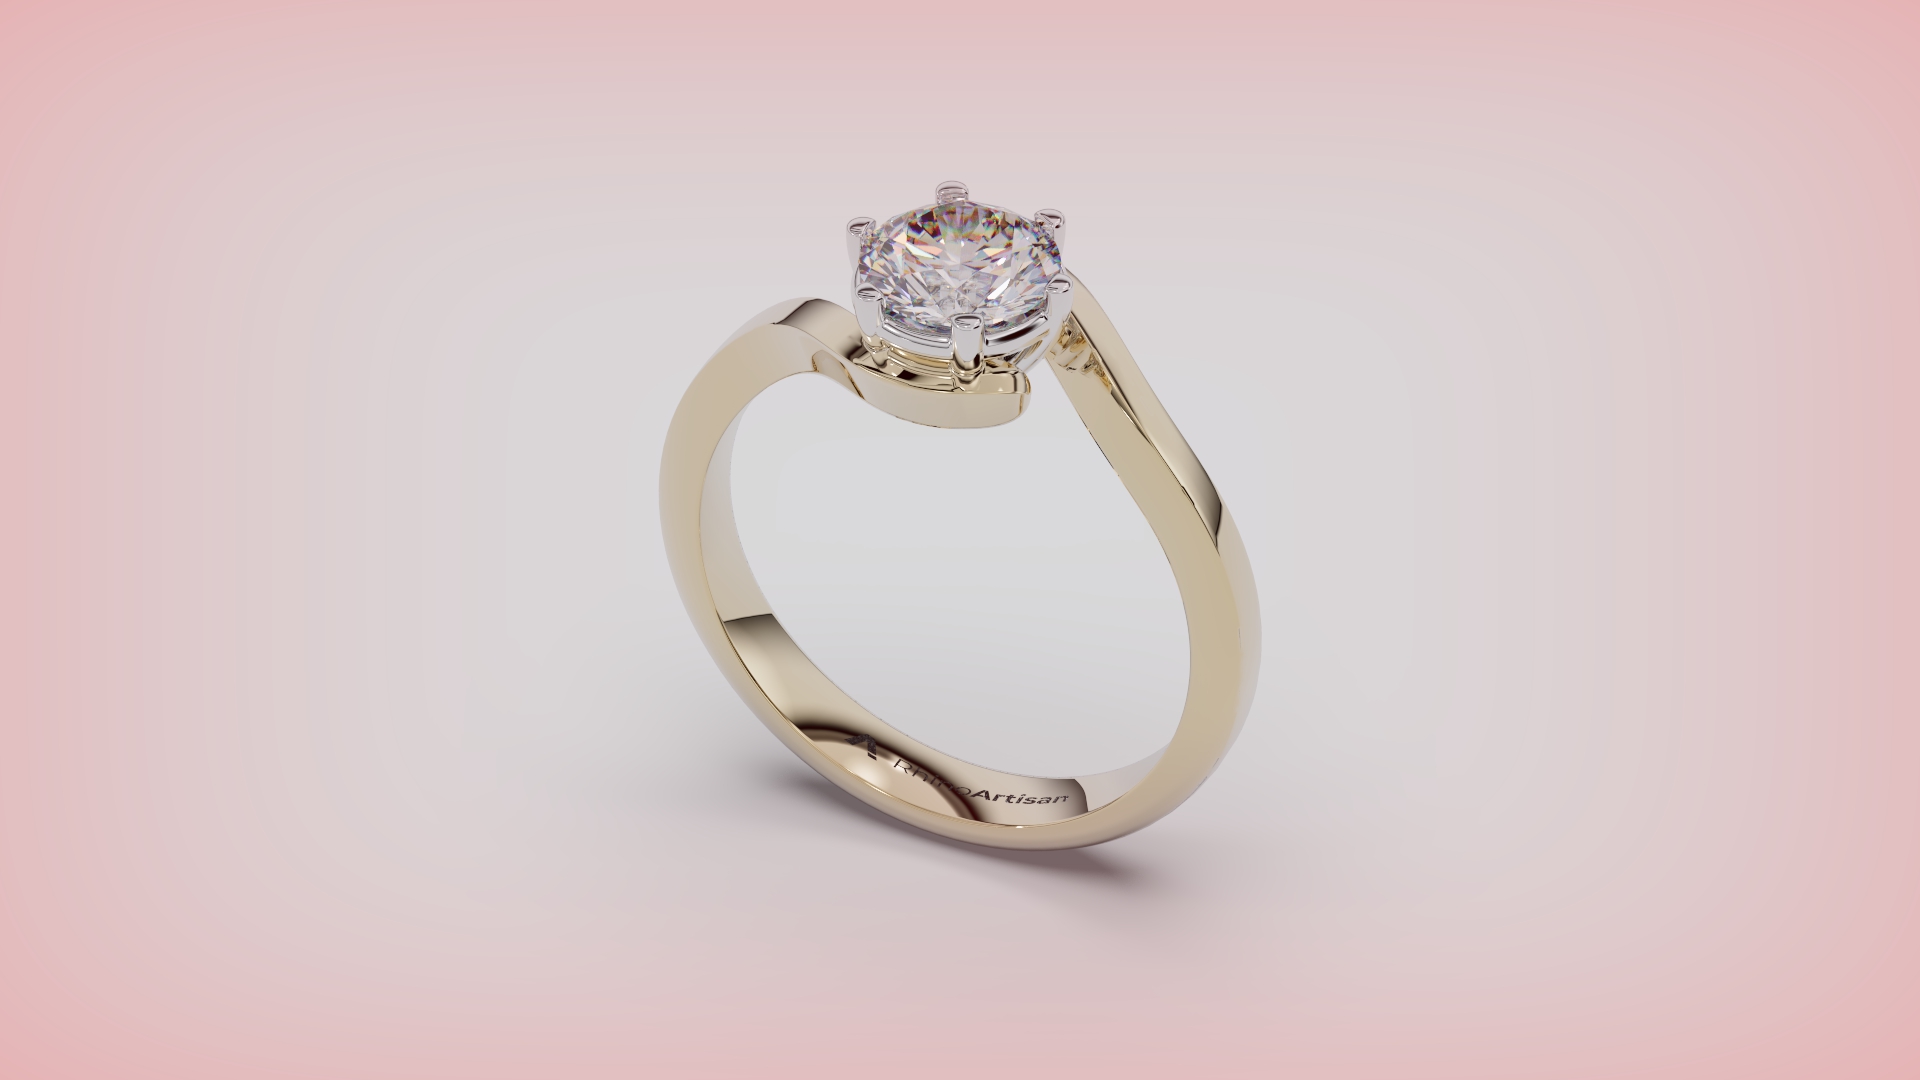
| Solitaire Collection: Second Ring | This solitaire ring is a masterpiece, its single, stunning gemstone whispering promises of forever and radiating a brilliance that rivals the stars. | Solitare 2 1920 x 1080.32.jpg | solitaire-collection-second-ring | |||
| Solitaire Collection: Third Ring | This solitaire ring, a symphony of elegance and simplicity, showcases a breathtaking diamond, a beacon of love that illuminates the path to a lifetime of happiness. | Solitare 3 1920 x 1080.40.jpg | solitaire-collection-third-ring | |||
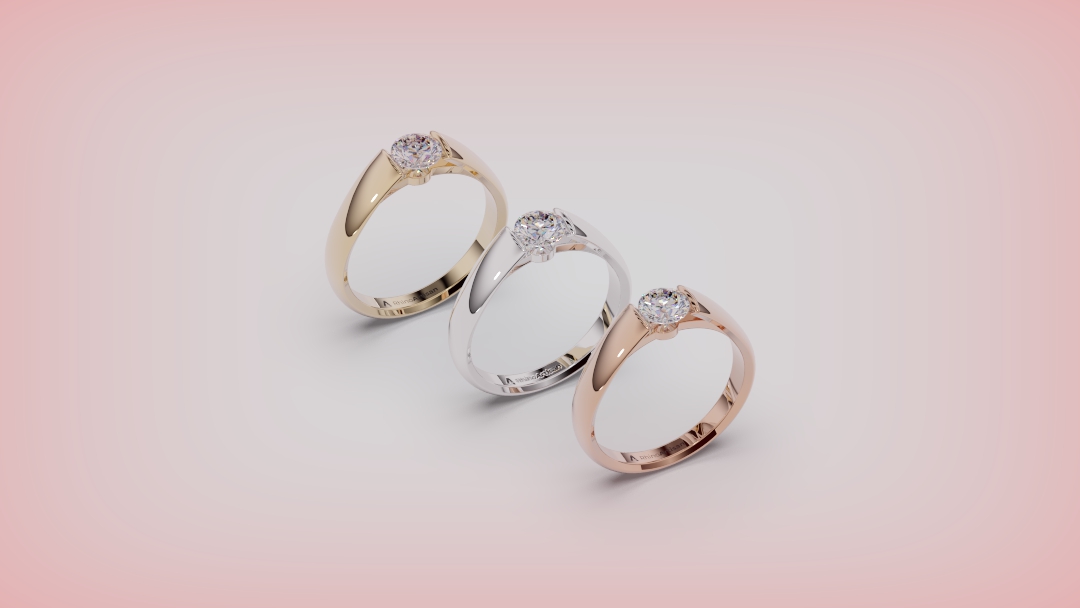
| Solitaire Collection: Rendering | In this tutorial, we will render the last three designs to present them to our client. | Three Solitares 1920 x 1080.45 (1).jpg | solitaire-collection-final-render.md |
.jpg)
Iconic Fashion Pieces Start Learning
Learn to create engagement jewelry, perfect for jewelry lovers inspired by the theme of love.
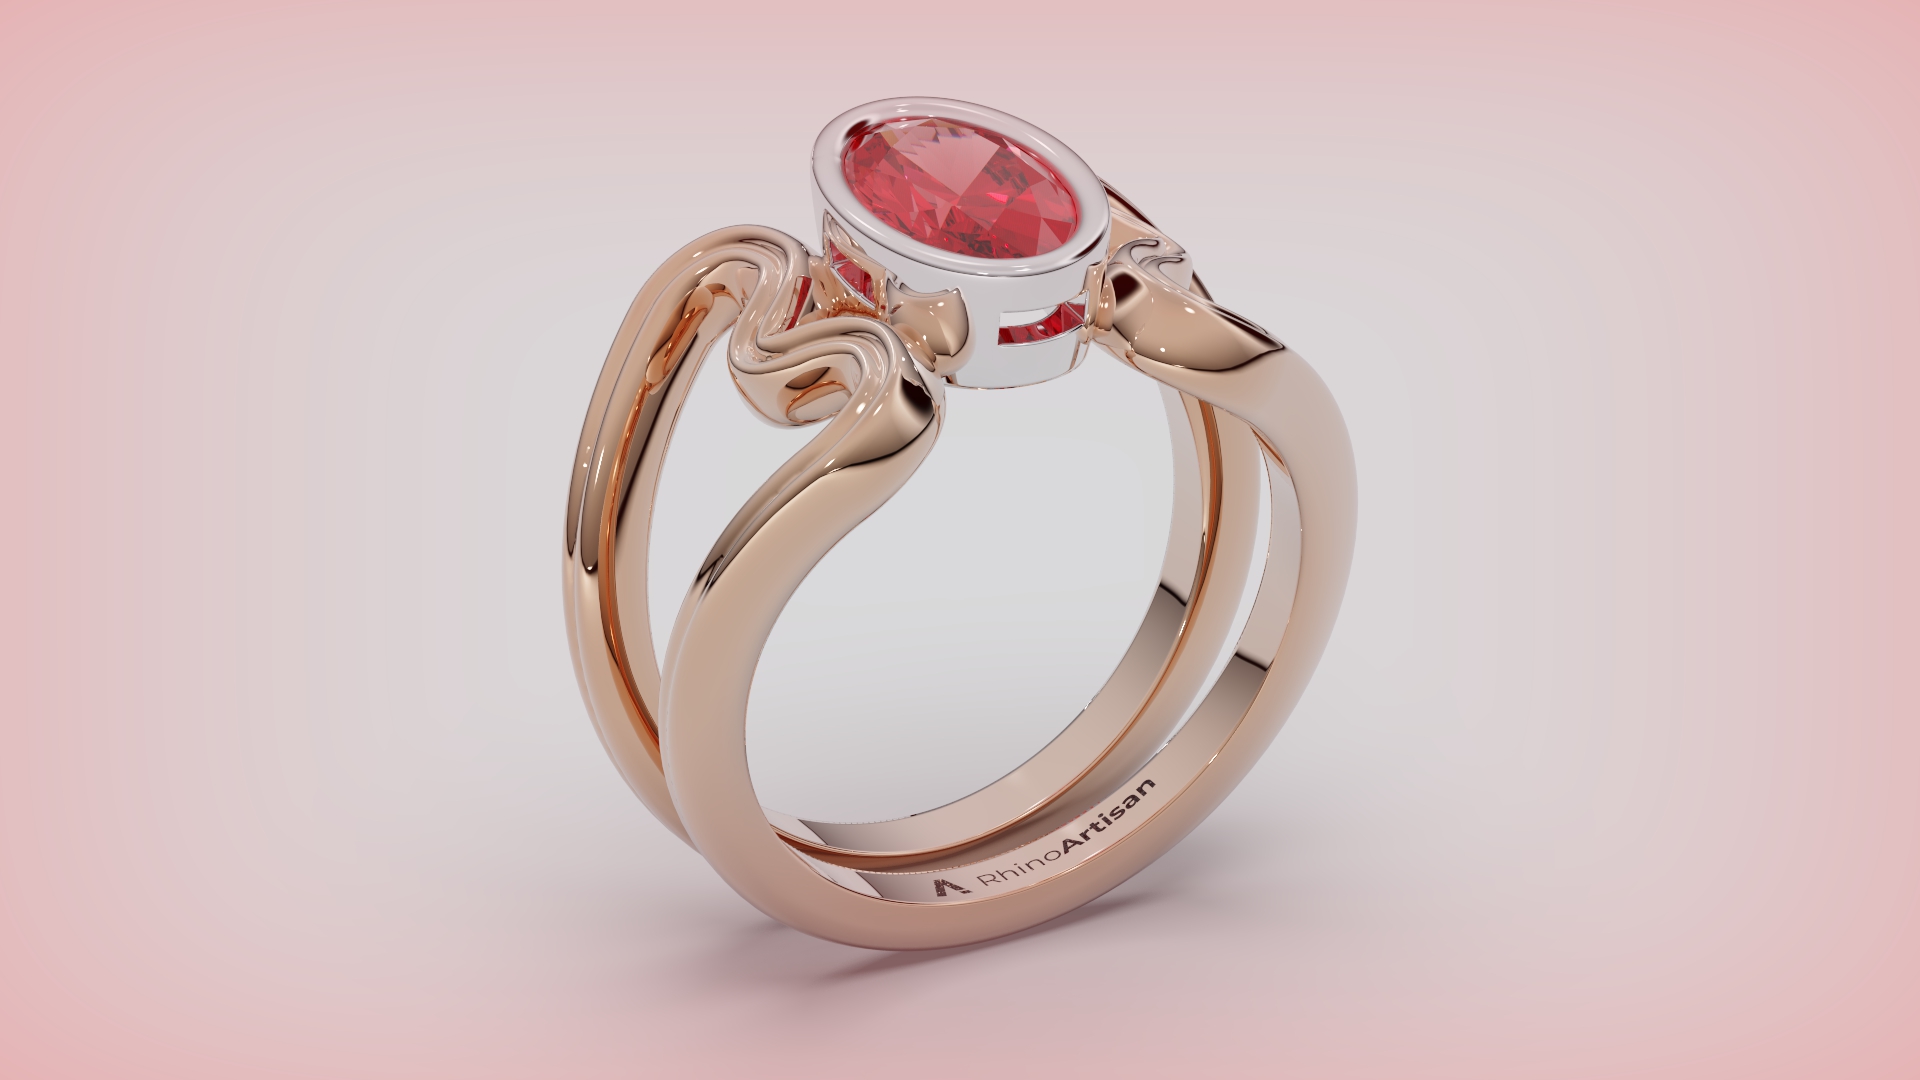
| Fashion Ring | In this tutorial, you’ll design a stylish ring featuring an oval gemstone in a bezel setting that allows light to pass through, enhancing the stone’s brilliance. We’ll craft a custom shank using profile curves and finish with material applications for a professional render. | fashion-ring | Advanced Ring 1920 x 1080.67.jpg | |
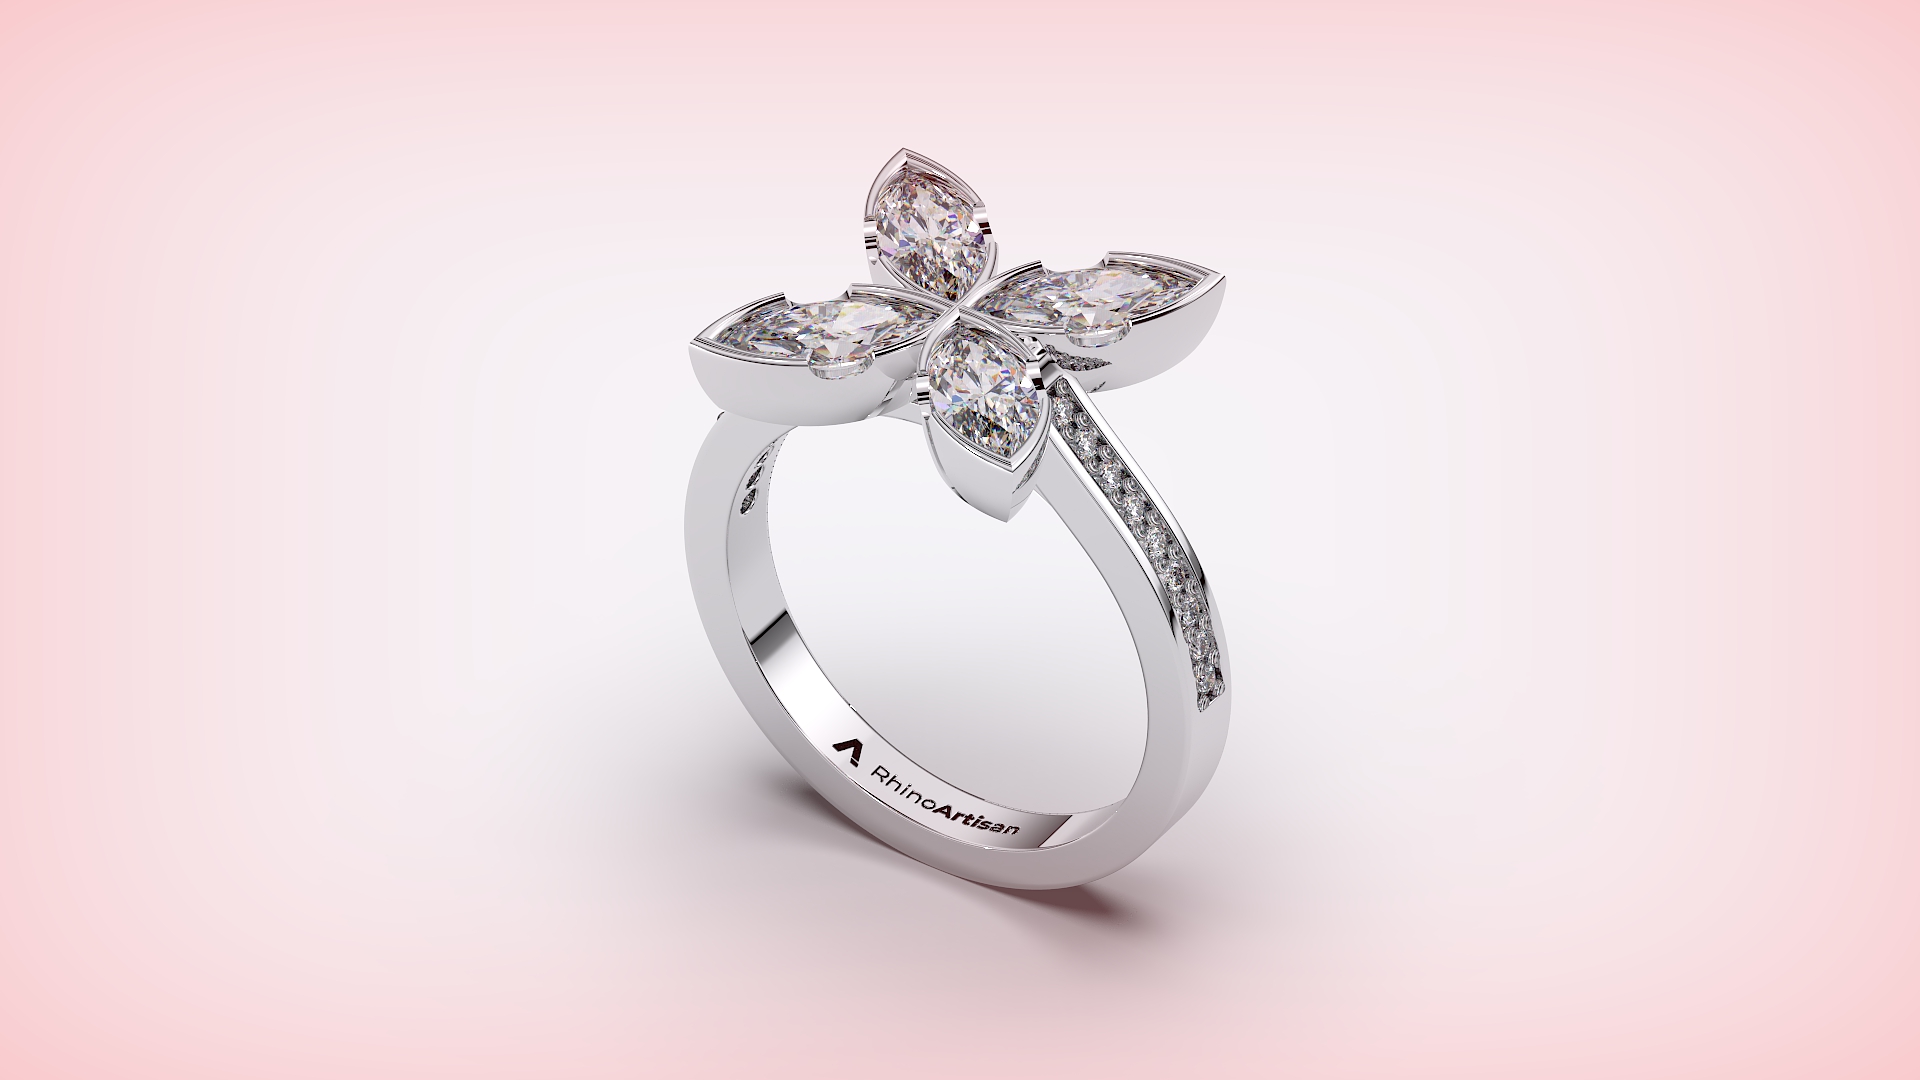
| Fantasy Ring | In this tutorial, we’ll design a fantasy ring featuring a 0.35-carat Marquise diamond, using advanced techniques to position the gem, create a custom bezel, apply a rotation and polar array, and craft a refined cathedral shank with gems and prongs. | fantasy-ring | Fantasy Ring 1920 x 1080.70.jpg | |
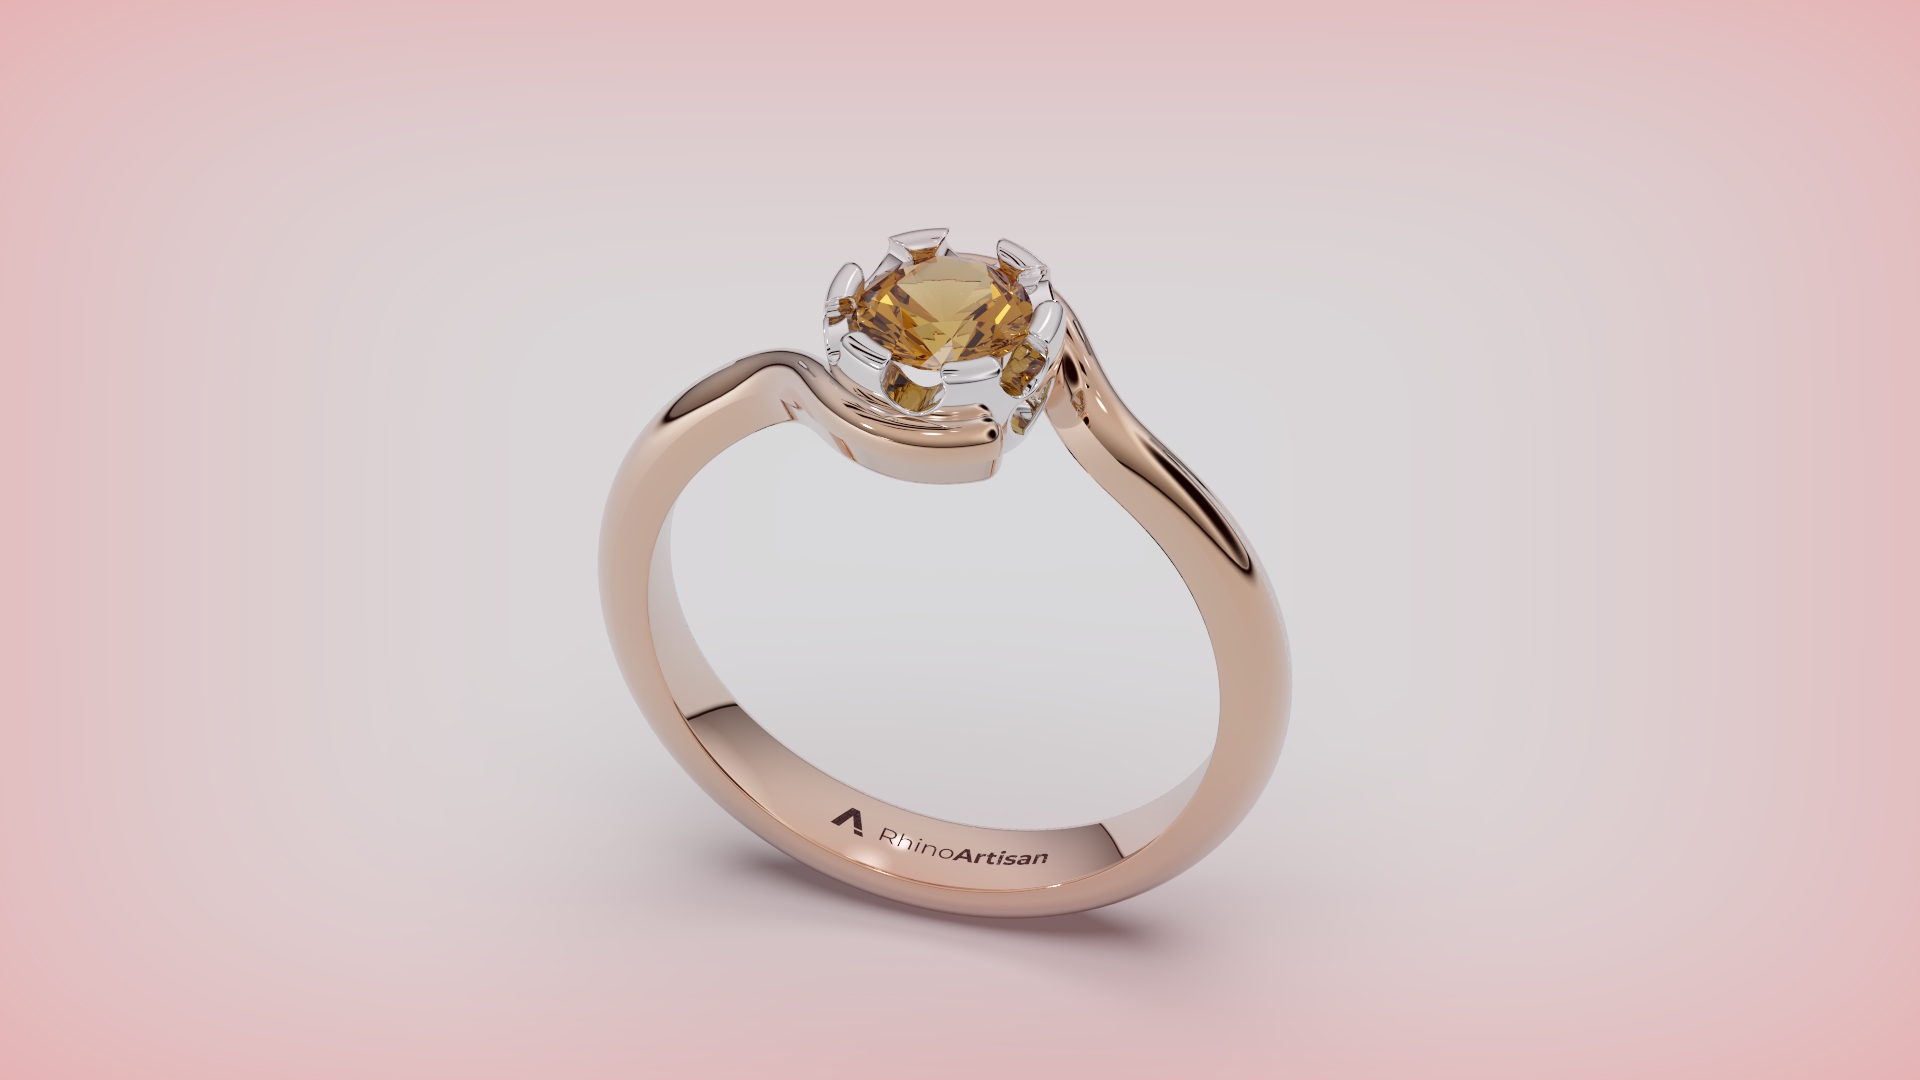
| Advanced Ring | In this tutorial, we’ll design a custom ring starting with a size 7 base curve, featuring a half-carat center stone in a unique bezel and a perfectly fitted shank. We’ll add special details to the bezel for balance and elegance, then apply premium materials and render a striking image. | advanced-ring | Advanced Ring 1920 x 1080.58.jpg | |
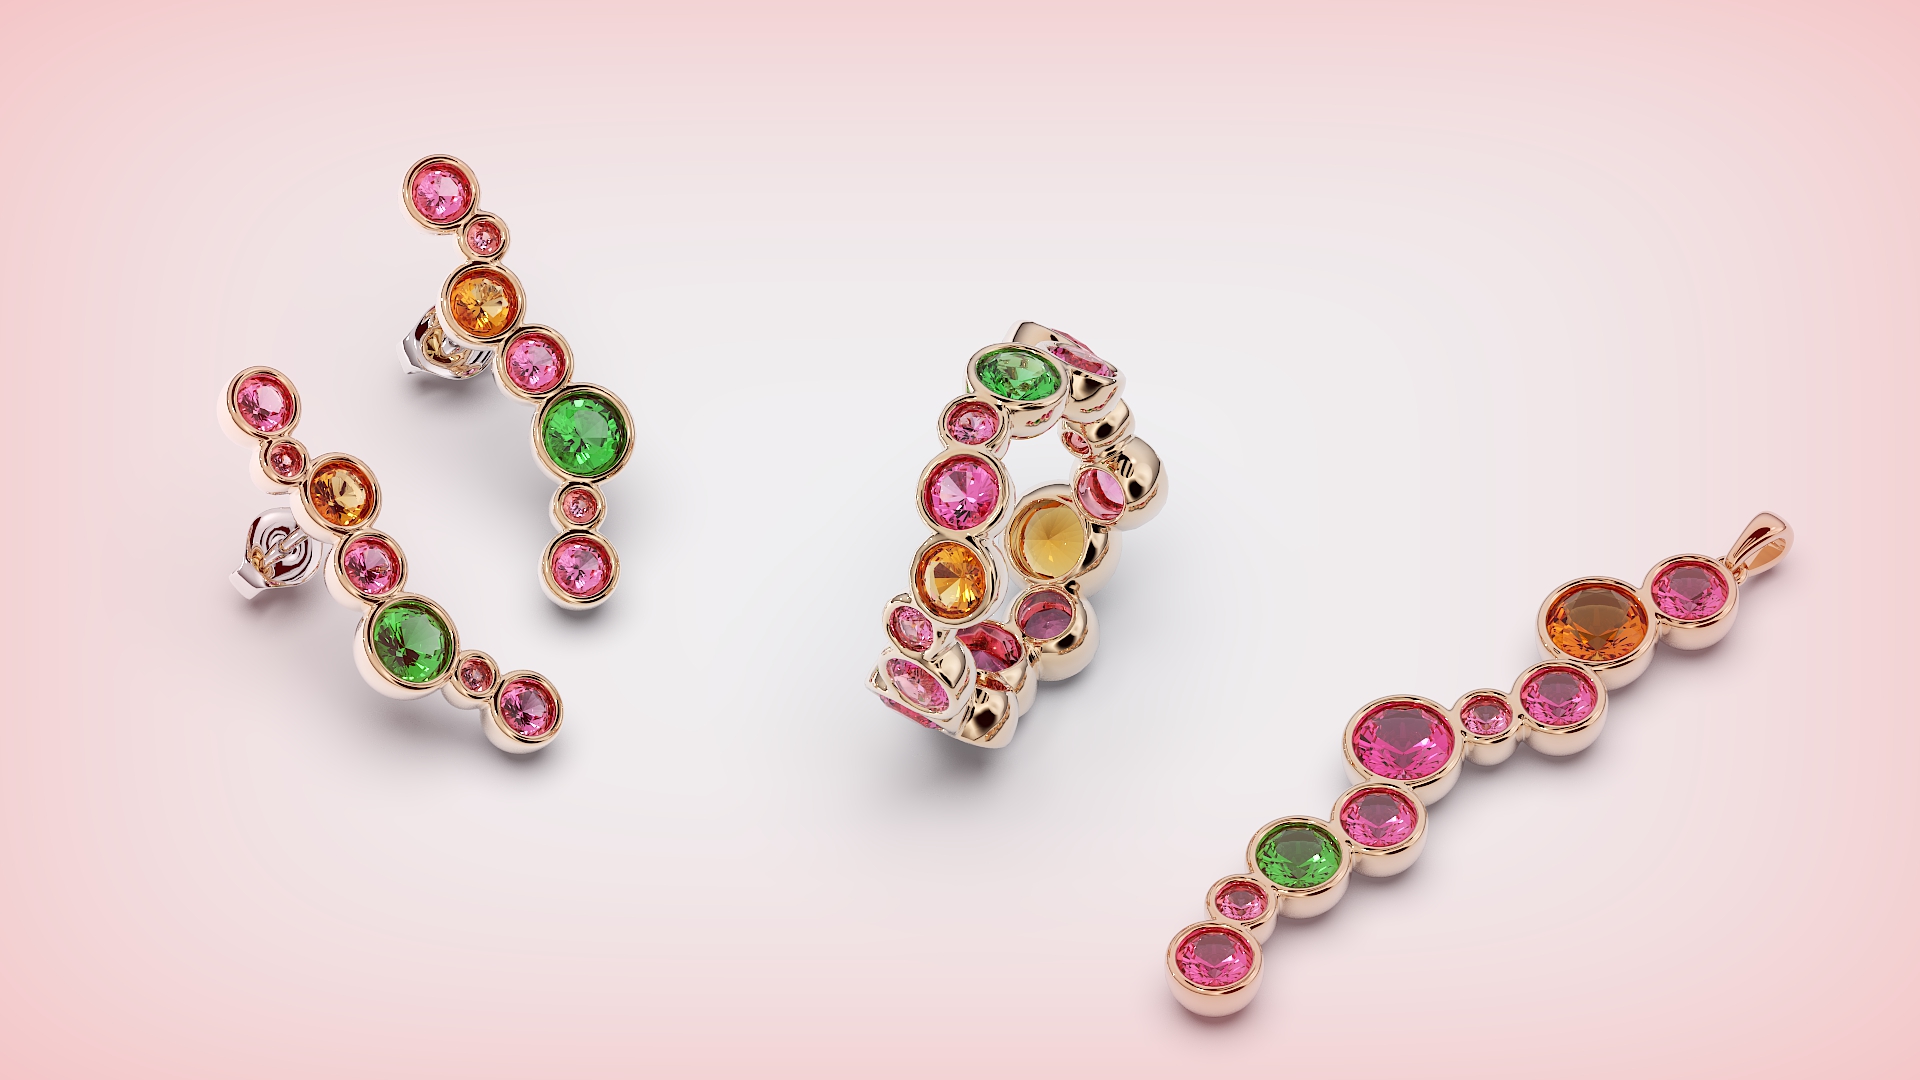
| Bezel Set | In this tutorial, you'll learn how to create a stunning jewelry collection from start to finish. Through four detailed lessons, you'll transform simple geometric shapes into a cohesive, luxurious set, with dazzling gemstones and elegant bezels completing the final, polished look. | bezel-set.md | Bezel set - 2 1920 x 1080.75.jpg |
Master in Jewelry Rendering Start Learning
Explore advanced rendering tools to create visuals that bring the ‘Wow’ factor every jewelry professional seeks.
| Import files | In this section, we will explore the various options available for importing models. | master-in-jewelry-rendering-in-cycles | render-import2.jpeg | |
| Organizing our model | We will learn how to organize our designs and the different selection methods. | master-in-jewelry-rendering-in-cycles | organizing2.jpg | |
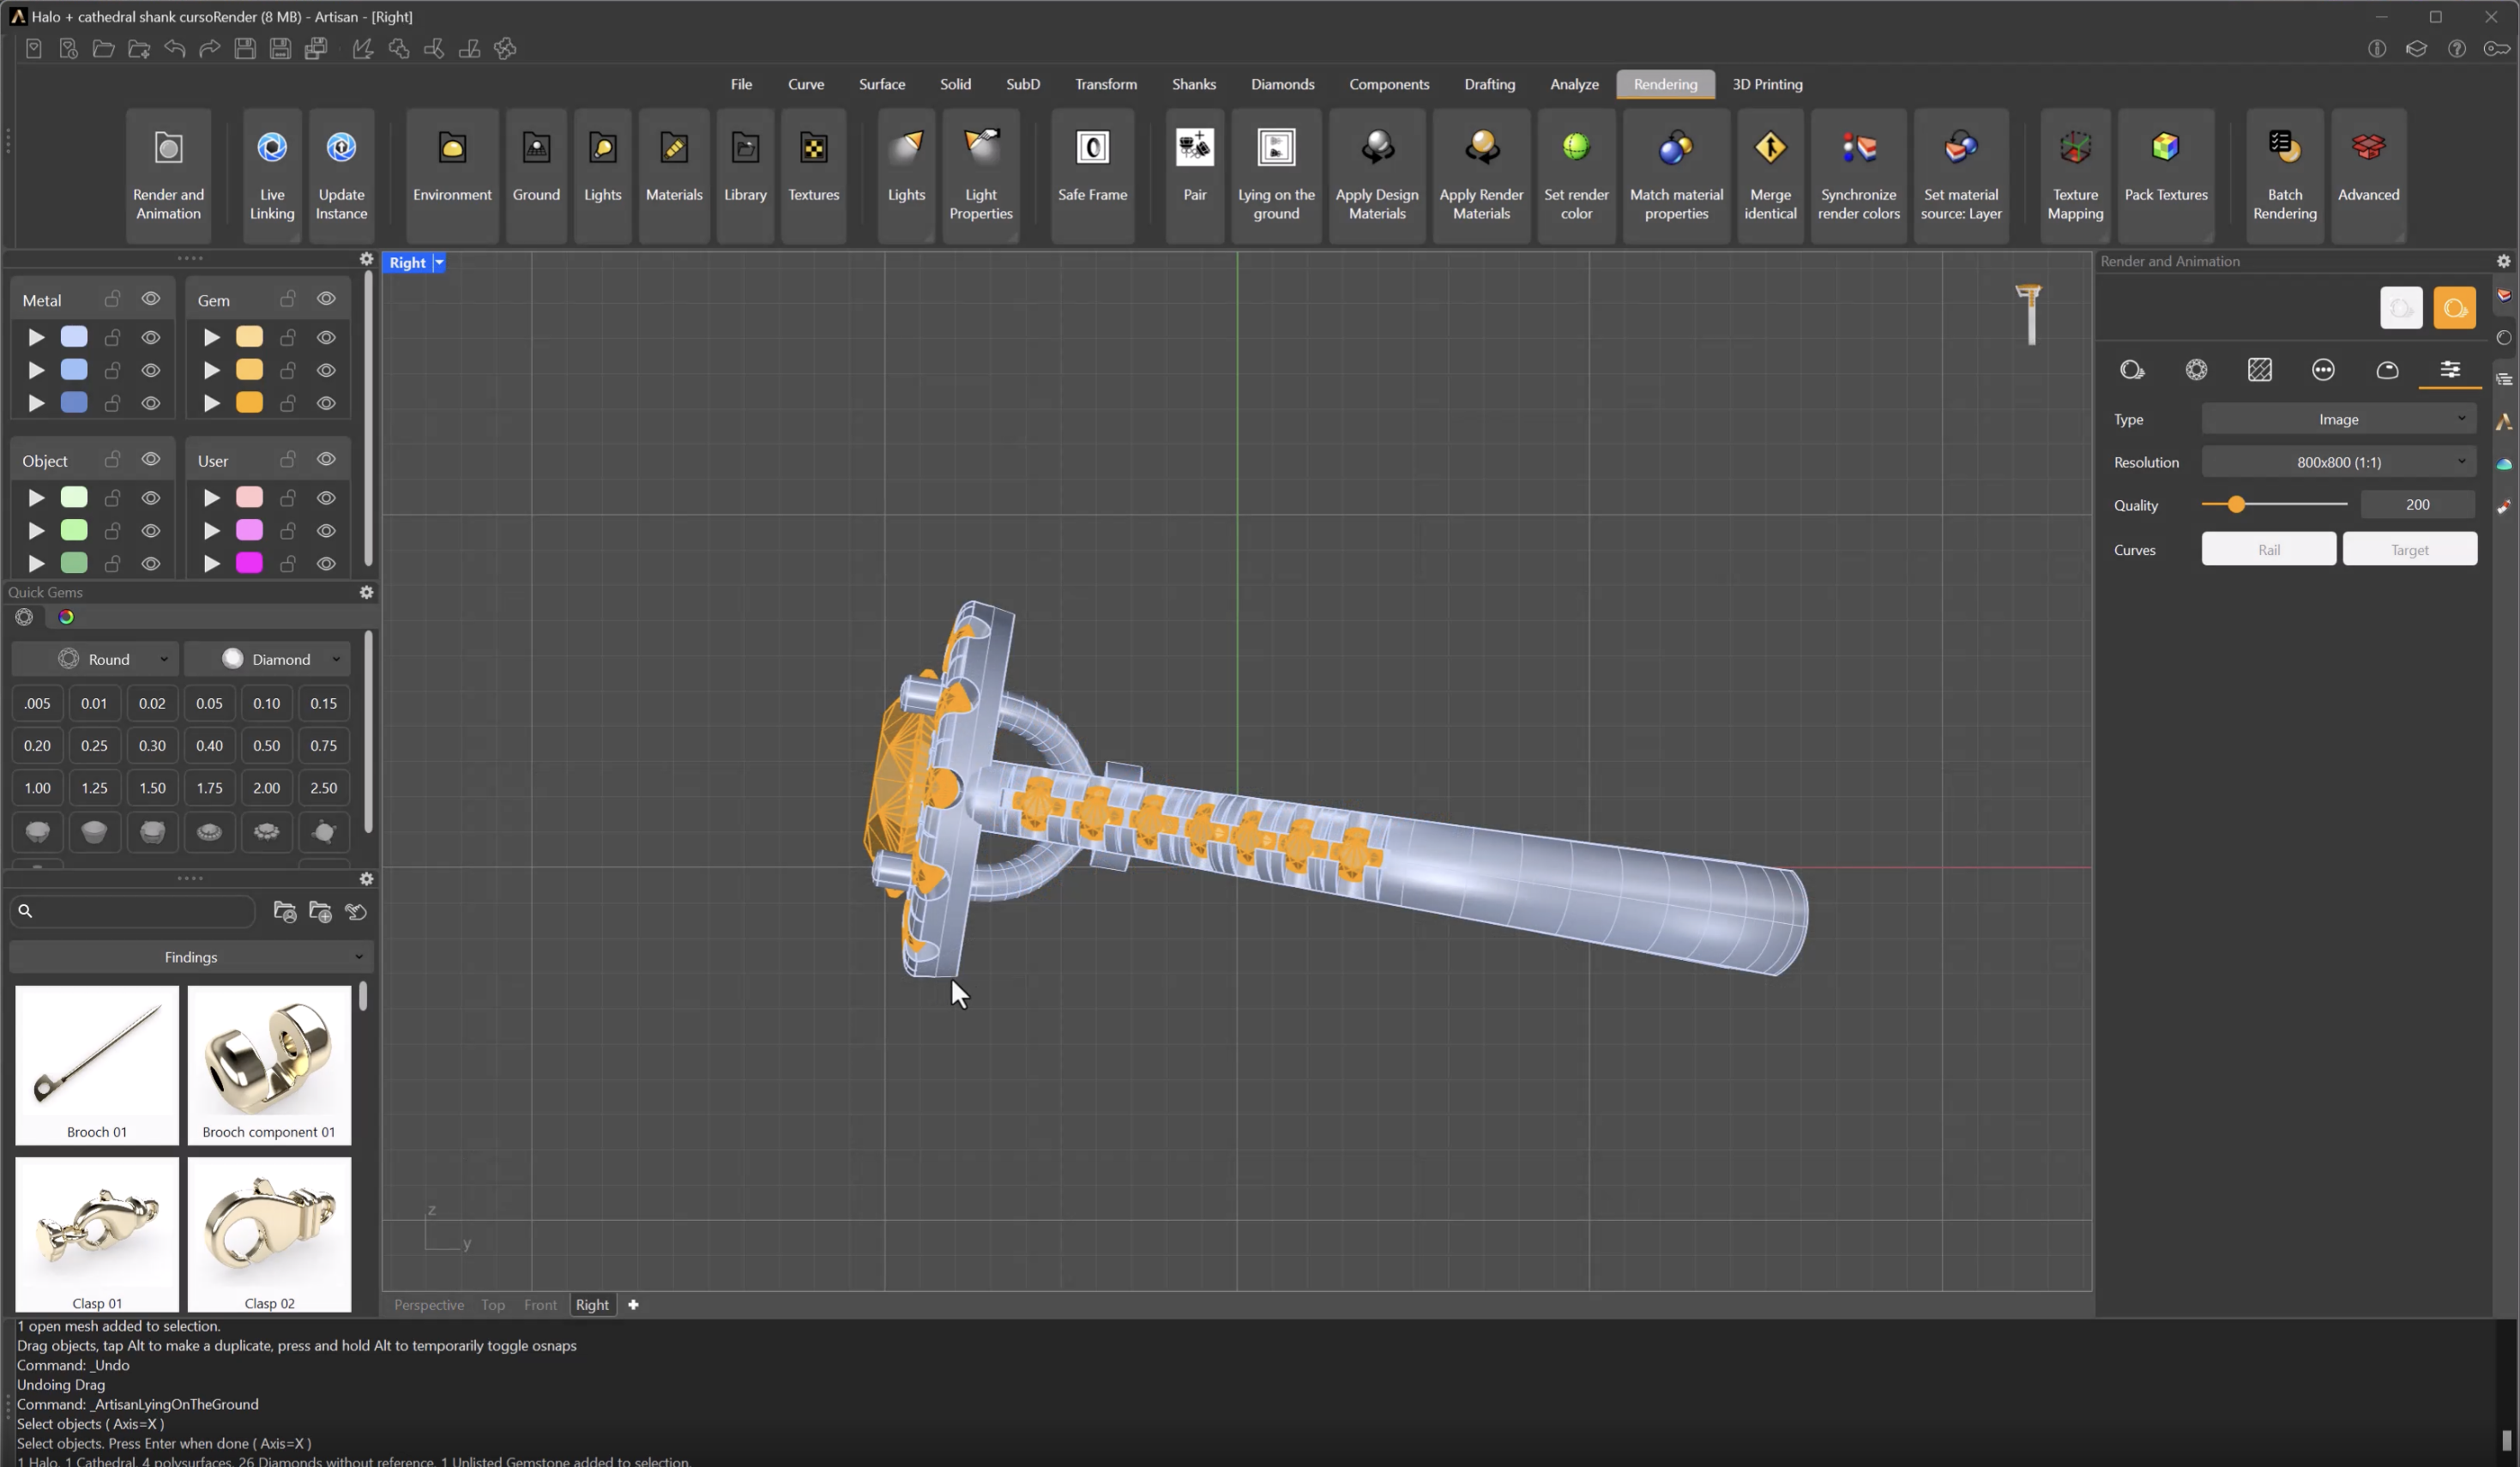
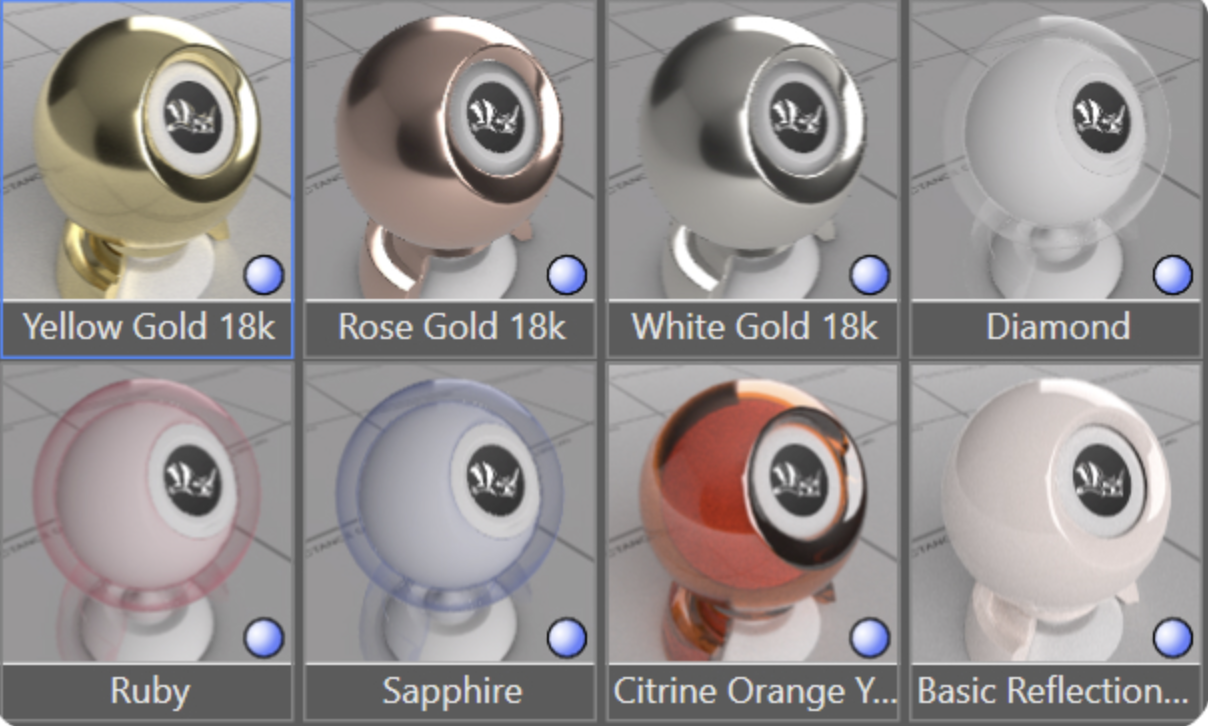
| Applying Materials | We will learn how to apply materials from the library, as well as how to create new materials or modify existing ones. | master-in-jewelry-rendering-in-cycles | render3-2.jpeg | |
| Posing | We will learn how to position our model for rendering. The pose helps create a balanced and harmonious image. | master-in-jewelry-rendering-in-cycles | Posing | Screenshot 2024-11-09 at 17.32.43.png |
| Applying Environments | Lighting is essential for rendering a model. Even with final materials, proper lighting is crucial. Using an environment, we can see the difference in colors and reflections. | master-in-jewelry-rendering-in-cycles | Screenshot 2024-11-09 at 18.17.47.png | |
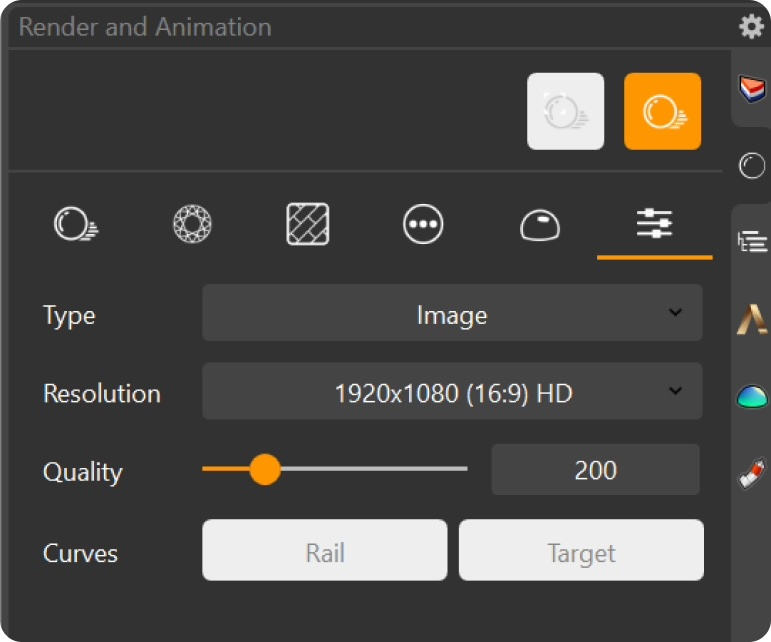
| Creating the render | We will define all parameters, such as quality and resolution, depending on whether it's for a client or for social media. | master-in-jewelry-rendering-in-cycles | render6-3.jpeg |
Timeless Jewels Start Learning
Our Timeless Pieces course collection introduces you to creating iconic jewelry designs that remain always on trend.
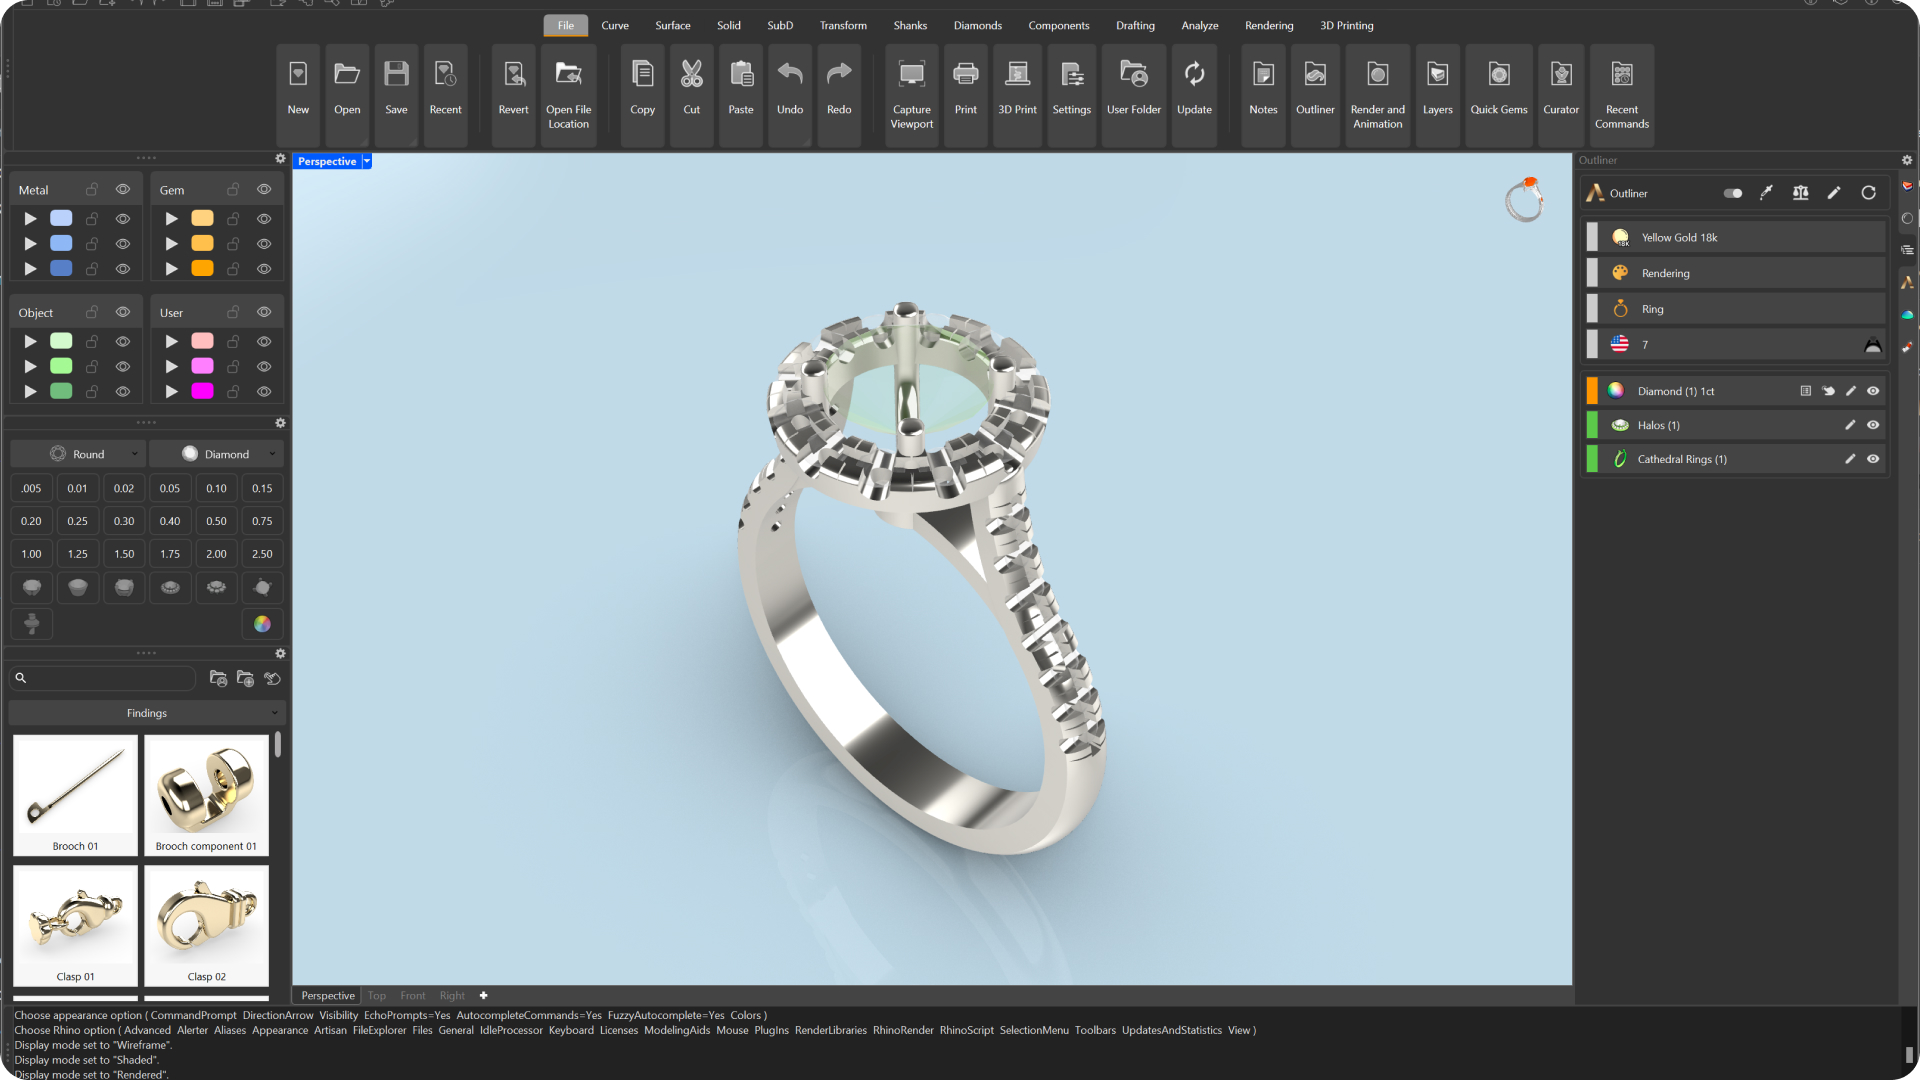
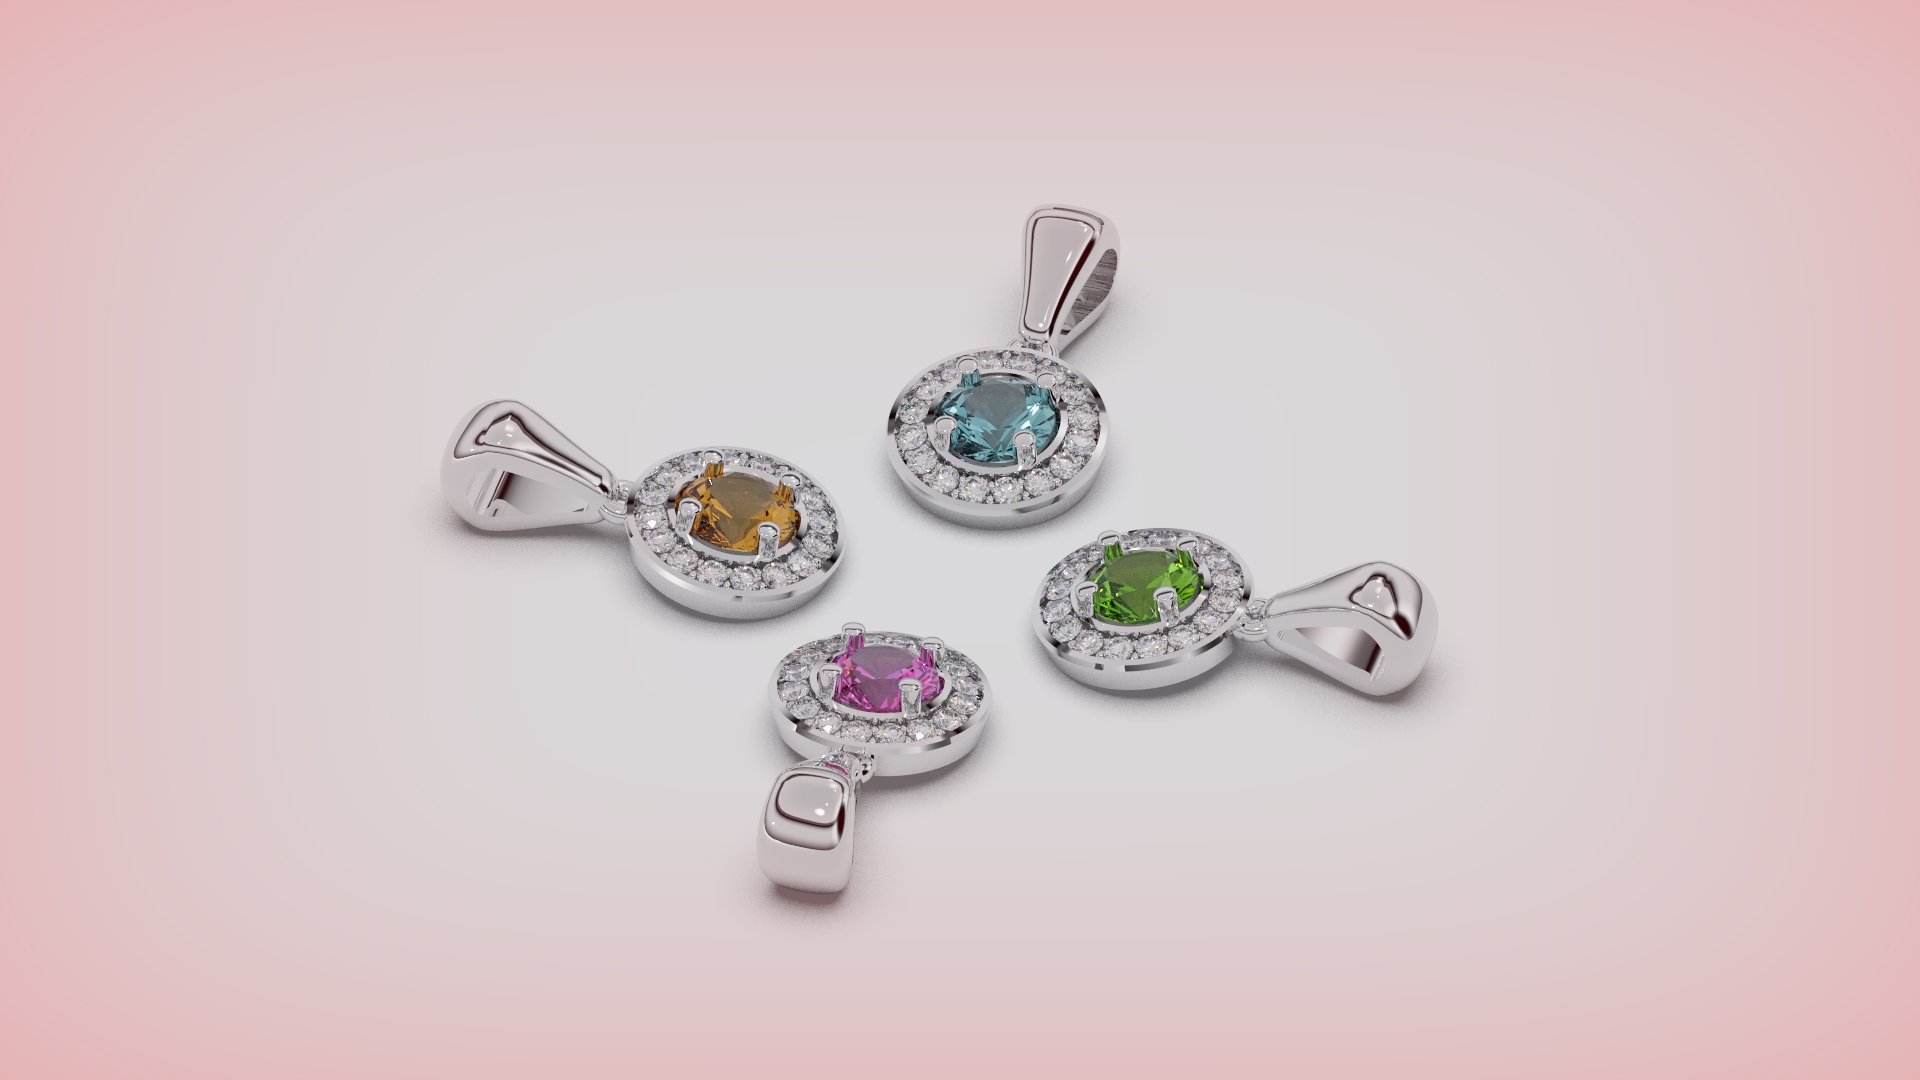
| Halo Pendant | This tutorial covers how to design a halo pendant entirely, and even render it, everything using RhinoArtisan. | Tension Ring 1920 x 1080.47.4.1.jpg | halo-pendant |
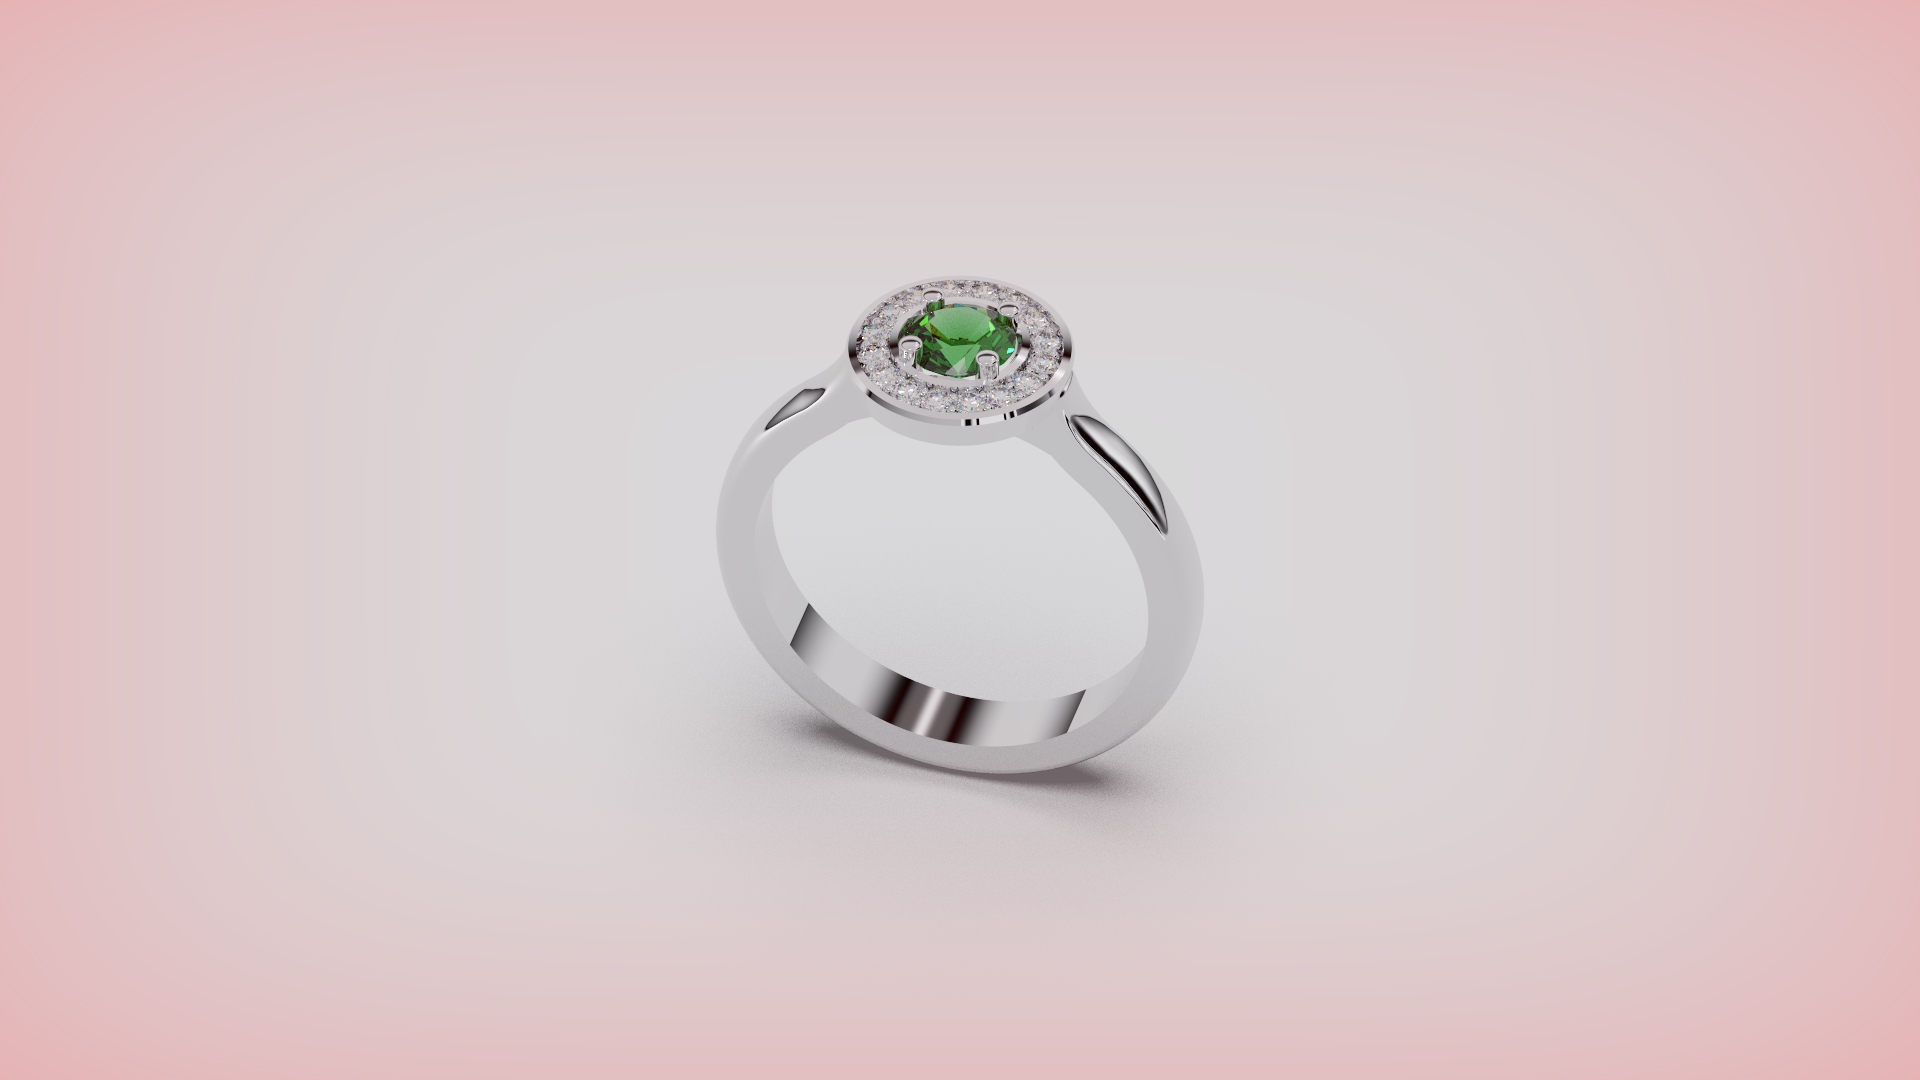
| Halo Cathedral | This tutorial will guide you through creating a Halo Cathedral ring design, from shaping the shank to rendering it in stunning detail, all using RhinoArtisan. | Timeless Halo Cathedral 1920 x 1080.5.jpg | halo-cathedral |
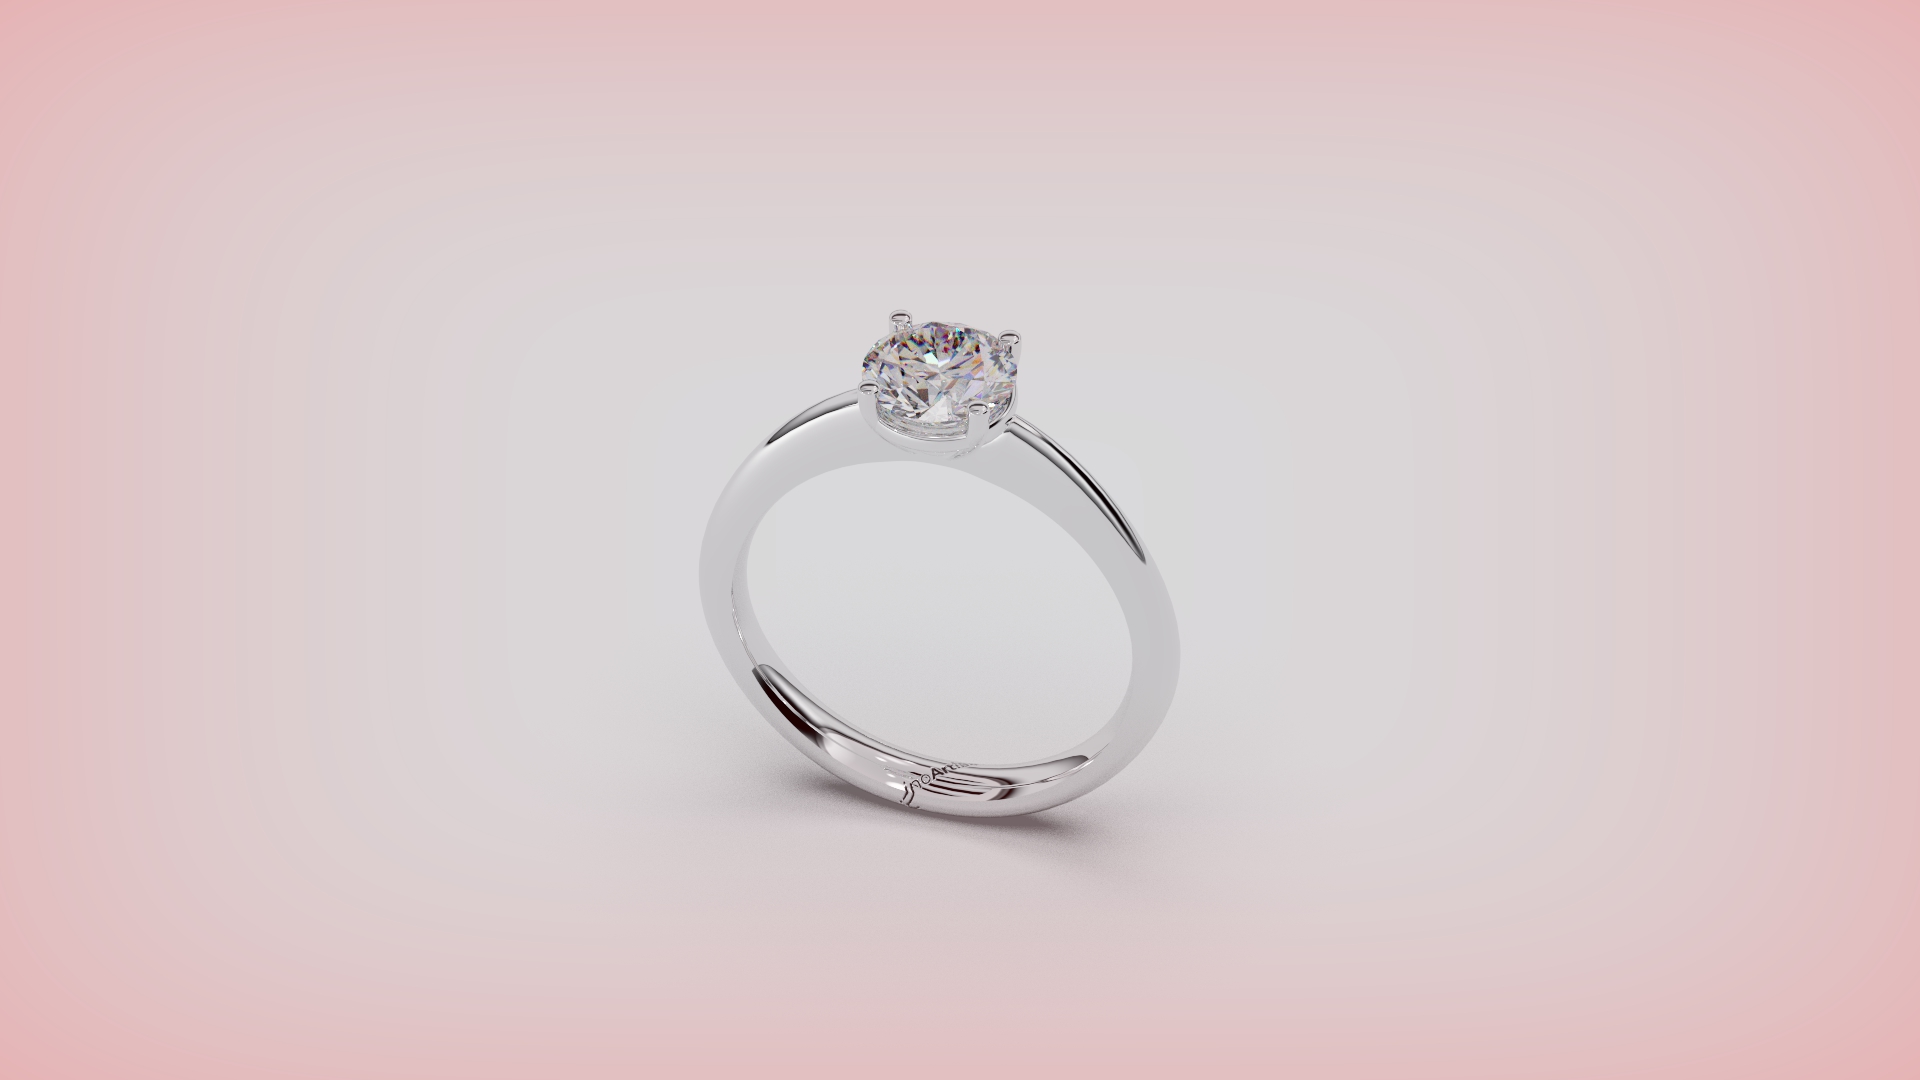
| Timeless Solitaire Ring | Design a classic engagement ring with a tapered shank, a custom 1-carat diamond basket, and 18k white gold, then render the final piece. | Timeless Solitaire Ring 1920 x 1080.6.jpg | solitaire-ring |
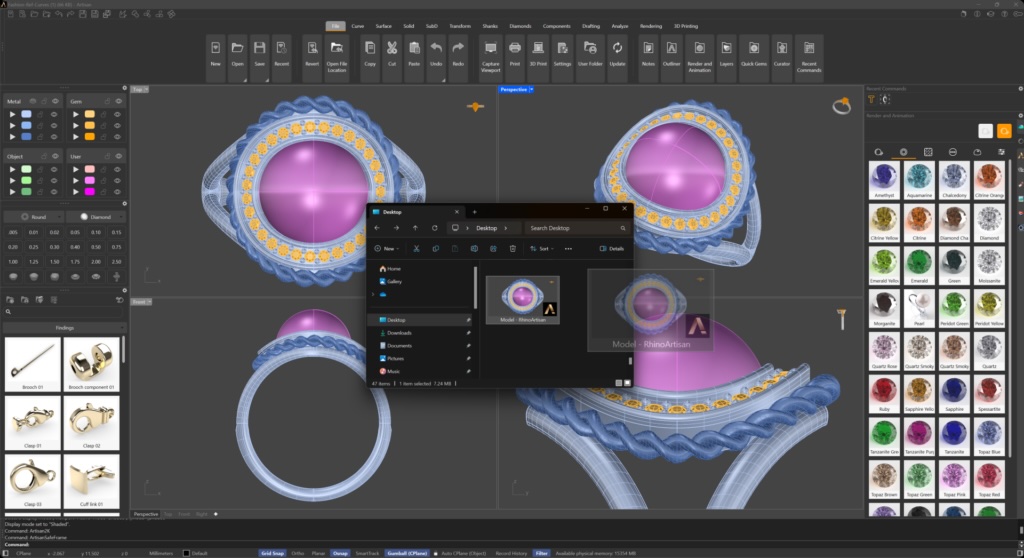
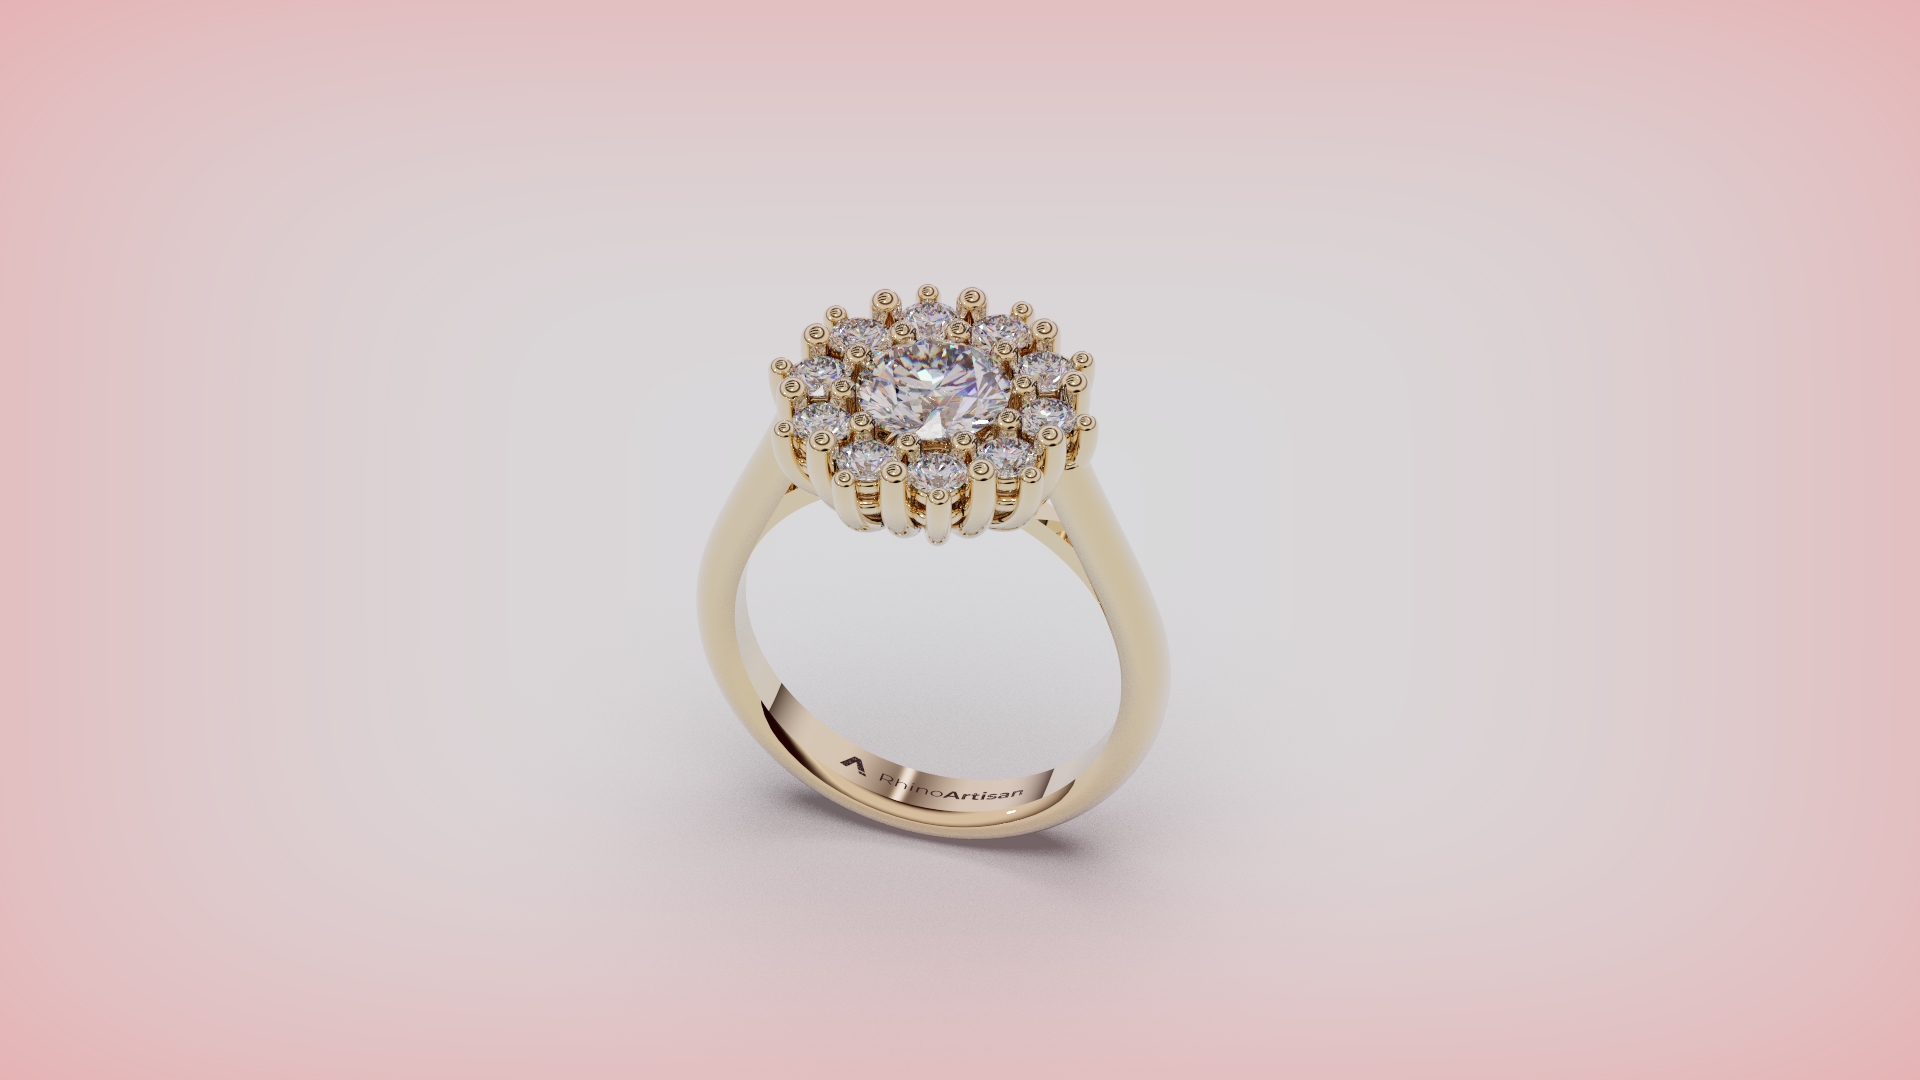
| Classic Cluster | Design a Classic Cluster Ring with a 1-carat diamond centerpiece, double-layered gem rail, Cathedral Shank band, and a stability bridge, then render the final design. | Cluster Classic 1920 x 1080.8.jpg | classic-cluster |
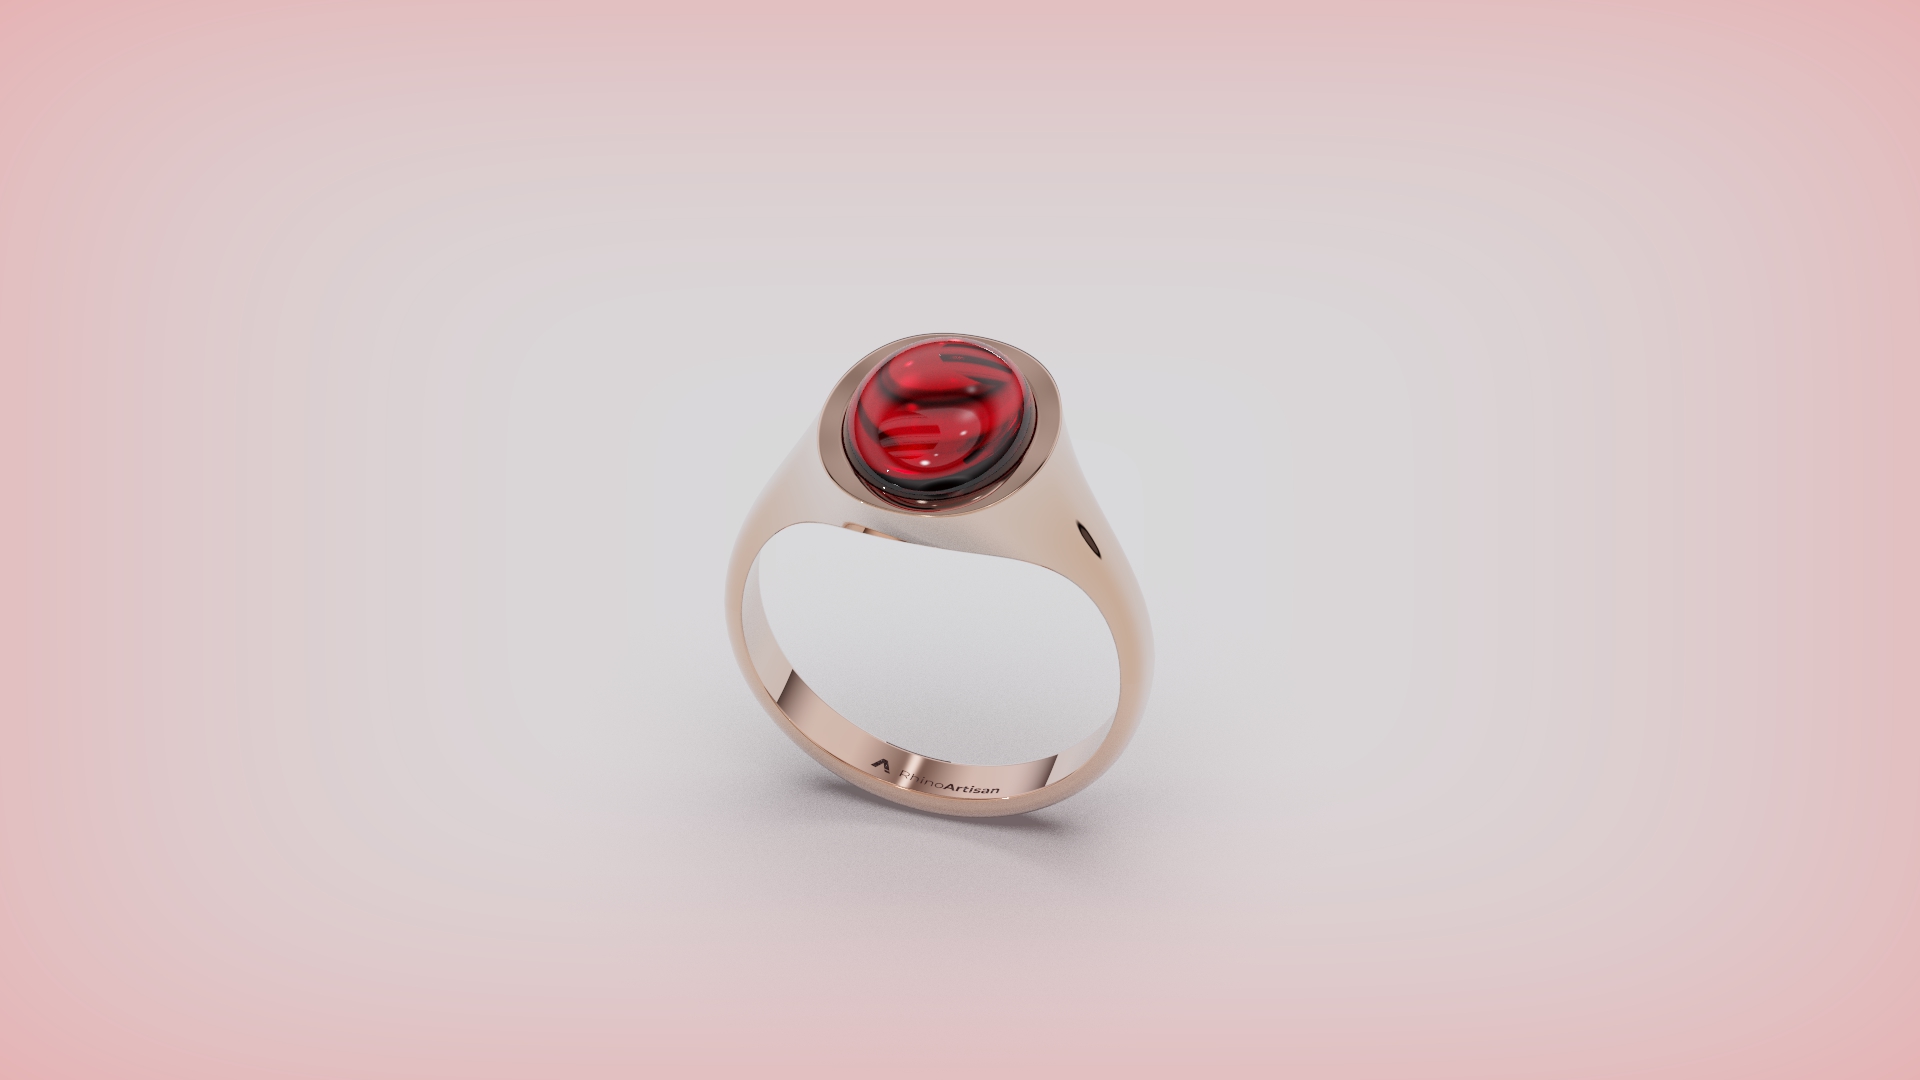
| Cabochon Ring | This tutorial guides you to create a solid shank using the Signet command, then set a cabochon gem with precise alignment. Techniques like Offset and Boolean Difference ensure a perfect fit. | Cabochon 1920 x 1080.7.jpg | cabochon-ring |
Organic SubD Ring Start Learning
Discover the art of crafting fluid, organic ring designs with our Organic SubD Ring Design course. Through these tutorials, you’ll unlock the potential of RhinoArtisan’s powerful SubD modeling tools, mastering techniques to shape smooth, organic forms.
| We will learn how to create a cushion-shaped basket for a gemstone. The tutorial focuses on designing the base, positioning the prongs, and ensuring a proper fit for the cushion-cut stone. | CushionBasket.png | organic-subd-ring-design | ||
| Teaches us how to model a round basket for a gemstone. We will learn how to build the circular structure, arrange the prongs evenly, and finalize the basket for a perfect gem setting. | Round Basket.png | organic-subd-ring-design | ||
| Here, we will learn how to design a complete ring, including shaping the band and integrating the basket. The video highlights key techniques to ensure precision and achieve a polished, symmetrical result. | The Ring.png | organic-subd-ring-design | ||
| In this video, we will learn how to prepare our model for rendering. The tutorial covers applying realistic materials, adjusting lighting, and setting up the scene to create a high-quality, professional final render. | Render (1).png | organic-subd-ring-design |
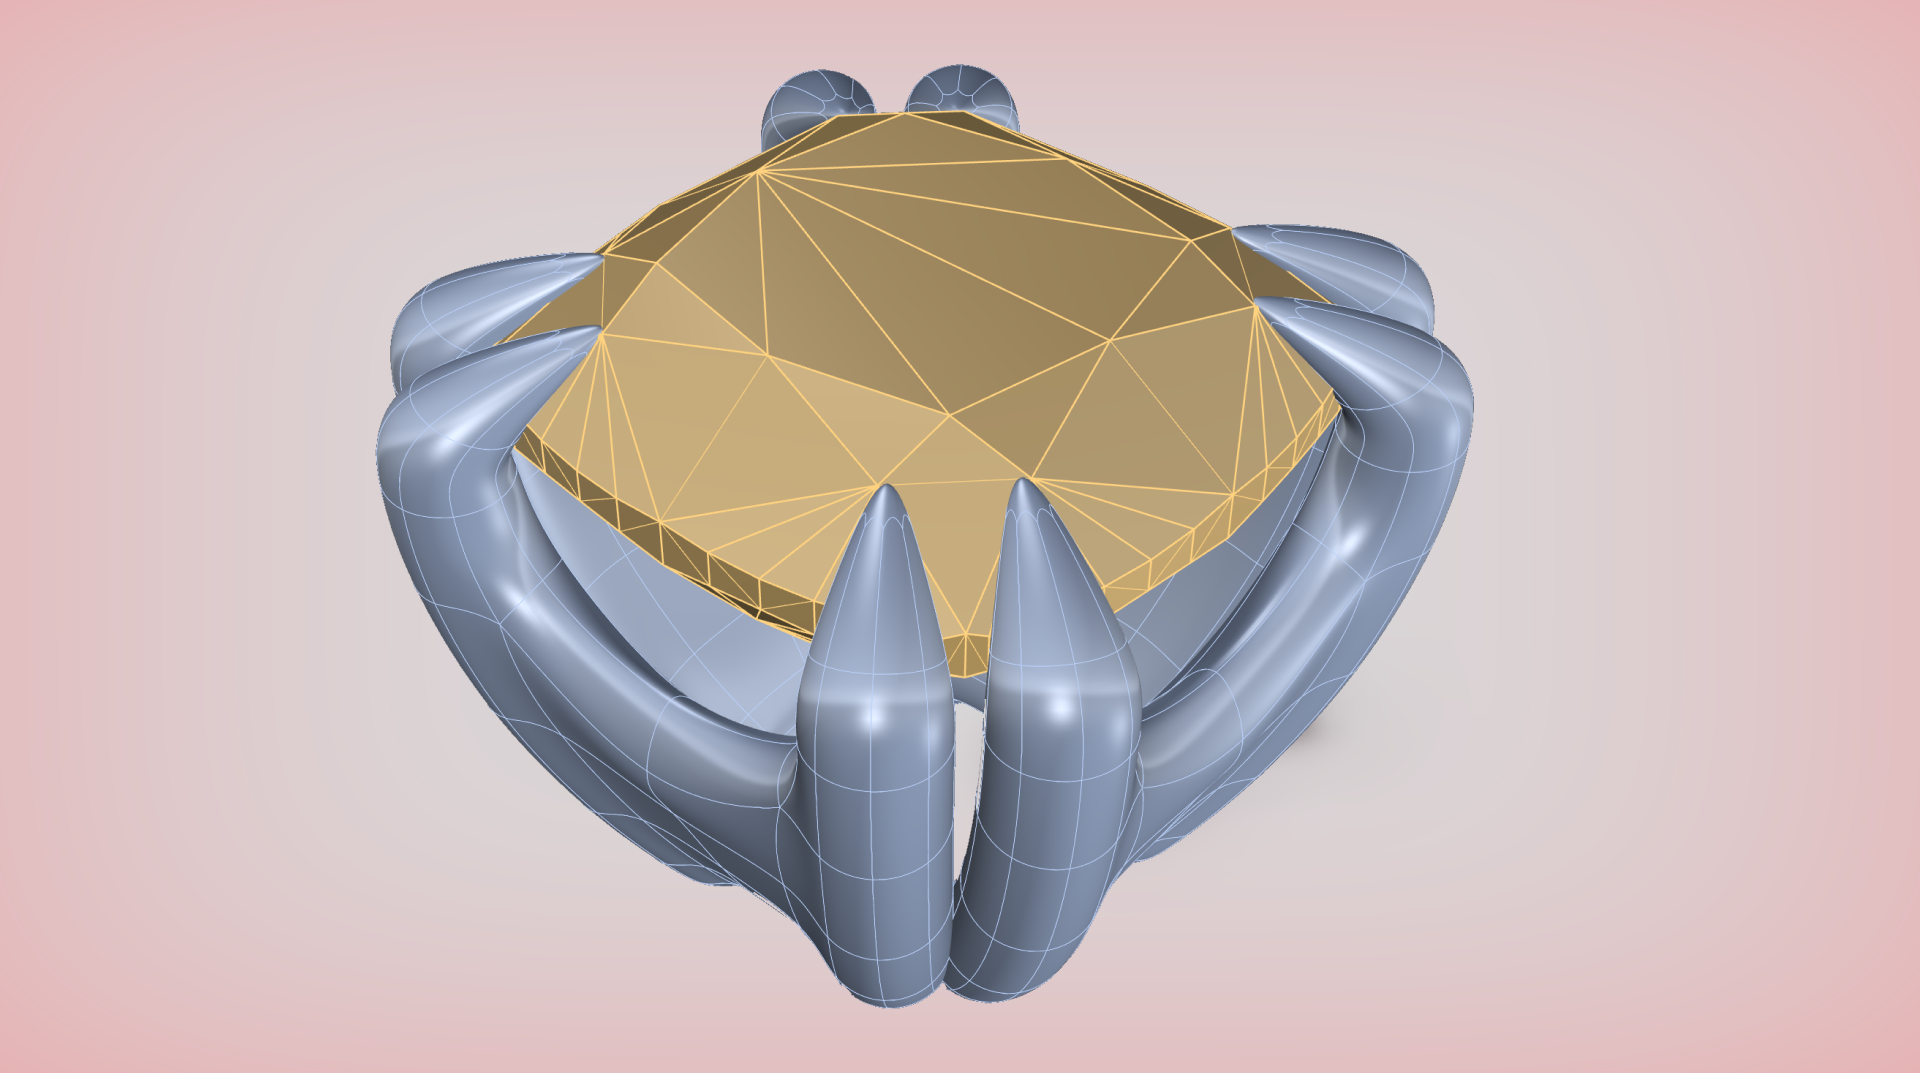
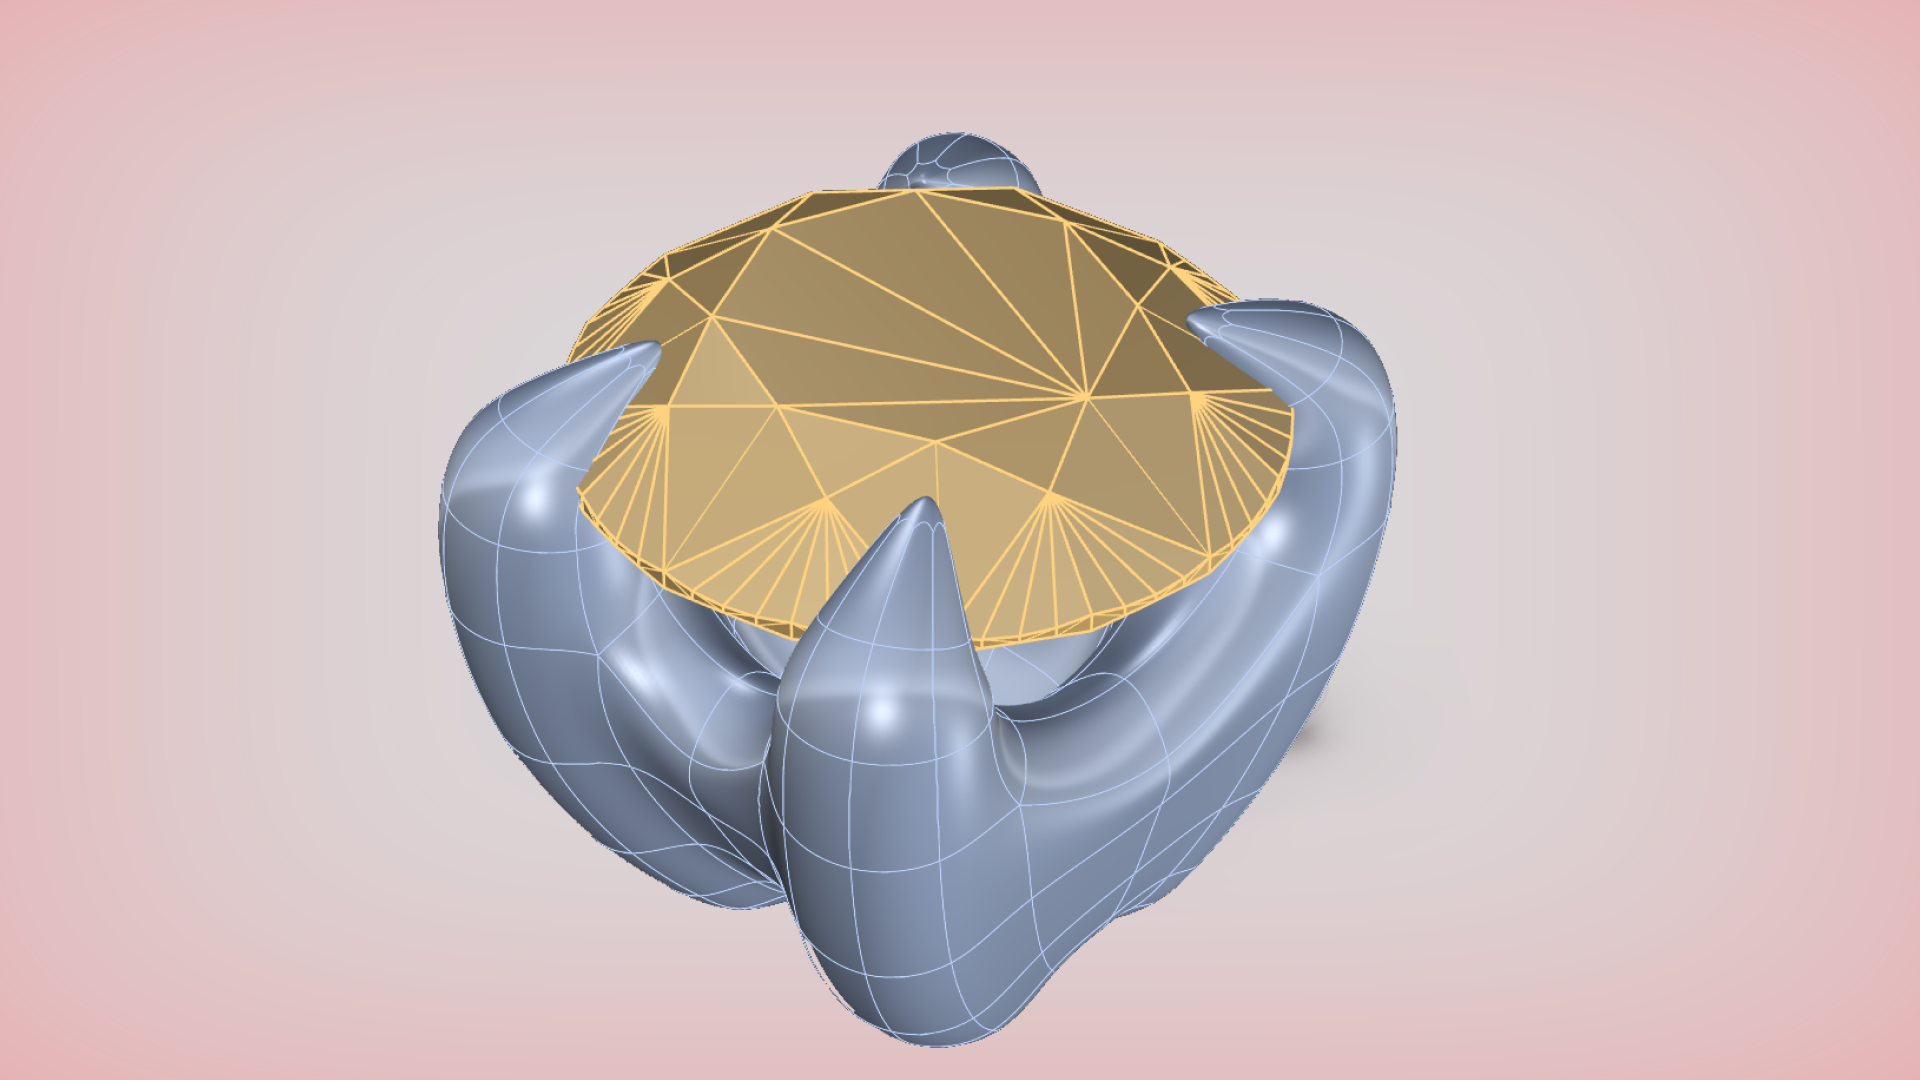
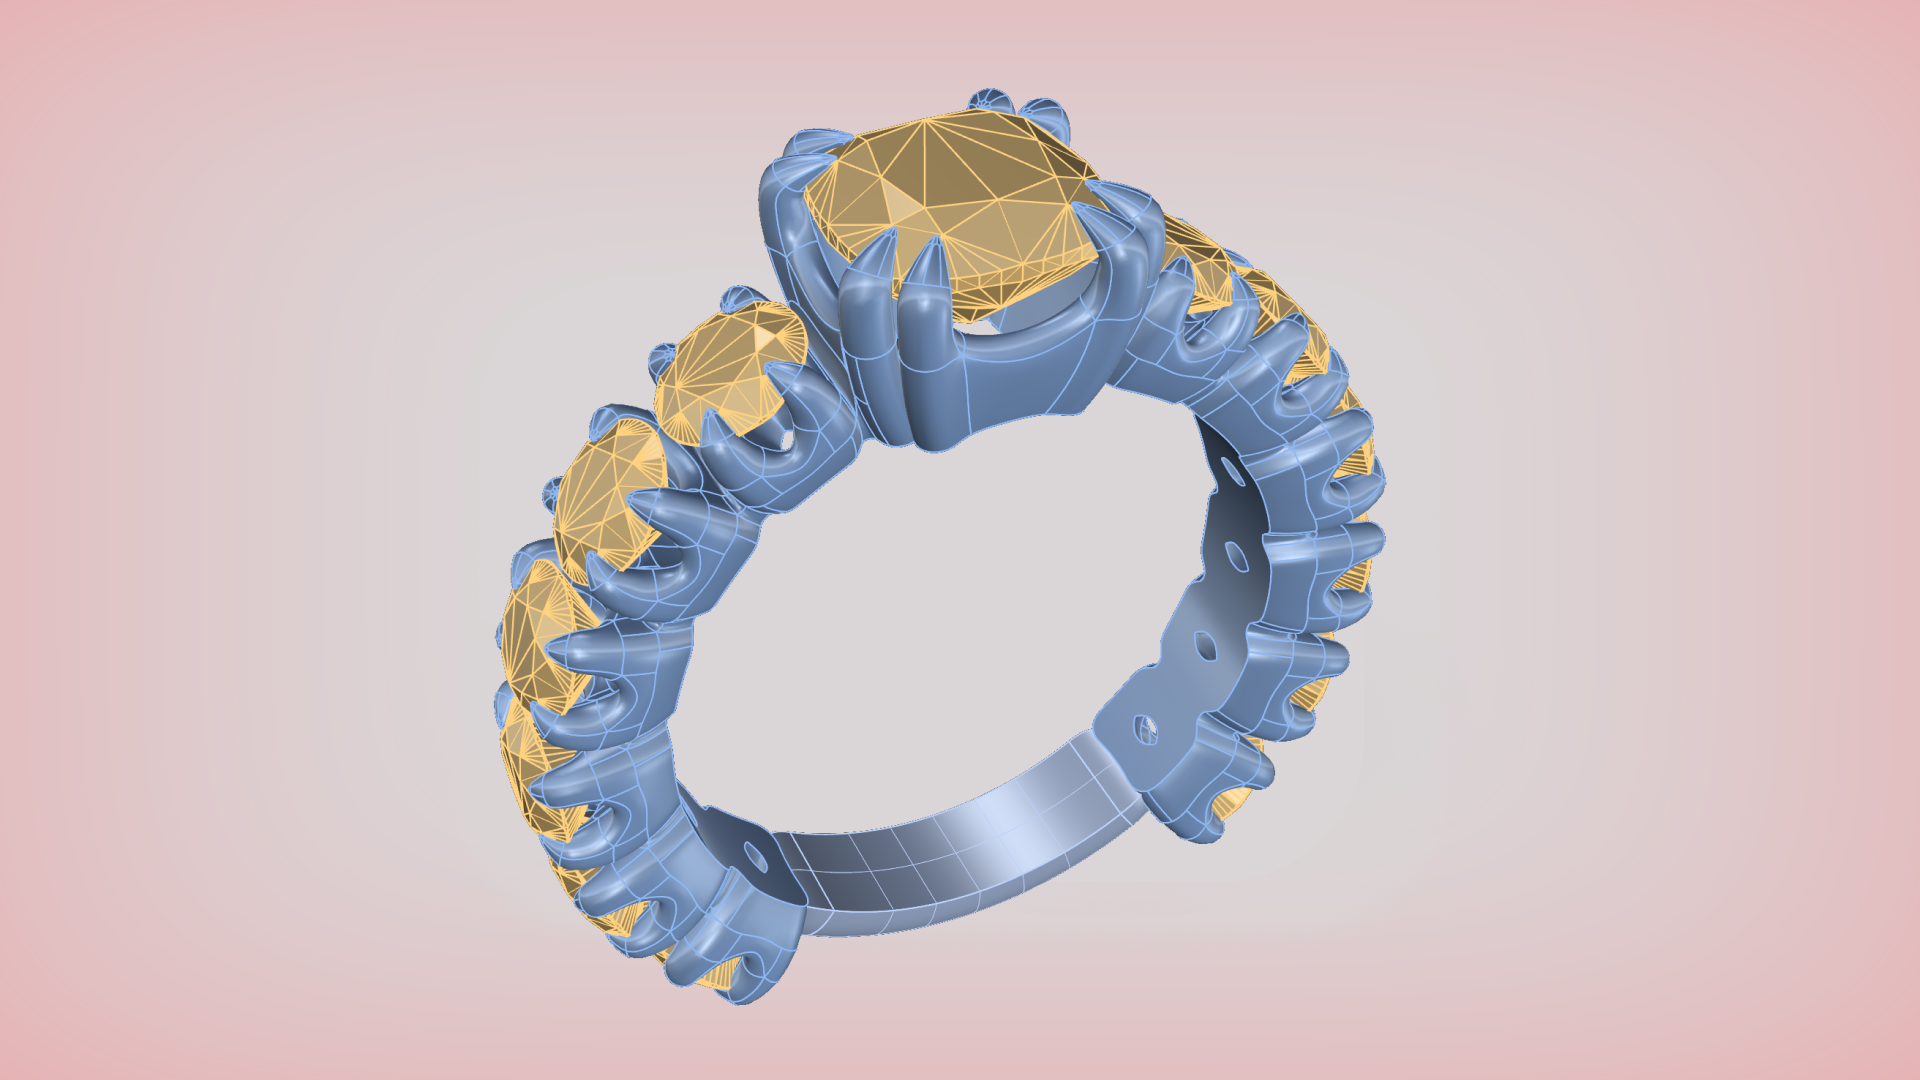
.png)
From RhinoArtisan to Keyshot Start Learning
Unlock the full potential of your jewelry designs with our From RhinoArtisan to Keyshot course. This course guides you step-by-step through preparing your RhinoArtisan models for breathtaking renders using KeyShot, ensuring every detail shines with perfection.
Start by organizing and importing essential resources, from 3DM models to materials and environments. Learn efficient file management techniques to streamline your workflow, making it easy to access and apply the resources you need. Master the integration of RhinoArtisan with KeyShot through Live Linking, ensuring your models update dynamically without interrupting your creative flow.
Dive into KeyShot’s intuitive tools to position elements, refine materials, and enhance lighting. You’ll explore advanced techniques like using multi-materials for metals, optimizing diamond realism with increased ray bounces, and creating visually stunning environments to elevate your designs. Discover how to quickly edit and adjust your models in RhinoArtisan and see the changes instantly reflected in KeyShot, empowering you to experiment and perfect every design detail. By the end of this course, you’ll confidently render professional-quality images that capture the beauty and craftsmanship of your creations—ideal for portfolios, social media, and client presentations. Experience the seamless synergy of RhinoArtisan and KeyShot to bring your jewelry visions to life.
| Cover image | |||
|---|---|---|---|
| What is Jewelry Rendering? | image (63).png | from-rhinoartisan-to-keyshot | |
| KeyShot Studio Interface | image (40).png | keyshot-studio-interface | |
| My First Render | image (62).png | my-first-render |
.png)
.png)
.png)