
Private live online training, delivered remotely for your team
Get ready to create with confidence as you explore modular designs, advanced modeling techniques, and manufacturing-ready workflows! You’ll craft unique pieces like halo pendants, parametric engagement rings, and cluster designs, all while learning to optimize for 3D printing and casting. With the power of Connect, you’ll showcase your creations with professional renders and manage collections for in-store or remote clients. Join our live classes to connect with fellow creatives, ask questions in real-time Q&A sessions, and unlock your potential to design jewelry that captivates and sells. Enroll now and let RhinoArtisan elevate your artistry to new heights!
This class introduces RhinoArtisan, a jewelry design software, focusing on its core interface and initial workflow. Students learn essential tools, including the Artisan Toolbar, Outliner for object hierarchy, RhinoArtisan commands, and advanced layer management for organized designs.
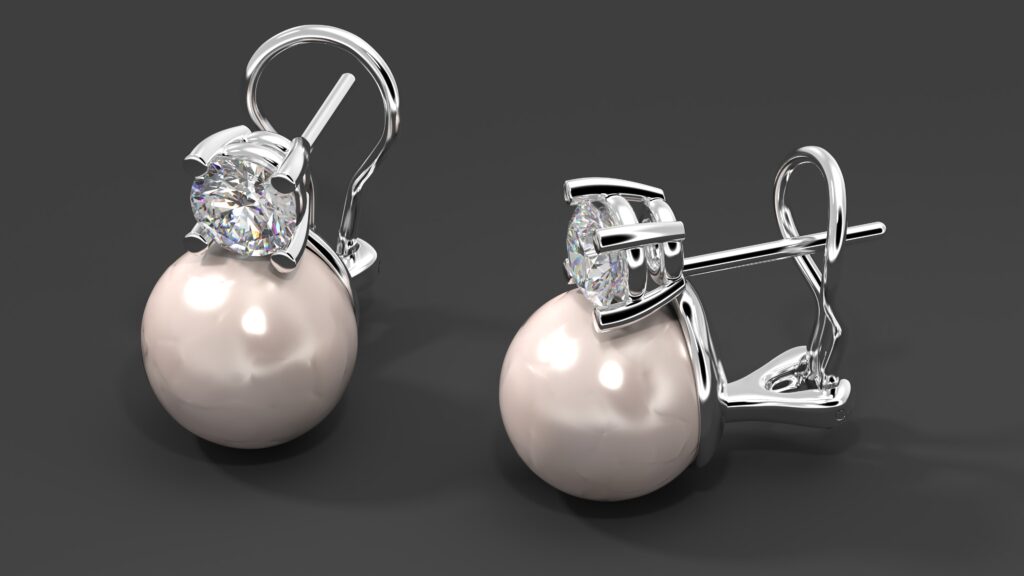
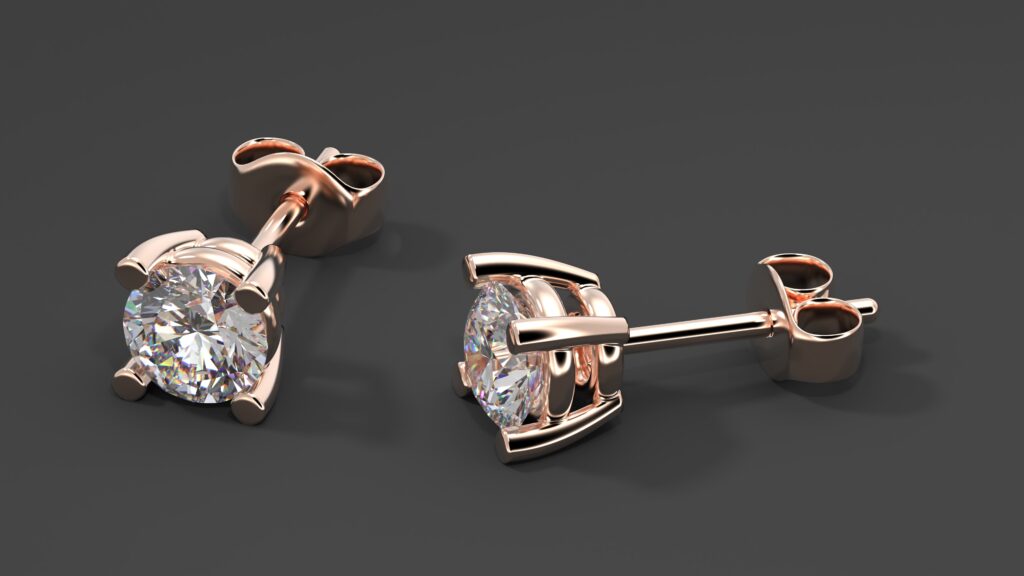
The session also covers the Quick Gems and Curator Panel for gem insertion and asset management. The practical project involves creating simple diamond earrings, guiding students through selecting and placing the center diamond, editing the basket (prong types and rails), and adding post support and clasp.
The class introduces Connect, a platform for presentation and collaboration, with steps to prepare the earrings for upload. It concludes with a Q&A session and an individual exercise for modifying the earrings.
Overview of the Rhino Interface and Artisan Toolbar: Learn navigation, views, and basic workspace customization.
RhinoArtisan Commands: Understand command operations, explore the command library, and use the “Recent Commands” bar.
Quick Gems and Curator Panel: Introduction to gem insertion, management, and asset organization.
The Outliner: Manage the hierarchy of design elements for efficient organization.
Layers: Utilize advanced structure and functionality for creating, managing, and distributing elements intelligently.
Diamond Selection and Placement: Select and position the center diamond.
Basket Editing:
Explore prong types and their editing options.
Edit rails for a perfect fit.
Post and Clasp Addition: Add post support and clasp to complete the earrings.
Introduction to Connect: Explore the platform’s main functionalities and benefits for presentation and collaboration.
Earring Preparation for Connect: Learn basic steps to prepare the earrings for upload.
Q&A and Practical Exercise: Engage in a Q&A session and perform individual modifications to the earrings.
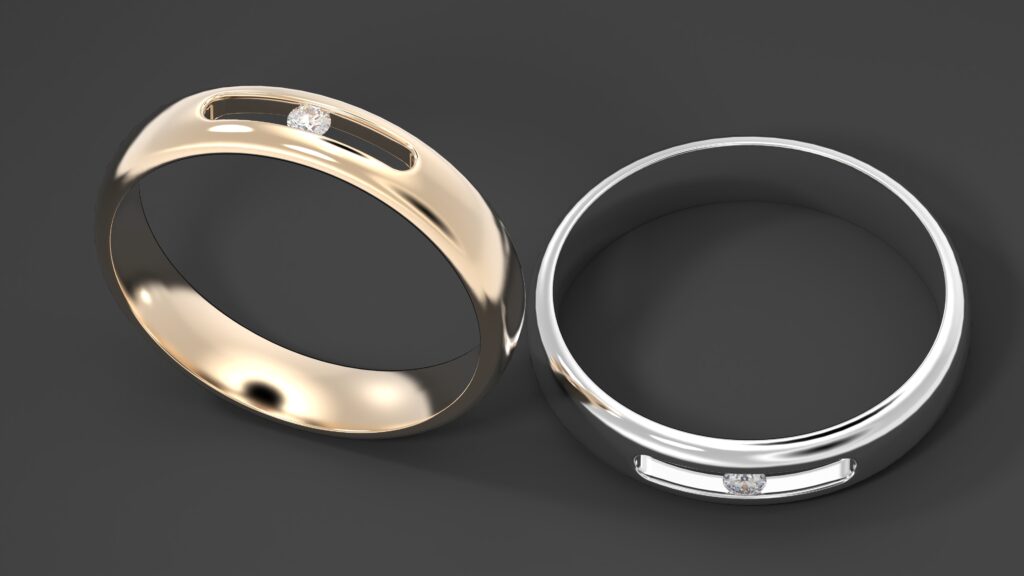
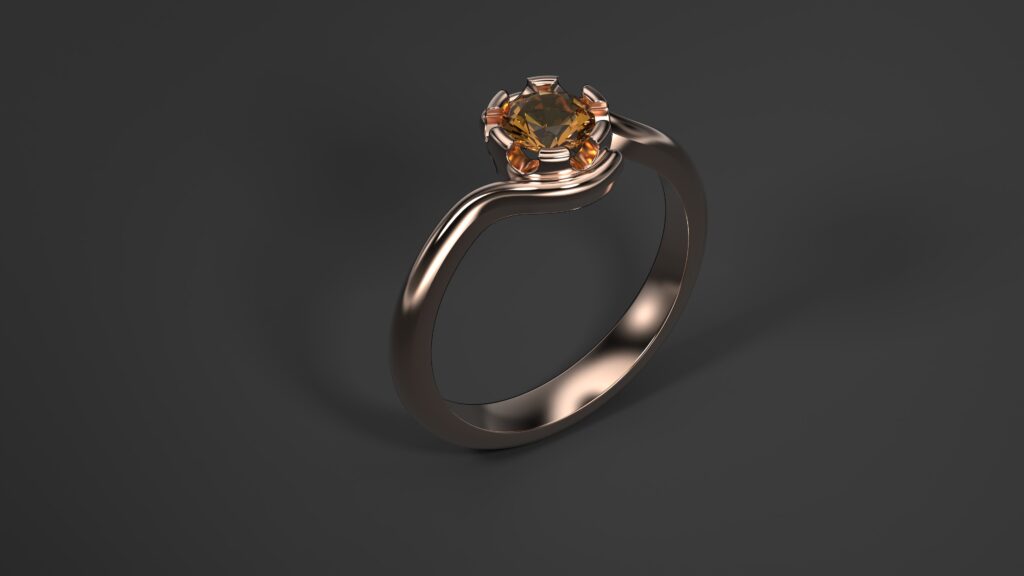
Class 2 focuses on leveraging parametrization in RhinoArtisan to enhance design efficiency and flexibility, with an emphasis on creating a ring with a “floating” setting.
Students learn to customize a “Classic” ring band, apply Boolean operations for precise cutting, and use edge rounding (fillet) for smooth finishes. The session covers gem creation, cutter types, and Boolean difference techniques for gem settings.
Students also explore organizing elements in layers and placing the ring on a plane with a supported copy. The class introduces parametric design through the construction of a tension ring, demonstrating automatic adaptation to size changes and quick weight analysis for metals and gems.
Integration with Connect is explored for uploading designs, assigning high-quality materials, and generating renders in multiple gold colors for e-commerce. The class concludes with a Q&A session and an individual exercise to design a “Classic” ring with a simple setting.
Creation and Advanced Editing of the “Classic” Ring: Detailed customization of the ring band using the “Classic” command.
Edge Rounding (Fillet): Apply precise techniques for smooth, polished finishes.
Placement and Copying: Position the ring on a plane and create a copy with support on the original.
Introduction to Boolean Operations:
Create a curve for the “cutter.”
Extrude the curve to form the rail.
Use Boolean Difference to cut the ring and create the rail.
Gem and Gem Cutter Creation: Explore different cutter types for gem settings.
Boolean Difference for Gems: Apply Boolean techniques to integrate gems into the design.
Construction of the Tension Ring: Build the gem and cathedral arm structure.
Parametric Demonstration: Showcase ring size changes with automatic adaptation of all elements.
Weight Analysis: Perform quick calculations for metal and gem weights.
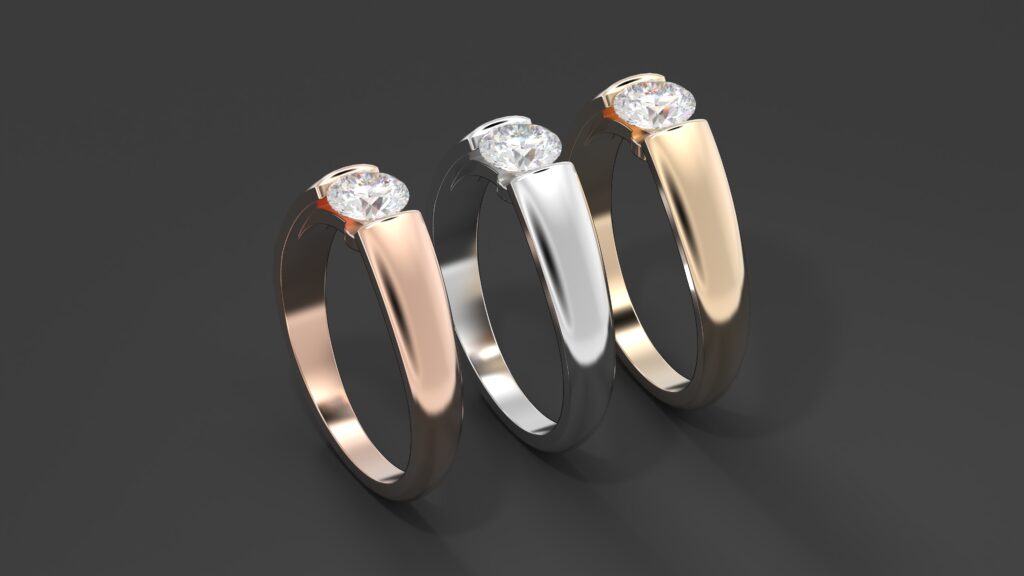
Uploading to Connect: Assign high-quality materials to the ring design.
Rendering for E-Commerce: Download images in white, yellow, and rose gold for sharing.
Layer Management: Distribute design elements in layers for optimal organization.
Q&A and Practical Exercise: Design a “Classic” ring and apply a simple setting through hands-on practice.
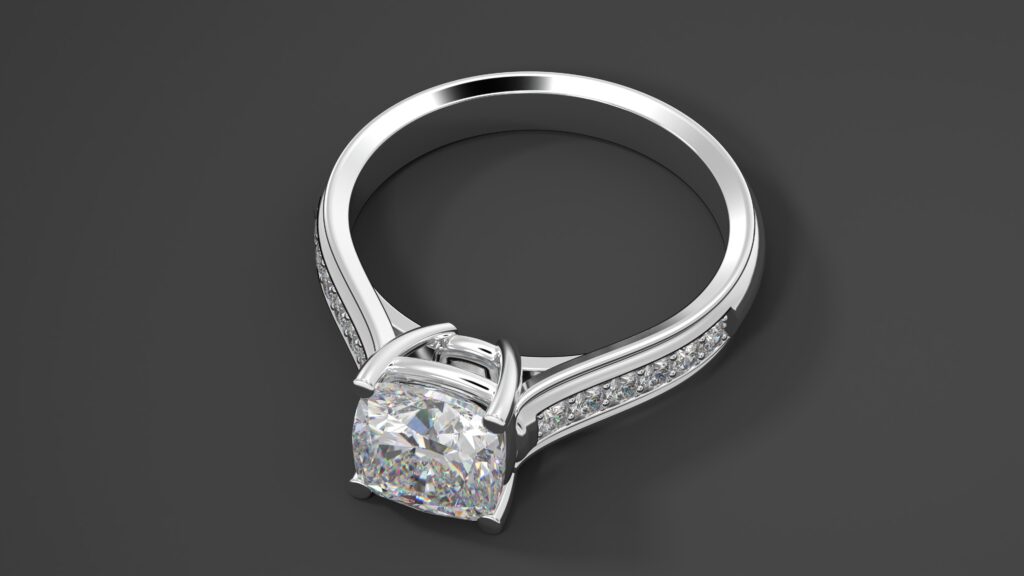
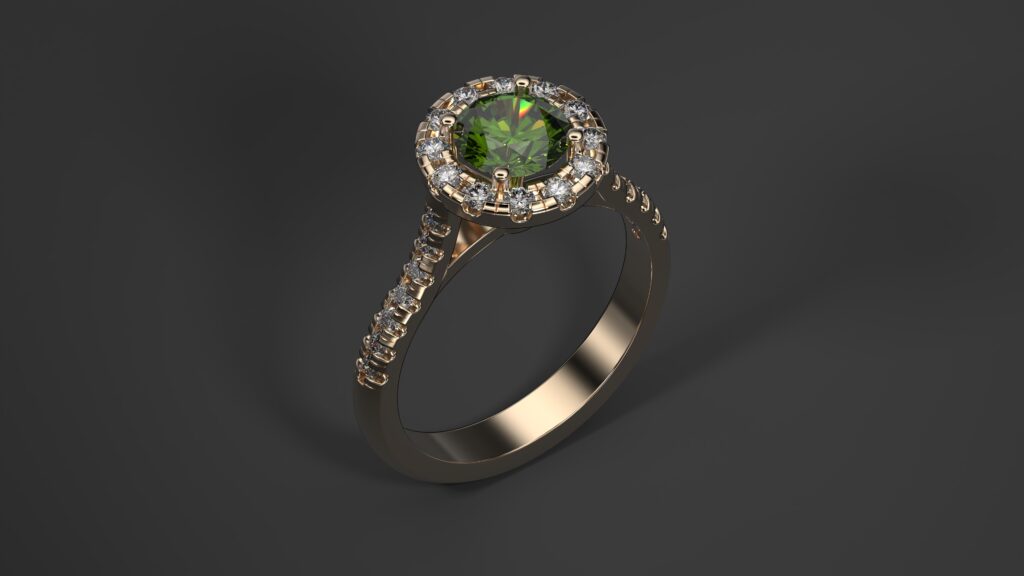
Class 3 delves into advanced parametrization techniques in RhinoArtisan to optimize jewelry design and control costs, focusing on creating a cushion engagement ring.
Students learn to build a gem with a basket, dynamically modify gem shape and size with automatic design updates, and construct a cathedral arm with parametric ring size adjustments. The class introduces analysis and reporting tools to accurately extract metal and gem weights, generate detailed cost breakdowns, and create general reports.
The practical project involves designing pearl and diamond earrings, including gem and basket construction with “claw” prongs, adding a pearl with its support, and generating cost and general reports. Students also upload their designs to Connect and create varied e-commerce images.
The session concludes with a Q&A and an individual exercise to design an engagement ring and produce its cost report.
Gem and Basket Construction: Build a gem and assign a basket with parametric settings.
Dynamic Modifications: Adjust gem shape and size, with automatic refreshing of the design.
Cathedral Arm and Ring Size Adjustment: Construct a cathedral arm and update ring size using parametric tools.
Weight Extraction: Accurately calculate metal and gem weights.
Detailed Cost Report: Generate a breakdown of piece costs with detailed insights.
General Report Creation: Produce a comprehensive report for the design.
Gem and Basket Construction: Create a gem with a basket using “claw” prongs.
Pearl and Support Addition: Incorporate a pearl and its structural support.
Cost and General Reports: Extract a detailed cost breakdown and create a general report for the earrings.
Uploading to Connect: Upload the earring design and assign materials for presentation.
E-Commerce Image Generation: Create varied images for e-commerce purposes.
Q&A and Practical Exercise: Design an engagement ring and generate its cost report through hands-on practice.
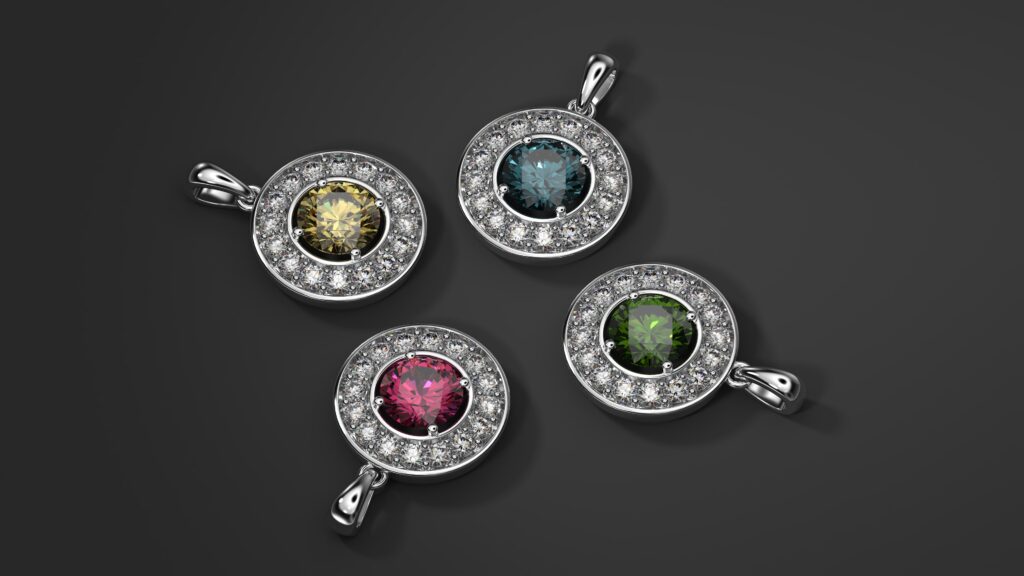
Class 4 focuses on creating complex jewelry designs using specialized settings like halo and cluster in RhinoArtisan, emphasizing efficient library management with the Curator tool.
The session covers three practical projects: a halo pendant, a ring with a halo and cathedral arm, and a classic cluster ring. Students learn to create and customize a halo, save it in the Curator library, and reuse it in designs. They also explore building cathedral arms, cluster settings, and ring shanks, as well as extracting technical documentation such as gem maps, gem lists, and cost reports. Designs are uploaded to Connect for material assignment and e-commerce image generation.
The class concludes with a Q&A session and an individual exercise to create and save a halo in Curator, then apply it to a ring design.
Boutique Module Overview: Navigate and explain predefined collections available in the Boutique module.
Components Module Overview: Explore collections of modular components, such as ring shanks, settings, and decorative elements.
Component Selection and Integration: Combine components (e.g., ring shanks, settings, decorative elements) to create a cohesive jewelry piece.
Advantages of Modular Design: Understand how modular design enhances speed and customization in jewelry creation.
Creating a Personalized Collection: Build a new collection and add designs to the Boutique catalog.
Organizing and Categorizing Designs: Learn techniques for efficient design organization and retrieval.
Using Boutique in Store: Present options, enable real-time personalization, and visualize designs for in-store customer interactions.
Integration with Connect: Extend the Boutique experience to remote clients through Connect.
Q&A and Practical Exercise: Create a ring by combining library components and save it in a new personalized collection through hands-on practice.
Class 5 explores modular design in RhinoArtisan to streamline jewelry creation and enhance personalized sales experiences, focusing on the Boutique and Components modules.
Students learn to navigate predefined collections in the Boutique module and explore modular components in the Components module. The practical project involves creating a jewelry piece by selecting and integrating components like ring shanks, settings, and decorative elements, highlighting the speed and customization benefits of modular design.
The class covers creating and managing personalized collections in the Boutique catalog for efficient design retrieval. Students also learn to use the Boutique module for in-store customer interactions, including real-time personalization, and integrate it with Connect for remote client experiences.
The session concludes with a Q&A and an individual exercise to create a ring using library components and save it in a new personalized collection.
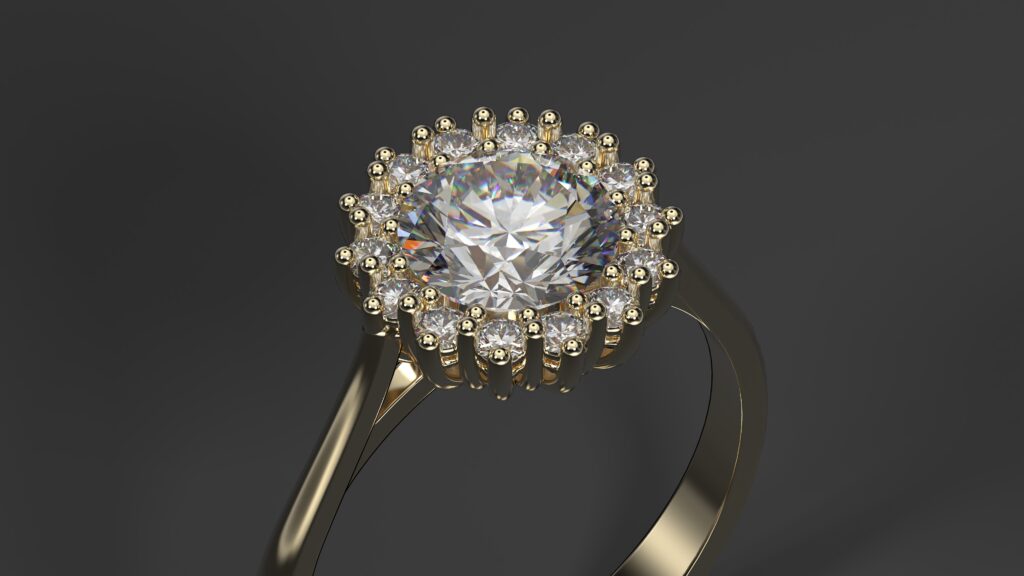
Center Gem Creation: Build the central gem for the halo pendant.
Halo Creation and Customization: Use the Halo command to create and configure the halo with advanced options.
Curator Asset Management:
Save the halo in a new Curator folder.
Store the halo in the Halos Library for future use.
Bail Creation and Positioning: Construct the bail and position it using Gumballs.
Gem Map Extraction: Generate a detailed map of gem placements.
Gem List Extraction: Create a comprehensive list of gems used in the design.
Halo Retrieval: Call the previously saved halo from Curator.
Cathedral Arm Construction: Build and integrate a cathedral arm with the halo.
Report Generation: Extract detailed cost and general reports.
Connect Integration: Upload the design to Connect and generate images with various material finishes.
Center Gem Creation: Construct the central gem for the cluster ring.
Cluster Creation and Customization: Use the Cluster command to build and adjust the cluster setting.
Ring Shank Construction: Design the ring shank to complete the structure.
Report Generation: Create cost and general reports for the cluster ring.
Connect Upload: Upload the design to Connect for material assignment and image generation.
Q&A and Practical Exercise: Create a halo, save it in Curator, and apply it to a ring design through hands-on practice.
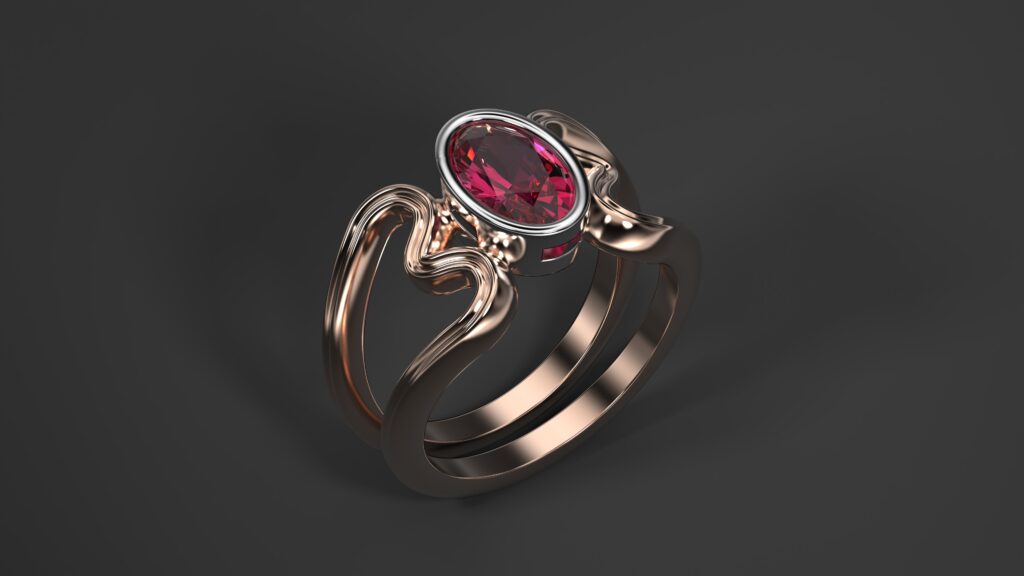
Class 6 focuses on advanced modeling techniques in RhinoArtisan, emphasizing complex deformation and array commands to create intricate and imaginative jewelry designs.
The session includes three practical projects: a ring with a complex profile using the Profile and Quick Flow commands, a fantasy ring with a marquise cut gem and symmetrical stone replication, and an advanced ring with organic shank design. Students learn to create gems with bezel settings, apply surface deformation, use Quick Polar Array for symmetrical replication, and employ the Apply Style command for efficient design consistency.
The Advanced Shank command is explored for creating complex, organic shapes. All projects are uploaded to Connect for visualization. The class concludes with a Q&A session and an individuale exercise to design either a ring with a complex profile using Quick Flow or a fantasy ring with Apply Style.
Main Gem and Bezel Setting: Create the central gem and apply a bezel setting.
Ring Profile Curves: Build or provide curves for the ring profile.
Quick Flow Command: Use surface deformation to flow the sweep onto the ring.
Connect Visualization: Upload the design to Connect for visualization.
Marquise Cut Gem: Create a marquise cut gem as the focal point.
Quick Polar Array: Symmetrically replicate three additional stones.
Bezel Setting Application: Create a bezel setting for one stone and use Apply Style to apply it to the others.
Cathedral Arm Addition: Integrate a cathedral arm into the design.
Connect Visualization: Upload the fantasy ring to Connect for visualization.
Center Stone and Bezel Setting: Create the center stone and apply a bezel setting.
Advanced Shank Command: Build the shank, exploring options for organic and complex designs.
Connect Visualization: Upload the advanced ring to Connect for visualization.
Q&A and Individual Exercise: Design a ring with a complex profile using Quick Flow or a fantasy ring using Apply Style through hands-on practice.
Class 7 focuses on preparing jewelry designs for manufacturing using RhinoArtisan’s Design for Manufacturing (DFM) principles and leveraging the Connect ecosystem for comprehensive project management.
Students learn the essentials of file preparation for 3D printing and casting, including the .STL format, integrity verification, and efficient sprue placement for casting. The session explores RhinoArtisan’s Manufacturing Mode and the Ring Resizer command for quick adjustments. The Connect platform is introduced as an integral ecosystem, covering its Boutique, Canvas, Loom, and Dashboard sections.
Students create and manage collections in Canvas, assign materials and rendering settings, and explore export functionalities. The Dashboard and Boutique are used for organization and sales, while AI agents’ capabilities are overviewed.
The class concludes with a Q&A session and a final practical exercise to prepare a ring for 3D printing, add sprues, and upload it to Connect for a final render.
Casting Process Overview: Brief explanation of the jewelry casting process.
.STL Format for 3D Printing: Understand the .STL format and its implications for manufacturing.
File Preparation and Verification: Prepare files in .STL format and verify design integrity.
Sprue Placement: Efficiently add single or multiple sprues, including inner/external tree configurations.
Manufacturing Mode: Detailed exploration of RhinoArtisan’s Manufacturing Mode features.
Prong Extension: Extend prongs to ensure design integrity during casting.
Ring Resizer Command: Use the command for quick and precise size adjustments.
Connect Sections Overview: Explore the Boutique, Canvas, AI, and Dashboard functionalities.
Canvas: Rendering Studio and Collection Management:
Create a collection in Canvas and manage its states (Draft, Public).
Assign materials, backgrounds, lights, and shadows for rendering.
Utilize Canvas Info and the Viewport Interaction Toolbar.
Export images, create videos, and generate shareable links.
Dashboard: Manage organization, collaboration, and team workflows.
Boutique: Explore and manage collections in a sales context.
AI Agents: Overview of their capabilities for design and management support.
Q&A and Hands-On Exercise: Prepare a complete ring for 3D printing, add sprues, and upload it to Connect to generate a final render.
Joan Tomàs is a digital jewellery expert with over 30 years of experience, from design to manufacturing.
He has collaborated with some of the most prestigious companies in Barcelona and Mumbai, bringing together deep craftsmanship knowledge and cutting-edge digital skills.
This unique combination makes his approach to jewellery CAD training both practical and inspiring.

Our RhinoArtisan online courses are delivered live in small groups (maximum of 8 participants) by our Certified Trainers.
This live and interactive format with reduced class sizes encourages discussion and allows participant to ask questions in real time.
Certification – upon completion of the course, each student receives an official certificate.
Jewellery designers, retailers, manufacturers, and enthusiasts who want to take their creativity and business to the next level.
Fixed price per group
(1–8 participants)
2,200 €
The course will be delivered in one or two weekly sessions of 3 hours each, to be scheduled by mutual agreement between the company and RhinoArtisan, based on availability and team needs.
We strongly recommend that participants set aside between 3 and 6 additional hours per week to complete the practical exercises and assignments provided between sessions.